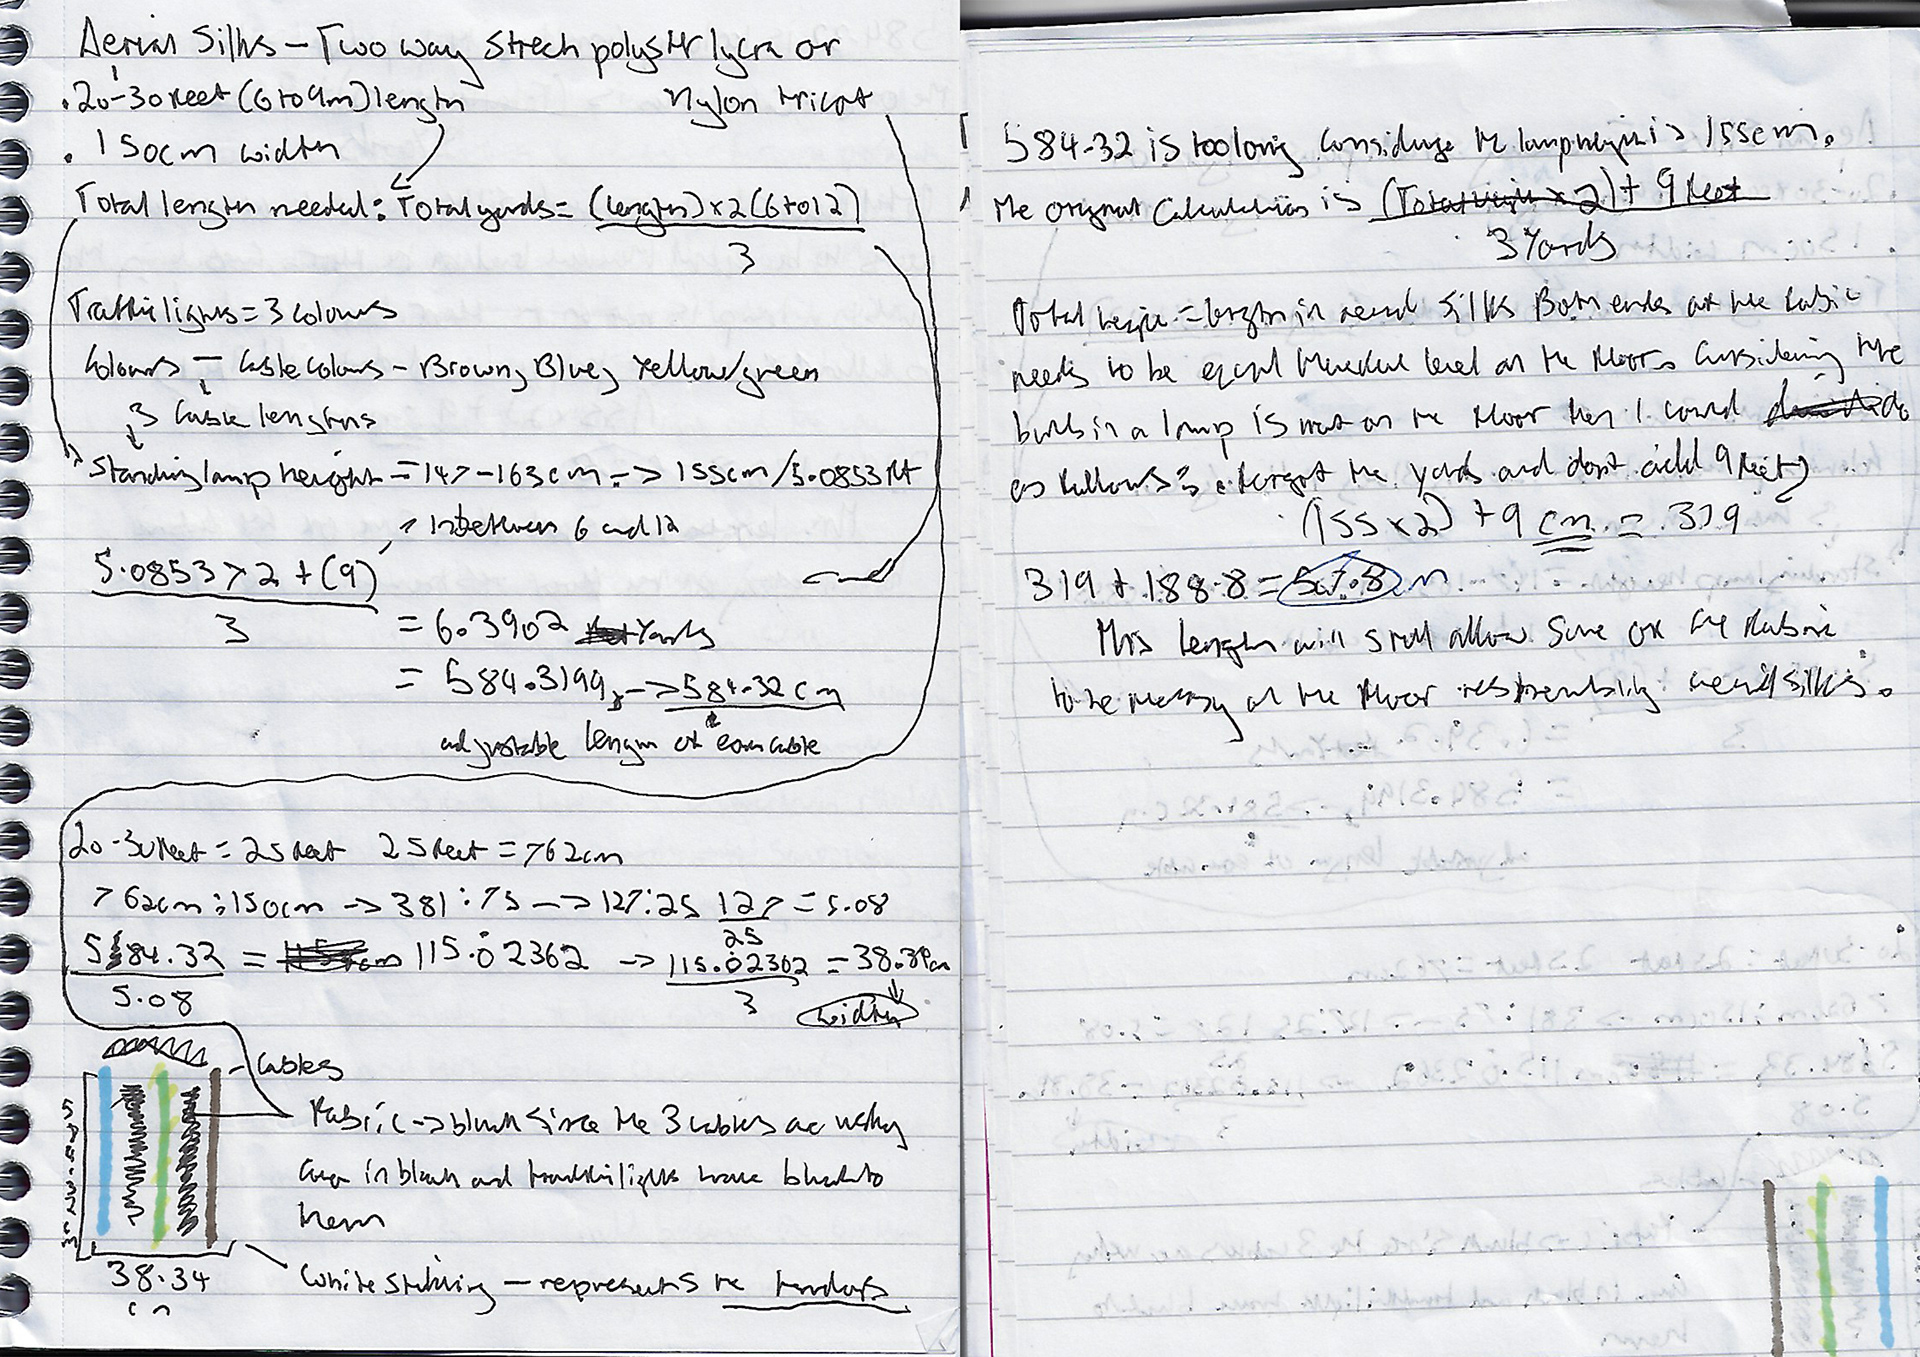
Grey Section


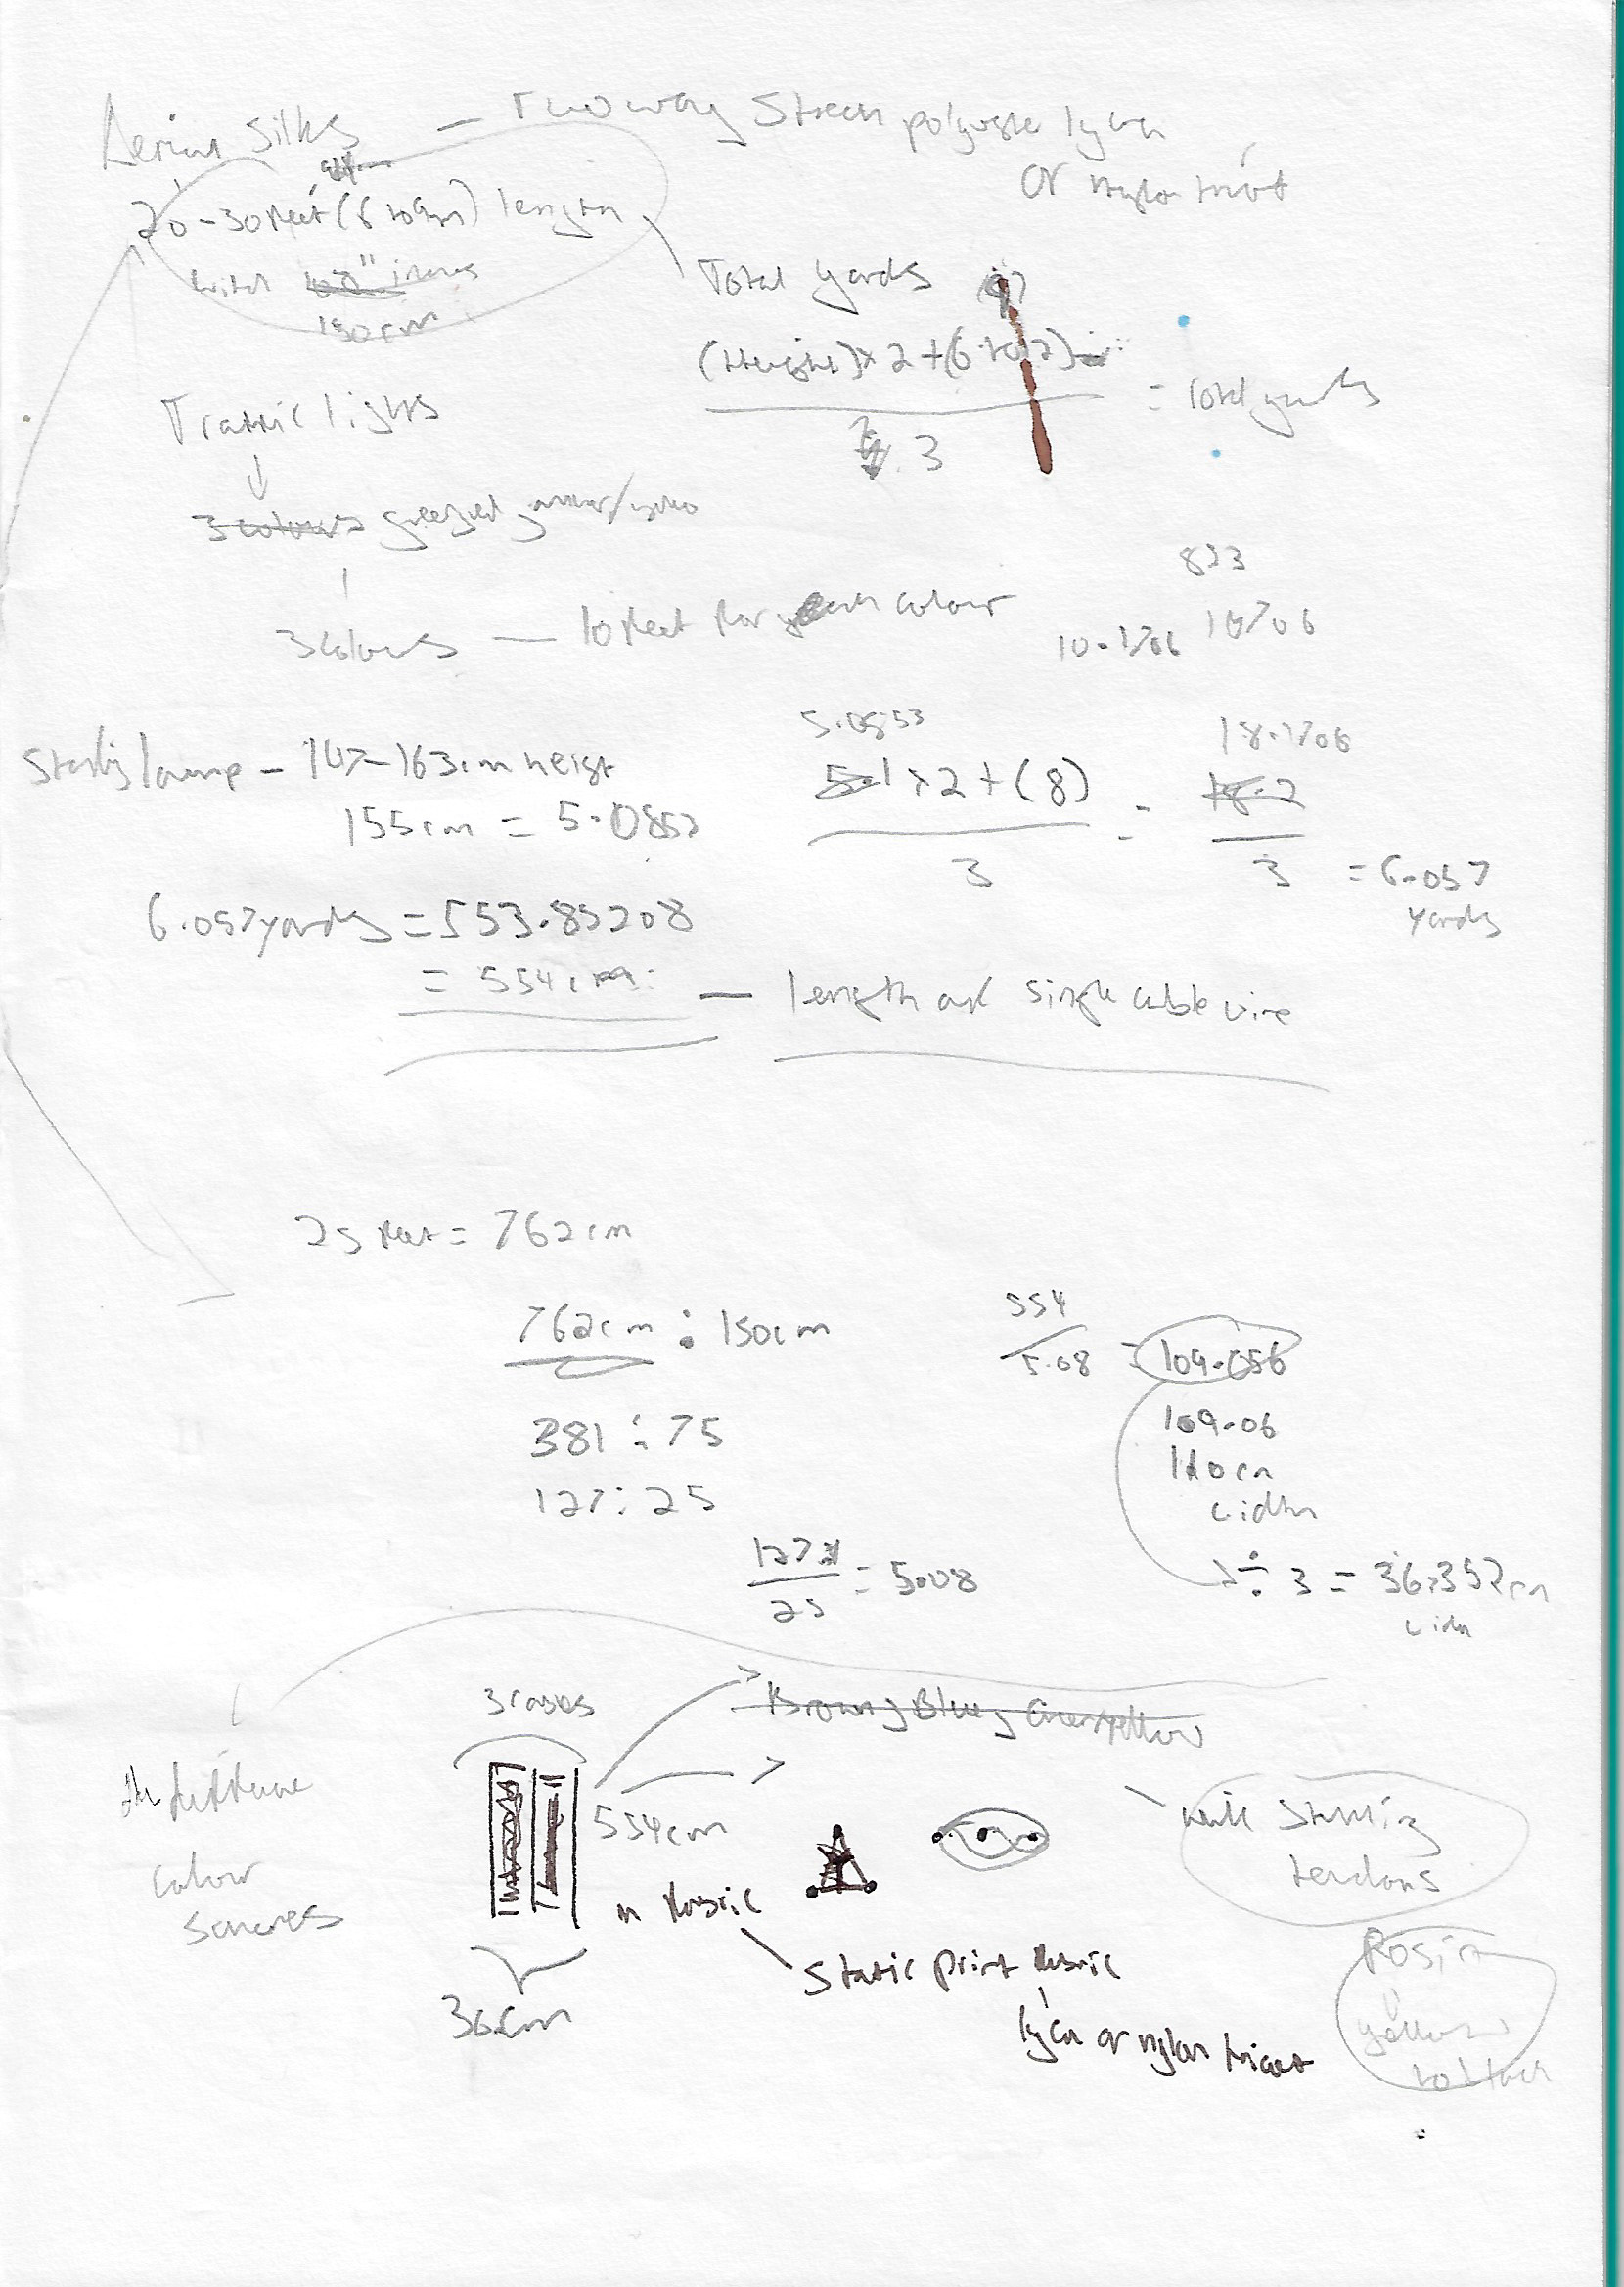
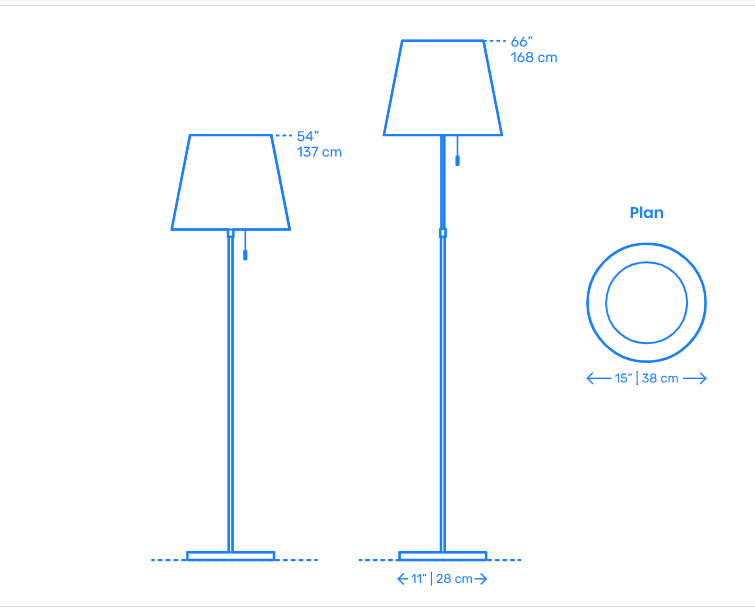
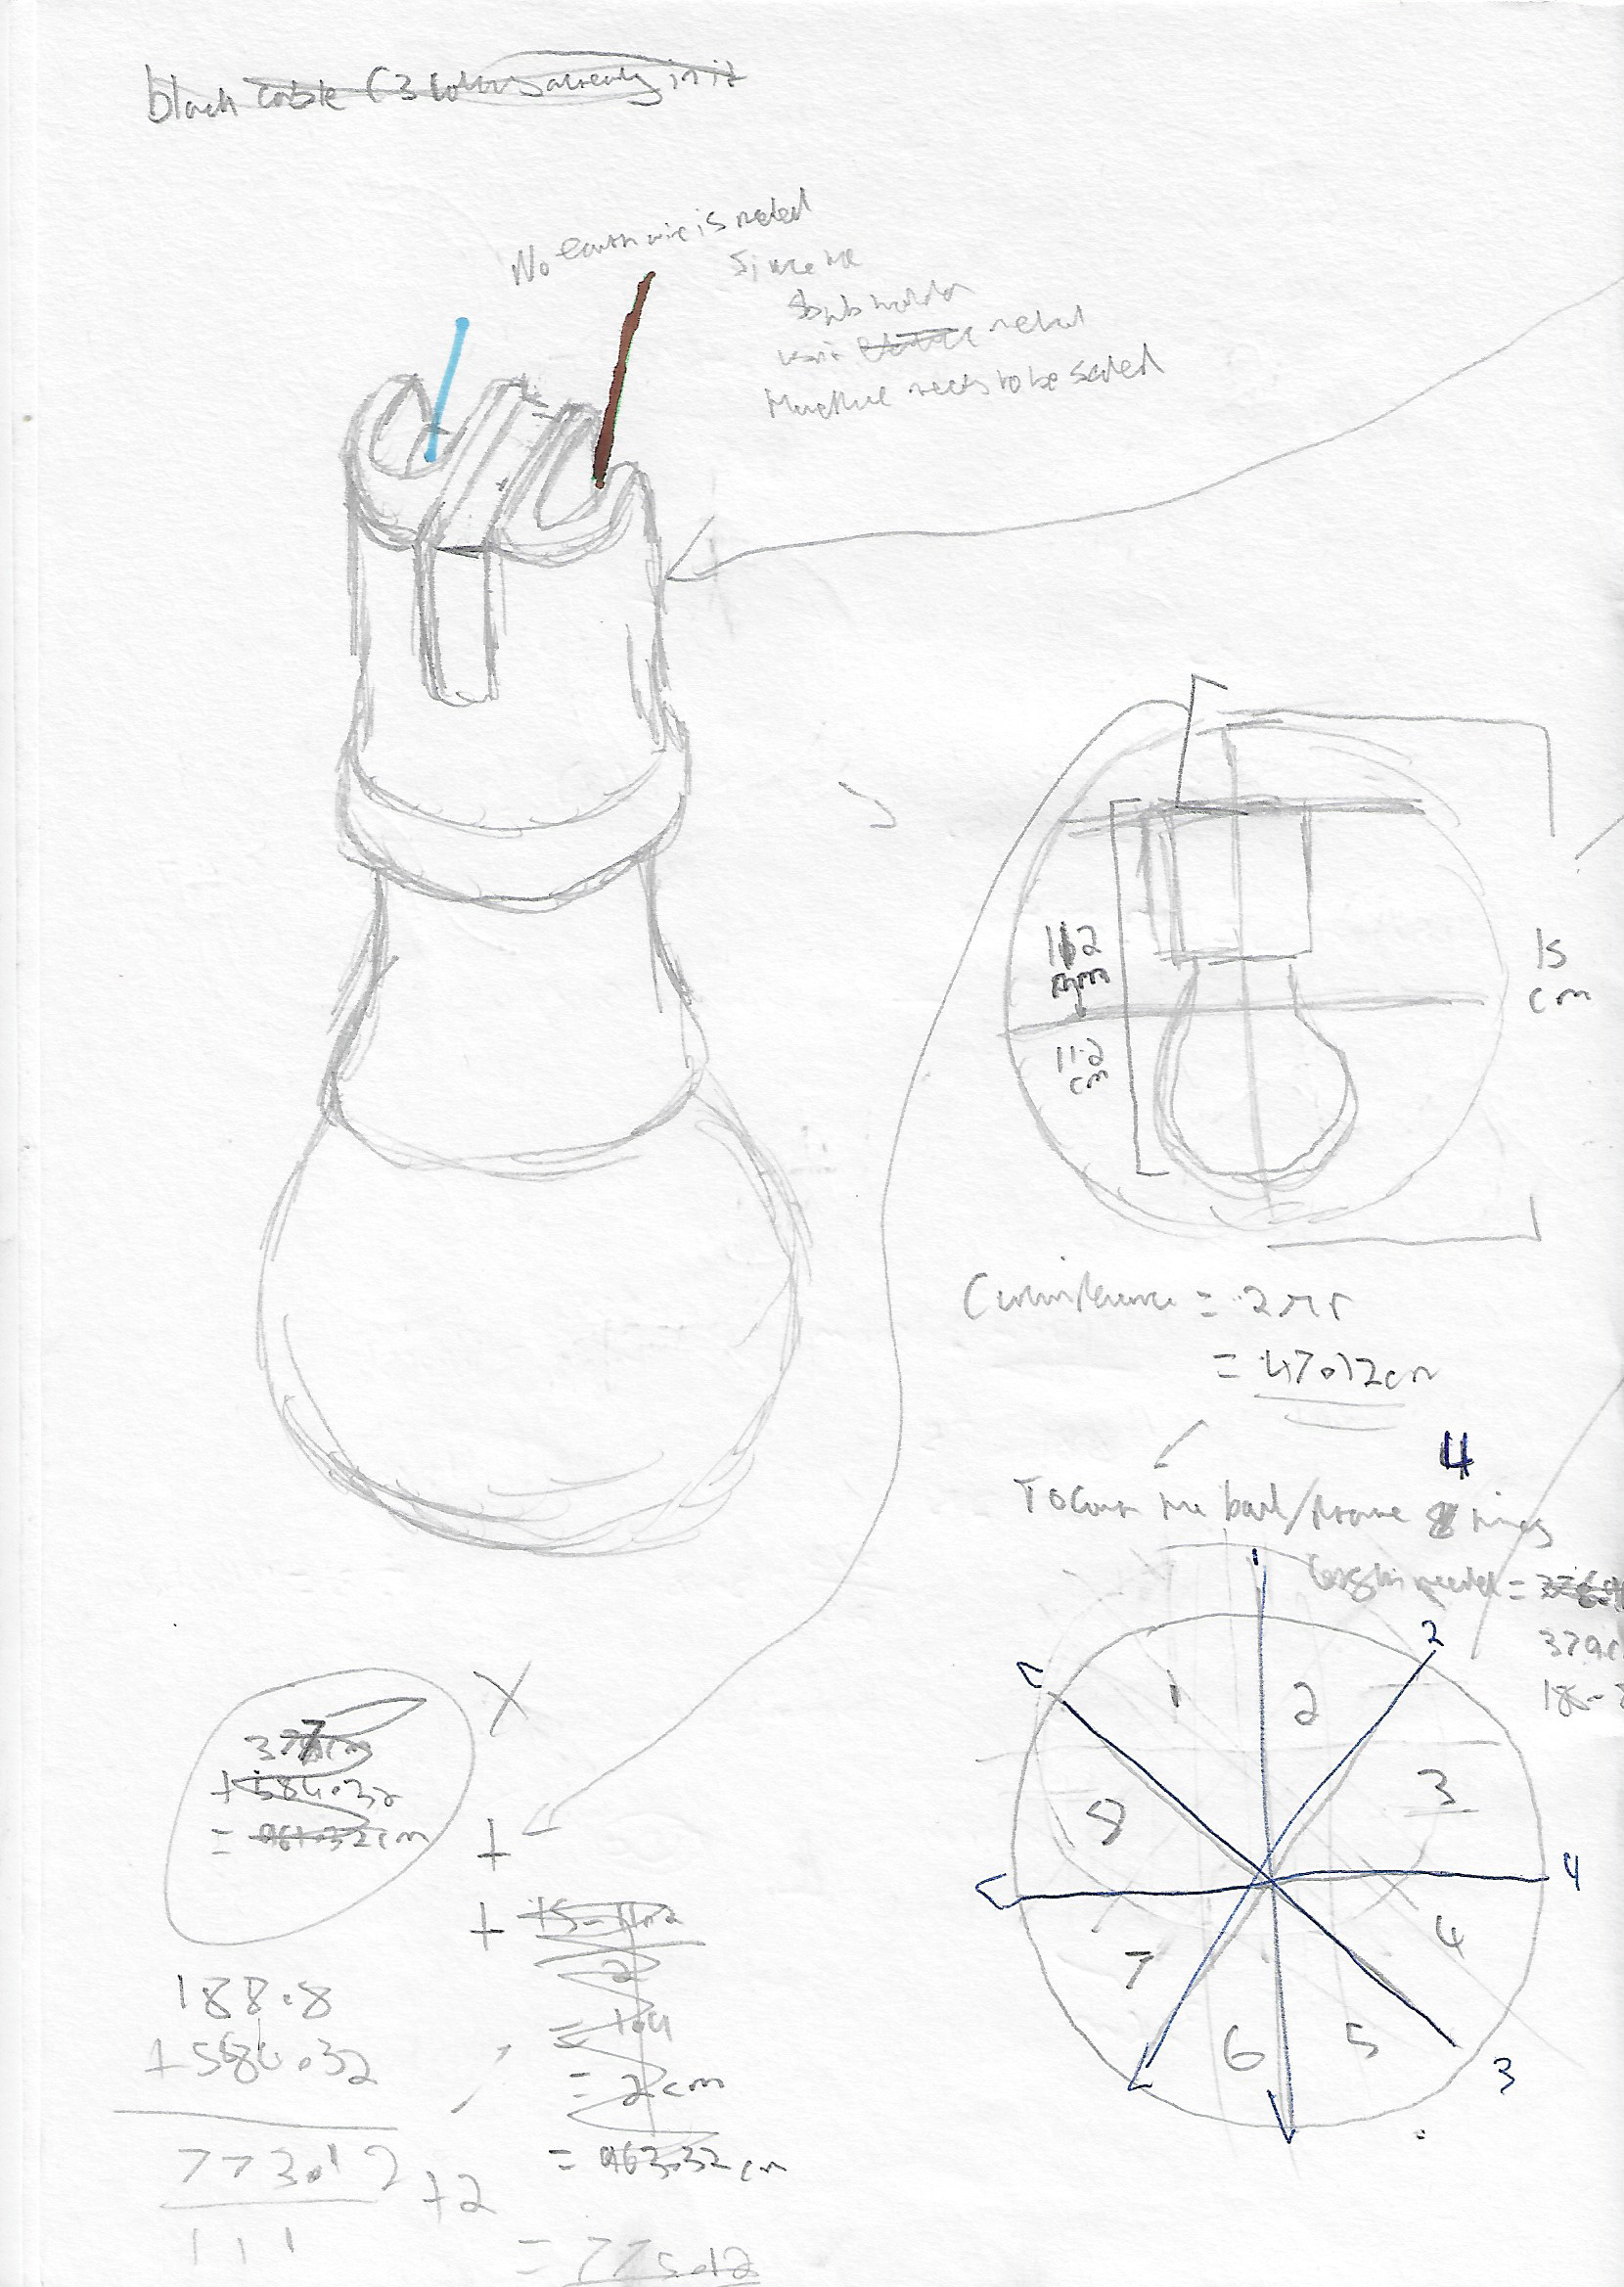
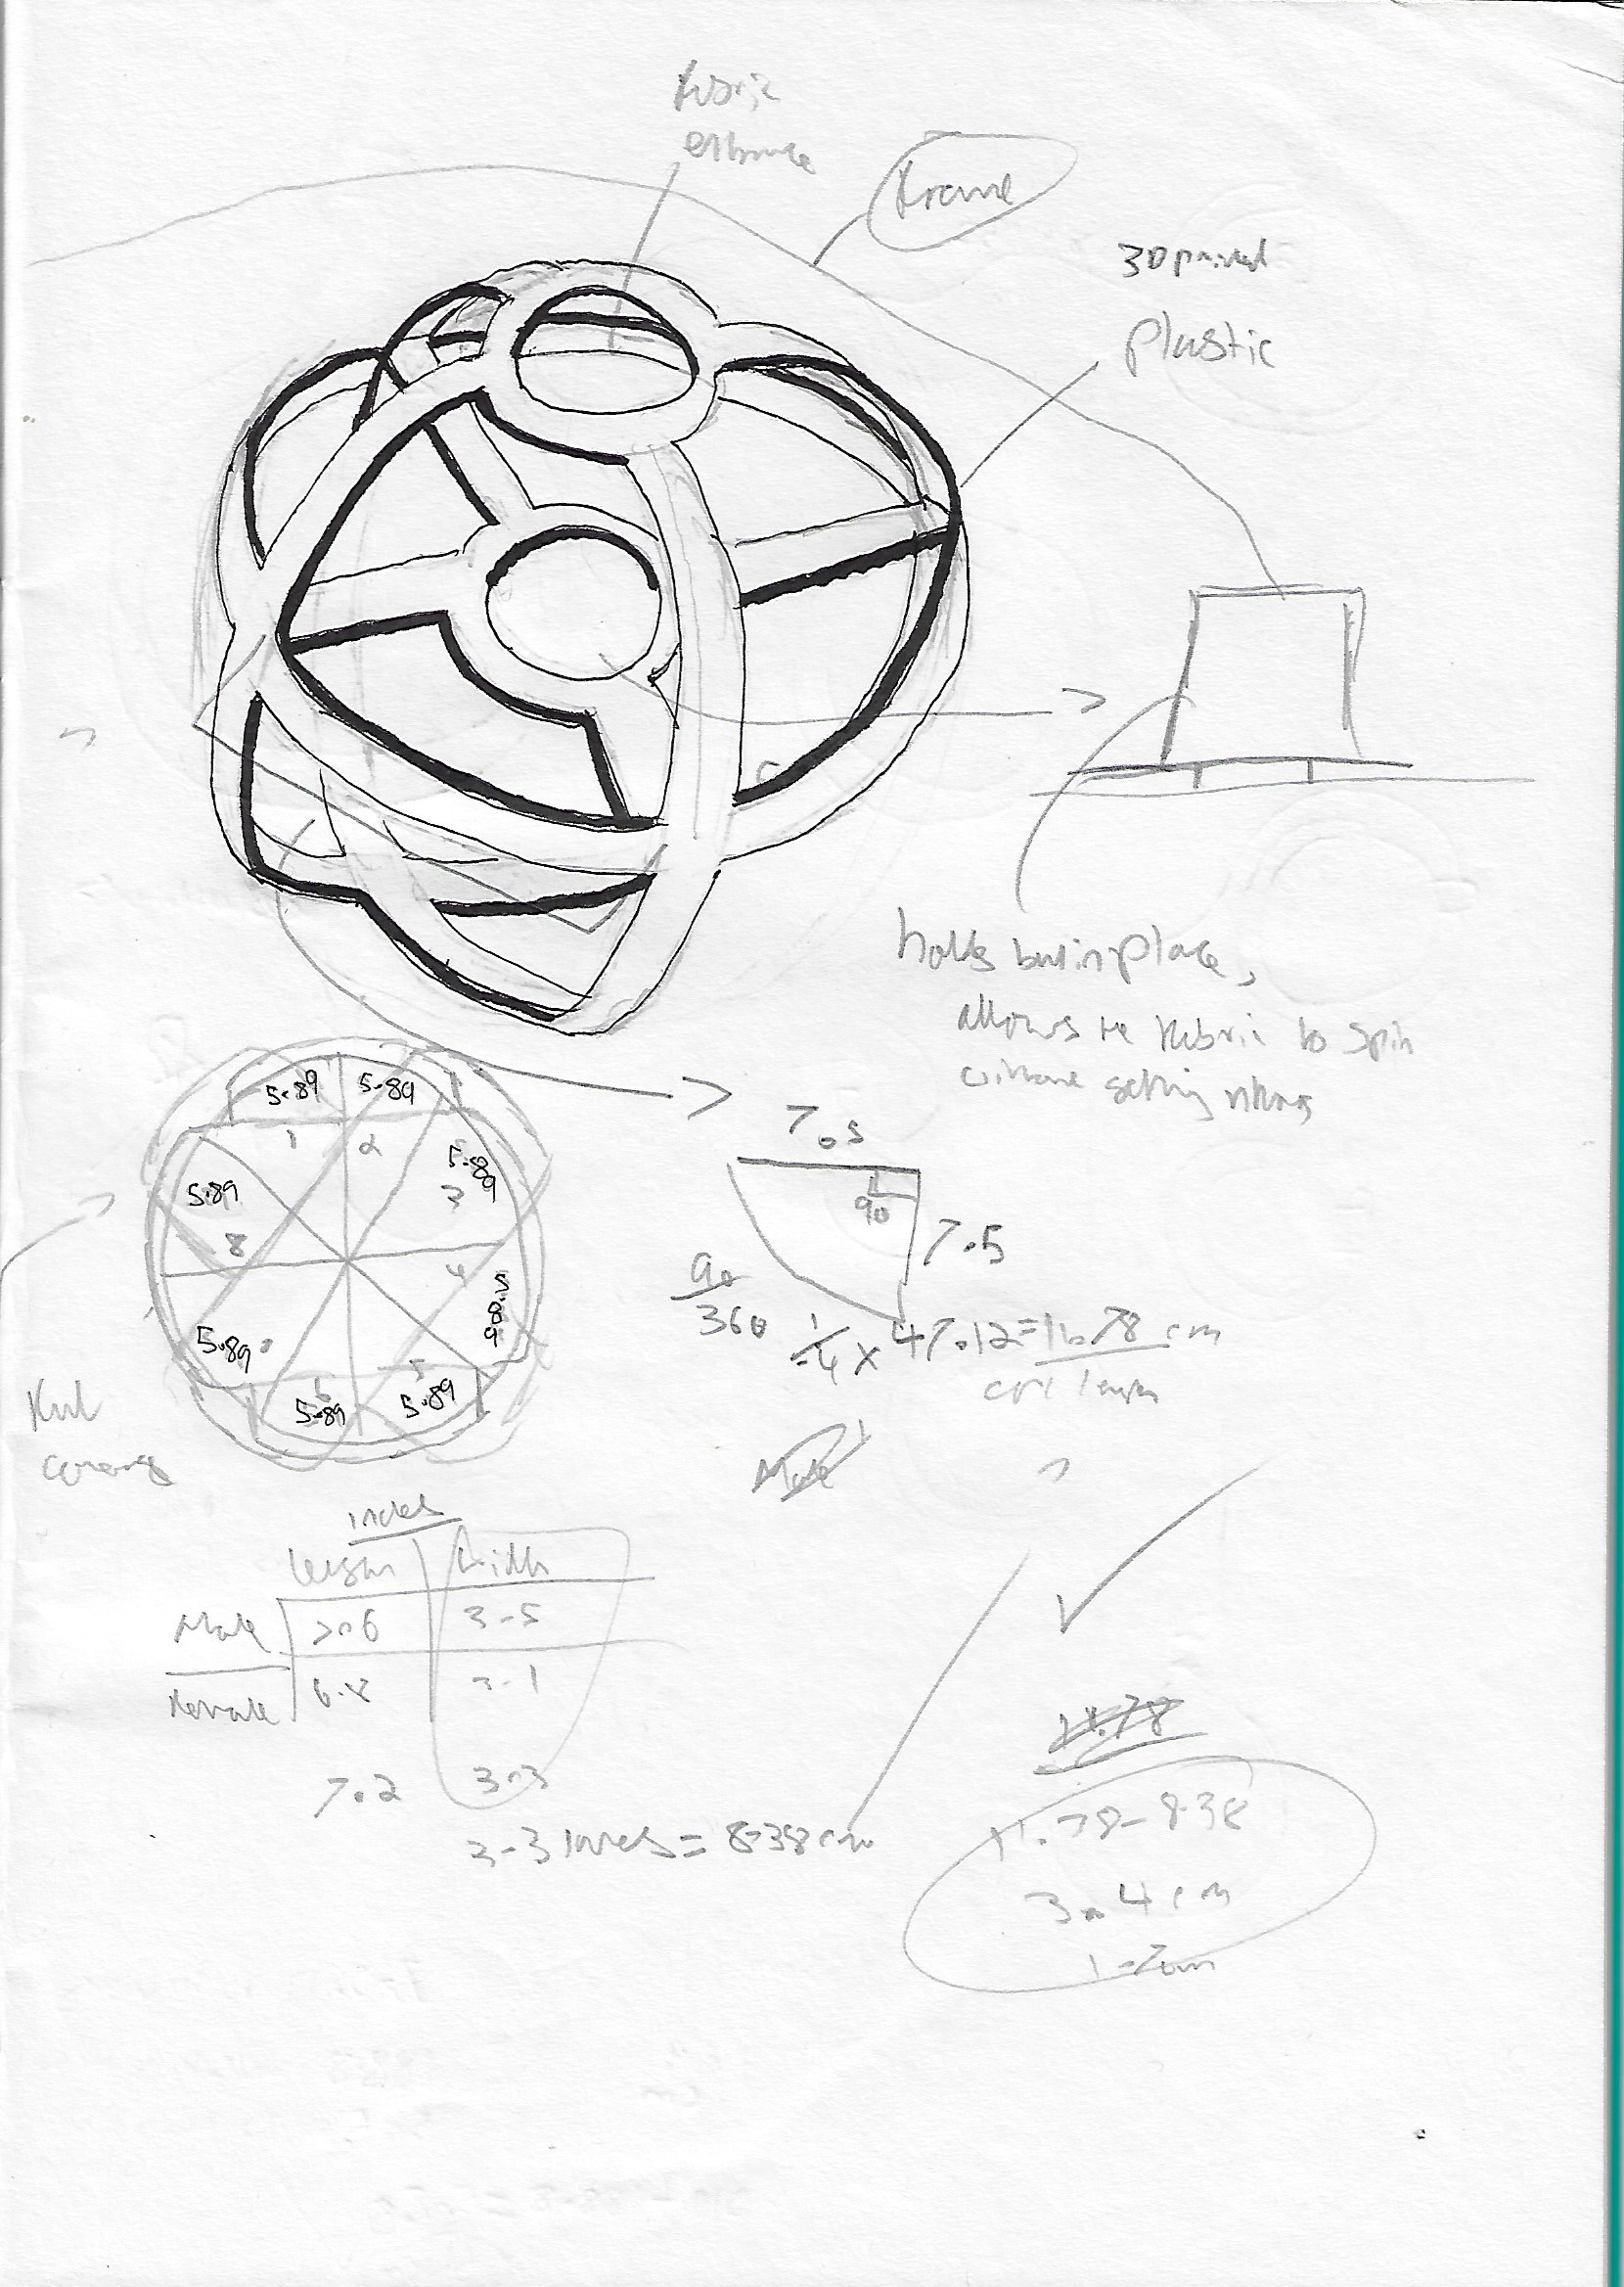
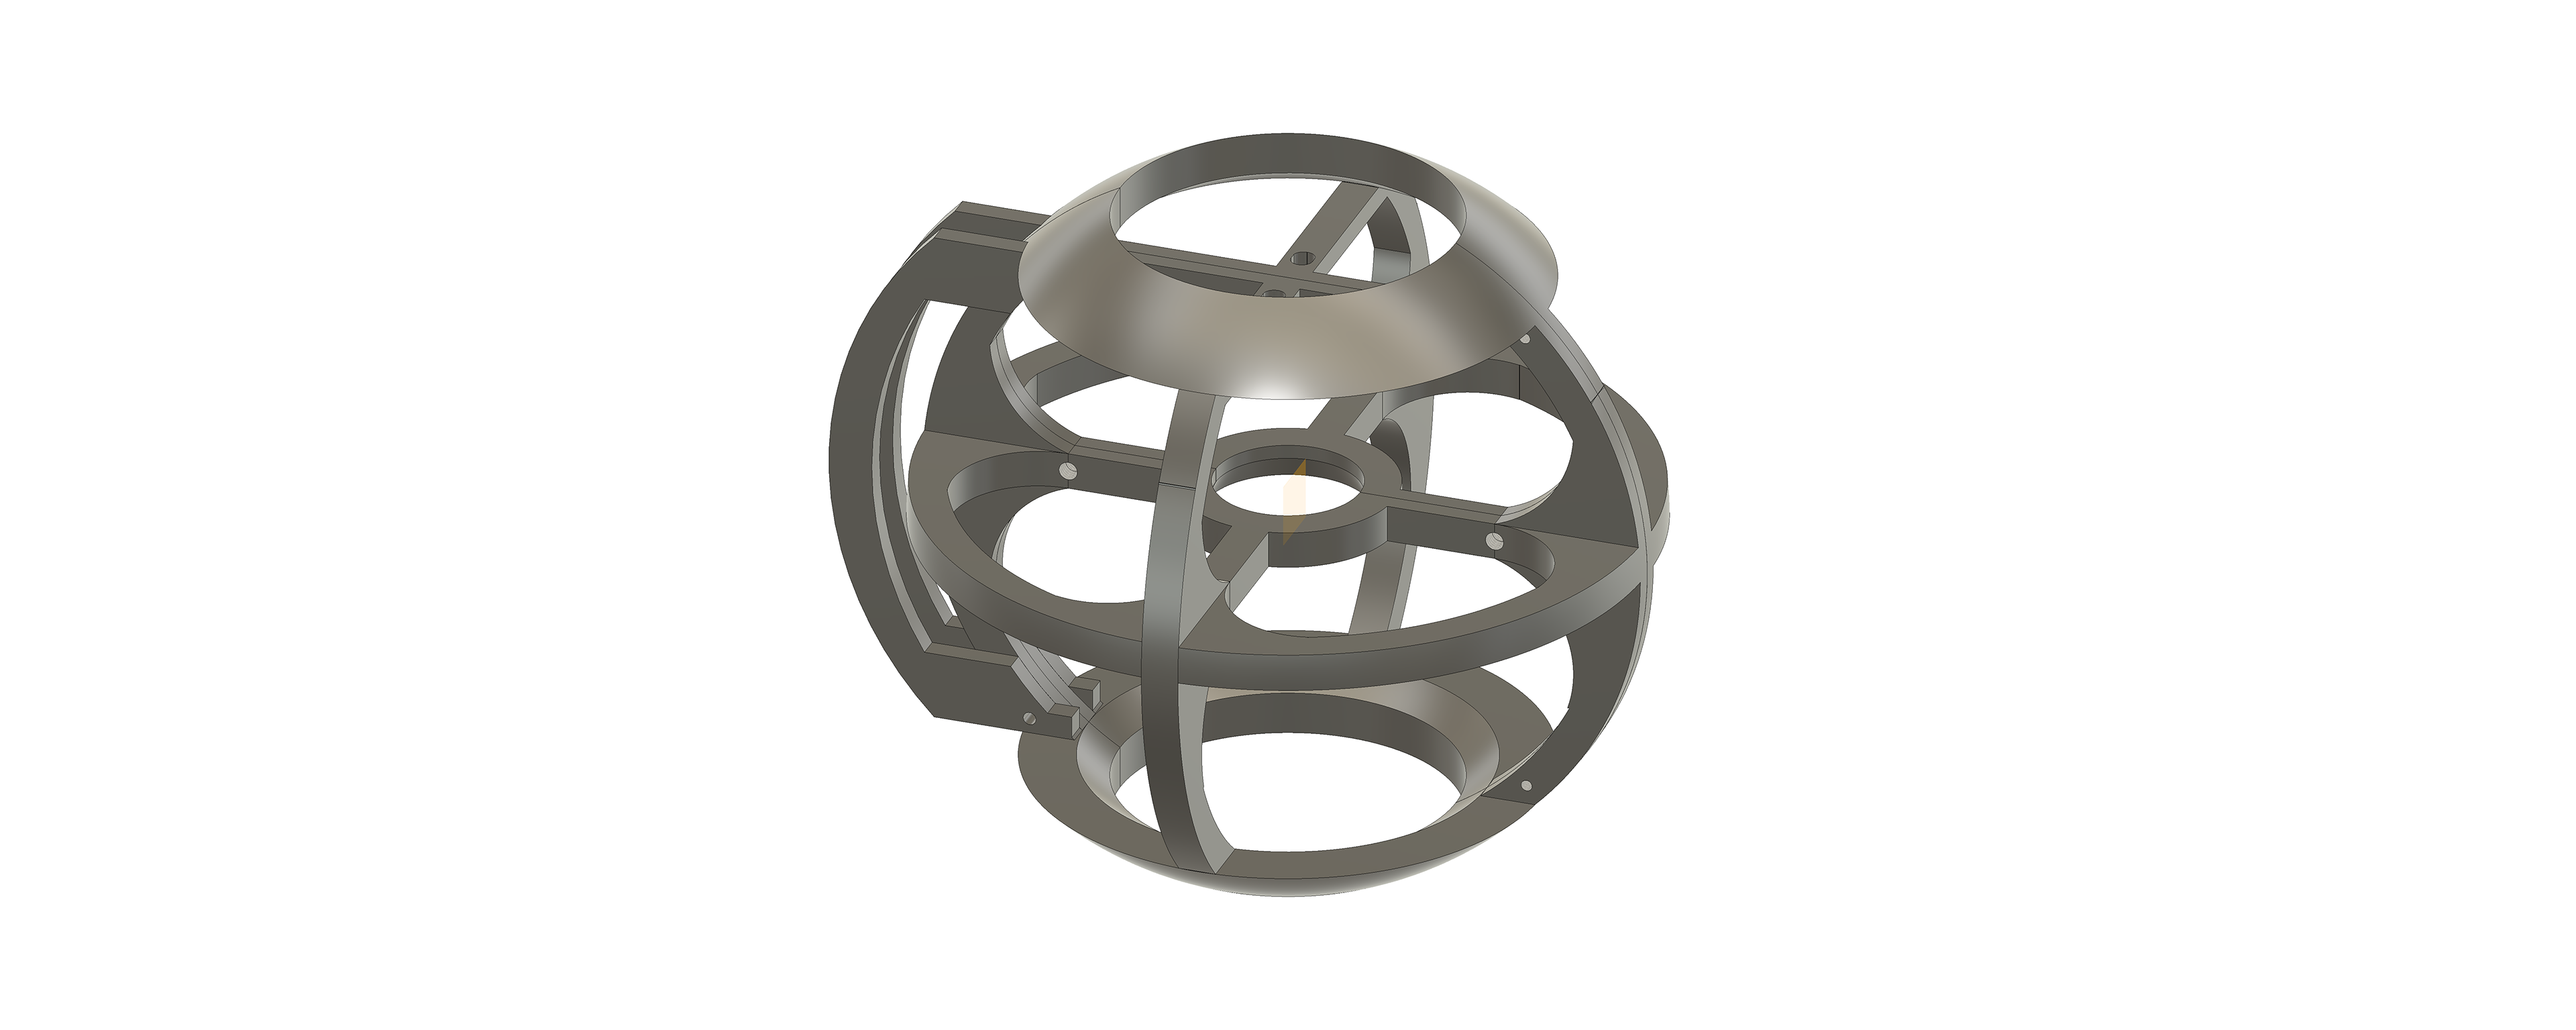
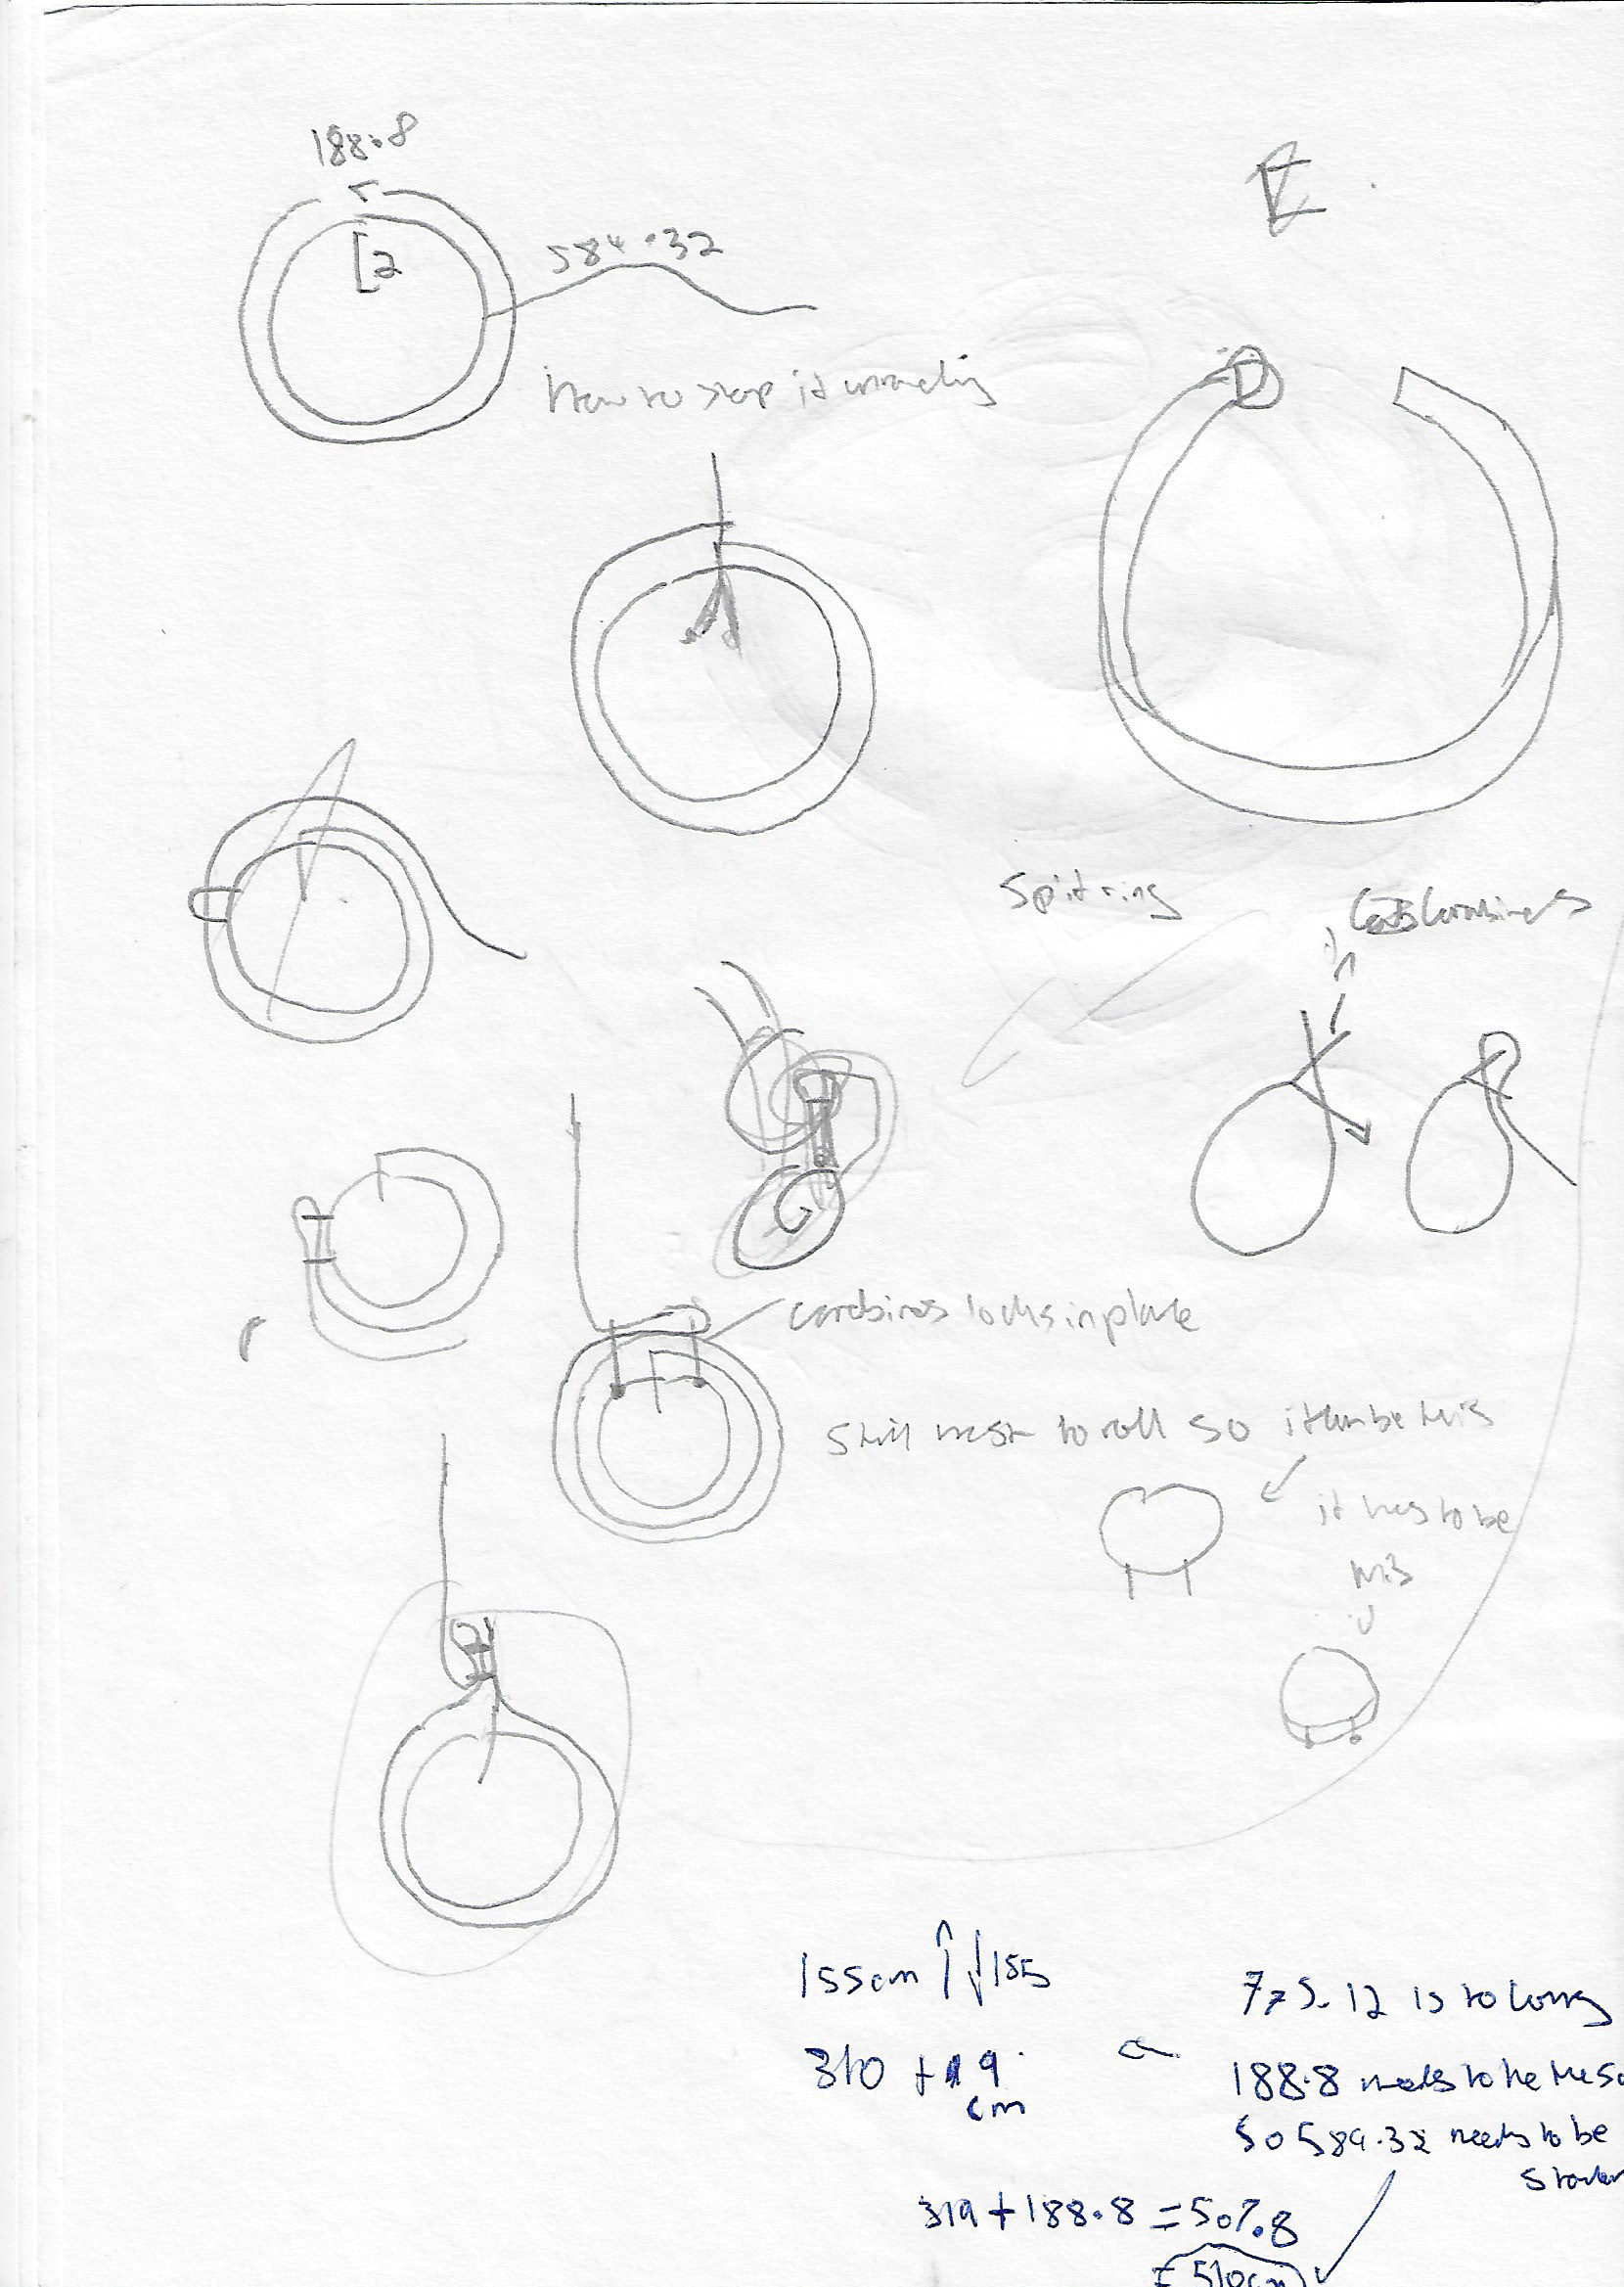
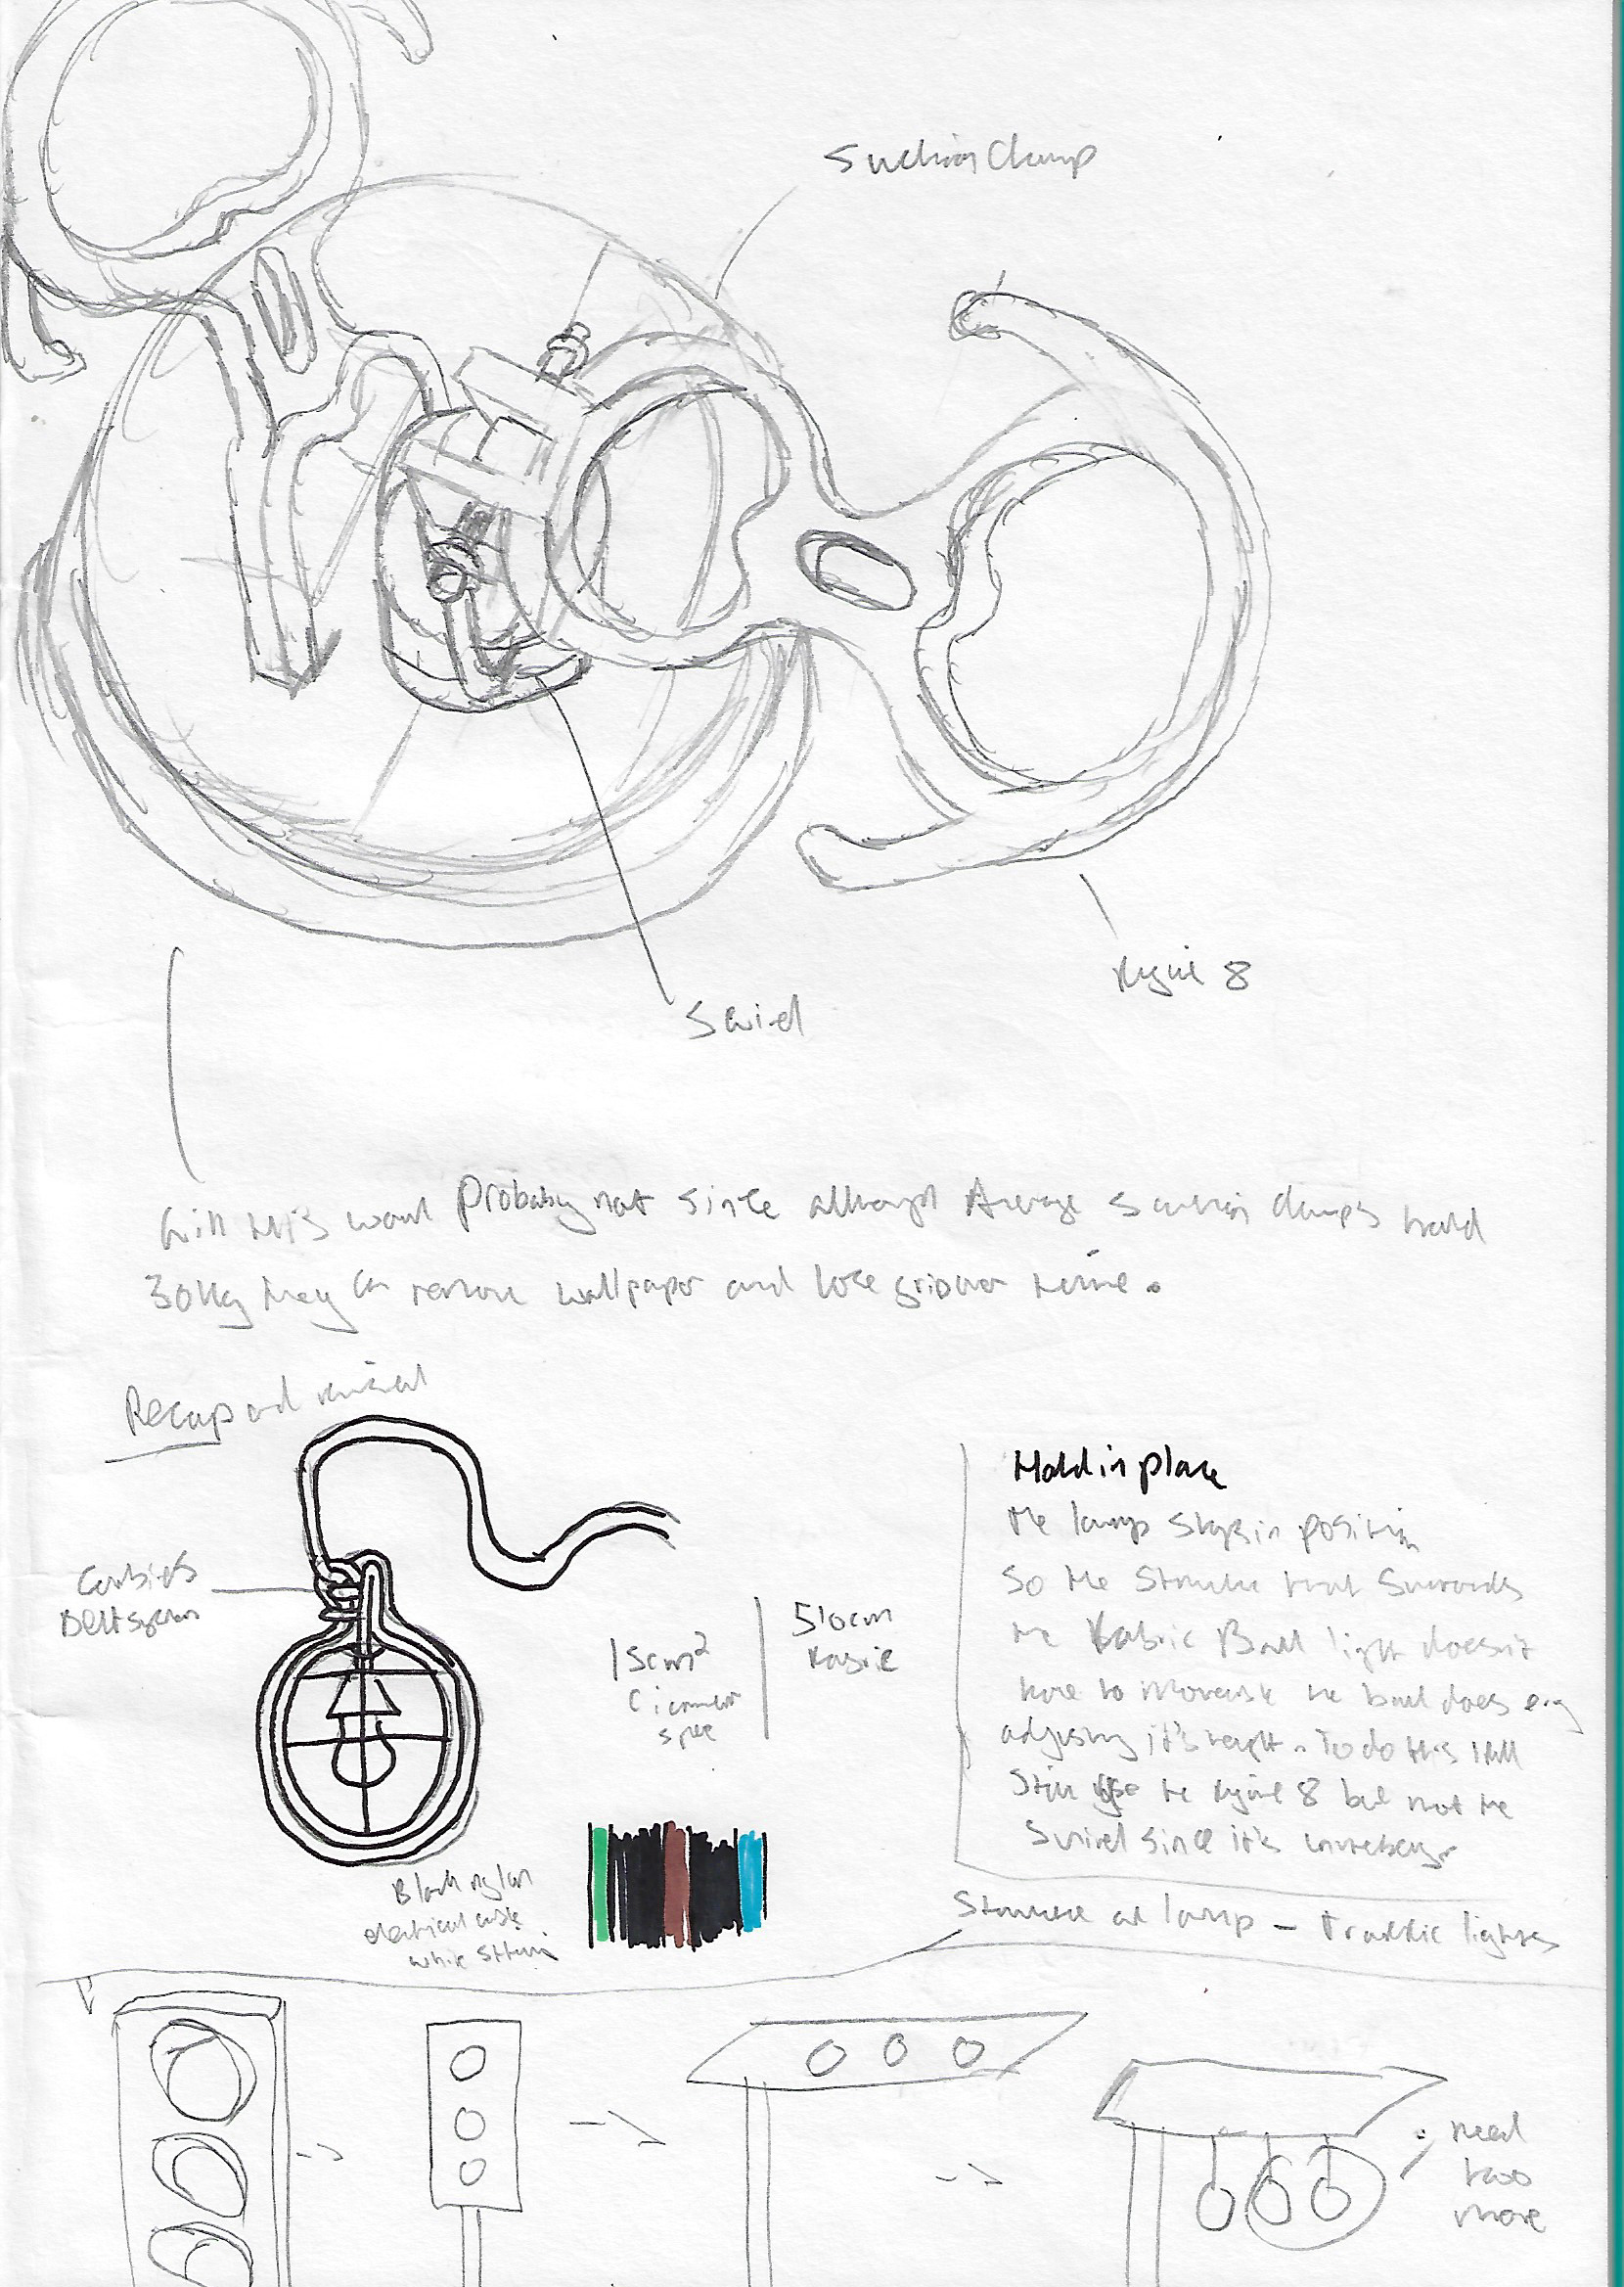
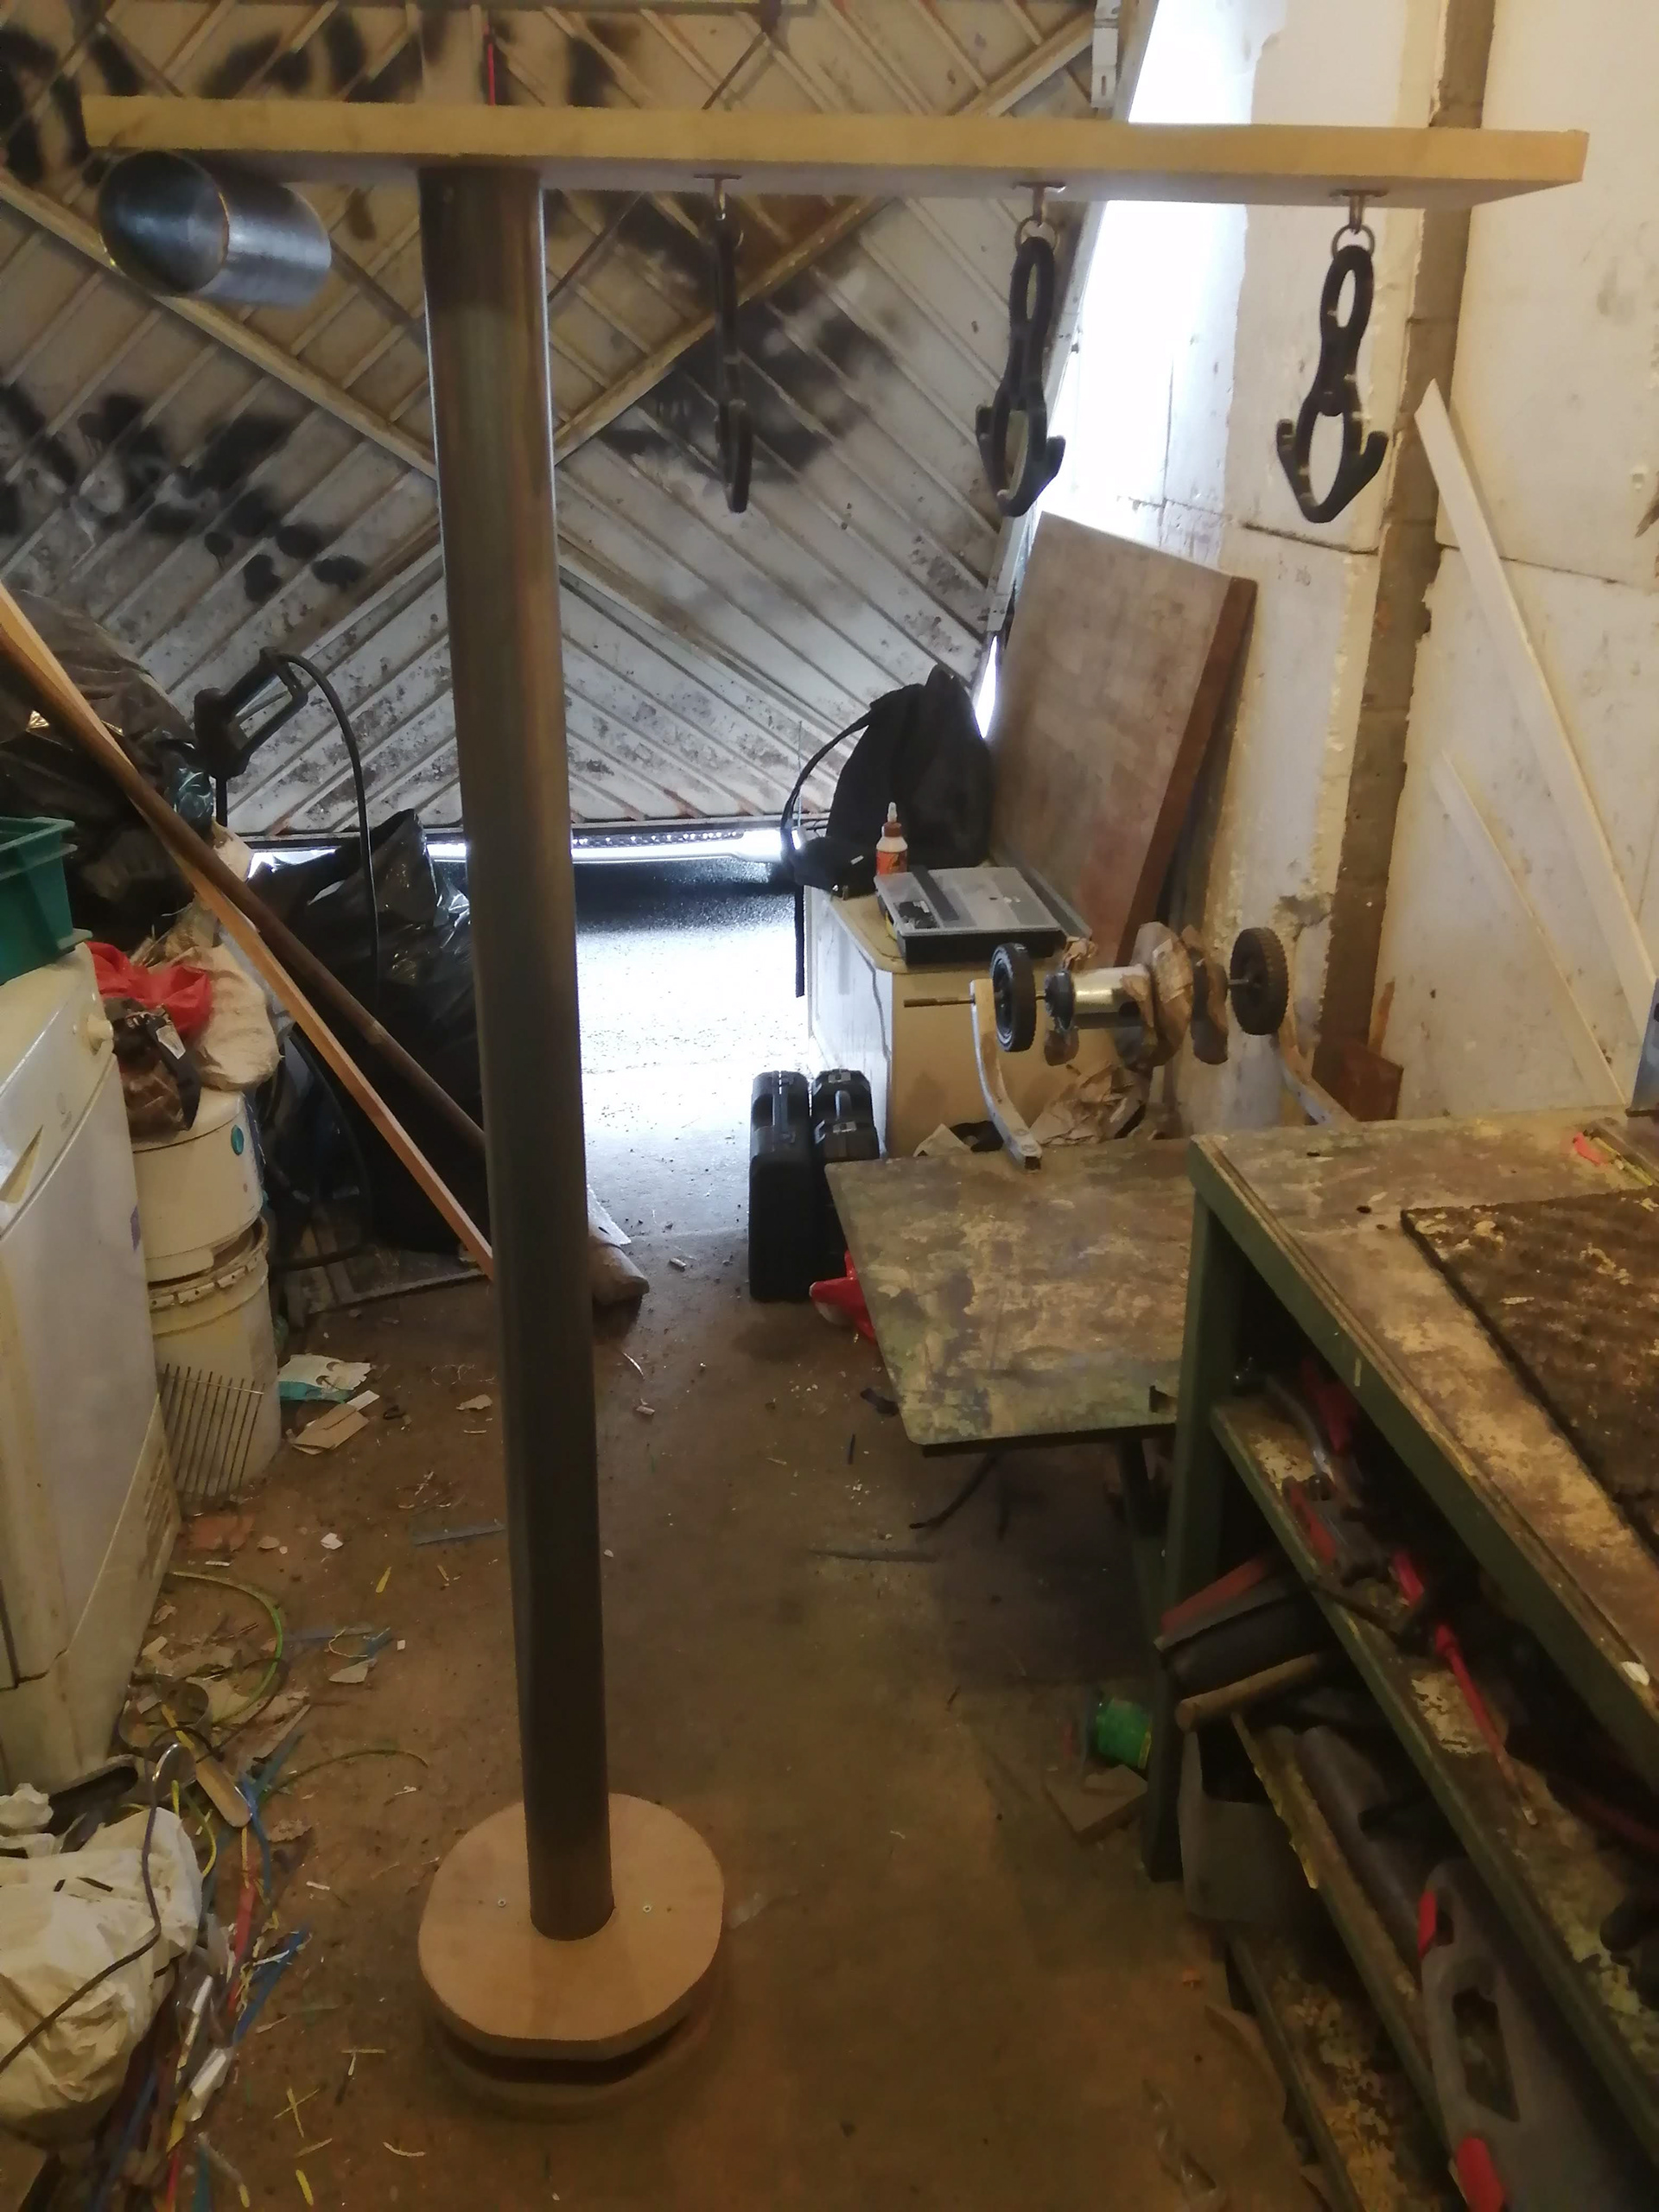
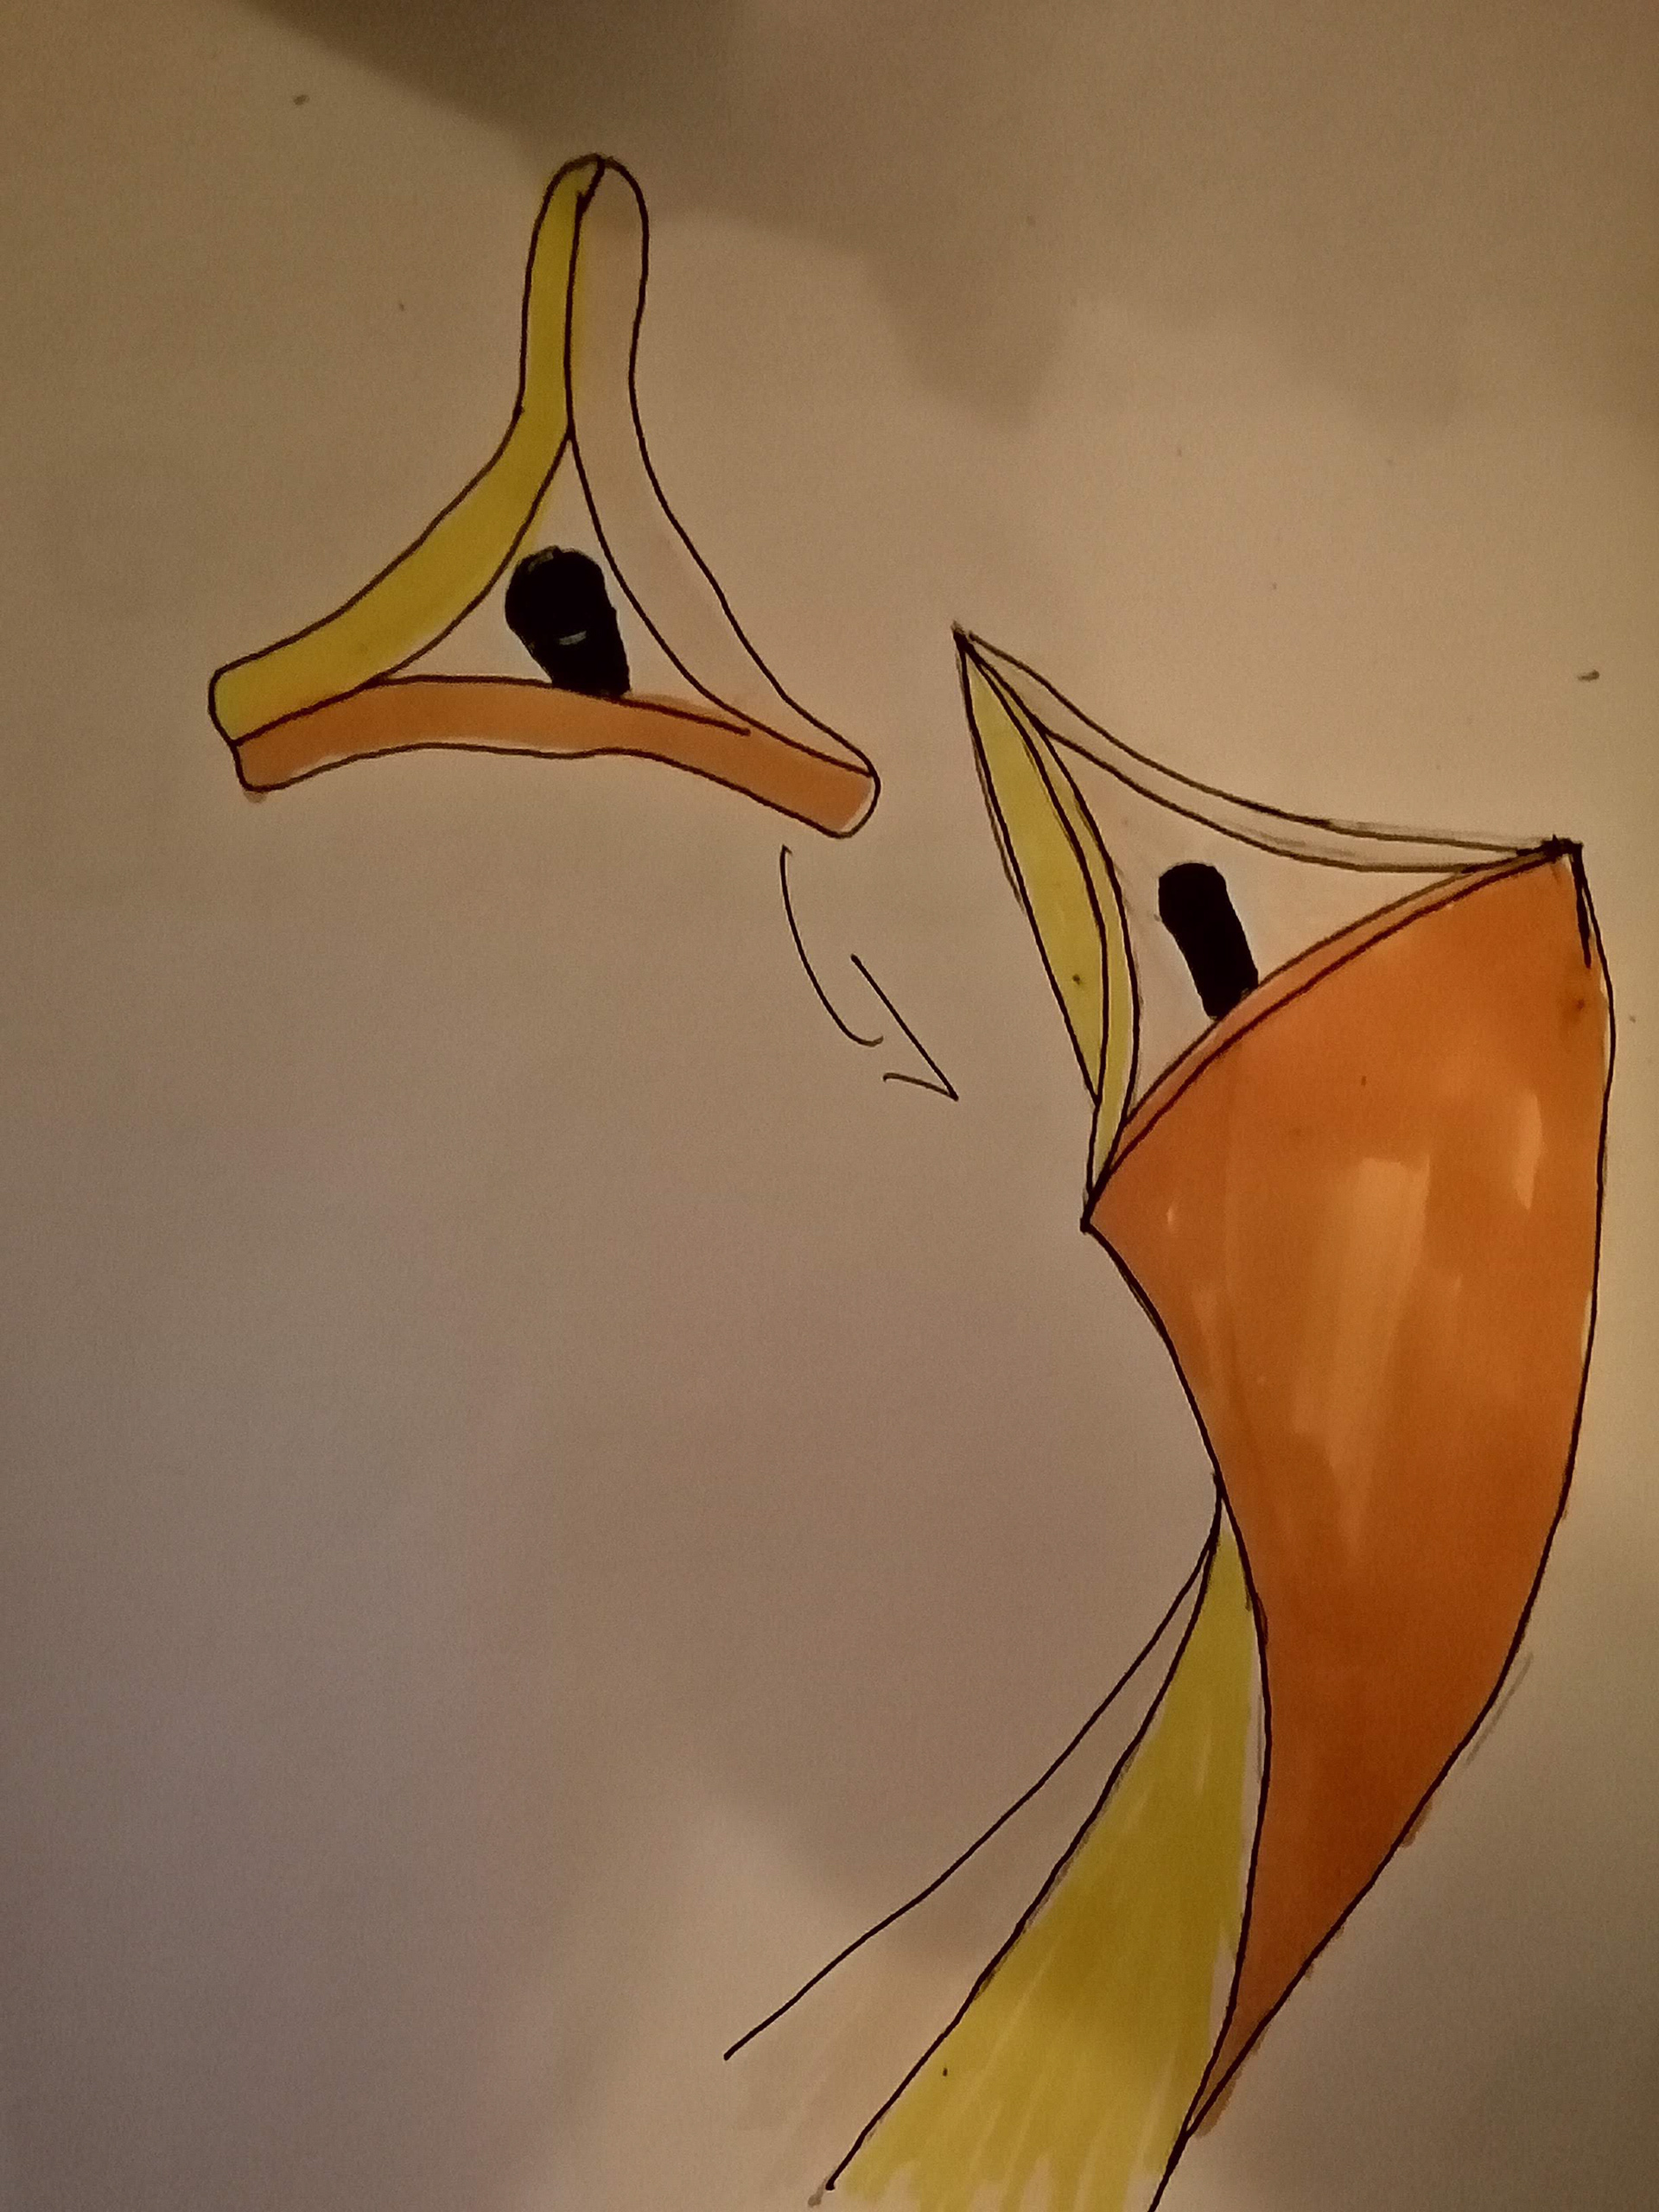
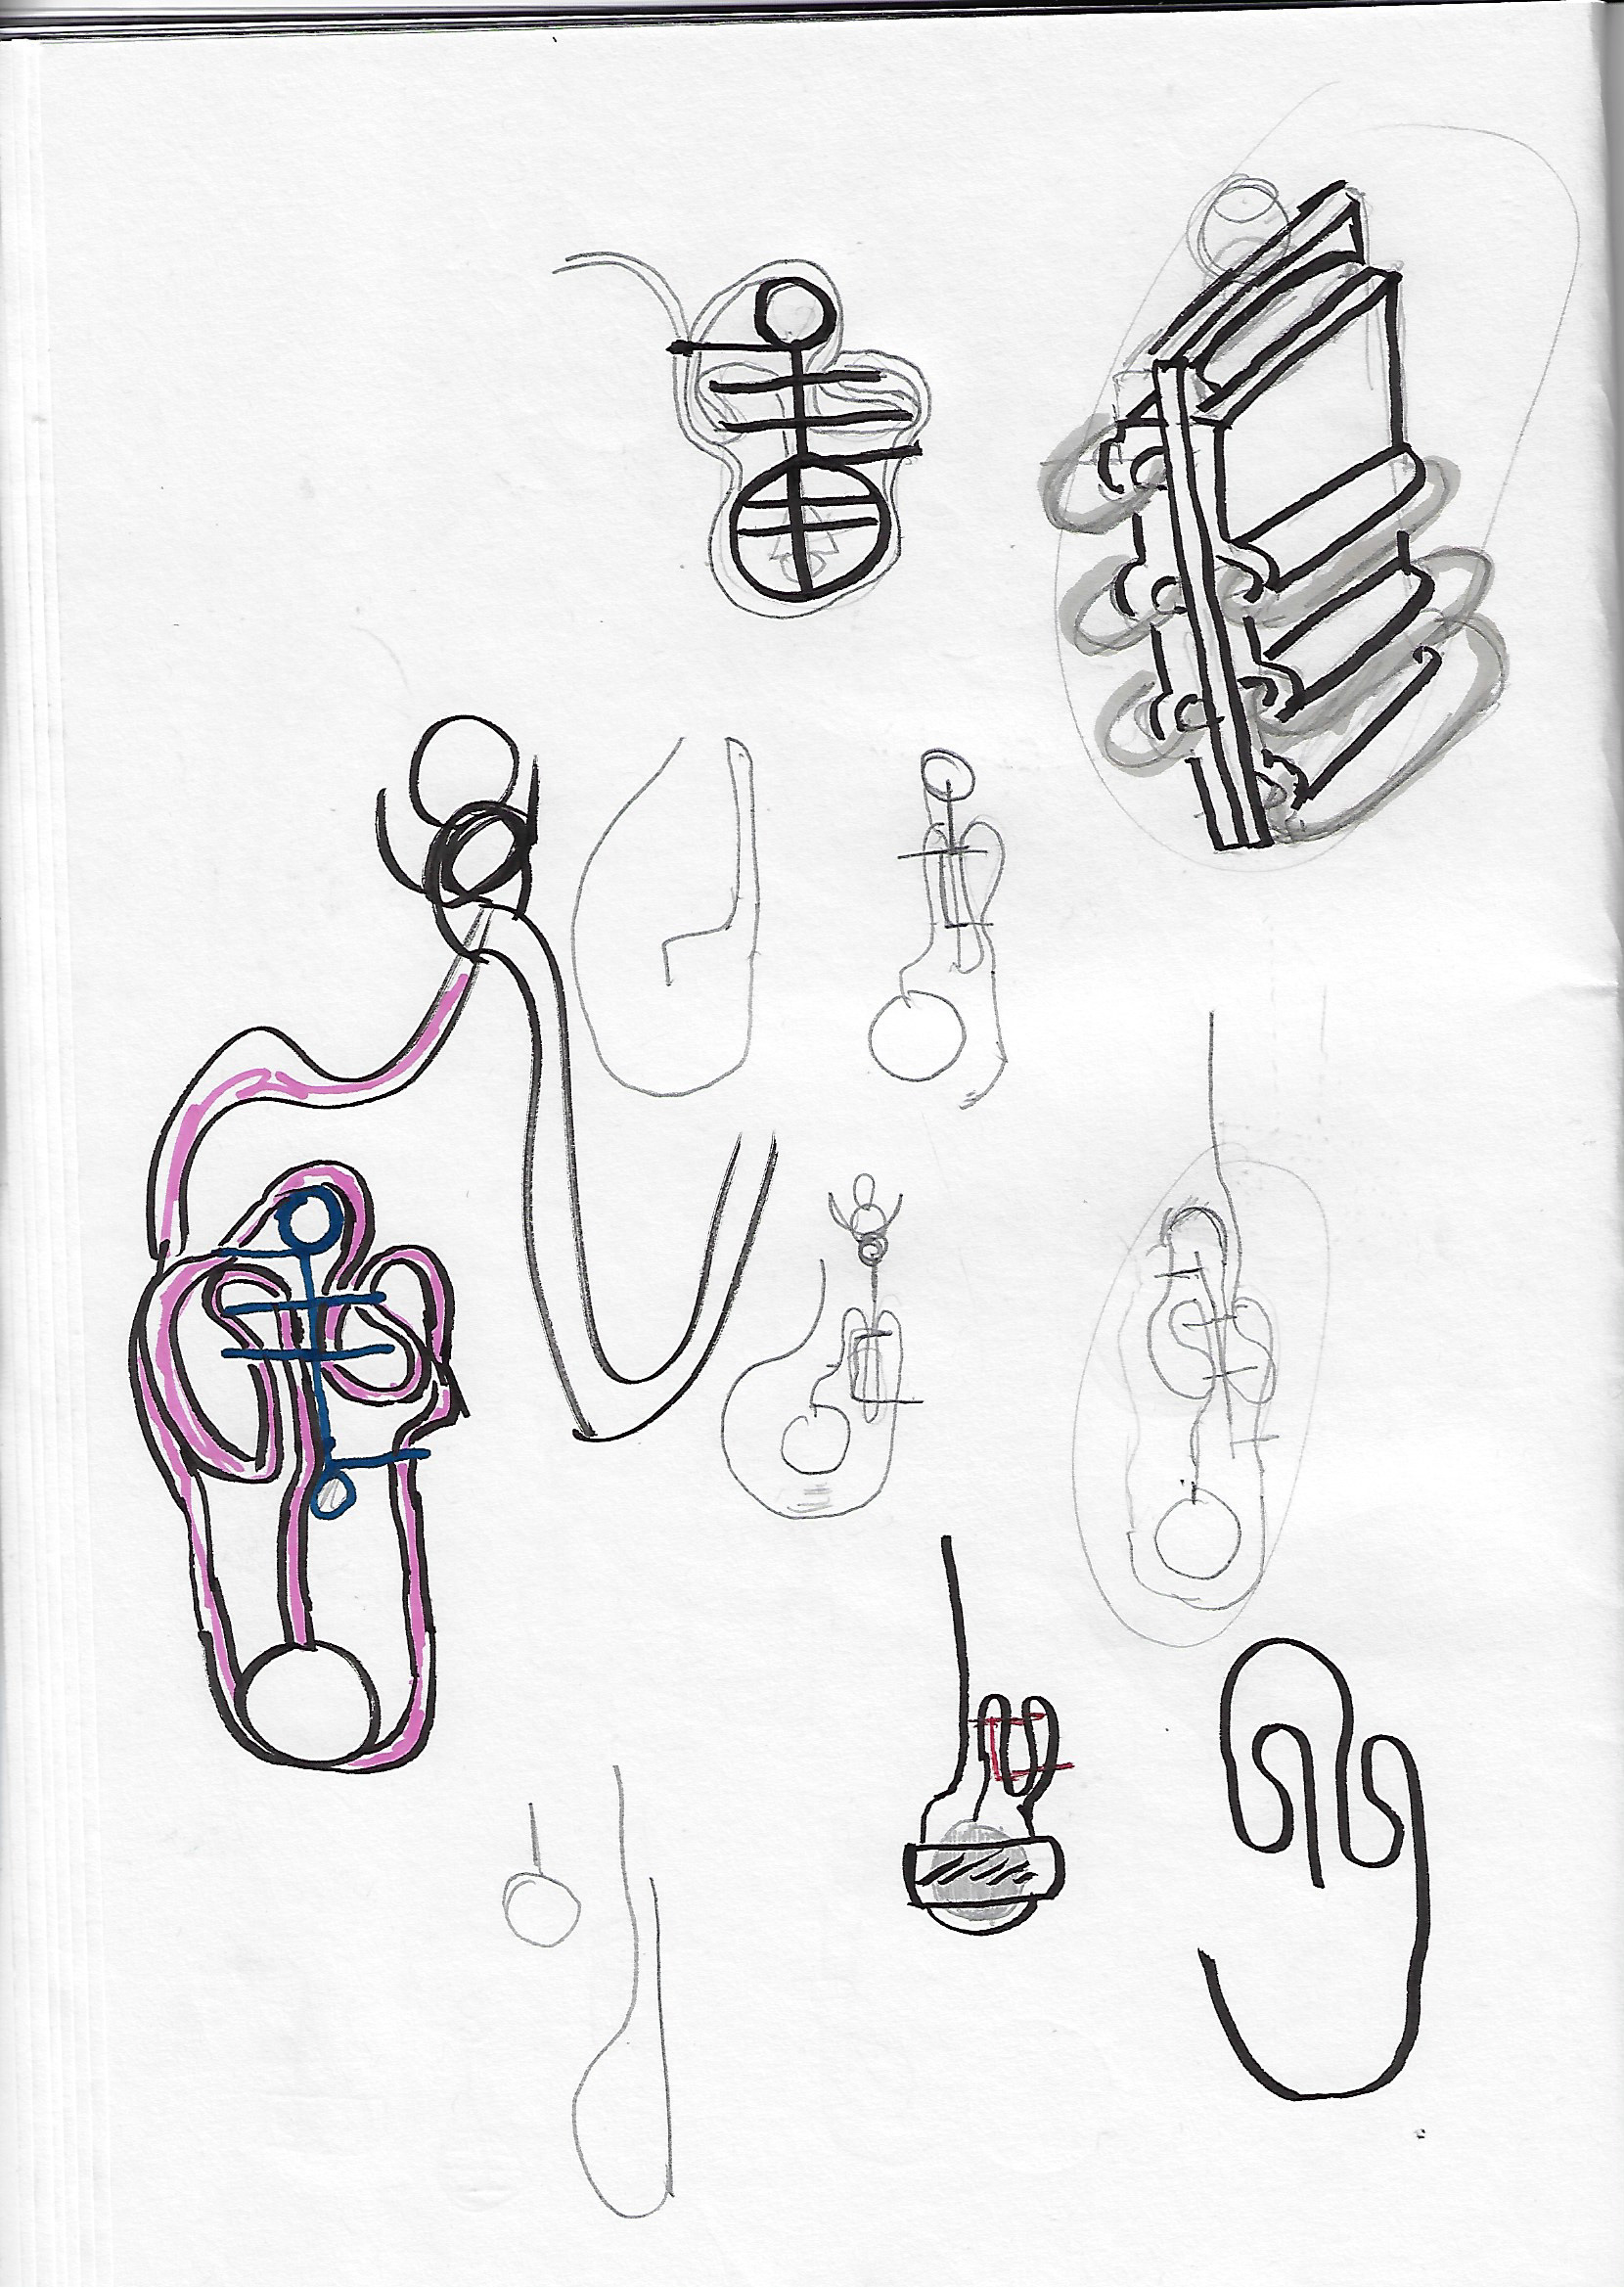
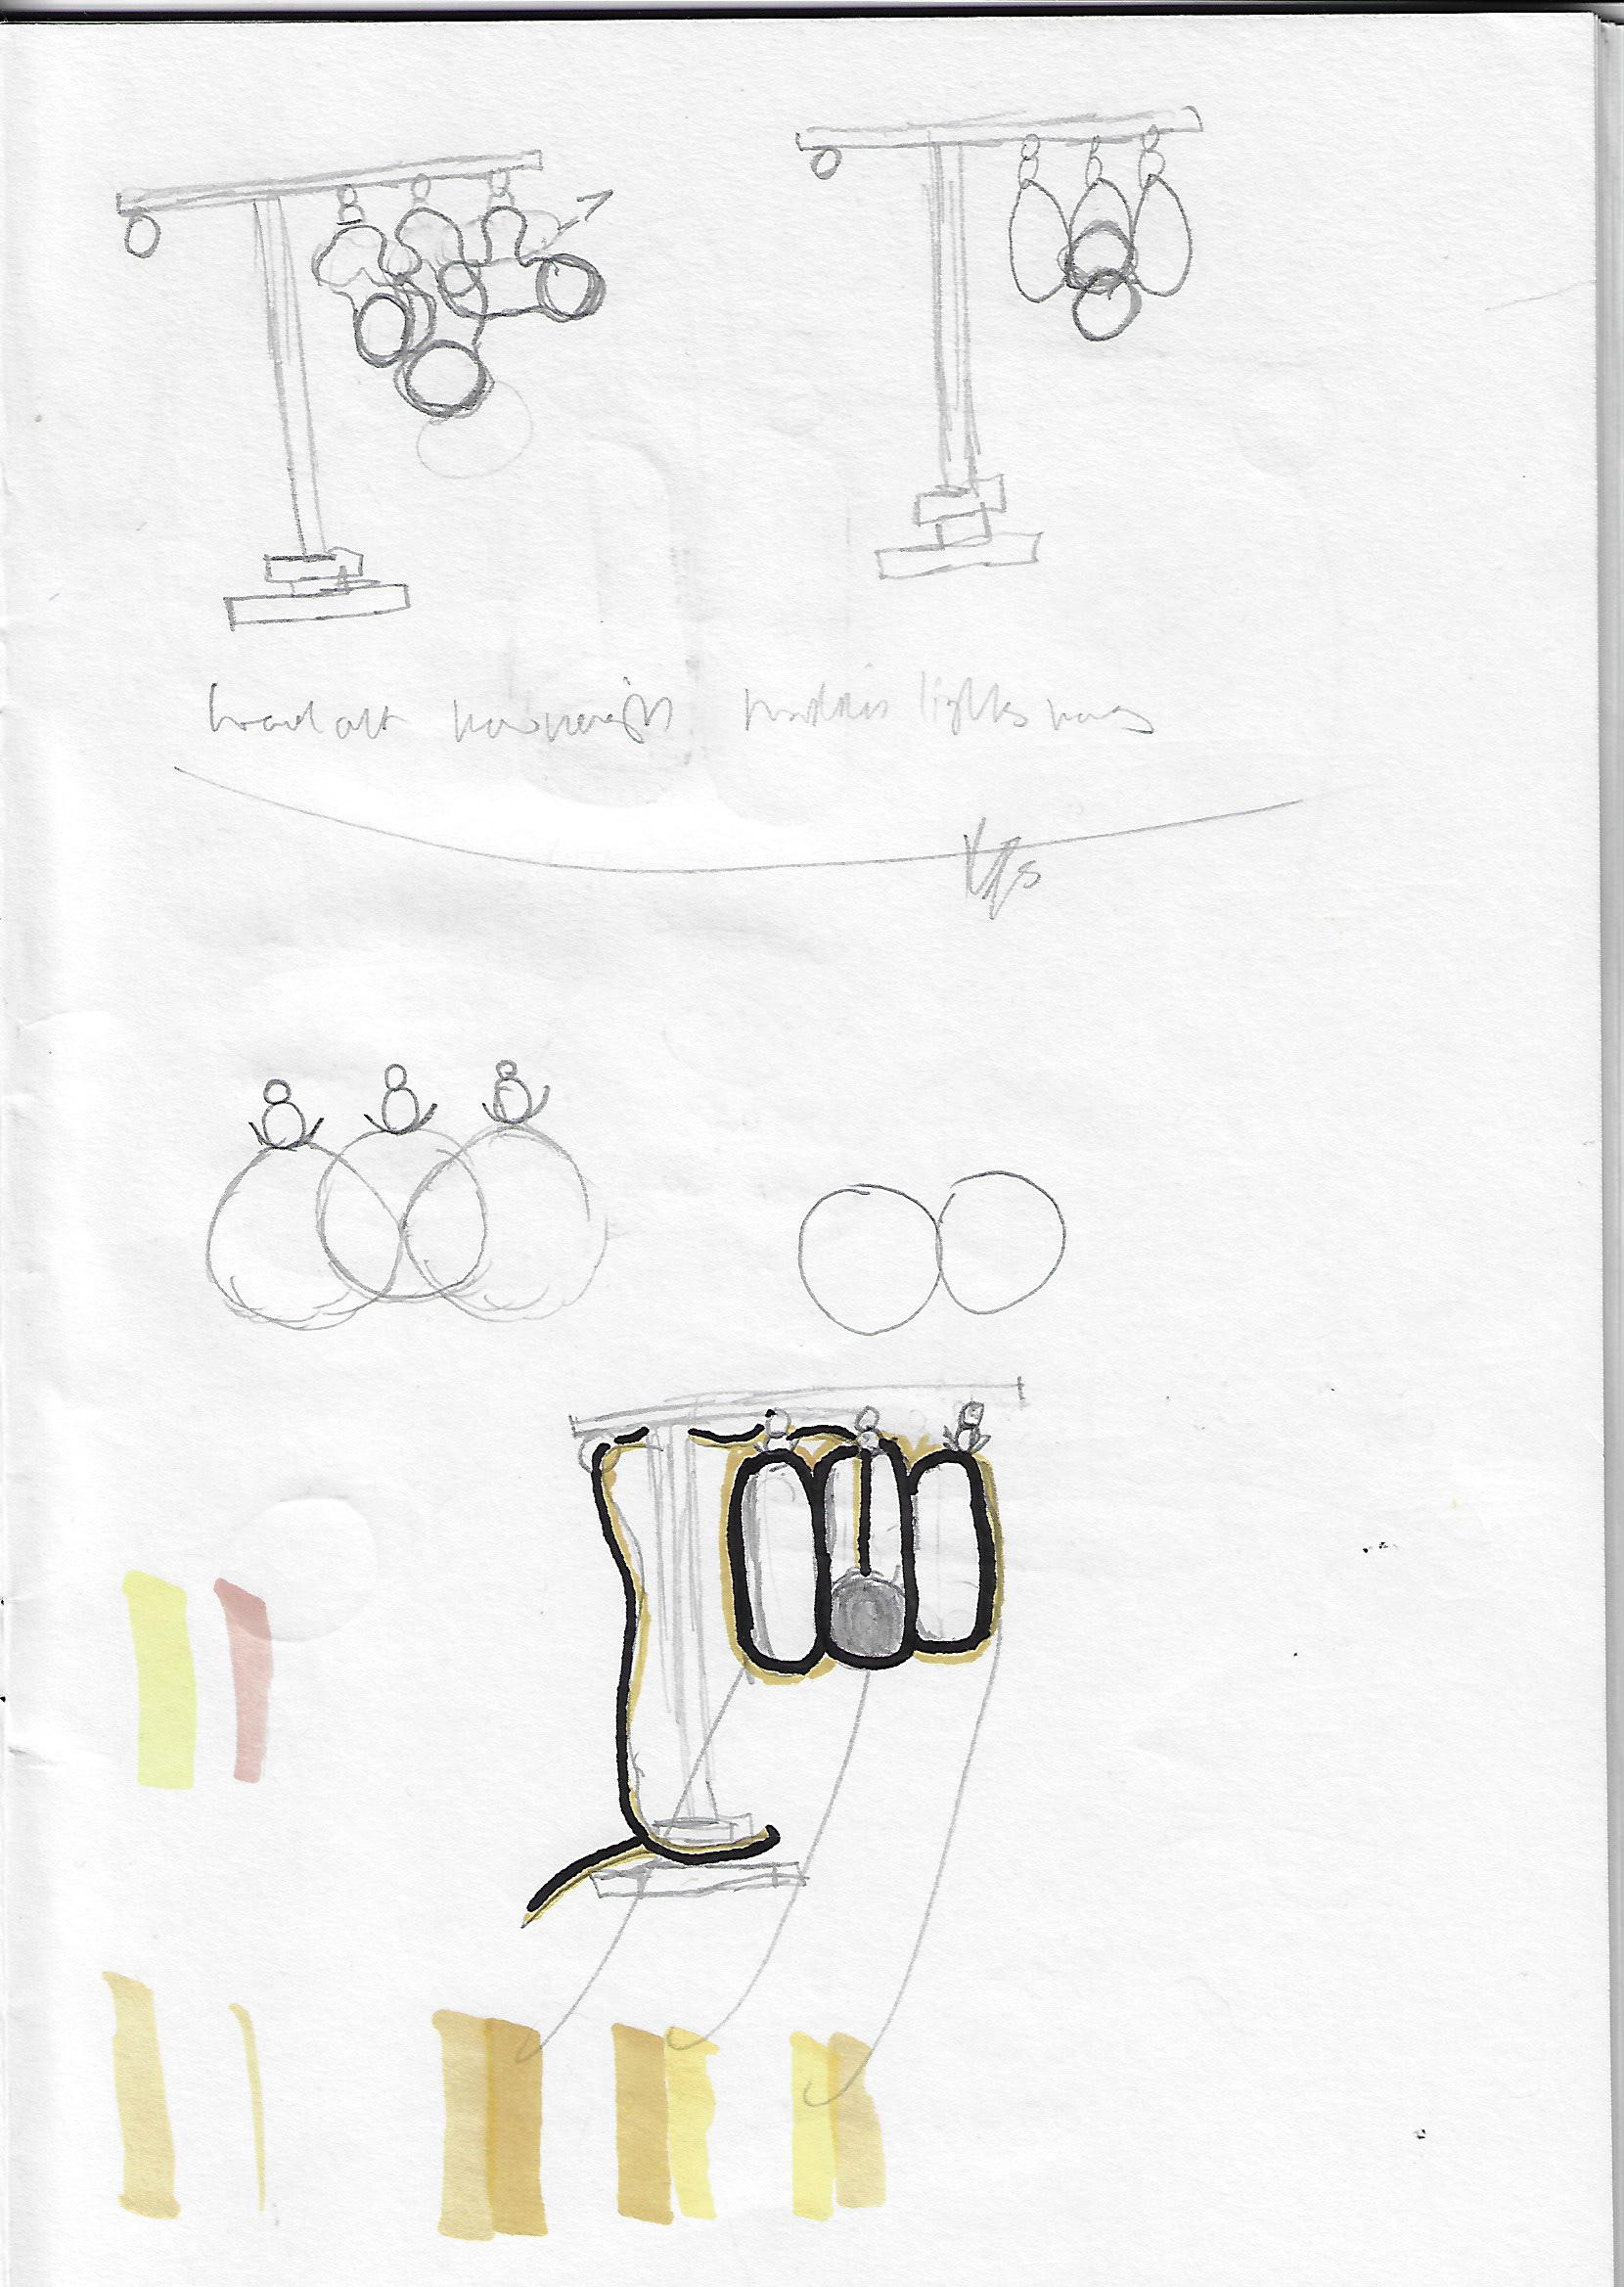
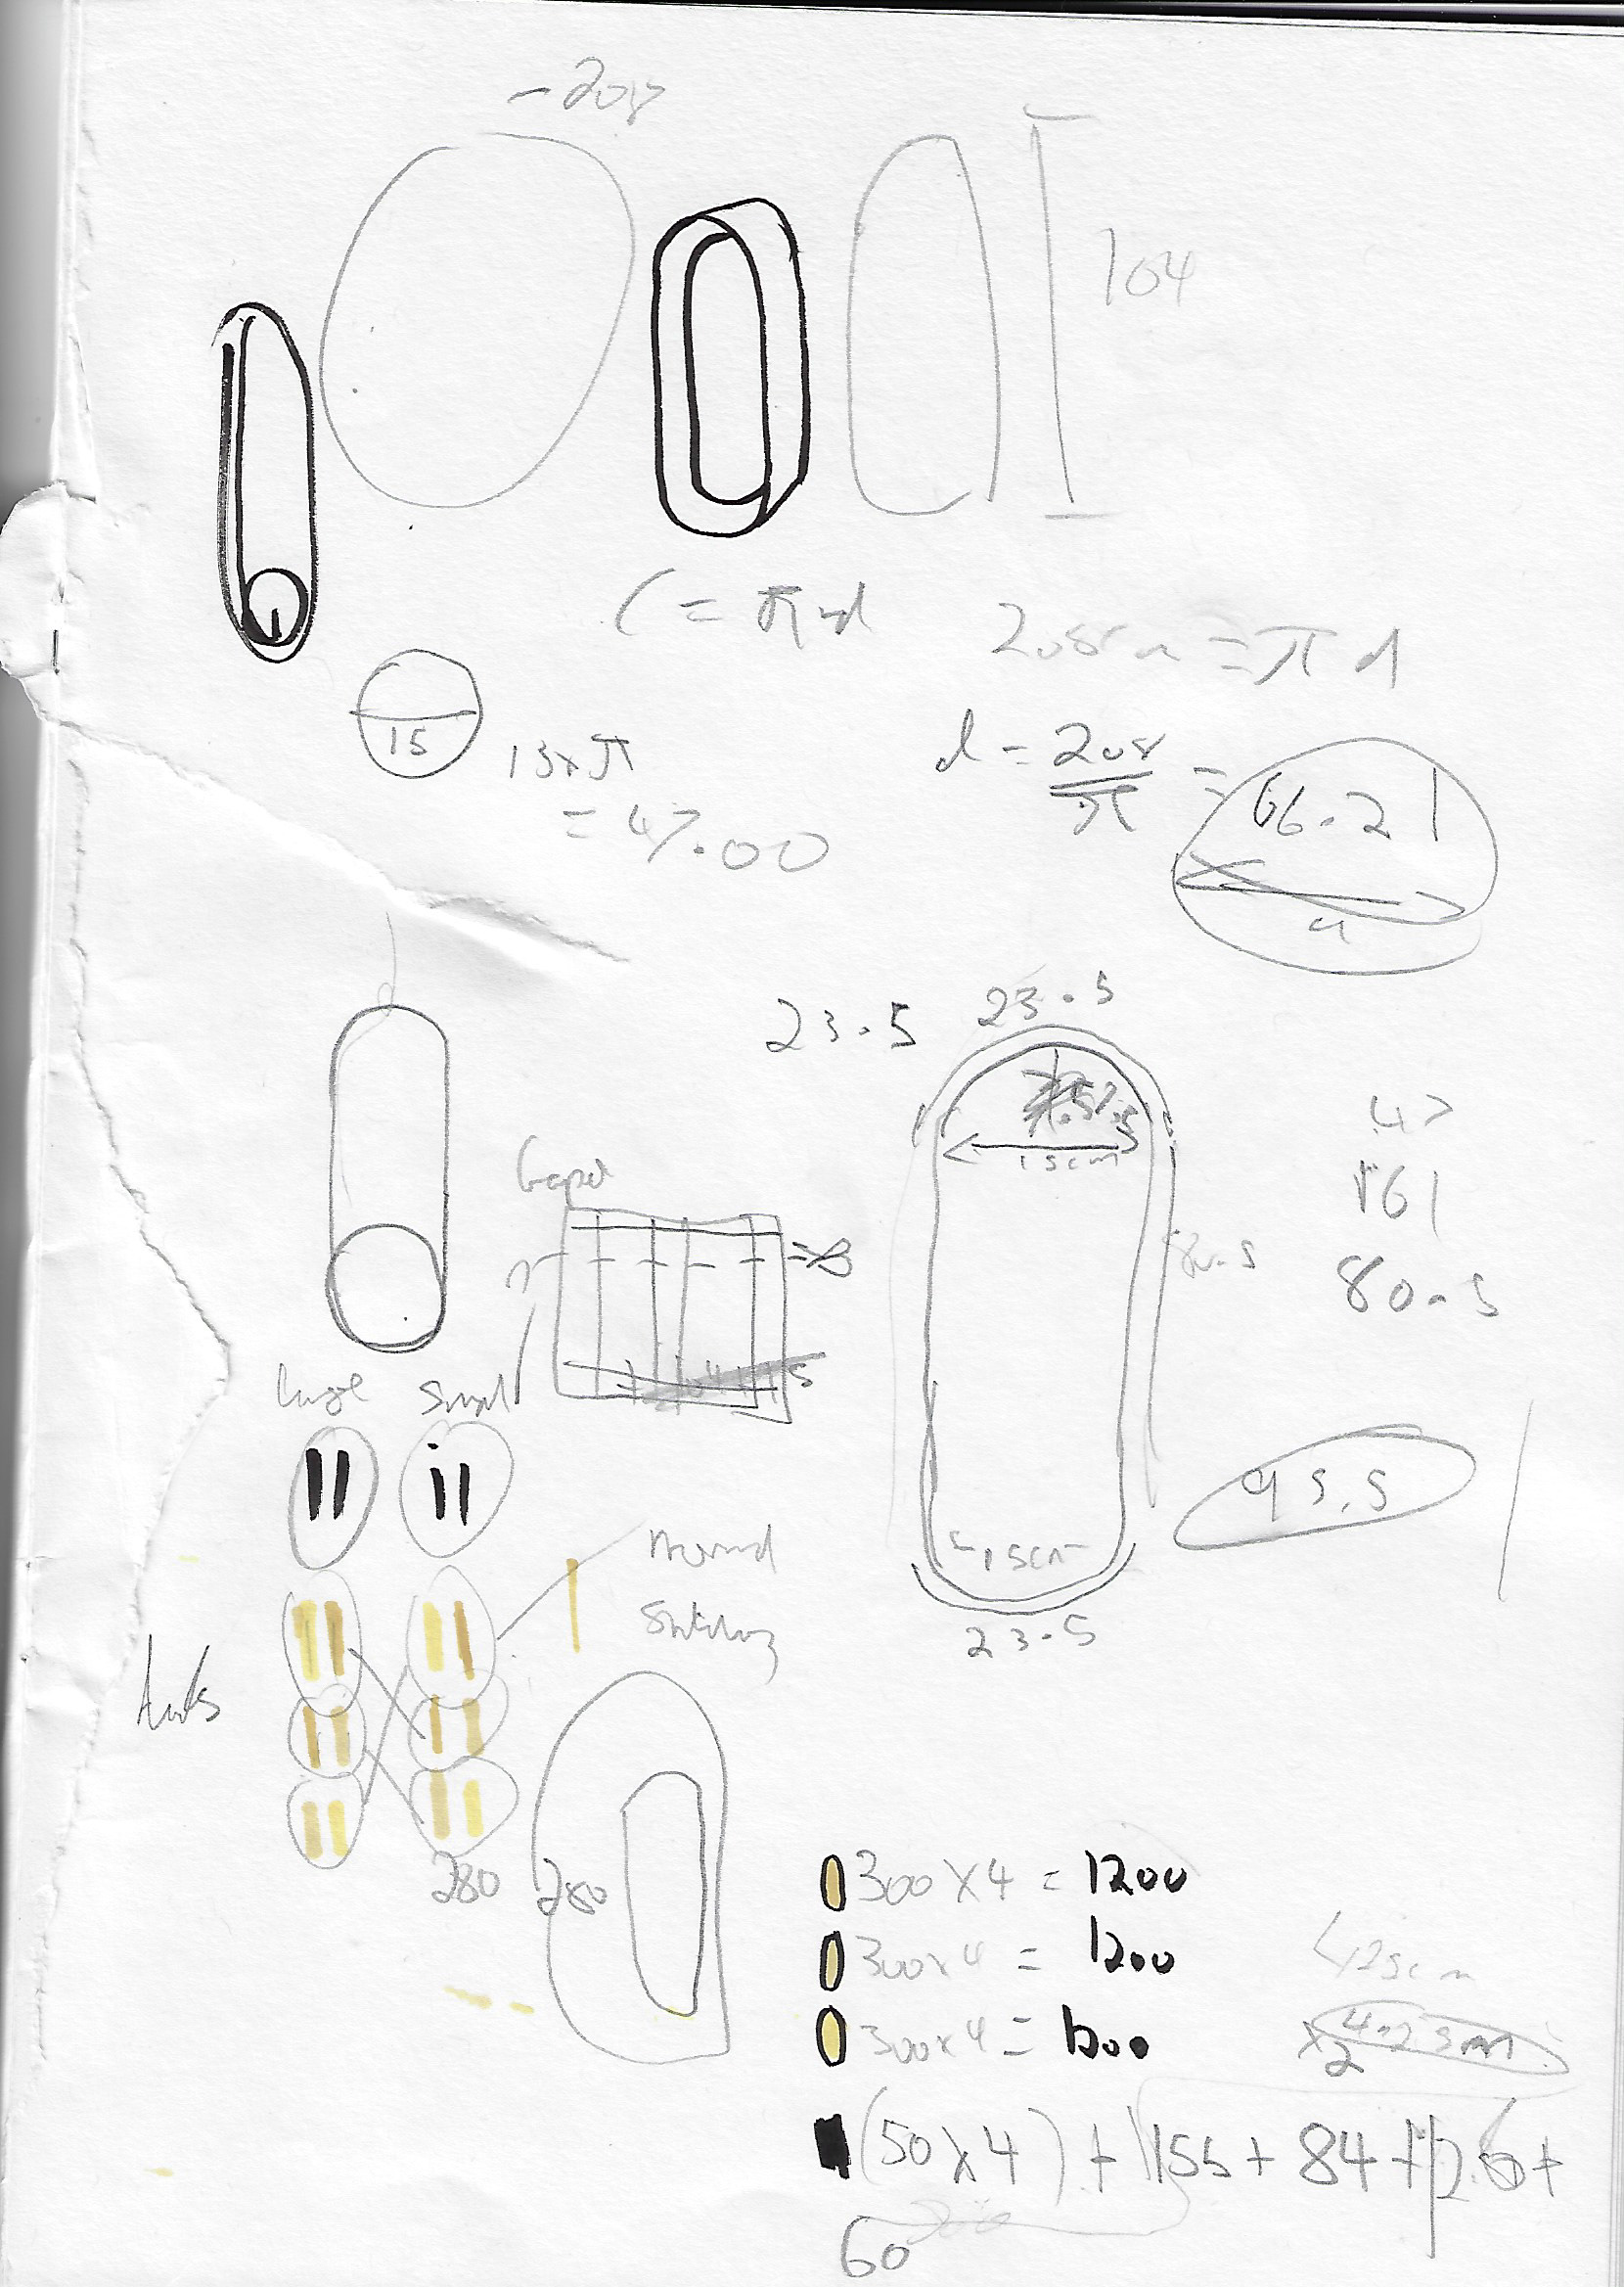
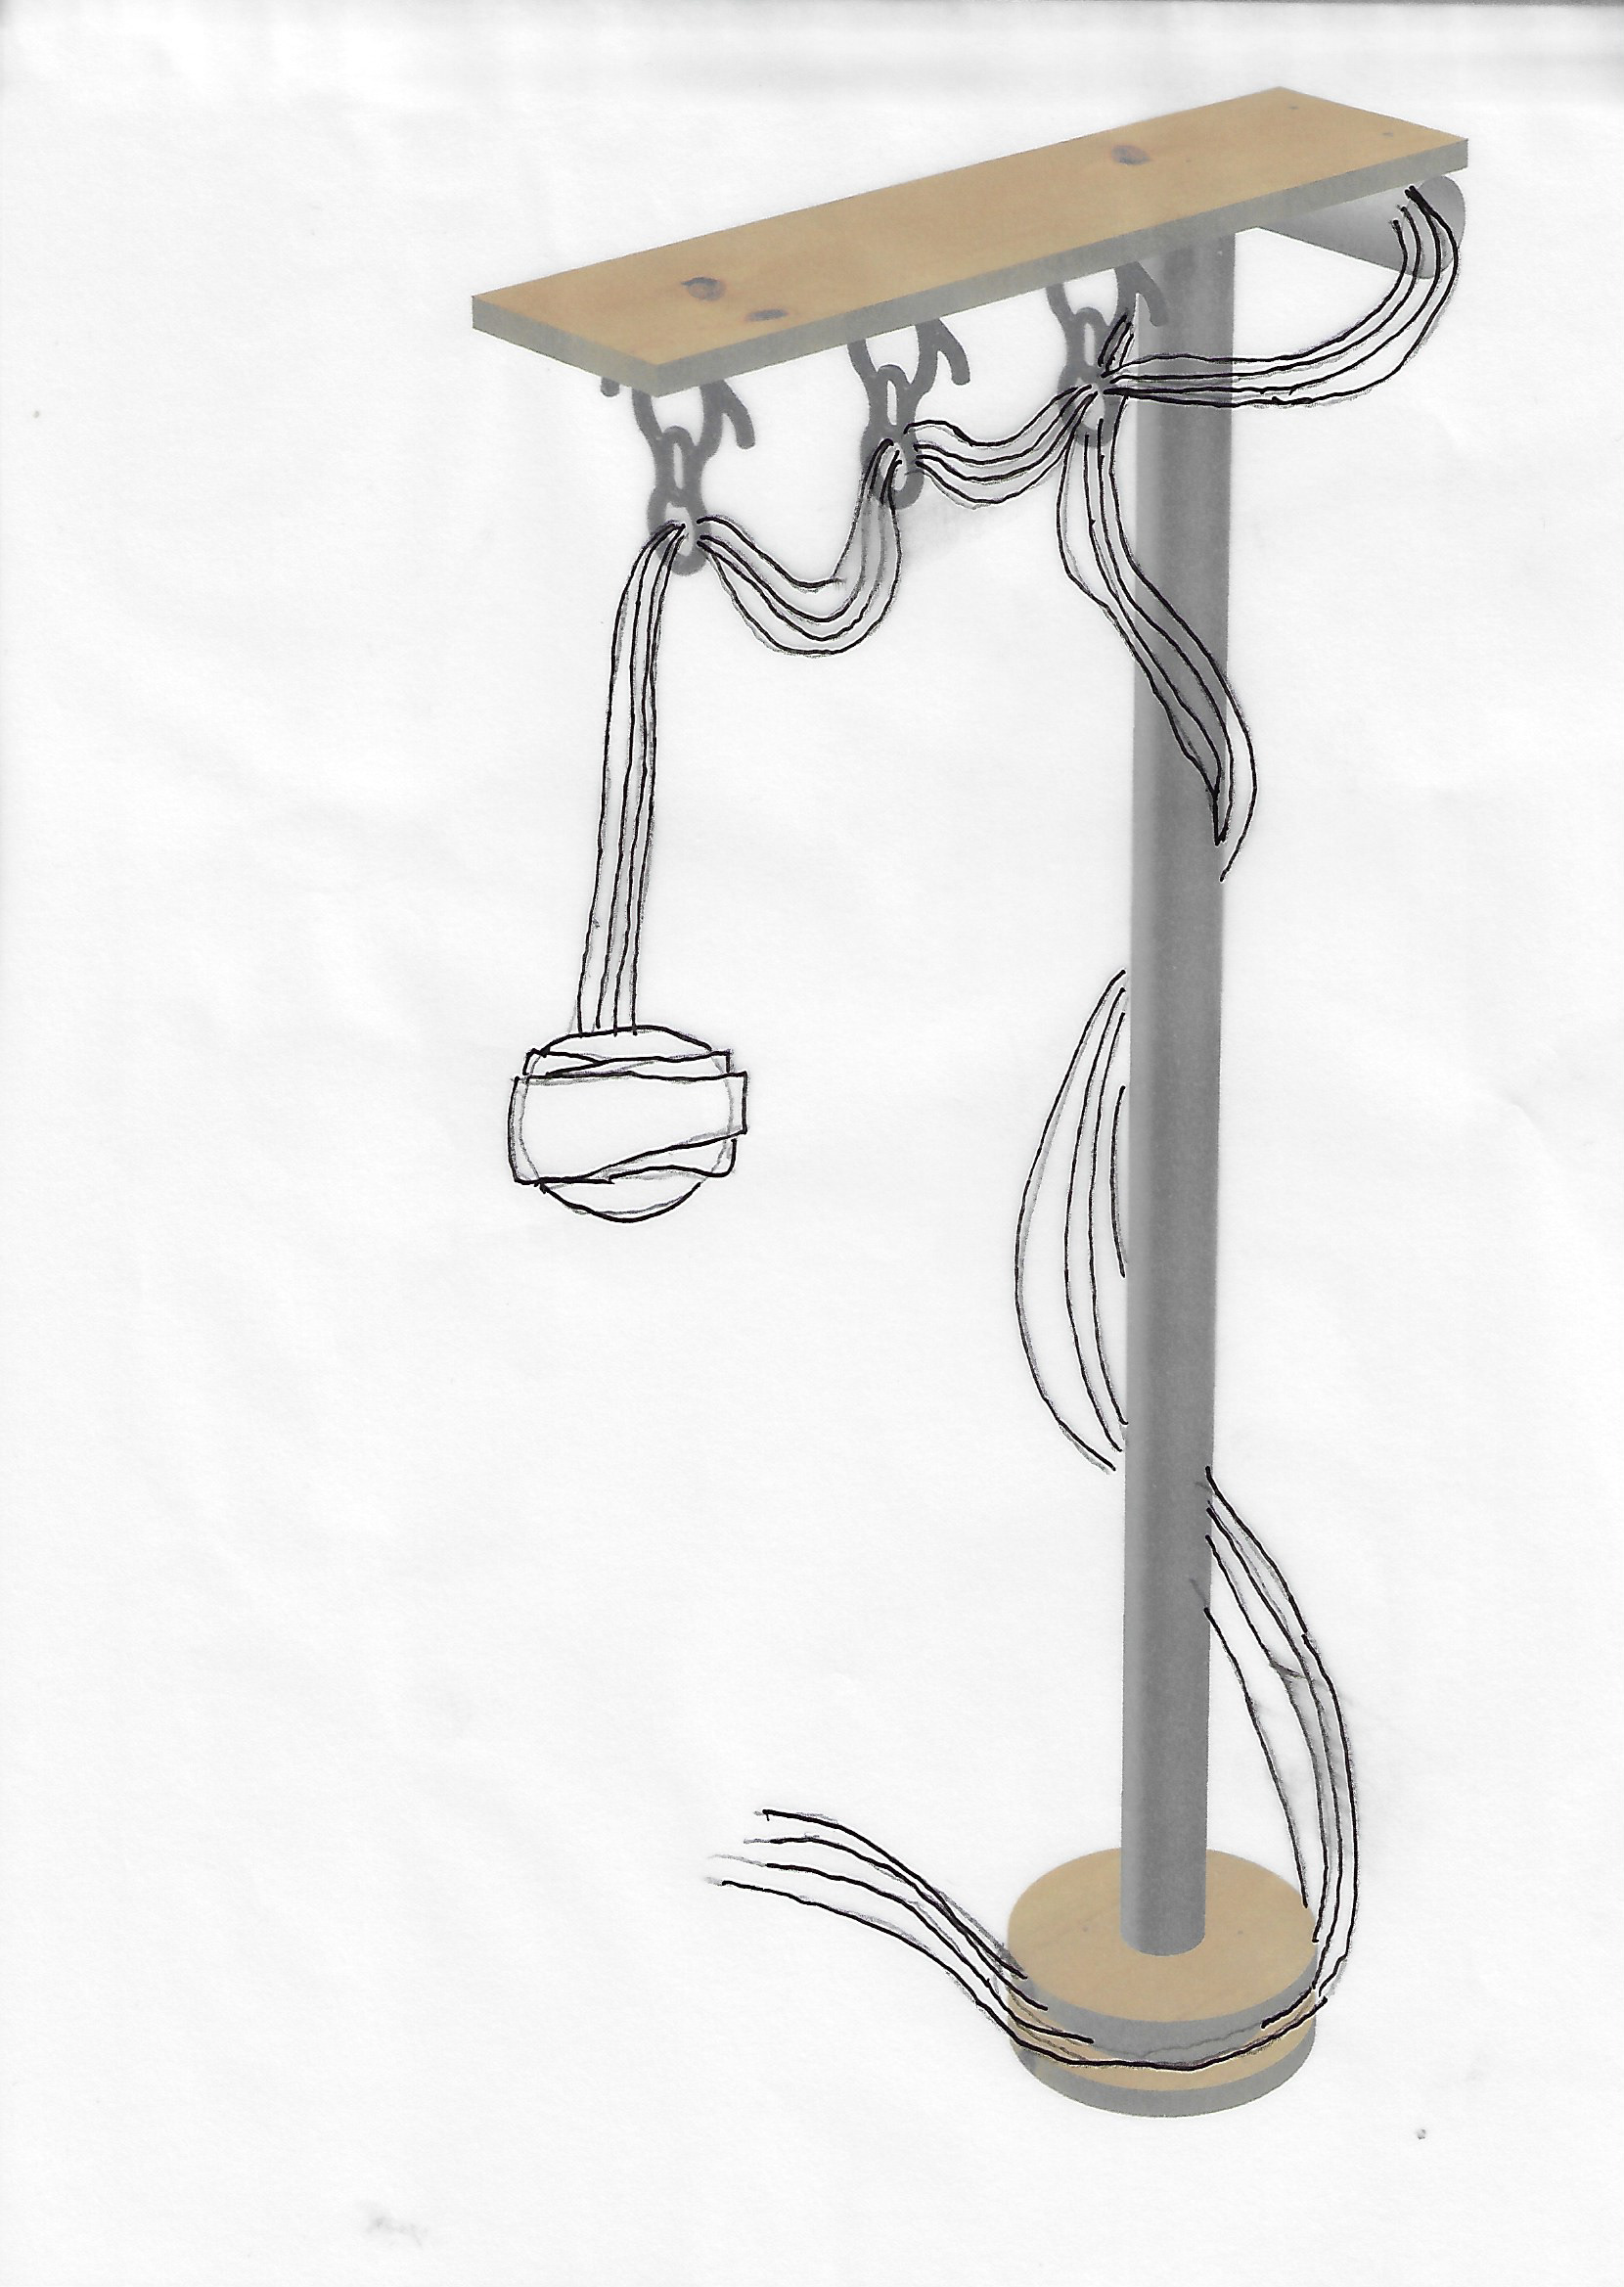
Above is how the gymnasts or performers measure their fabric and on the right is the figure which they wrap the fabric around to make everything secure. I've applied the height calculation shown to a standing lamp height. Reason being is that since traffic light is part of the section I will make a light of some sort. the sketches below are me trying to figure what frame the bulb protector should be. I went with a sphere idea because it seemed to be the best suited in what I was trying to achieve.
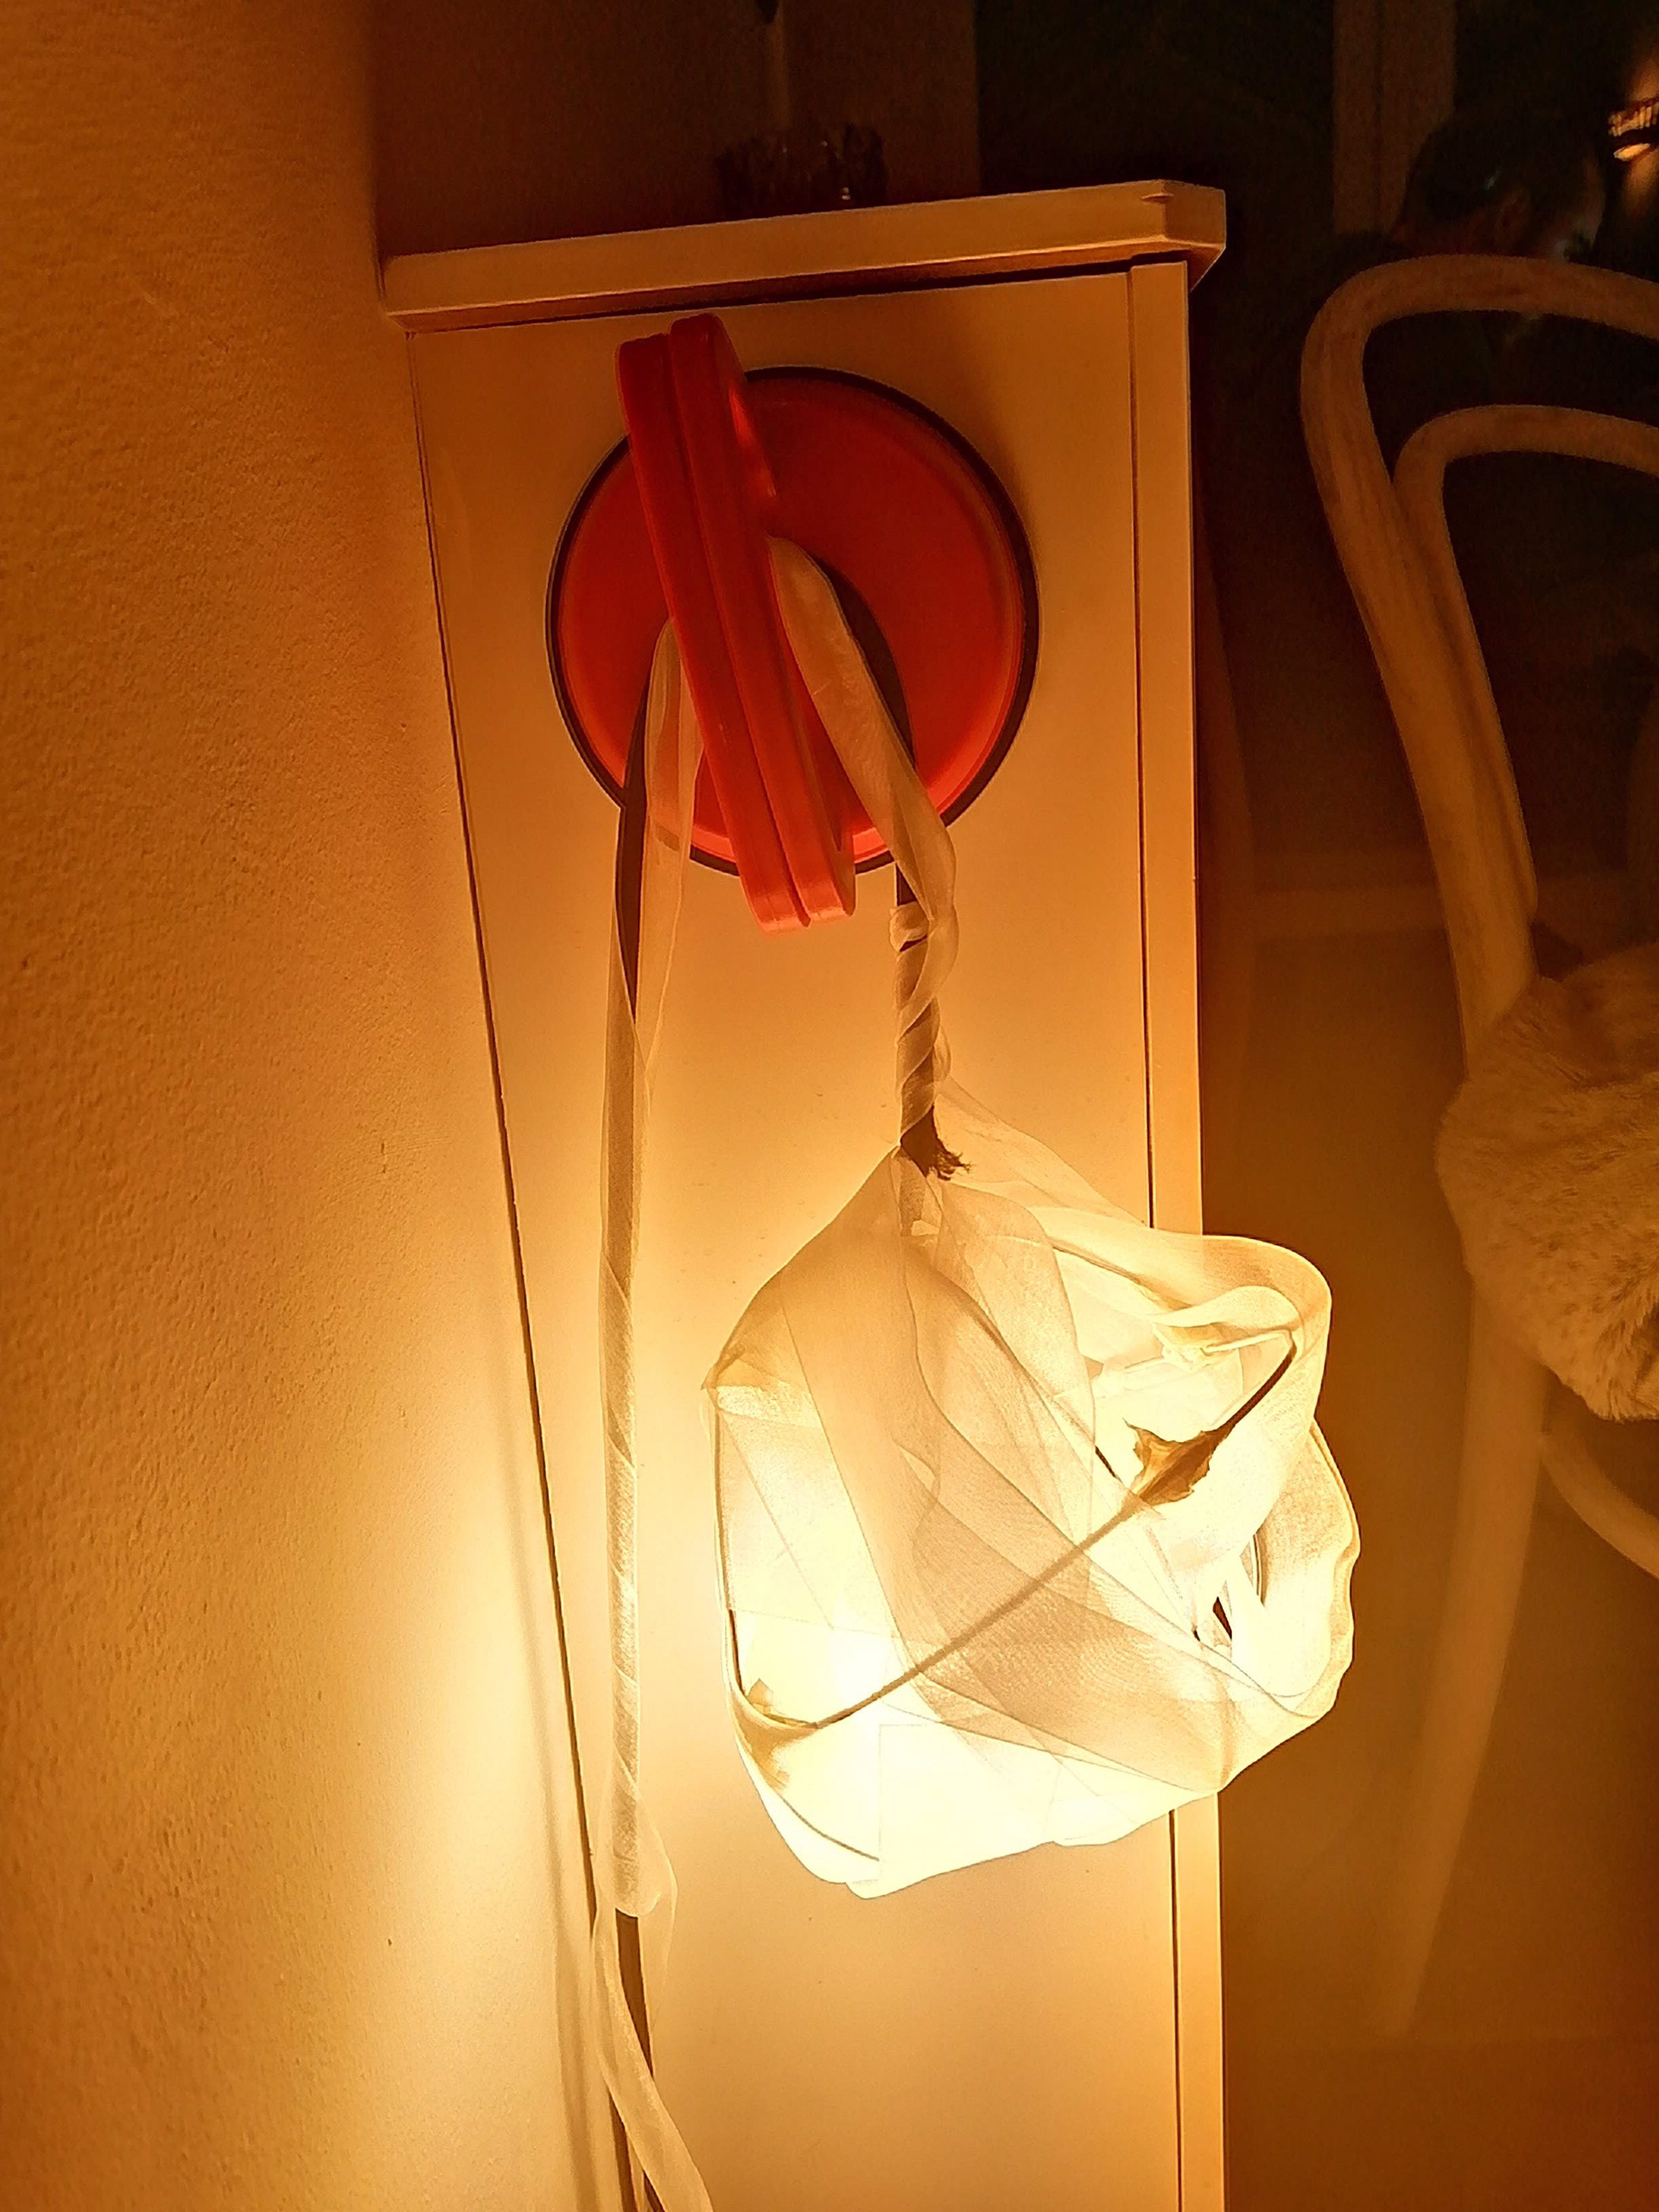
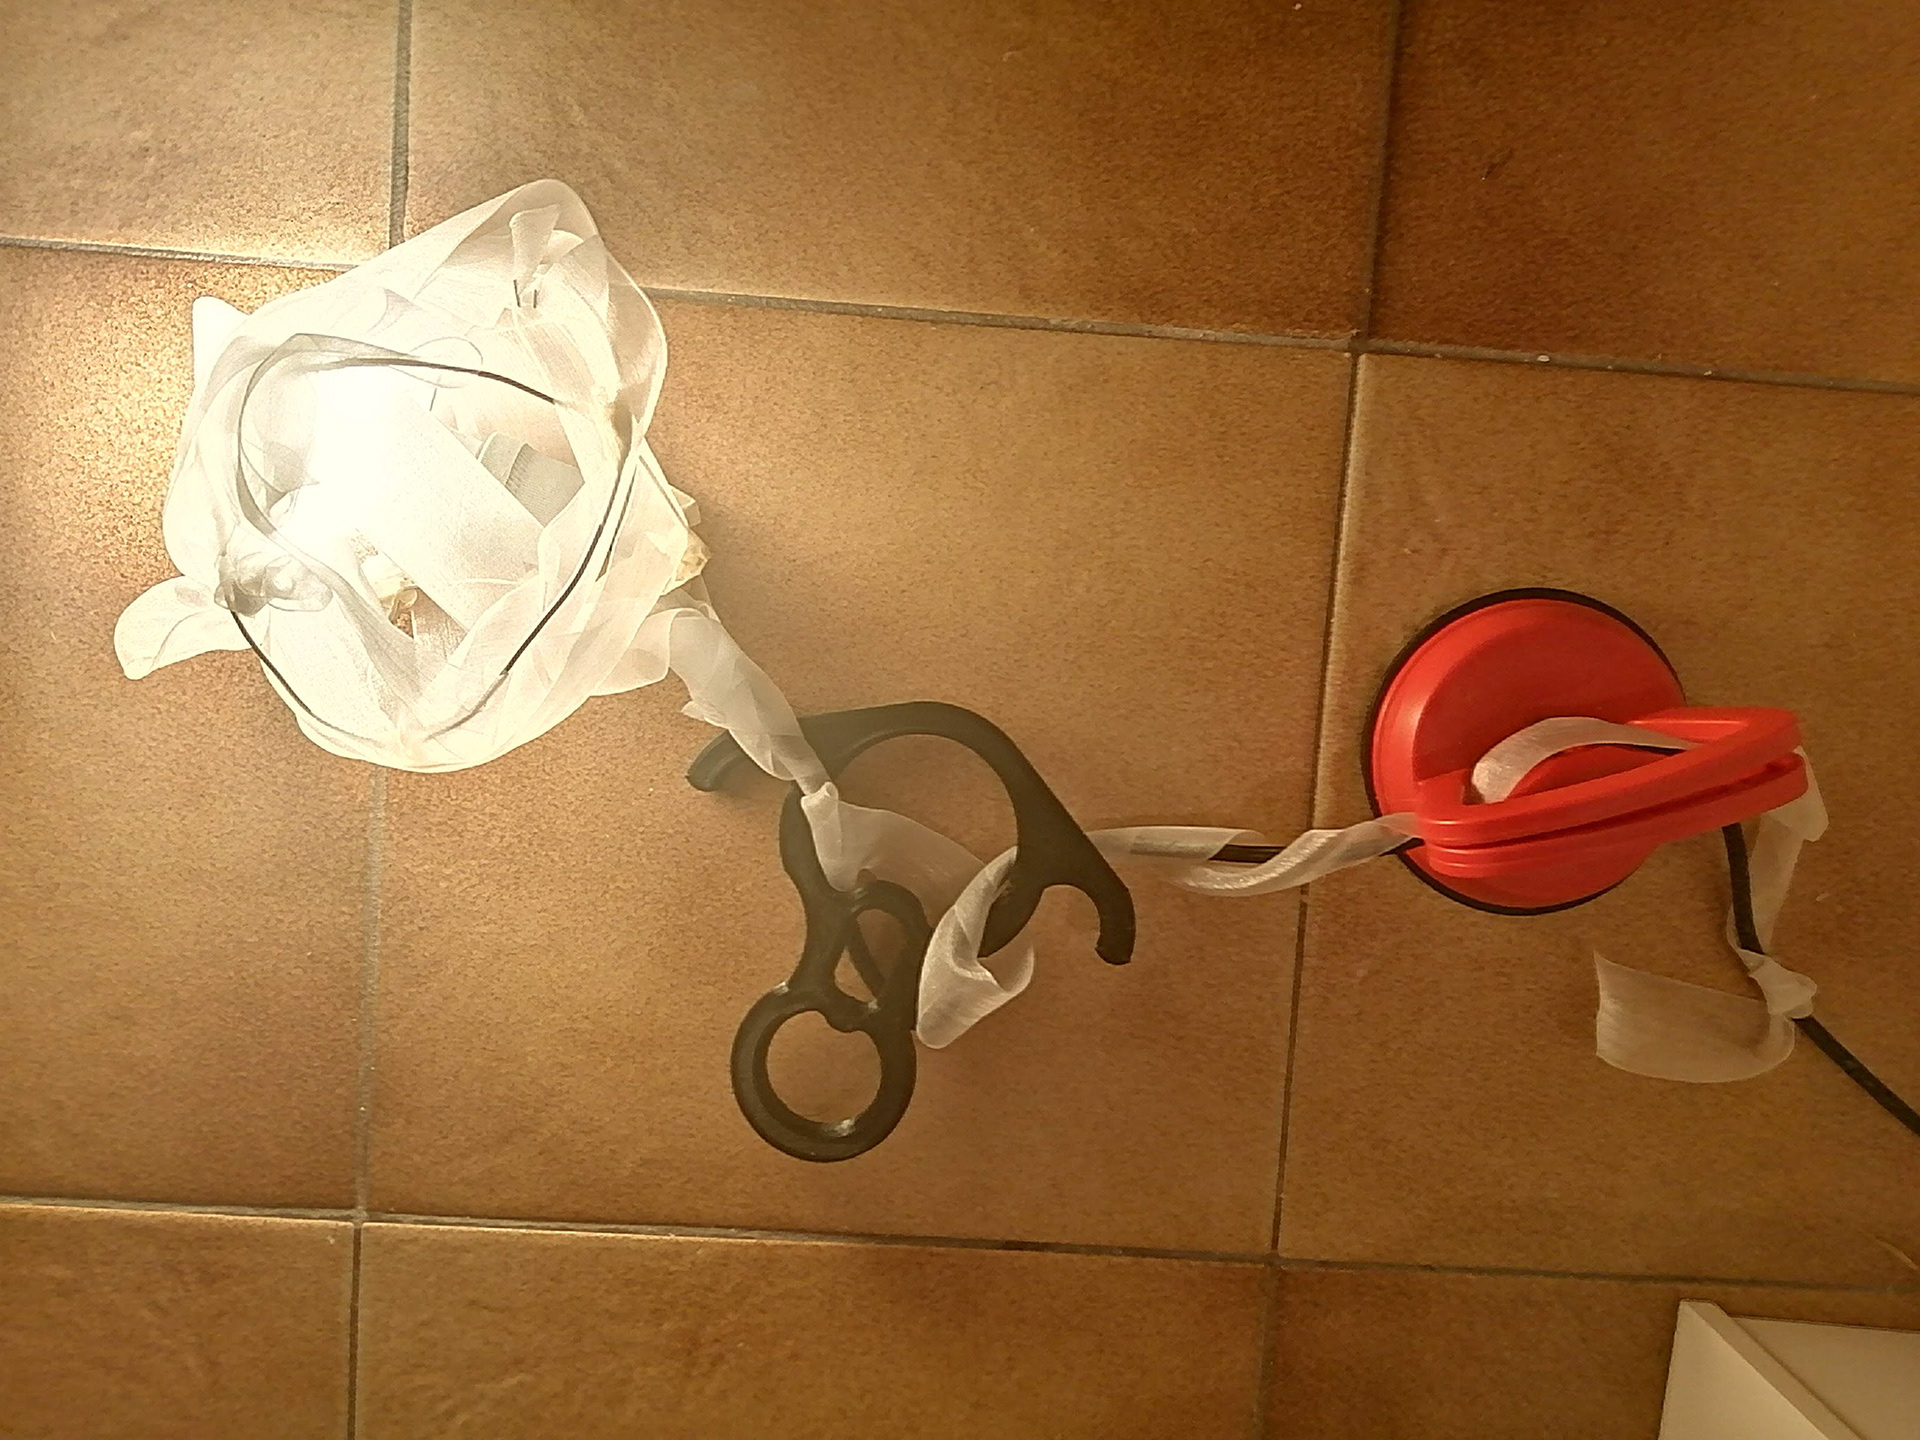
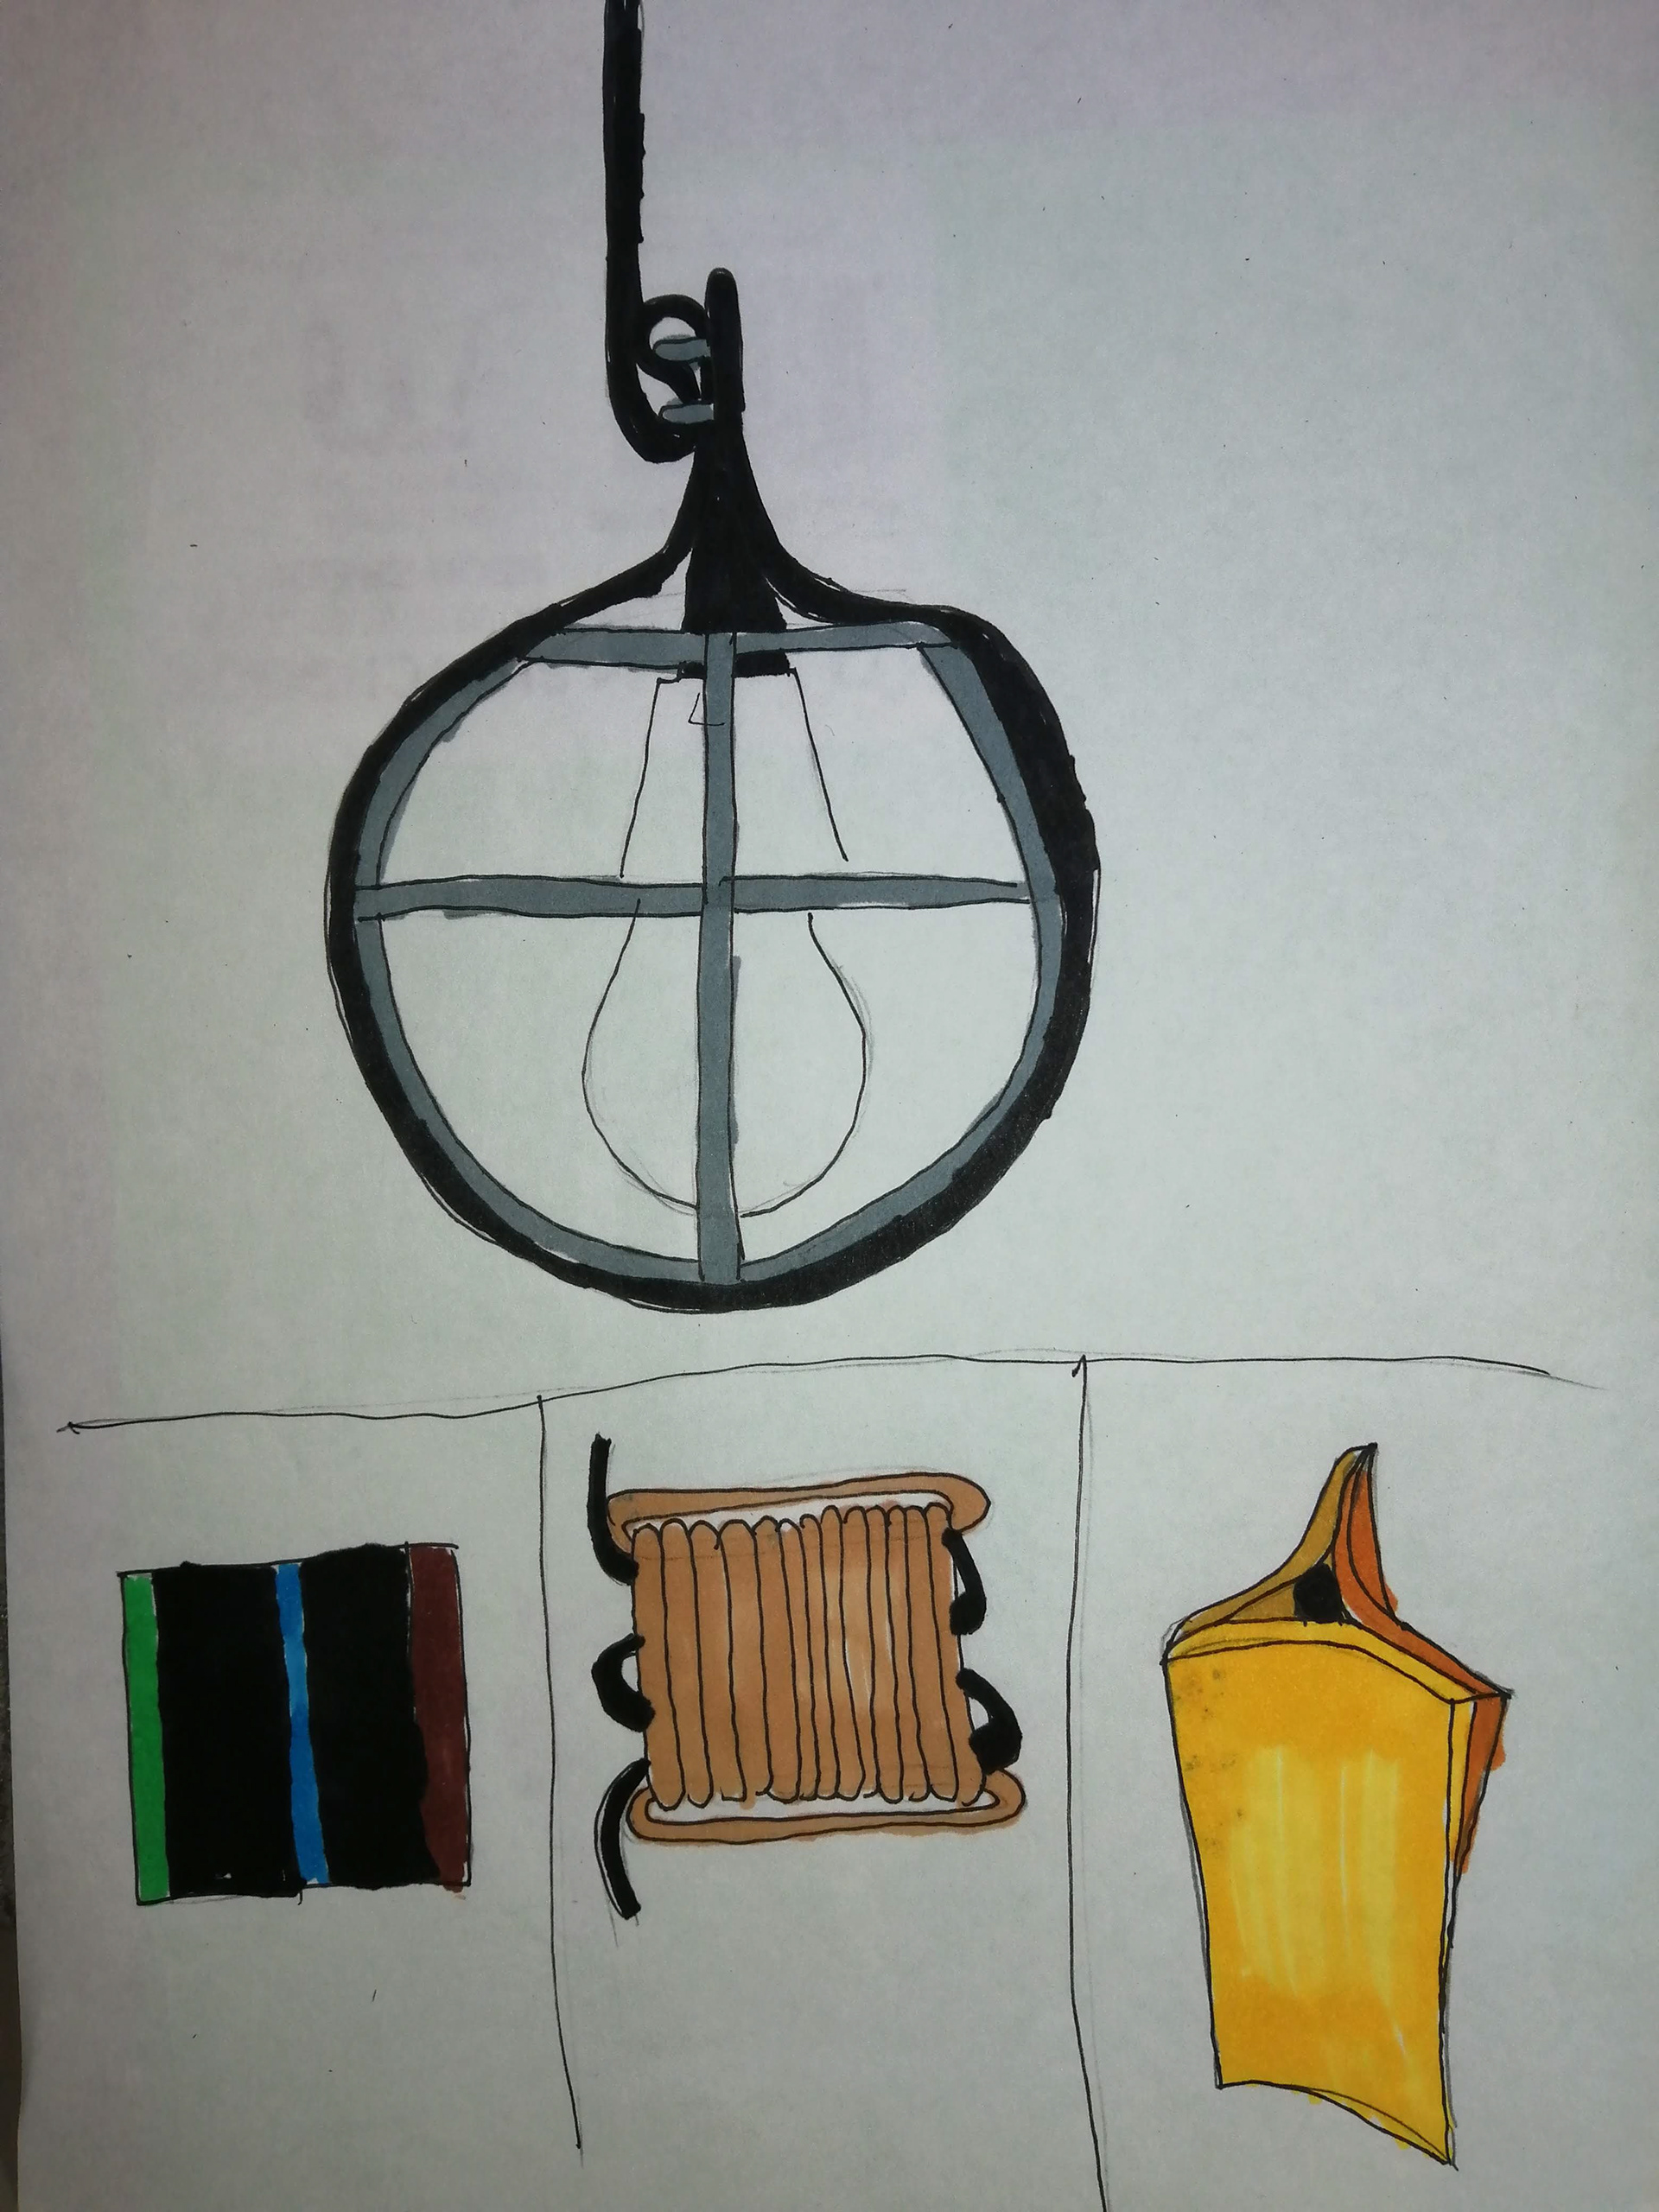
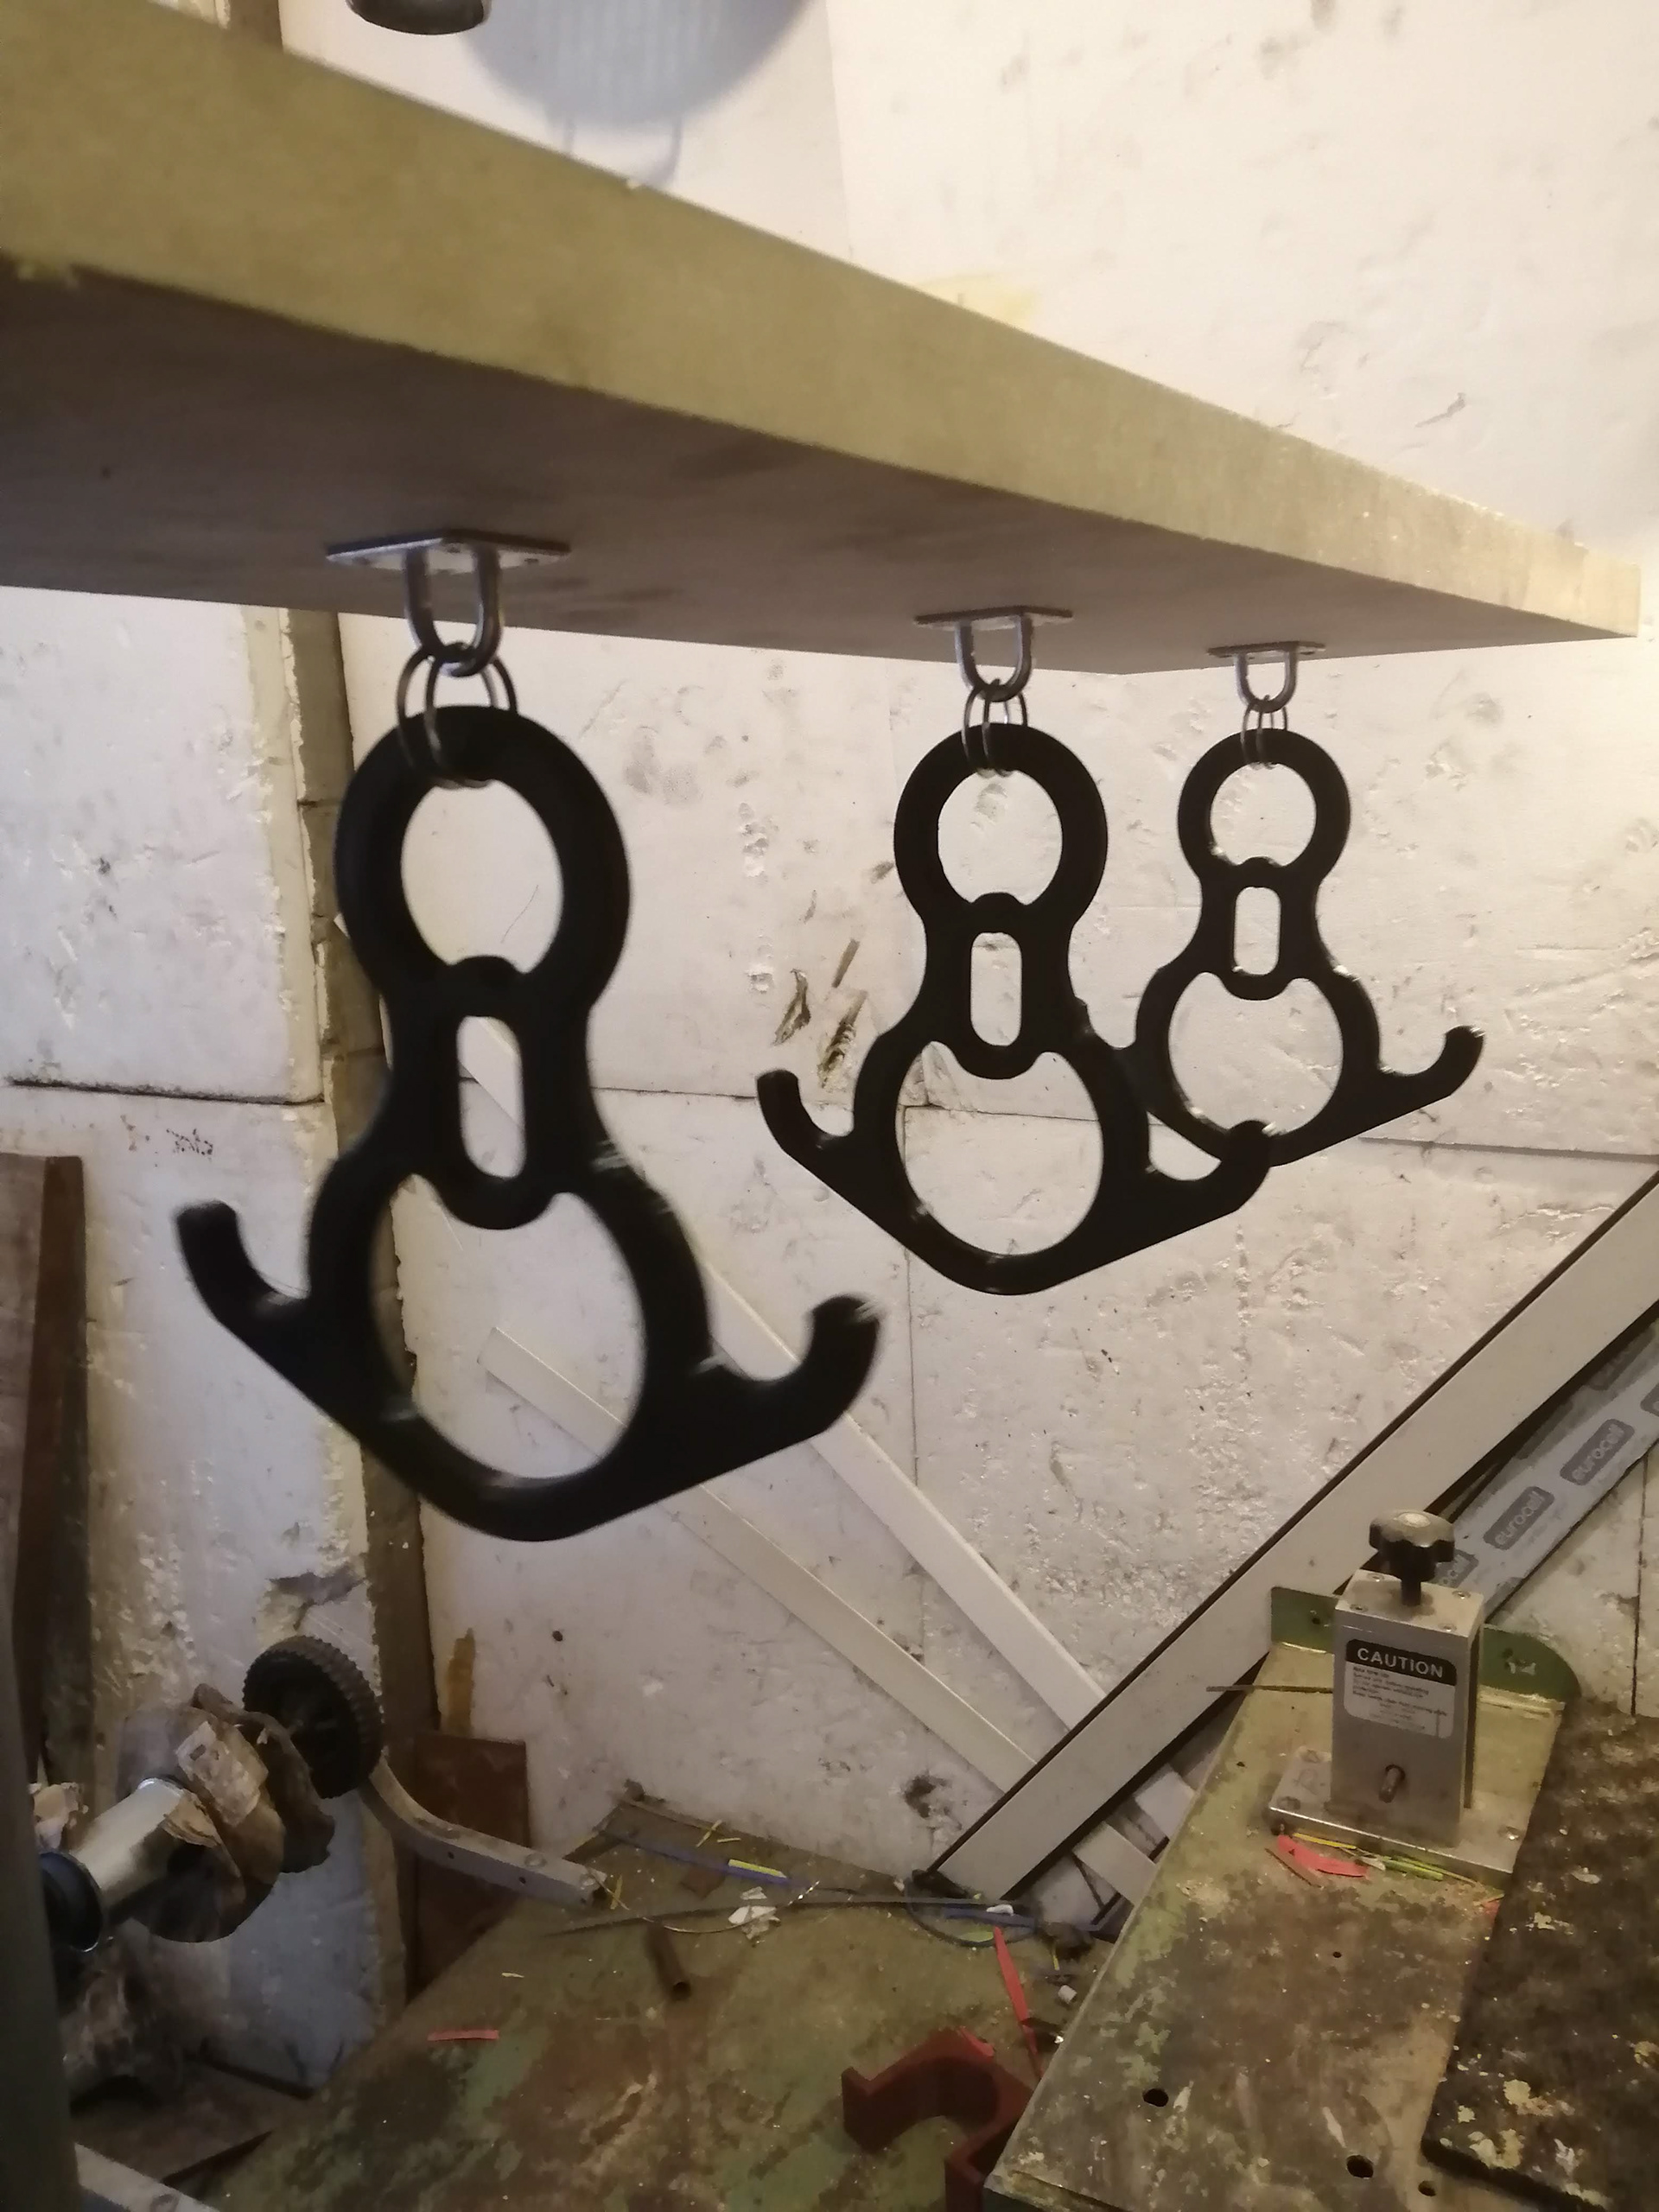
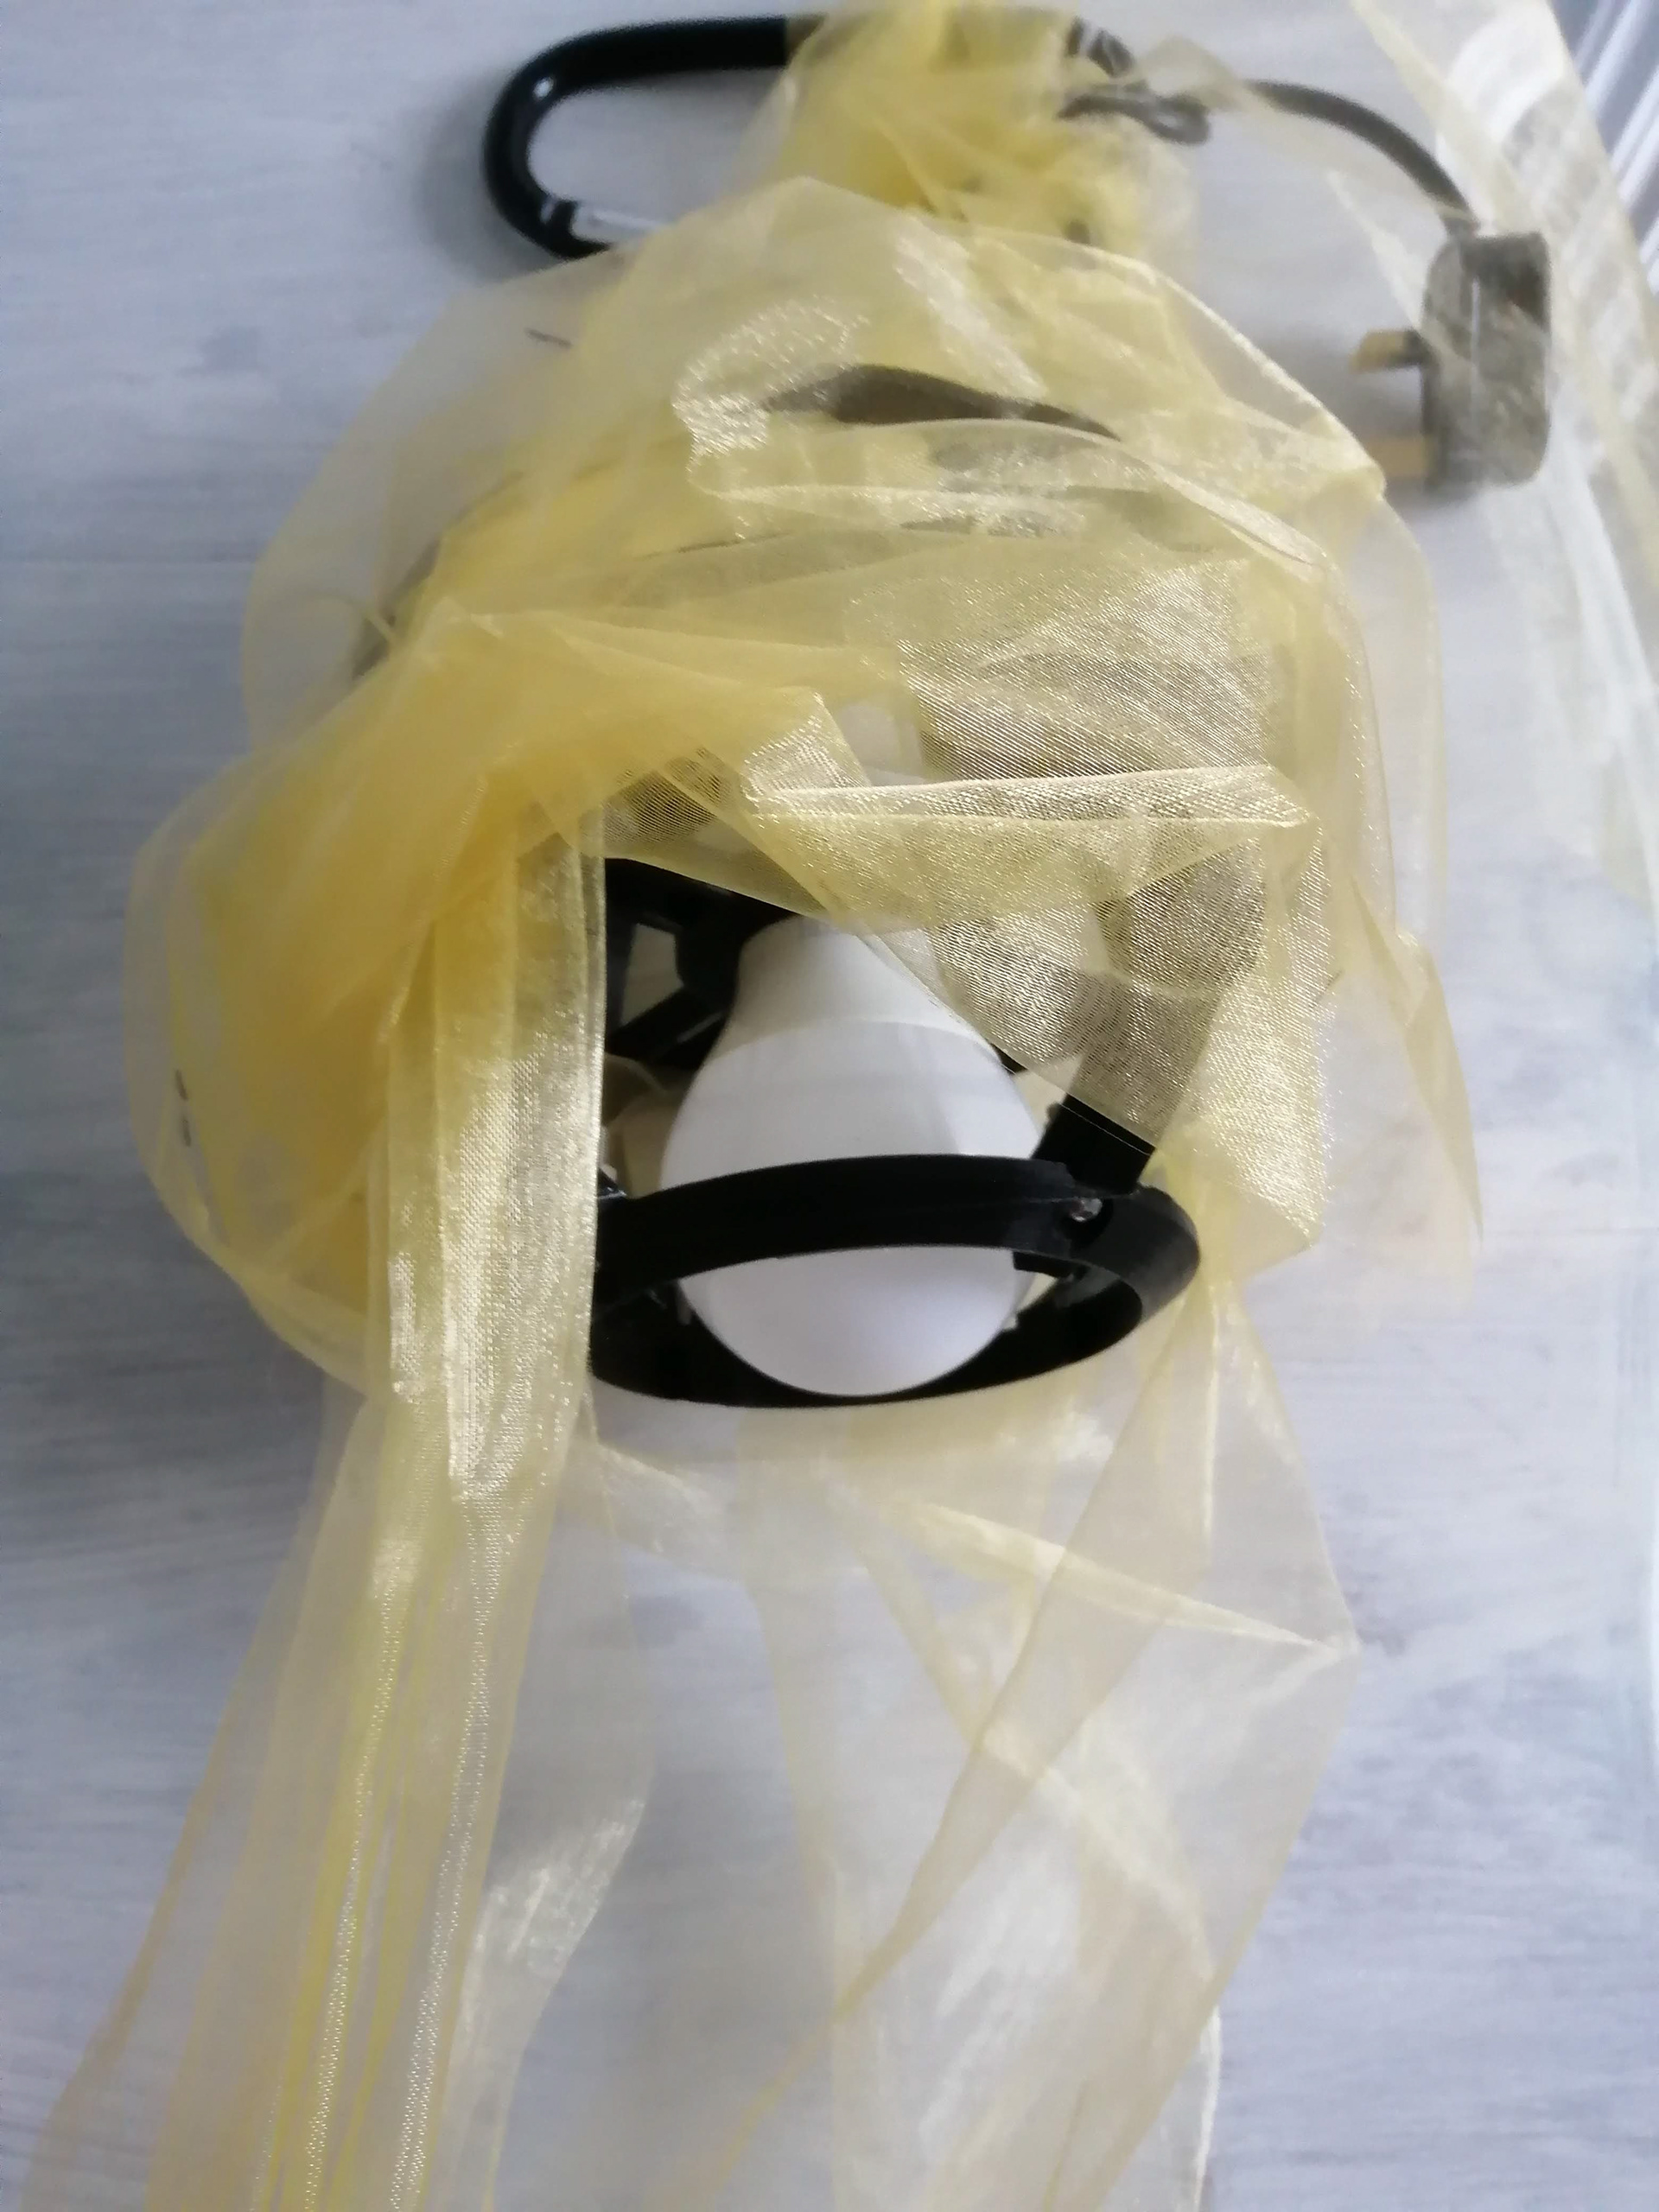
Due to friction being in the section I thought it would be an interesting idea to include it into the lamp concept I was developing. the idea was that the lamp could be placed anywhere. The material used is ribbon and just some spare wire. i printed off a figure 8 because i find it to be a item that could give some visual interest to the lamp.
First frame
It actually broke while printing and it wasn't easy to remove the supports, leaving a mess of it
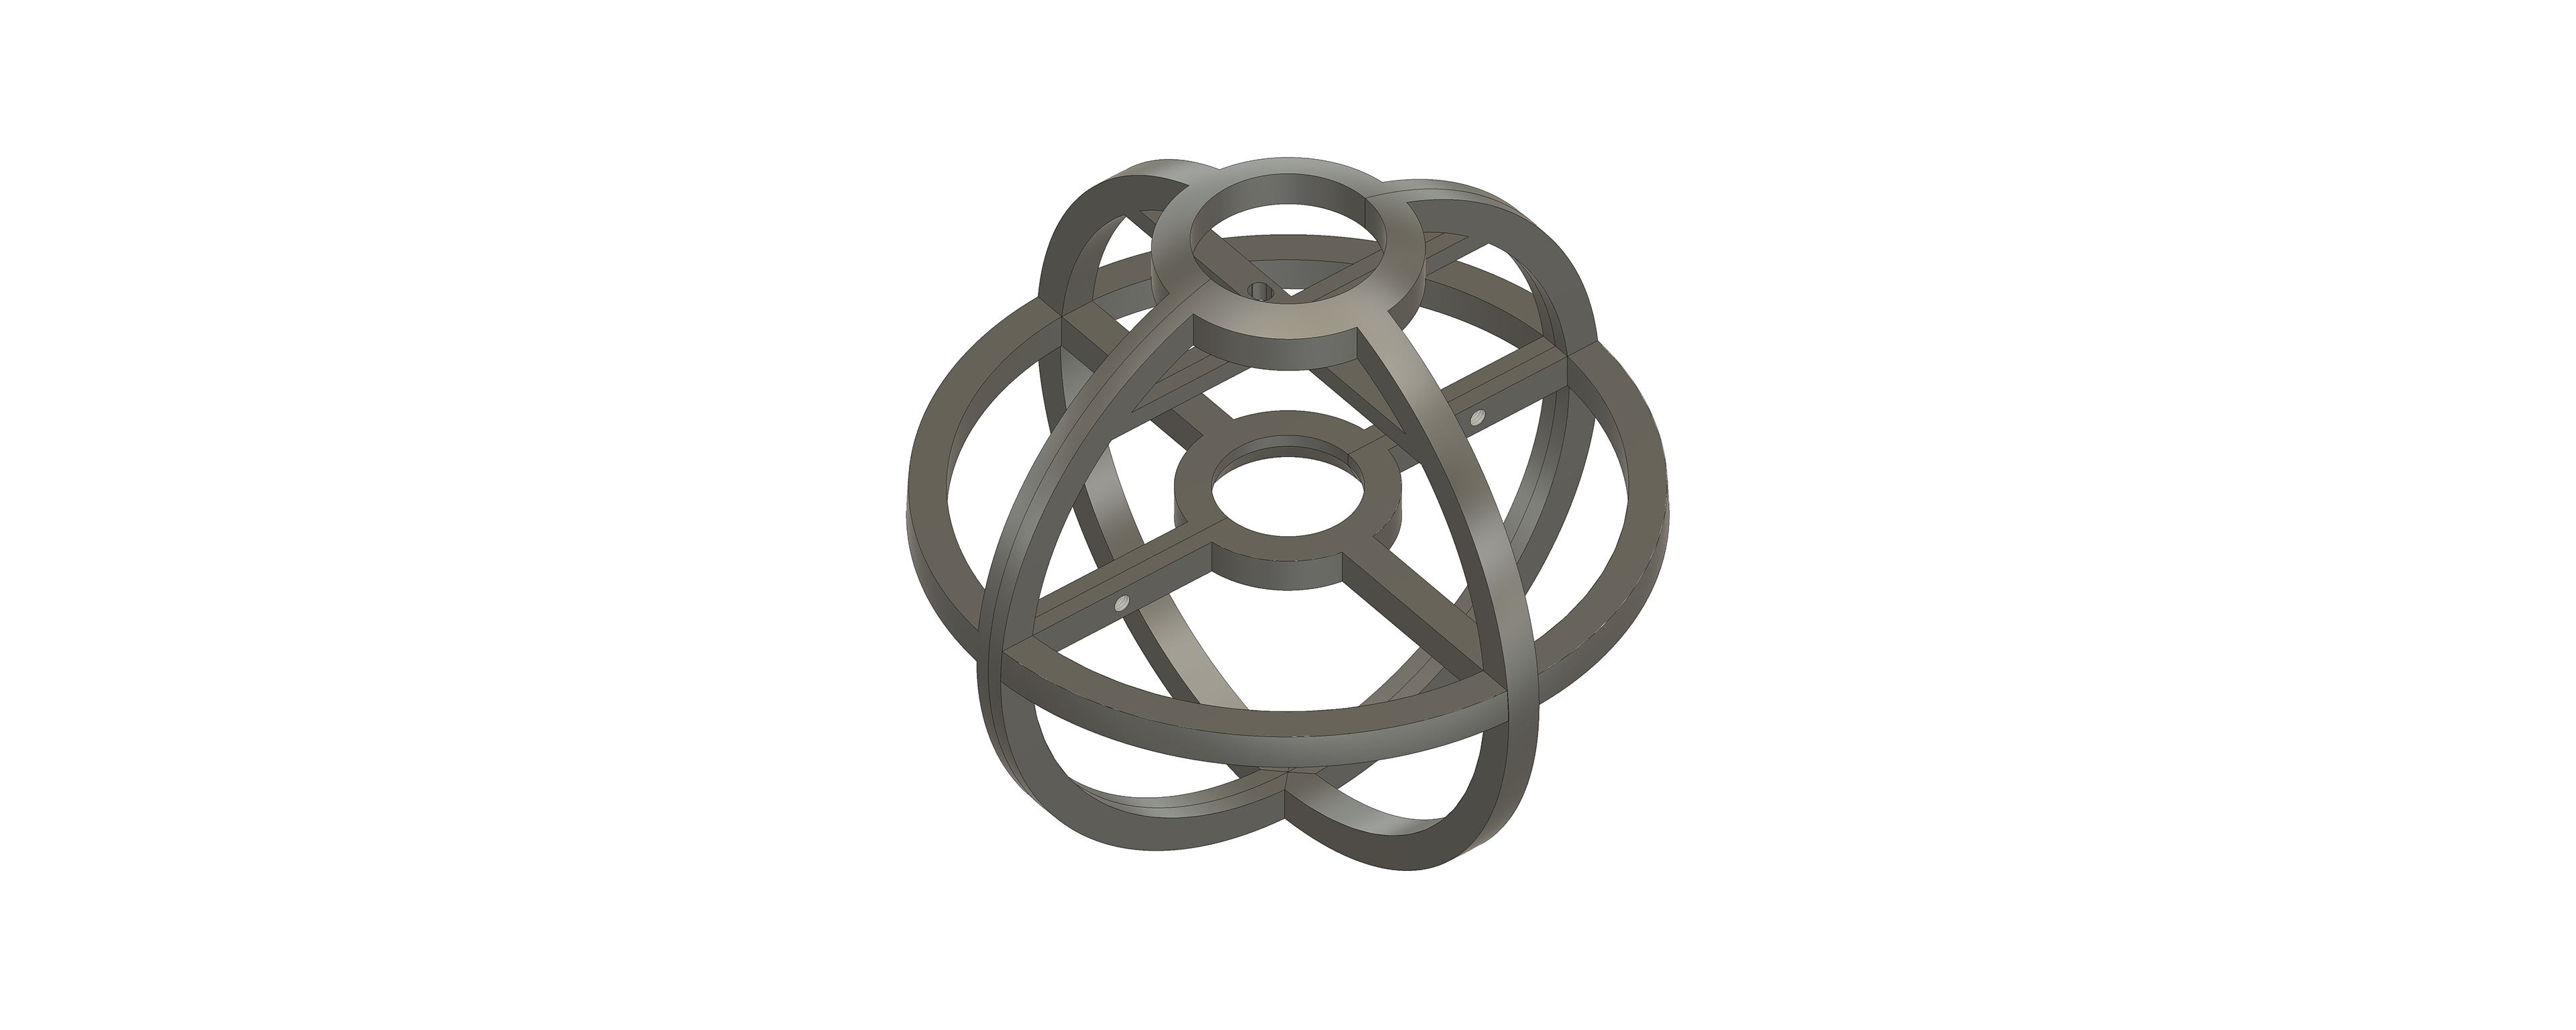
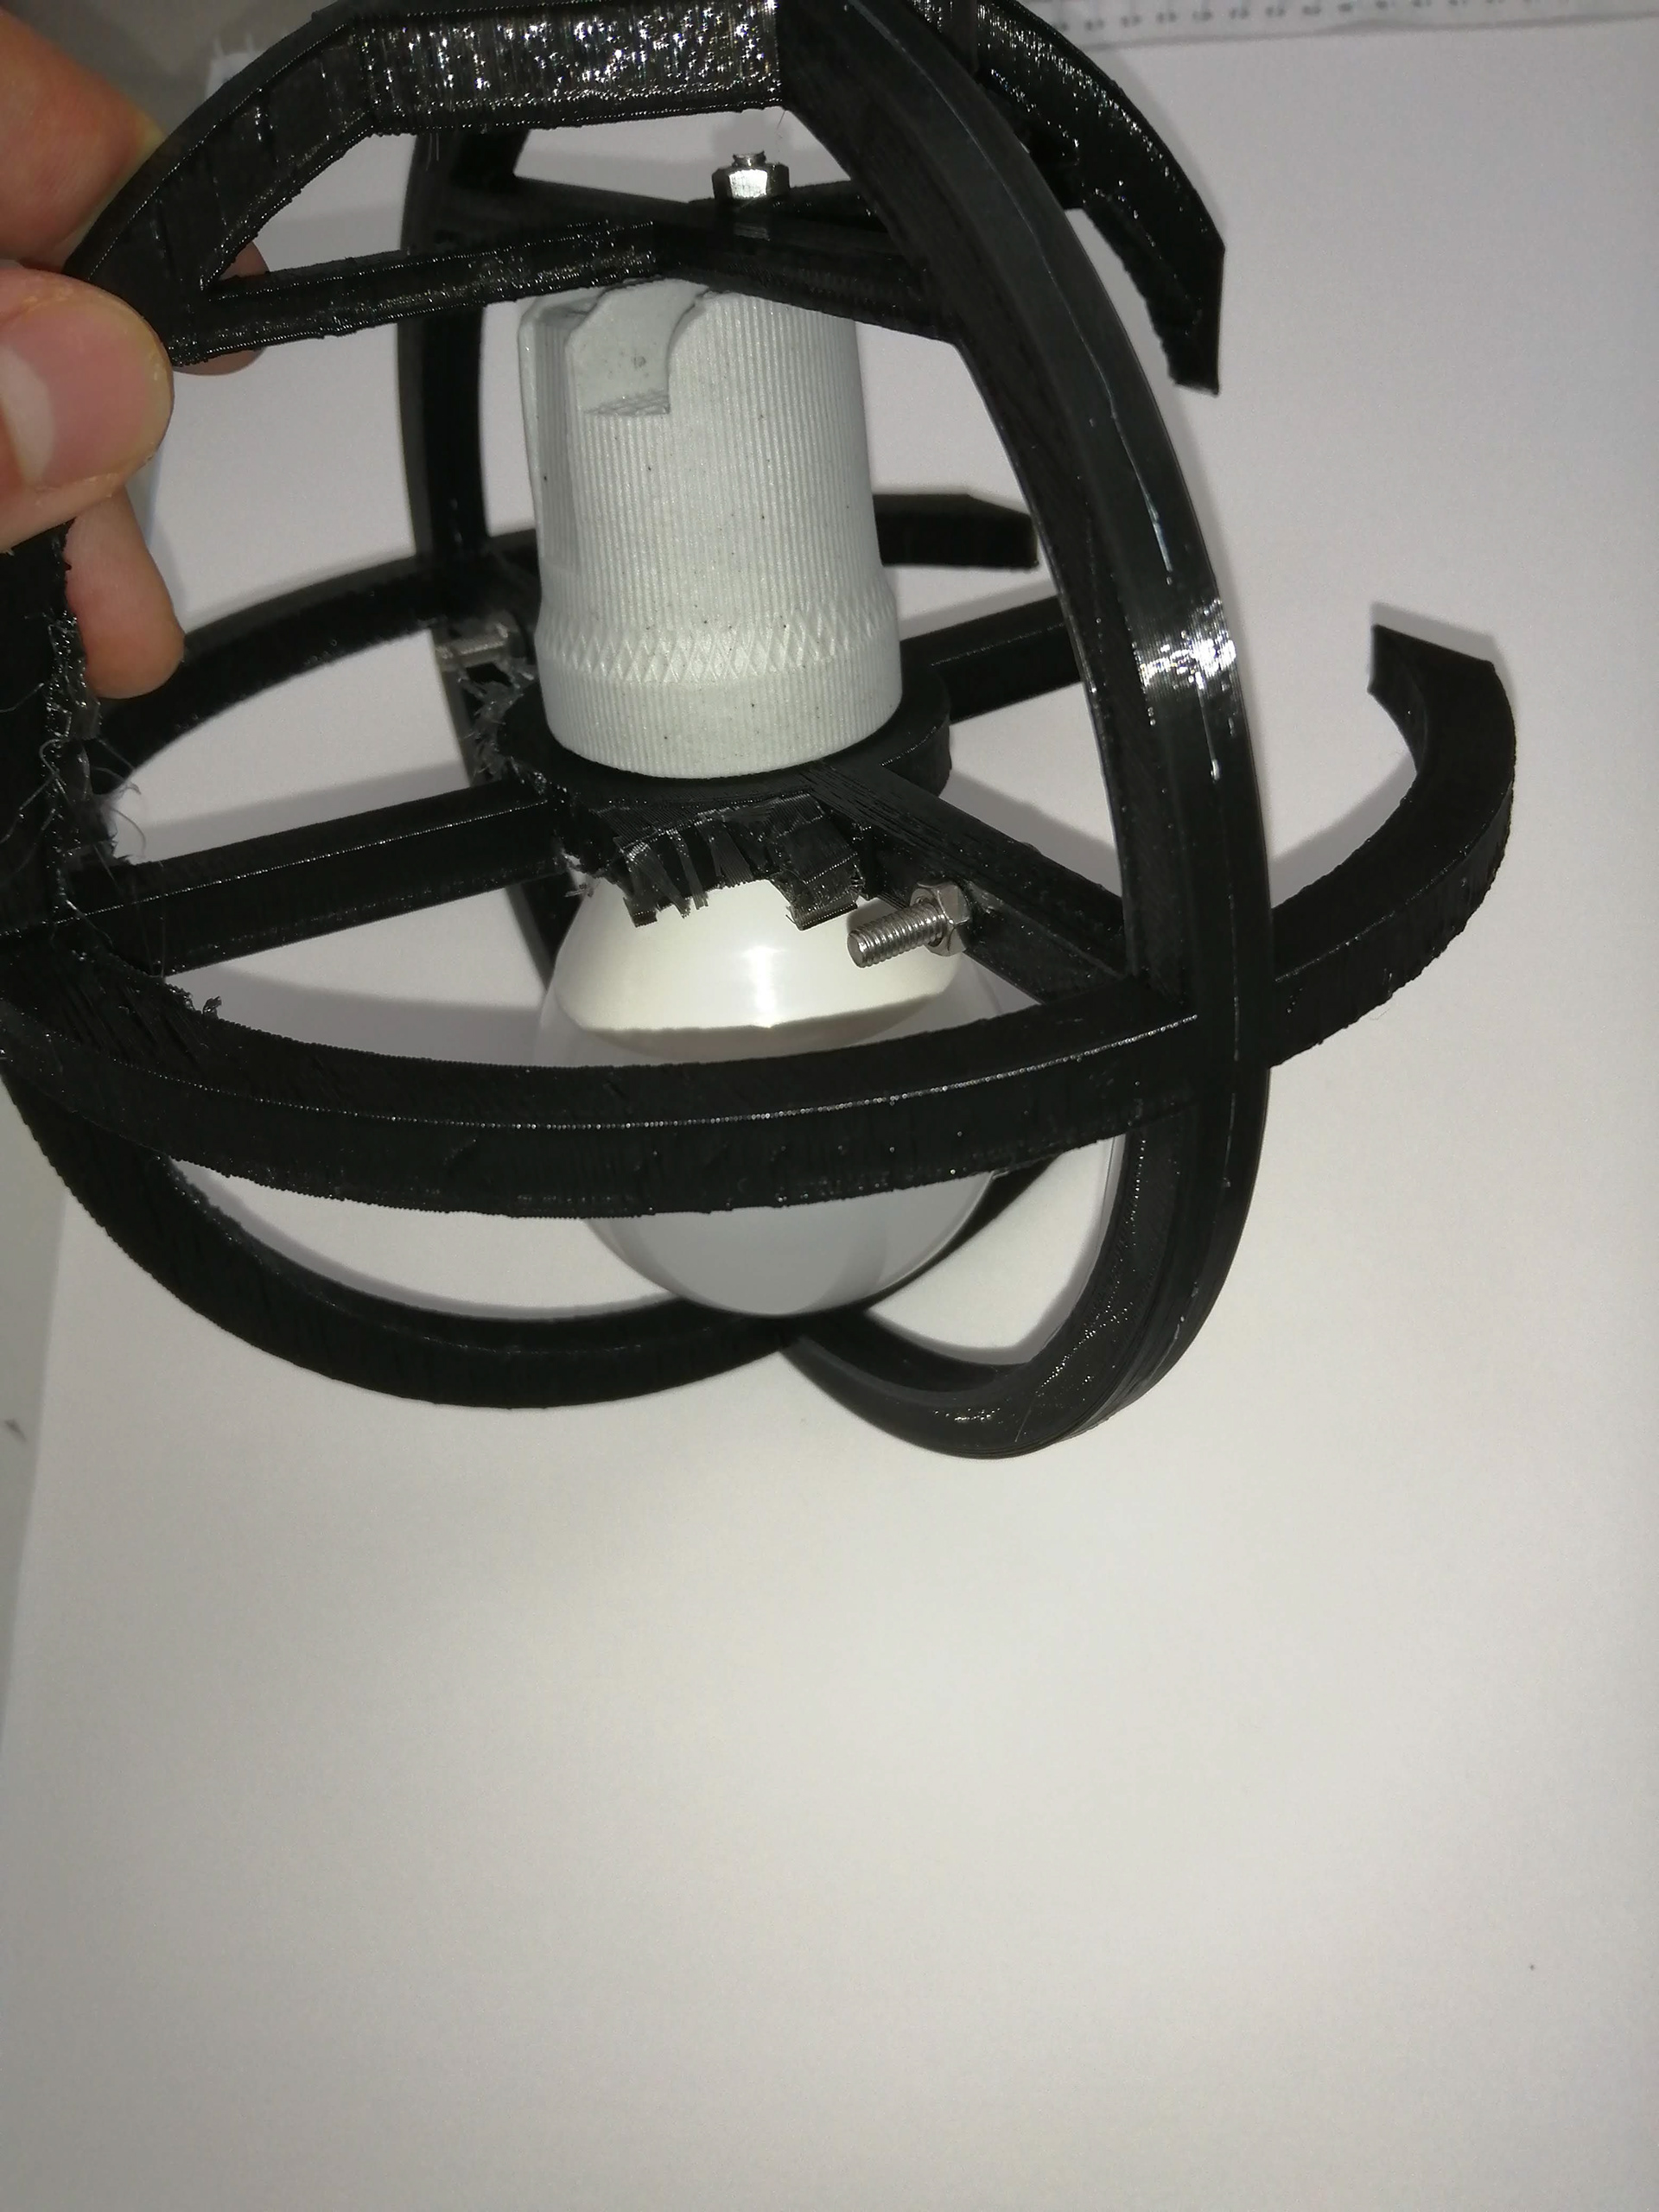
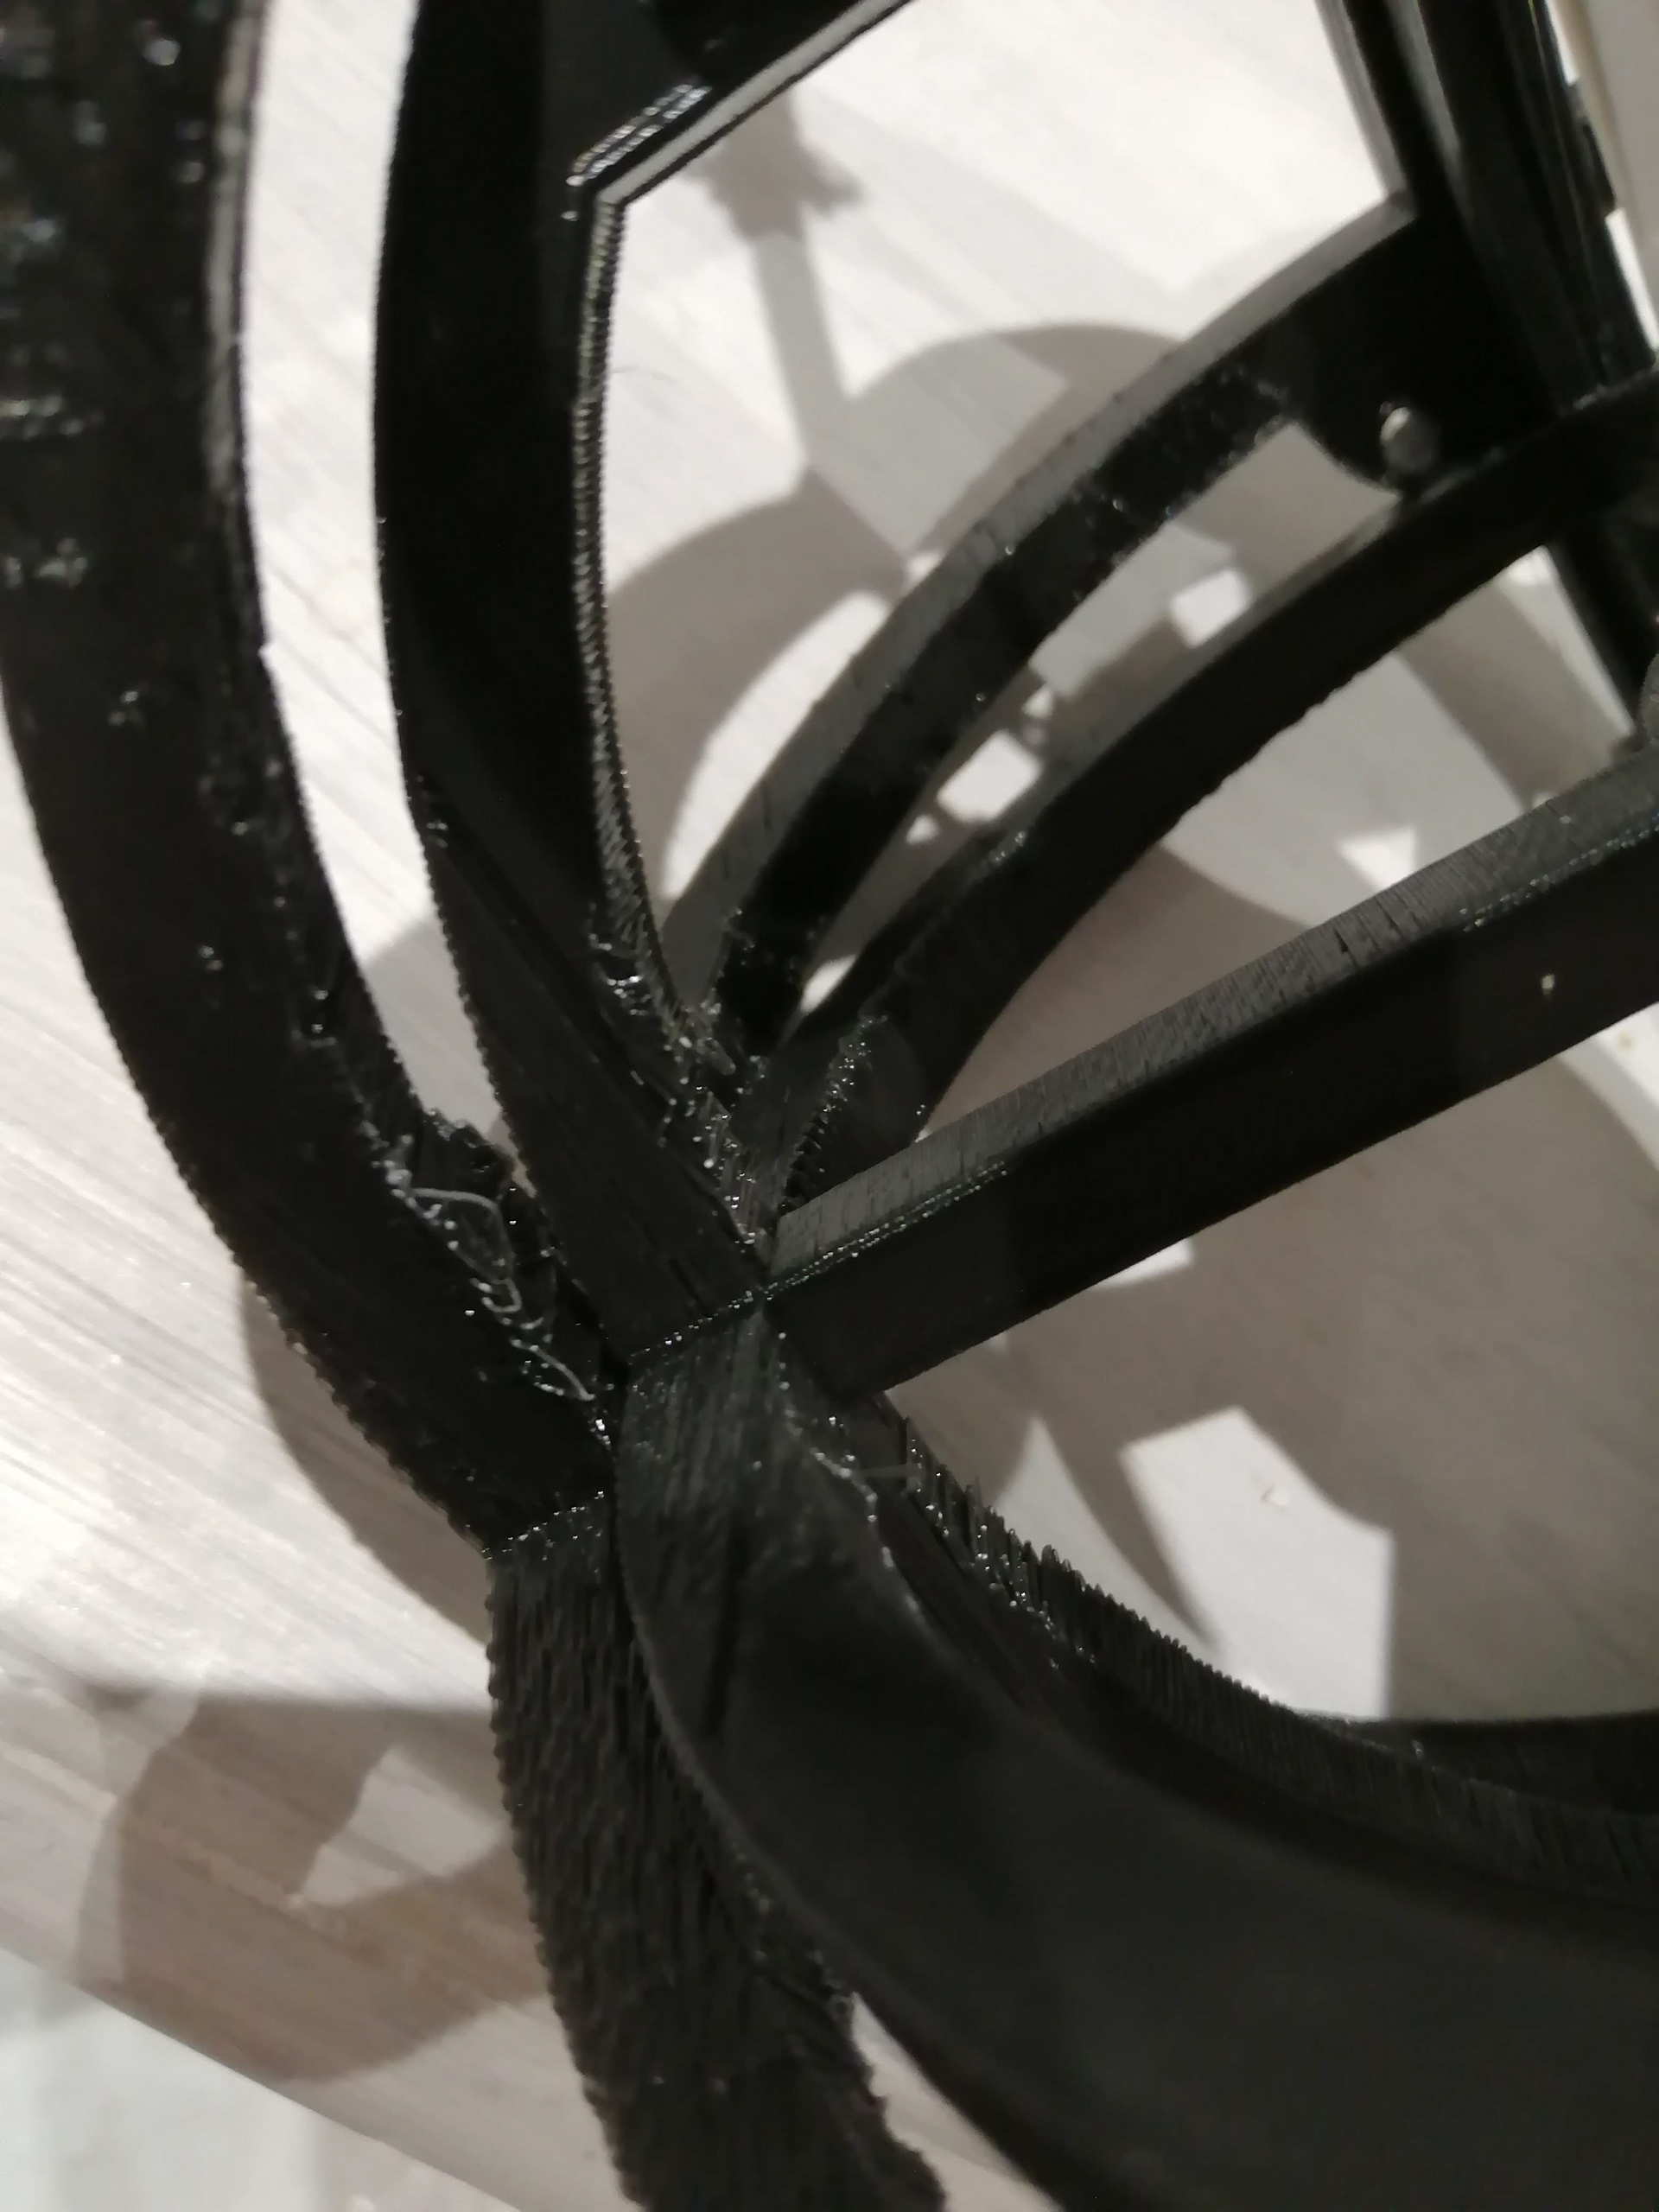
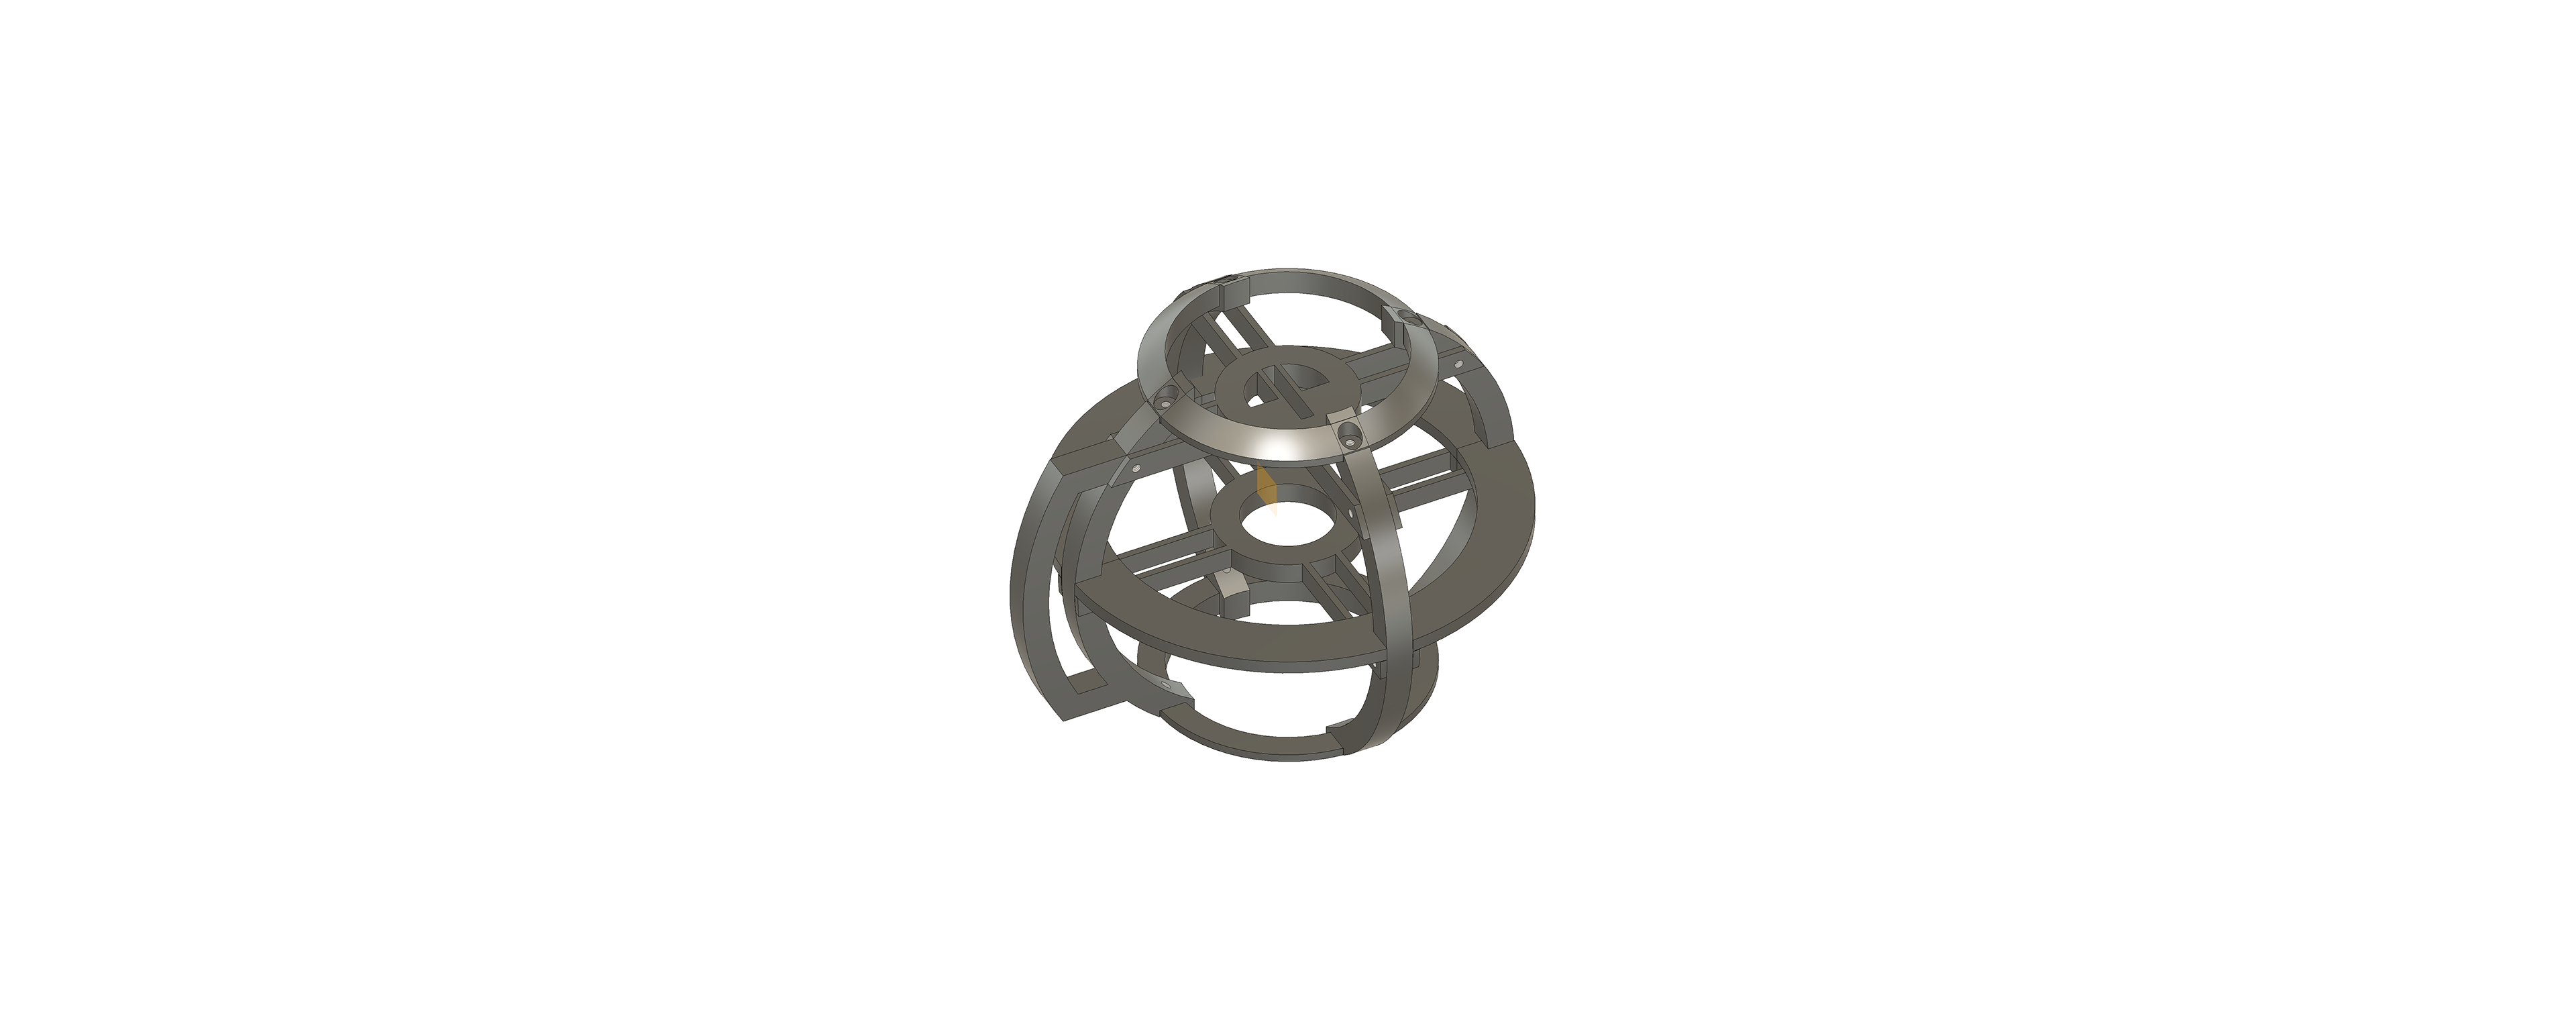
2nd frame
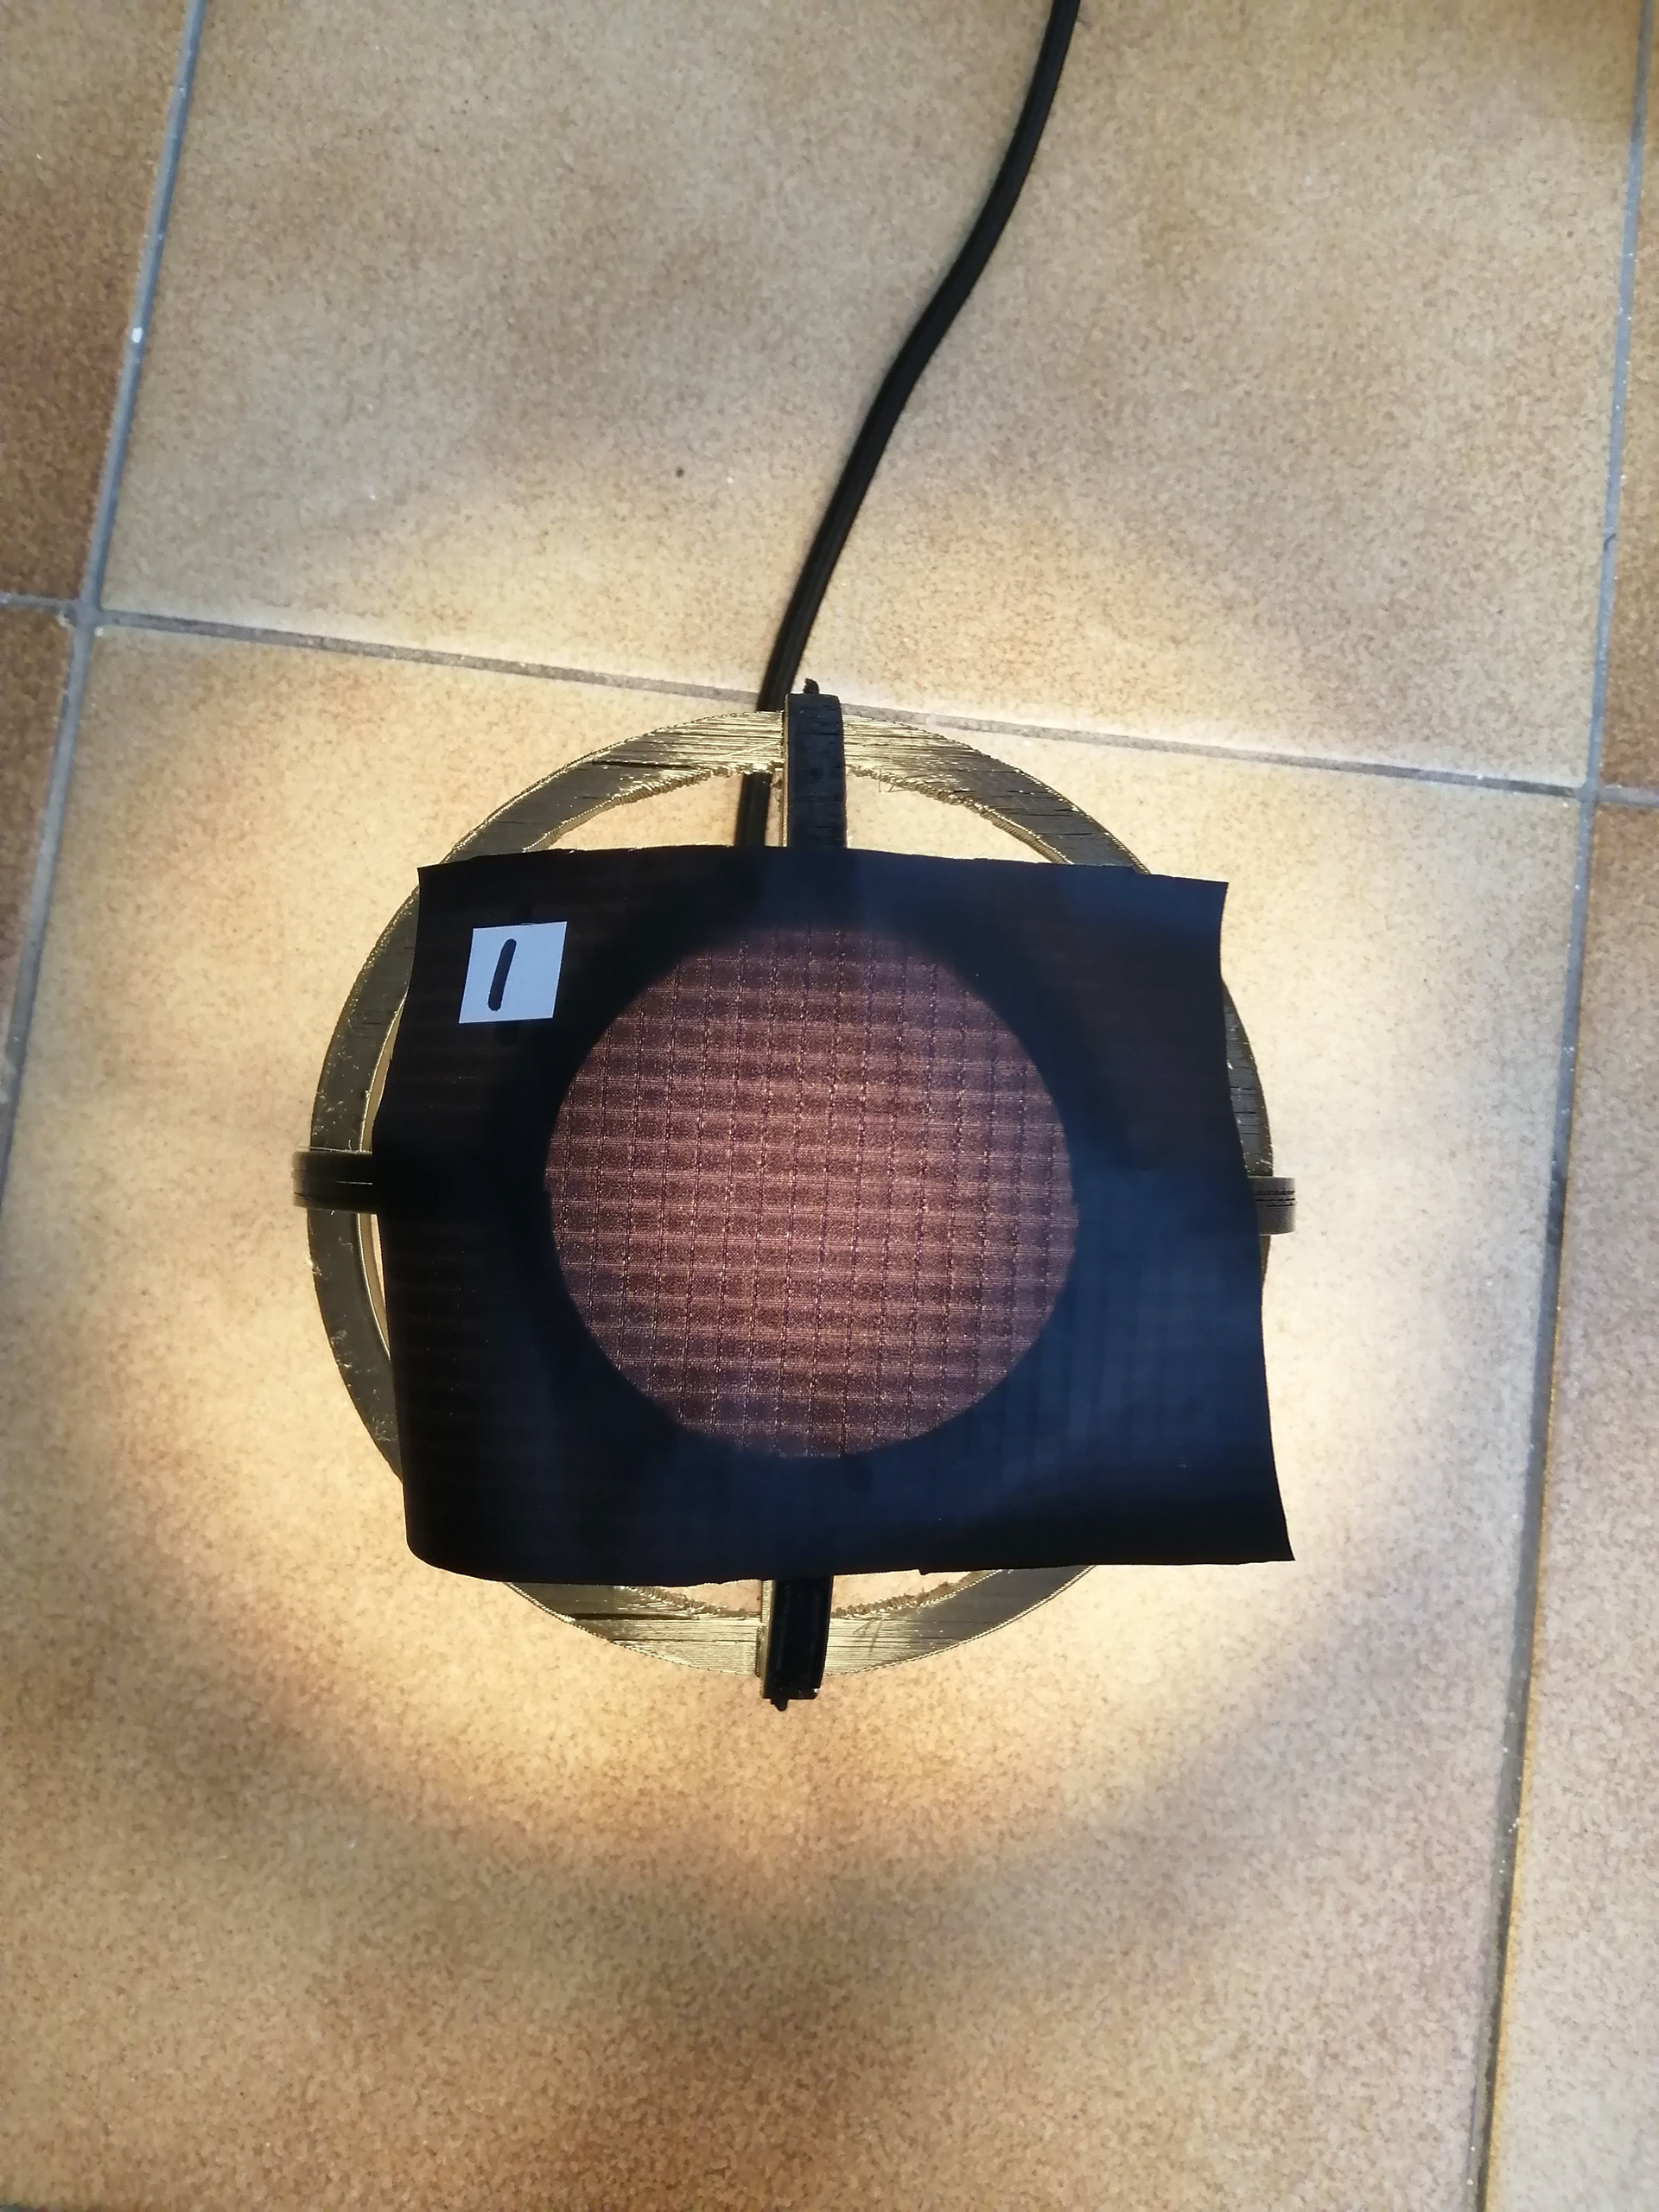
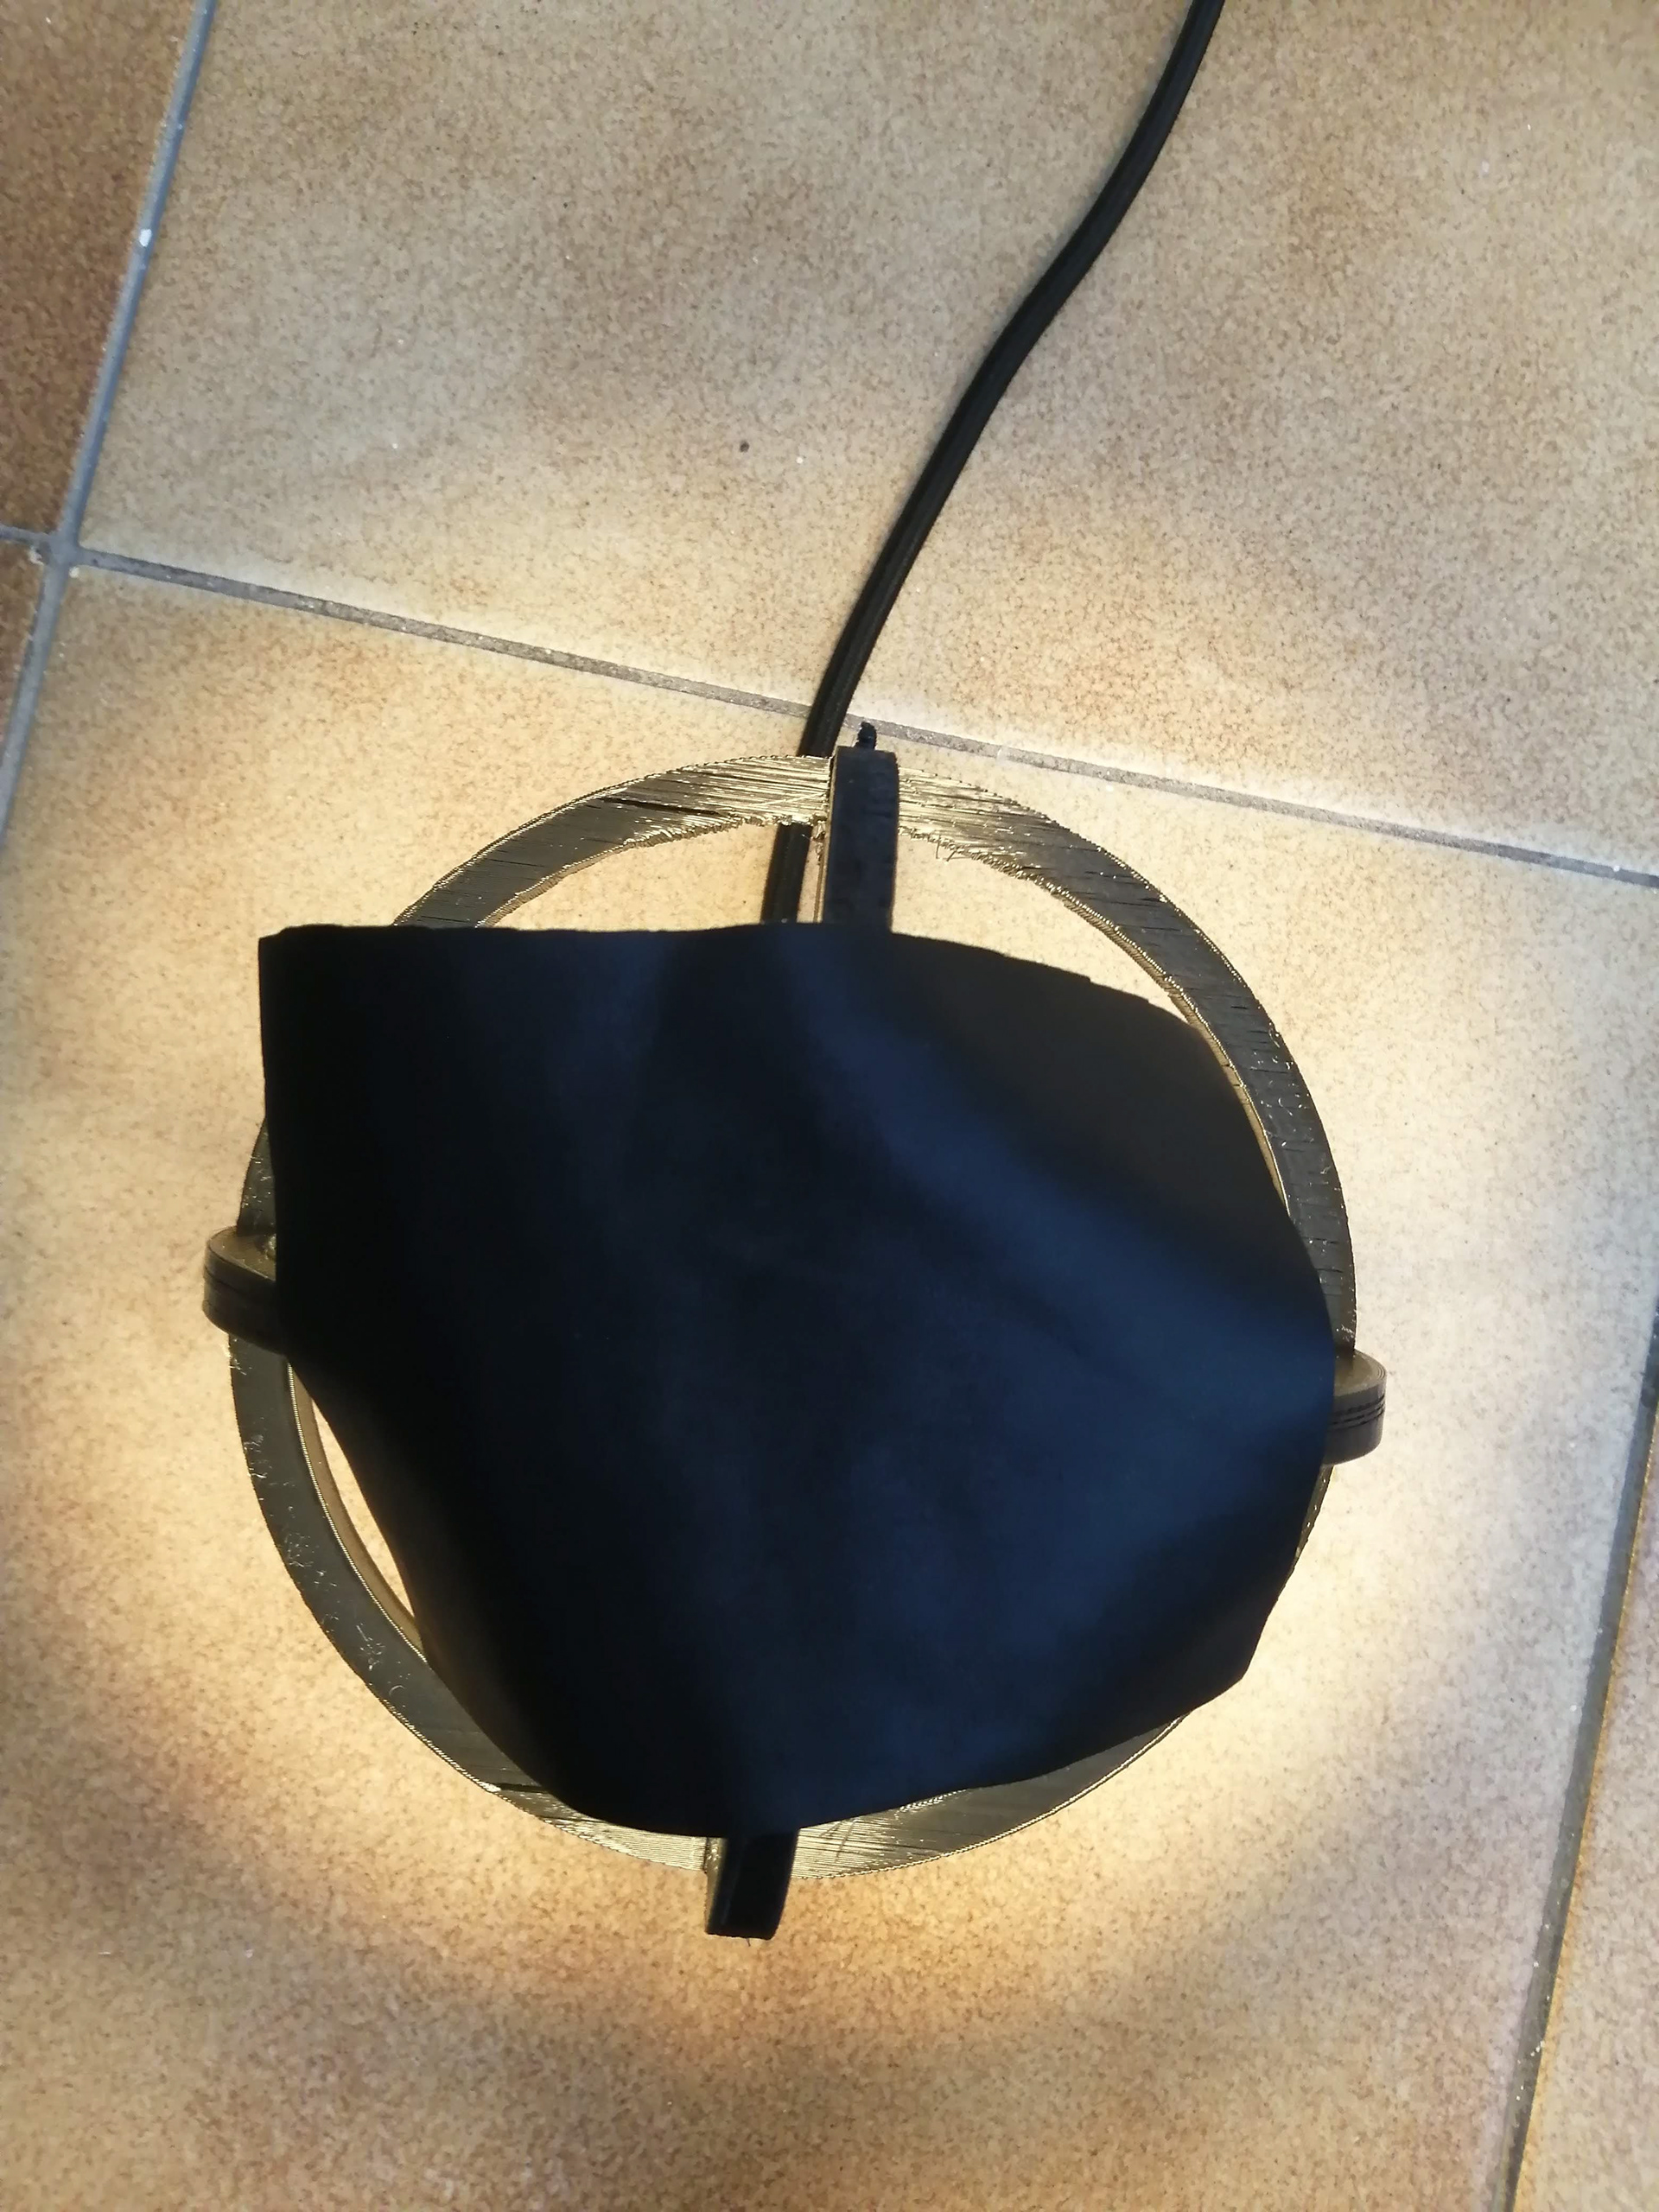
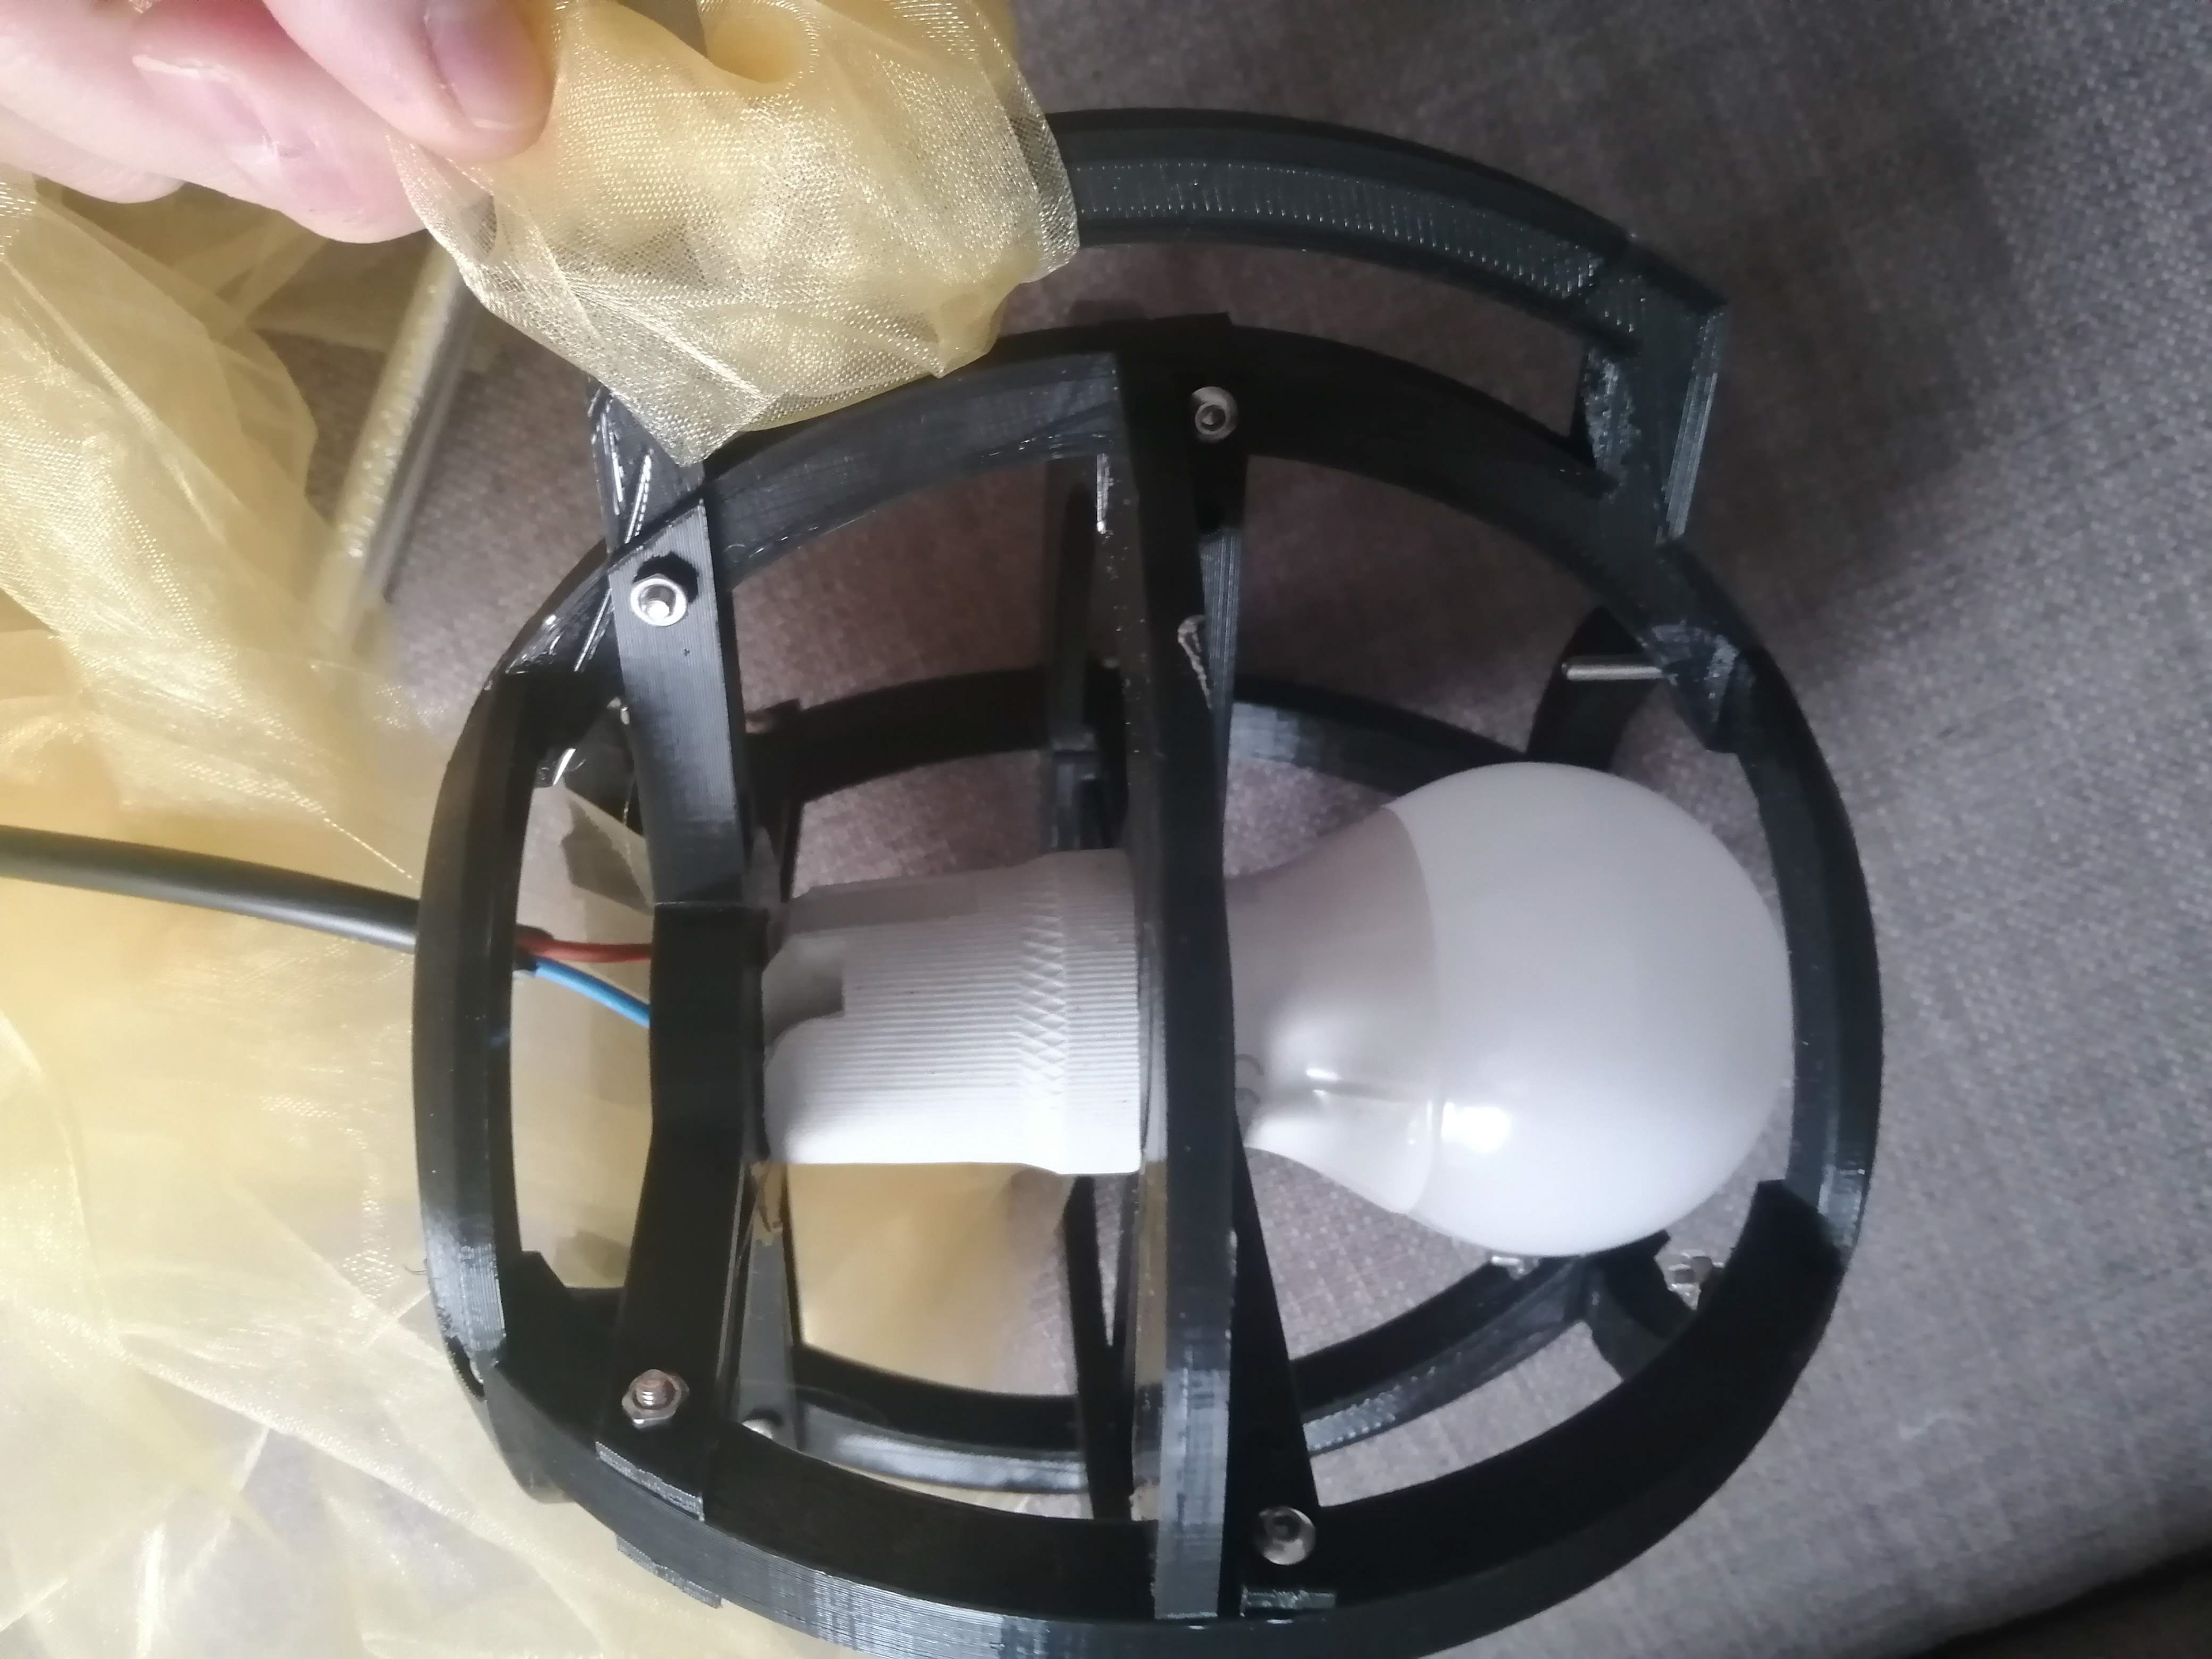
The main difference in the 2nd attempt is that there is a rotating frame outside of the inner frame. I added this so there will be more protection as well as making it easier to change the bulb. Since the inner frame printed out okay, i decided to test out the thickness of the fabric I would need. All three pieces are nylon just there is a difference in mesh context within each . The thinnest mesh was the best suited because it didn't absorb all the light but is able to reduce the glare.
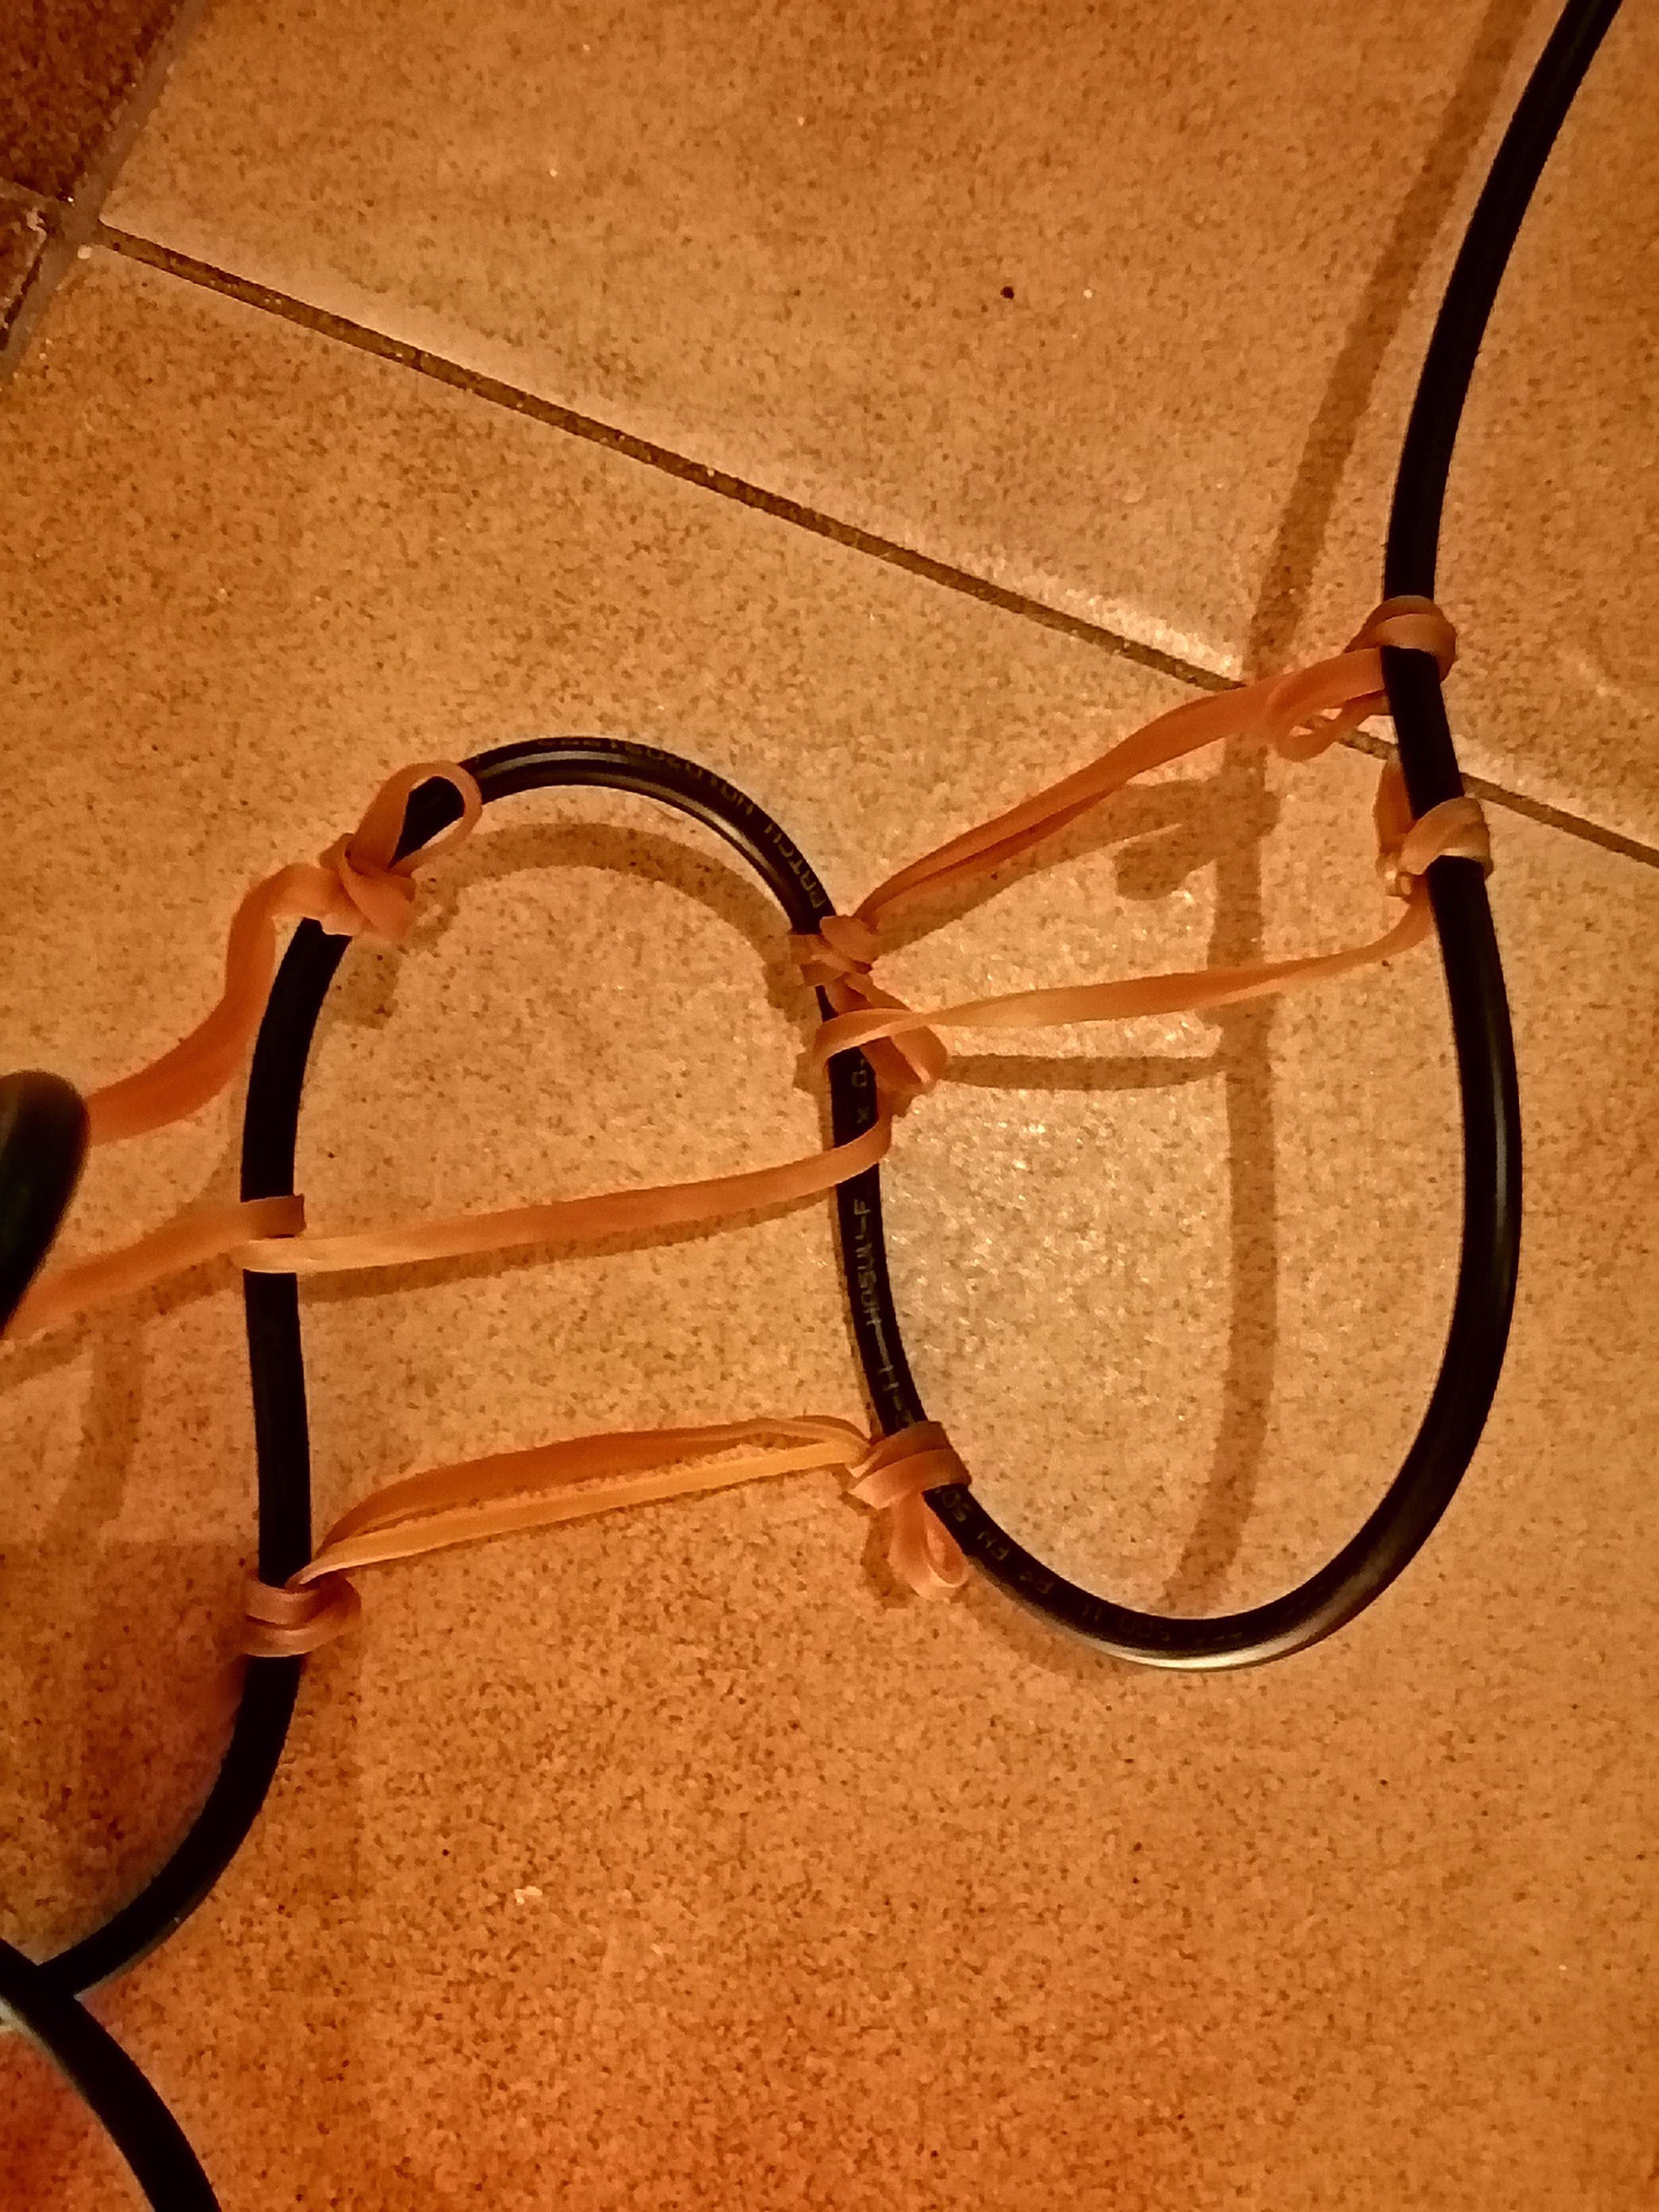
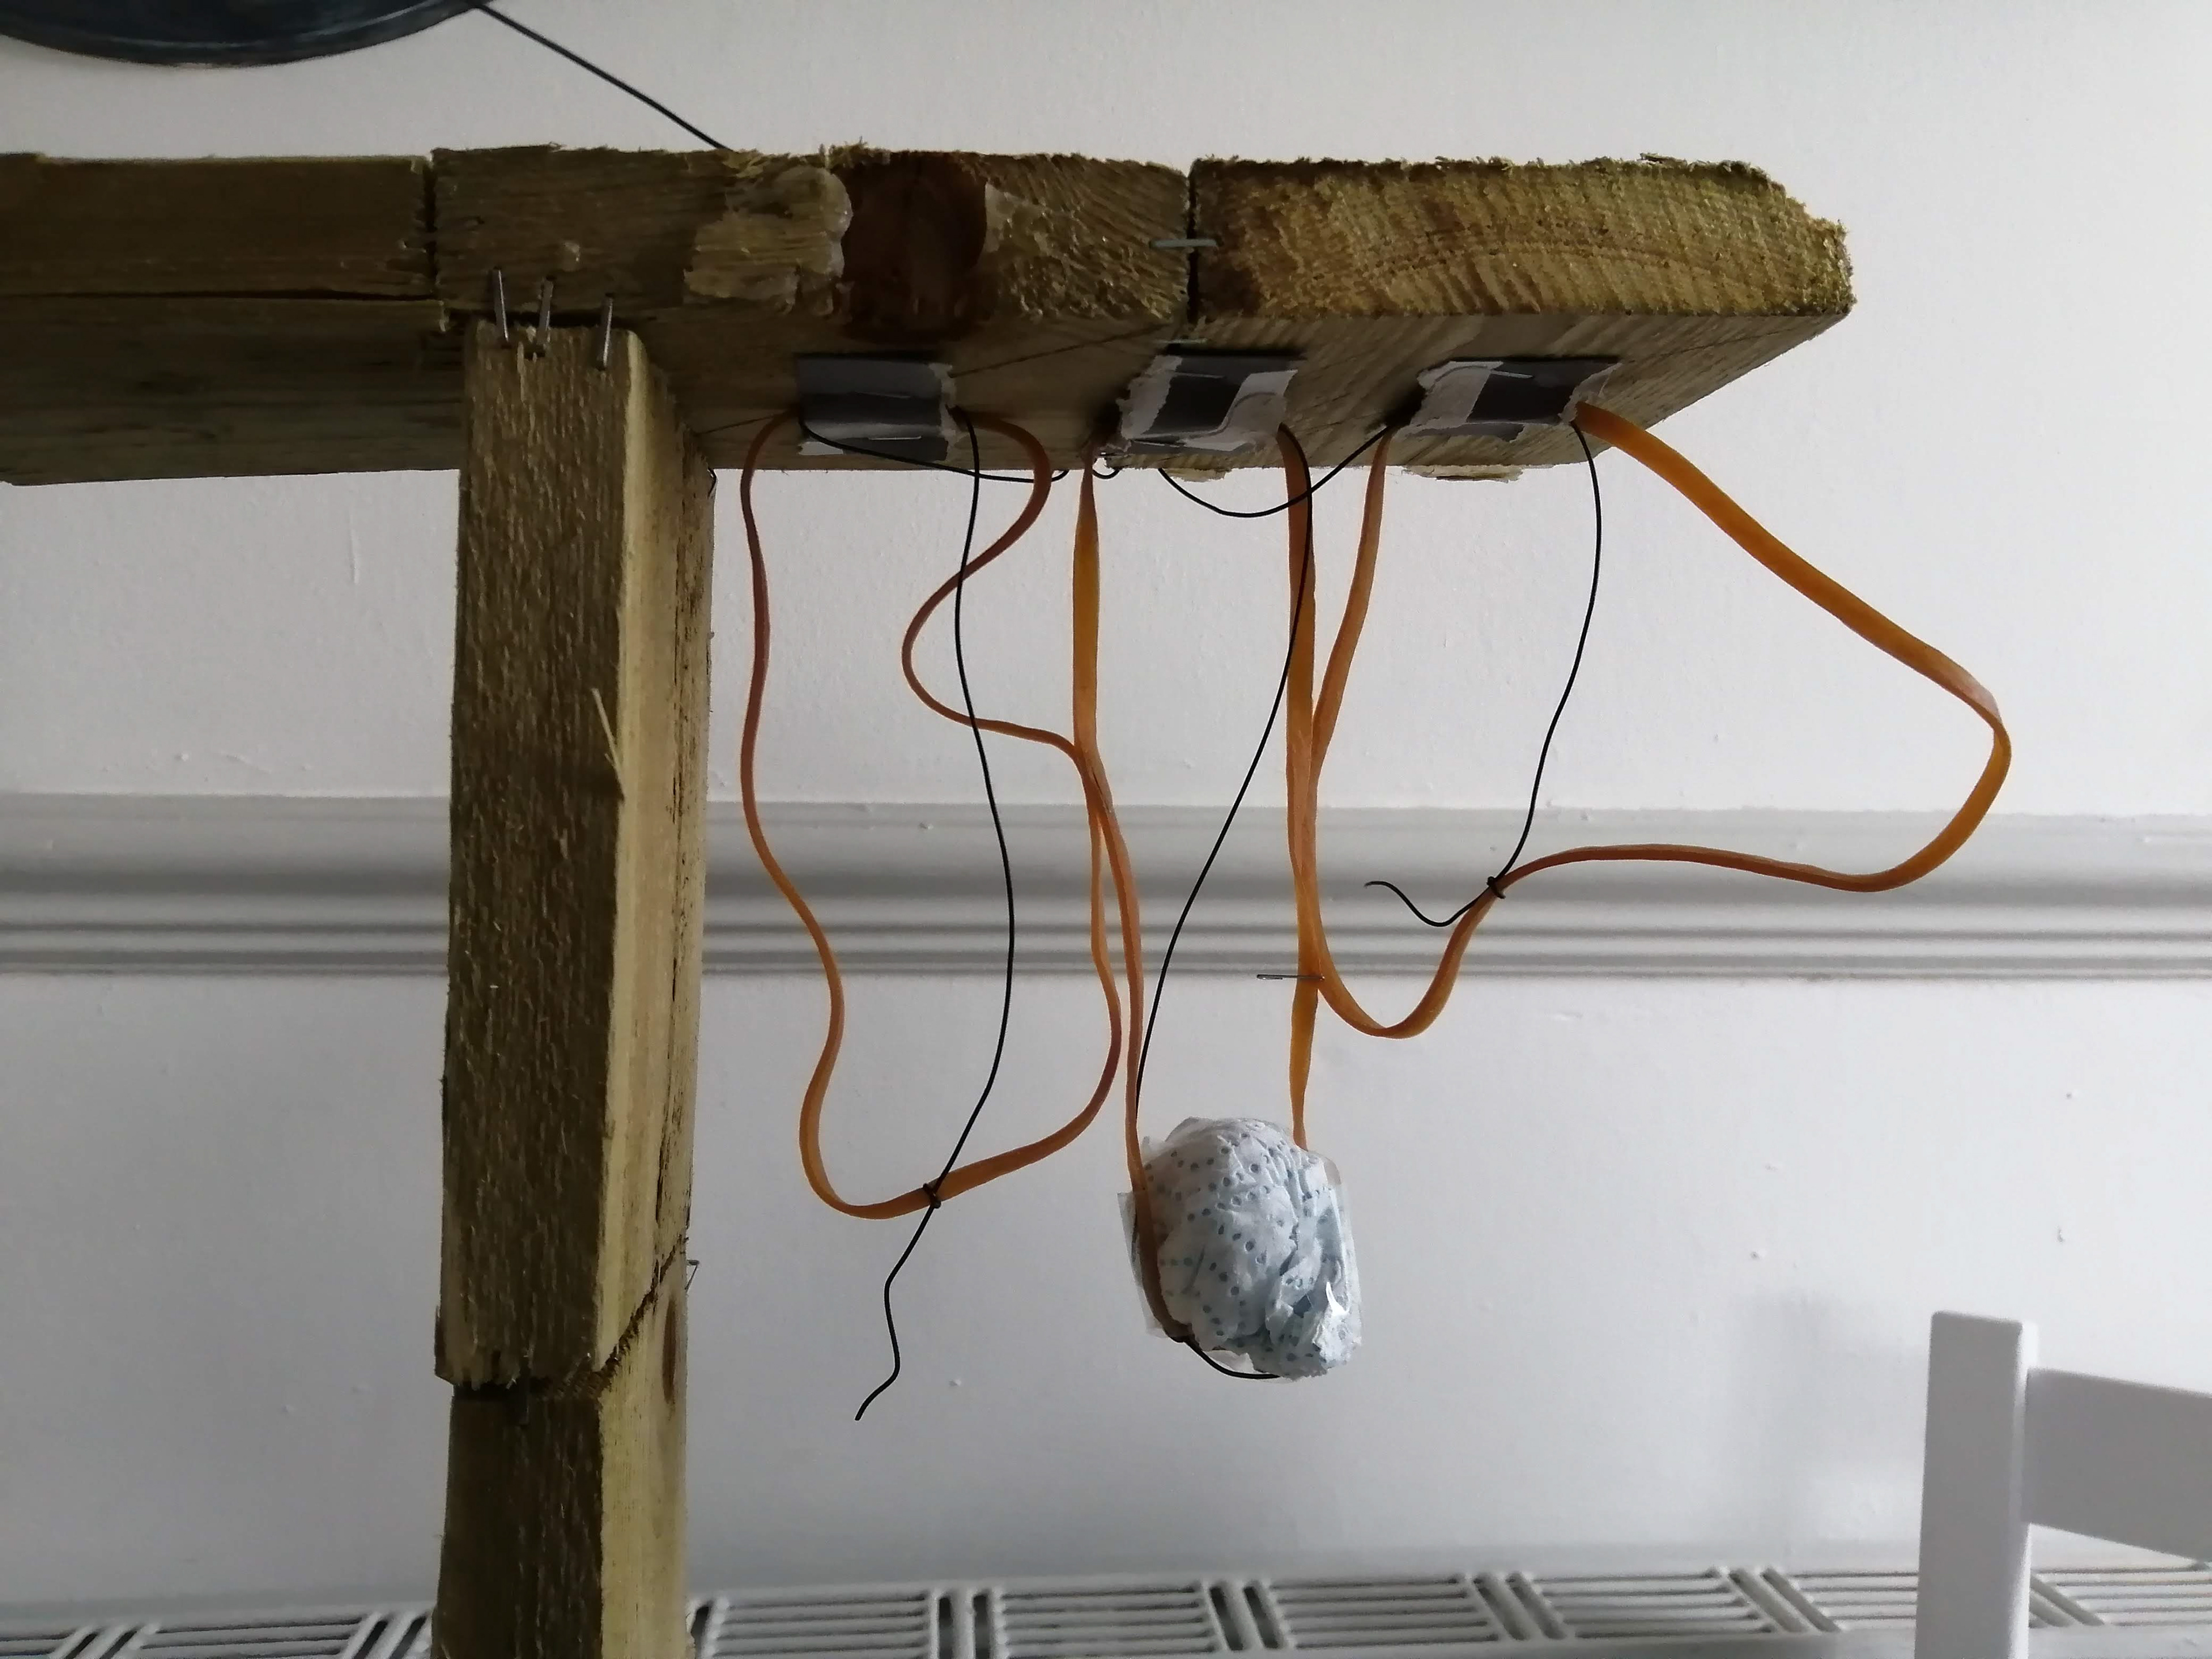
The rubber band idea is not practical. It was more of an experiment if anything. Yet it did in some way remind me of tendons (since these two words are in the same section). Because tendons are white i decided that the stitching that will be used on the fabric will be white. The reason being tendons play a significant part in keeping your muscles and tissues together.
The outer frame broke while printing. Still, I realised it probably wasn't needed. it would make more sense to make the inner frame the only frame but make it slightly thicker.
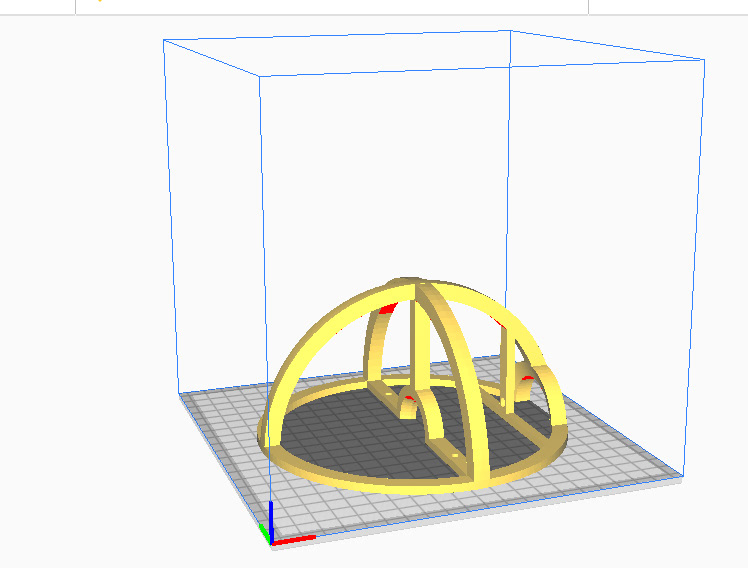
3rd Frame
This print didn't even end up happing. an hour into the printing it got completely munched by the printer head. so I came to the conclusion that because I was only printing the frame (same for the 1st and 2nd) in two halves it was causing too many problems. instead I would need to print it off in separate pieces and then join them all together (shown later on).

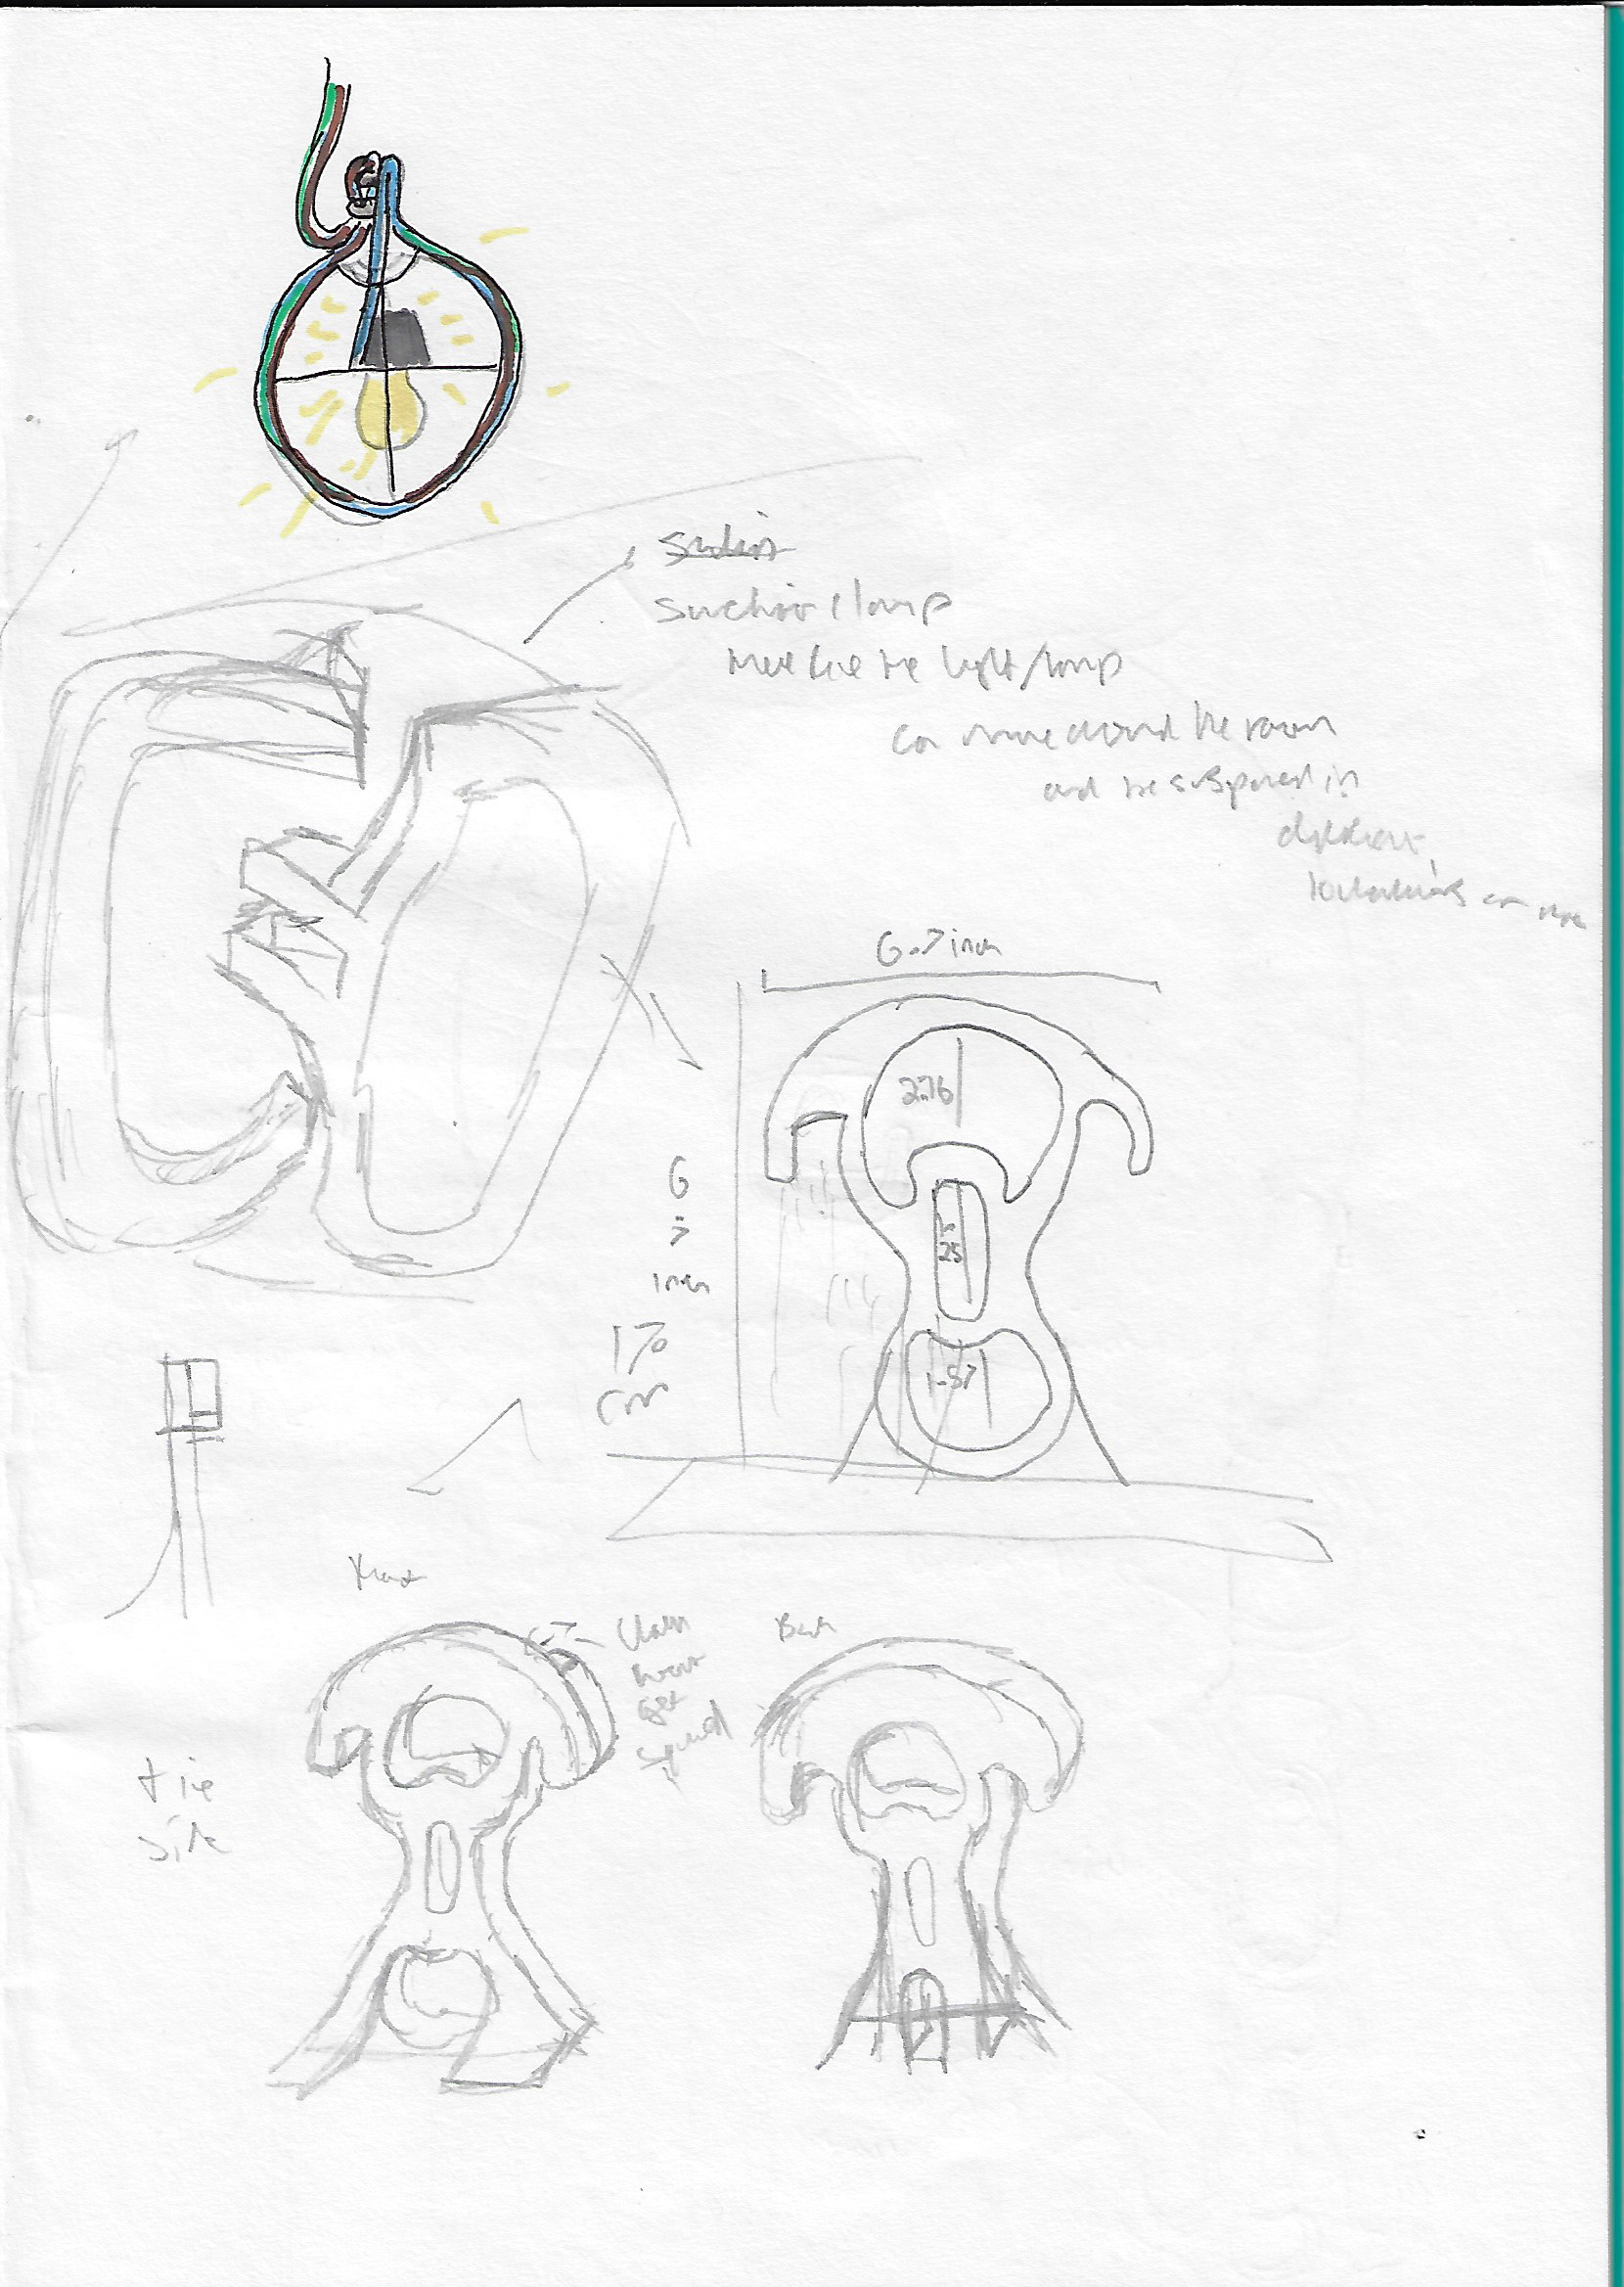
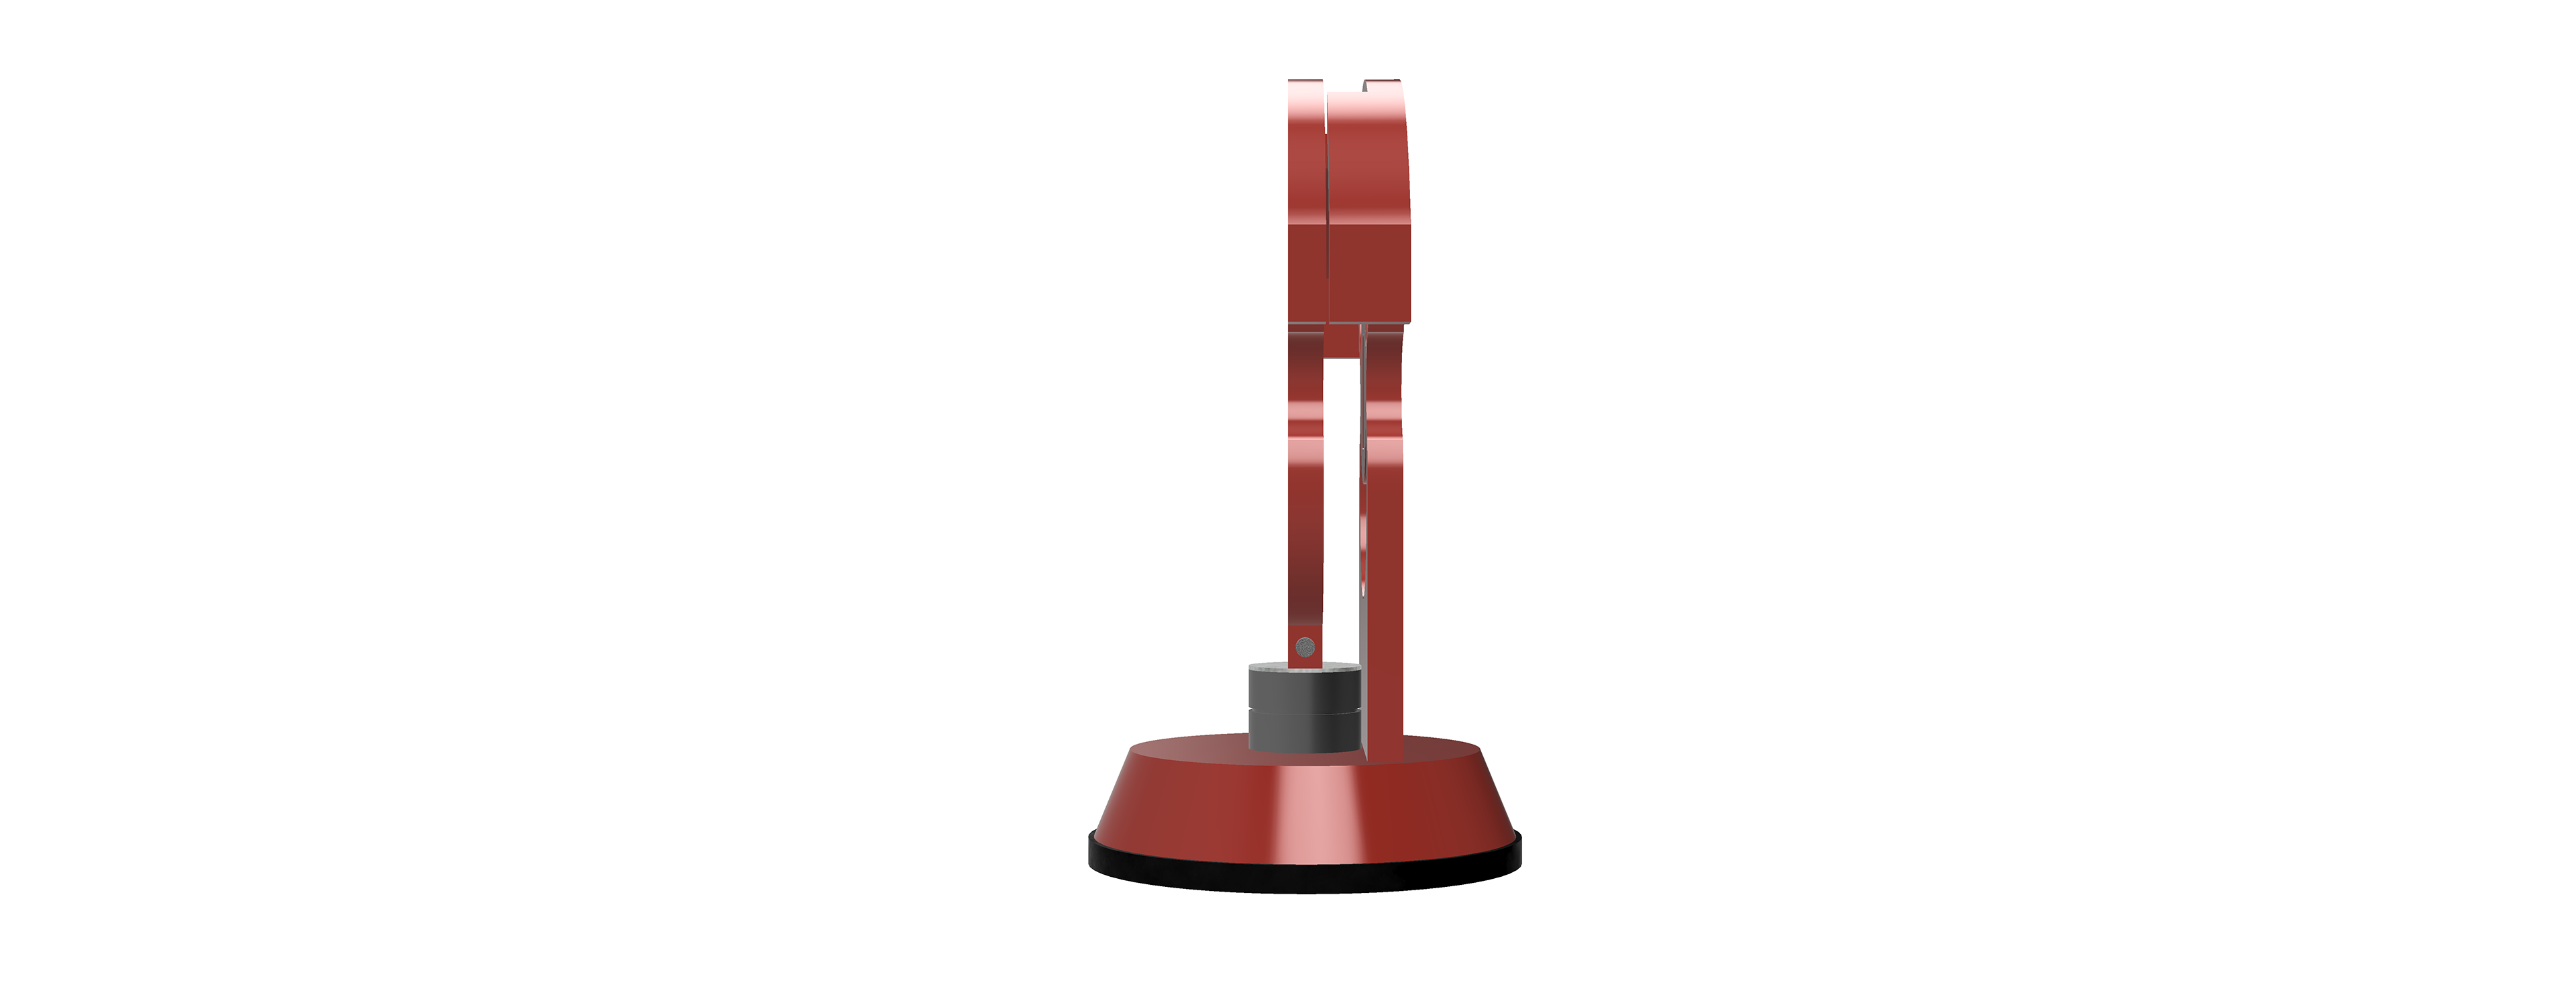
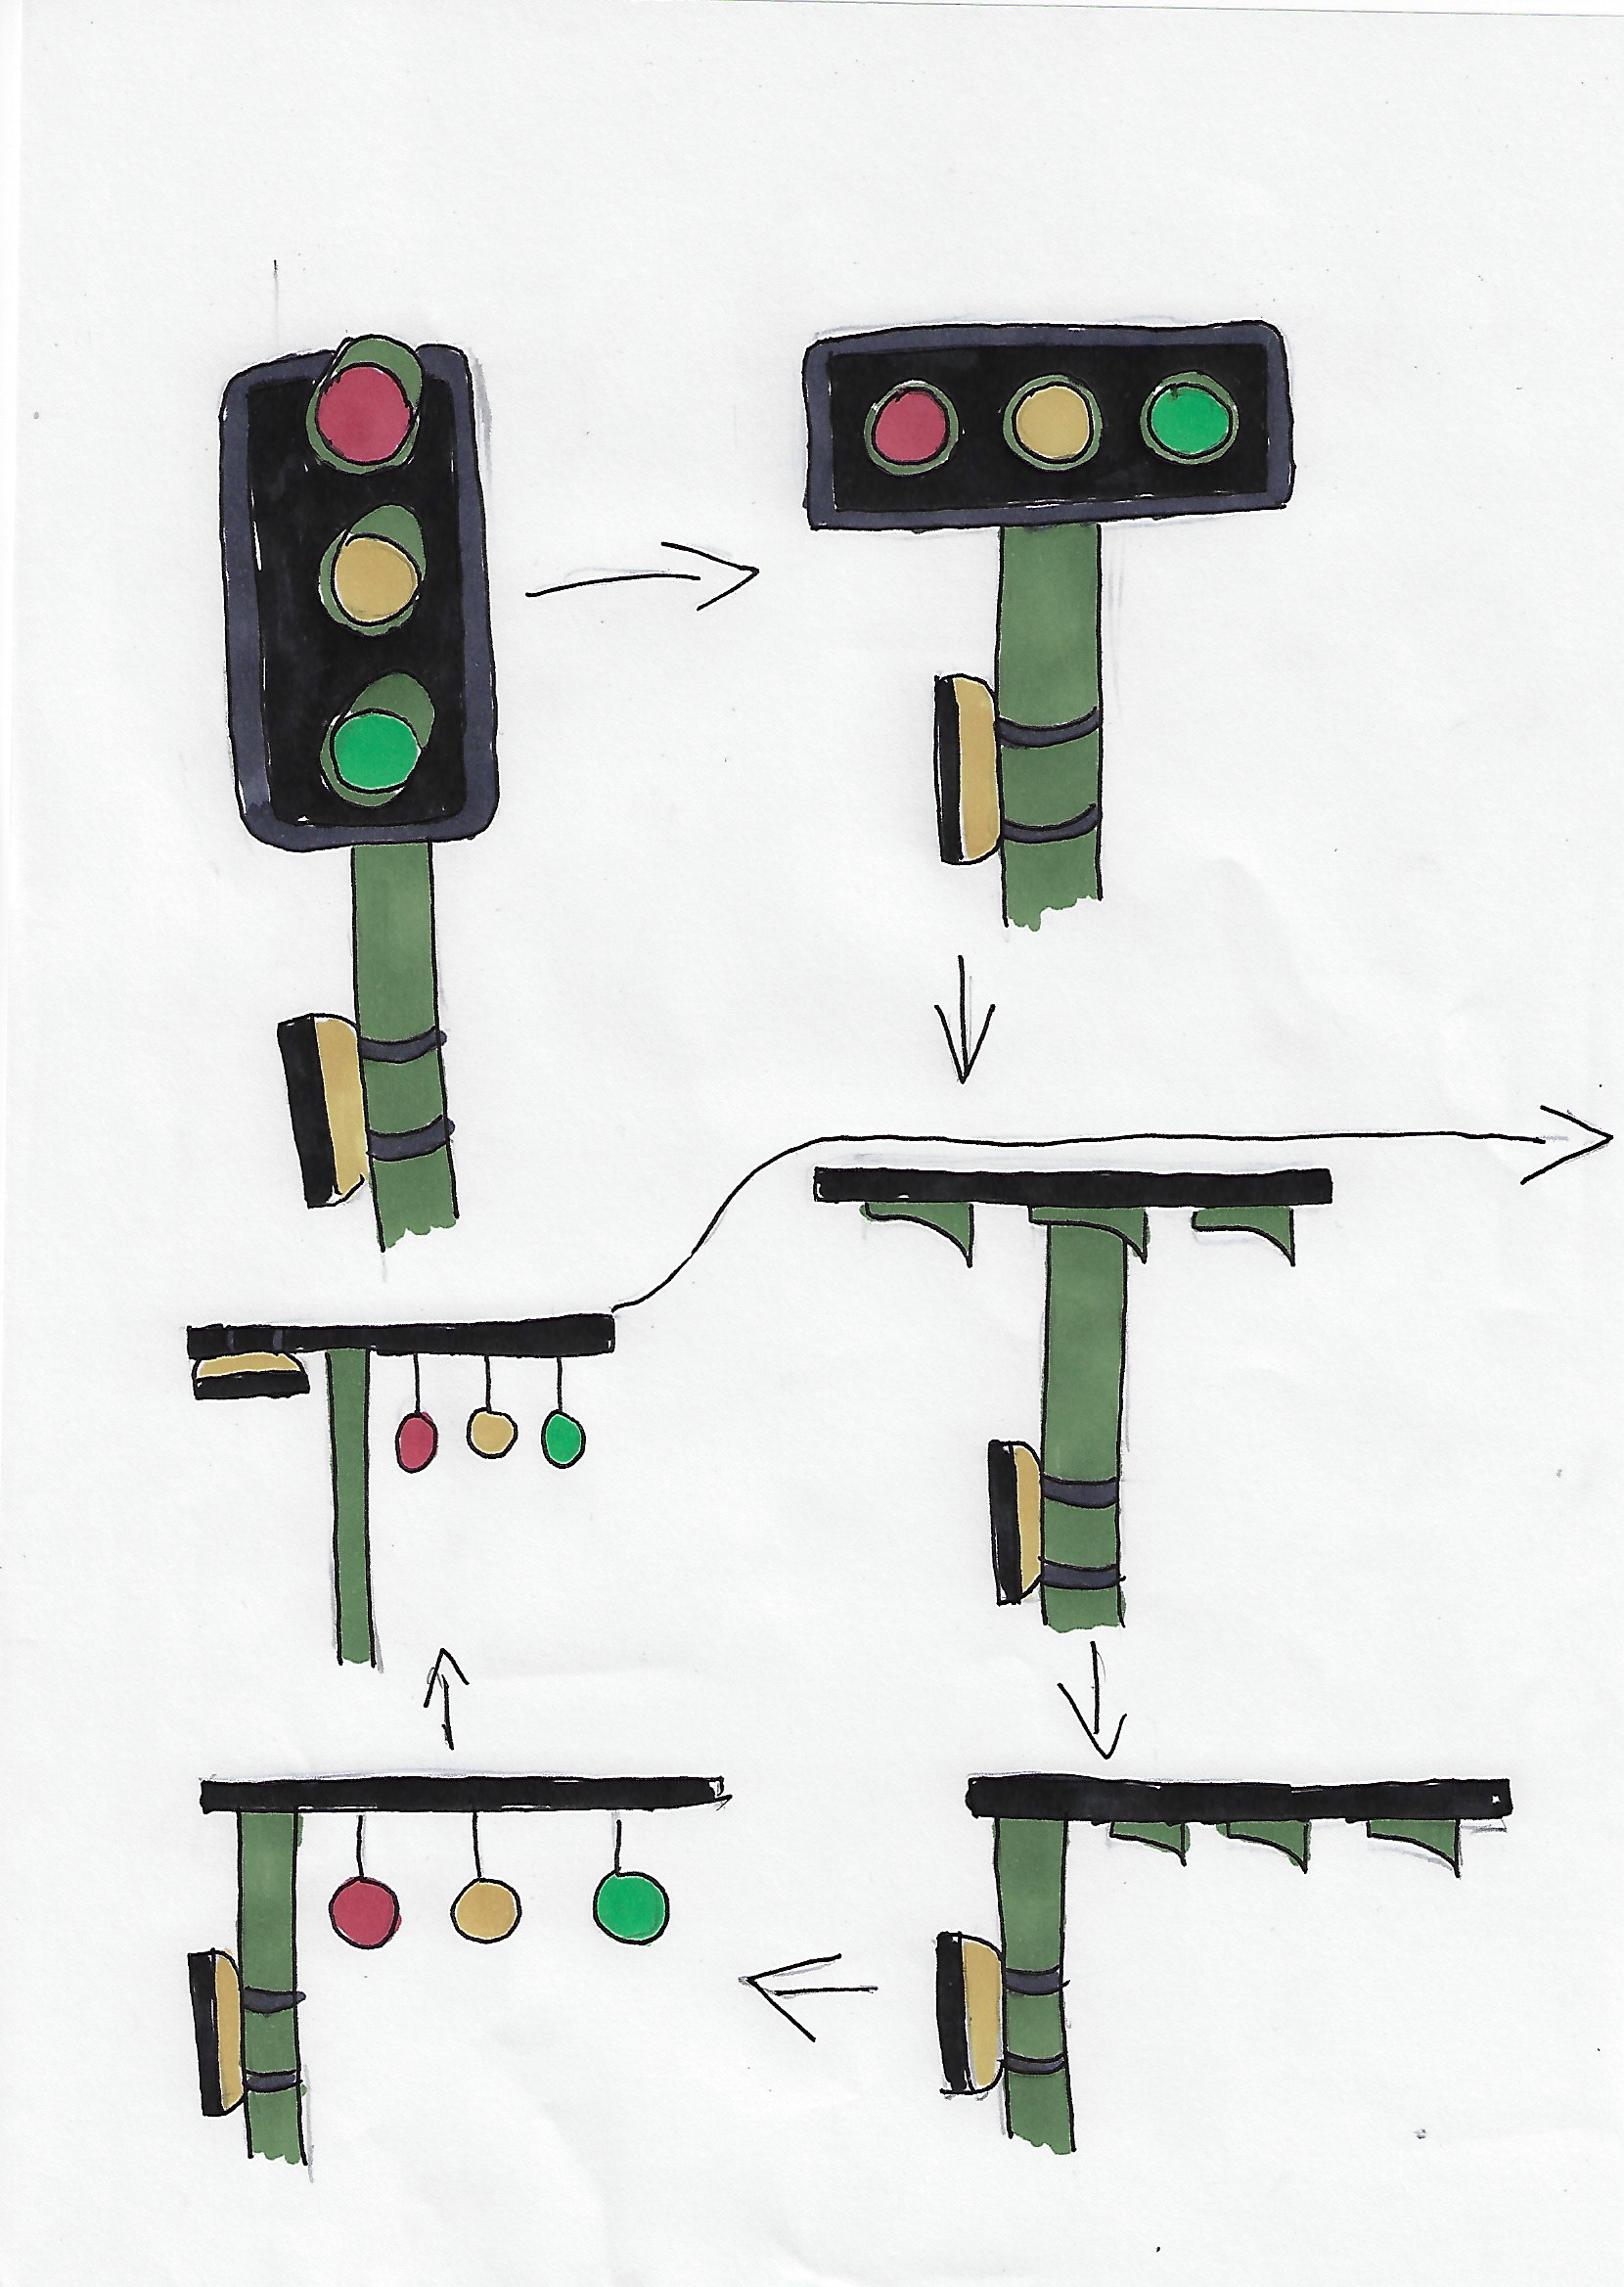
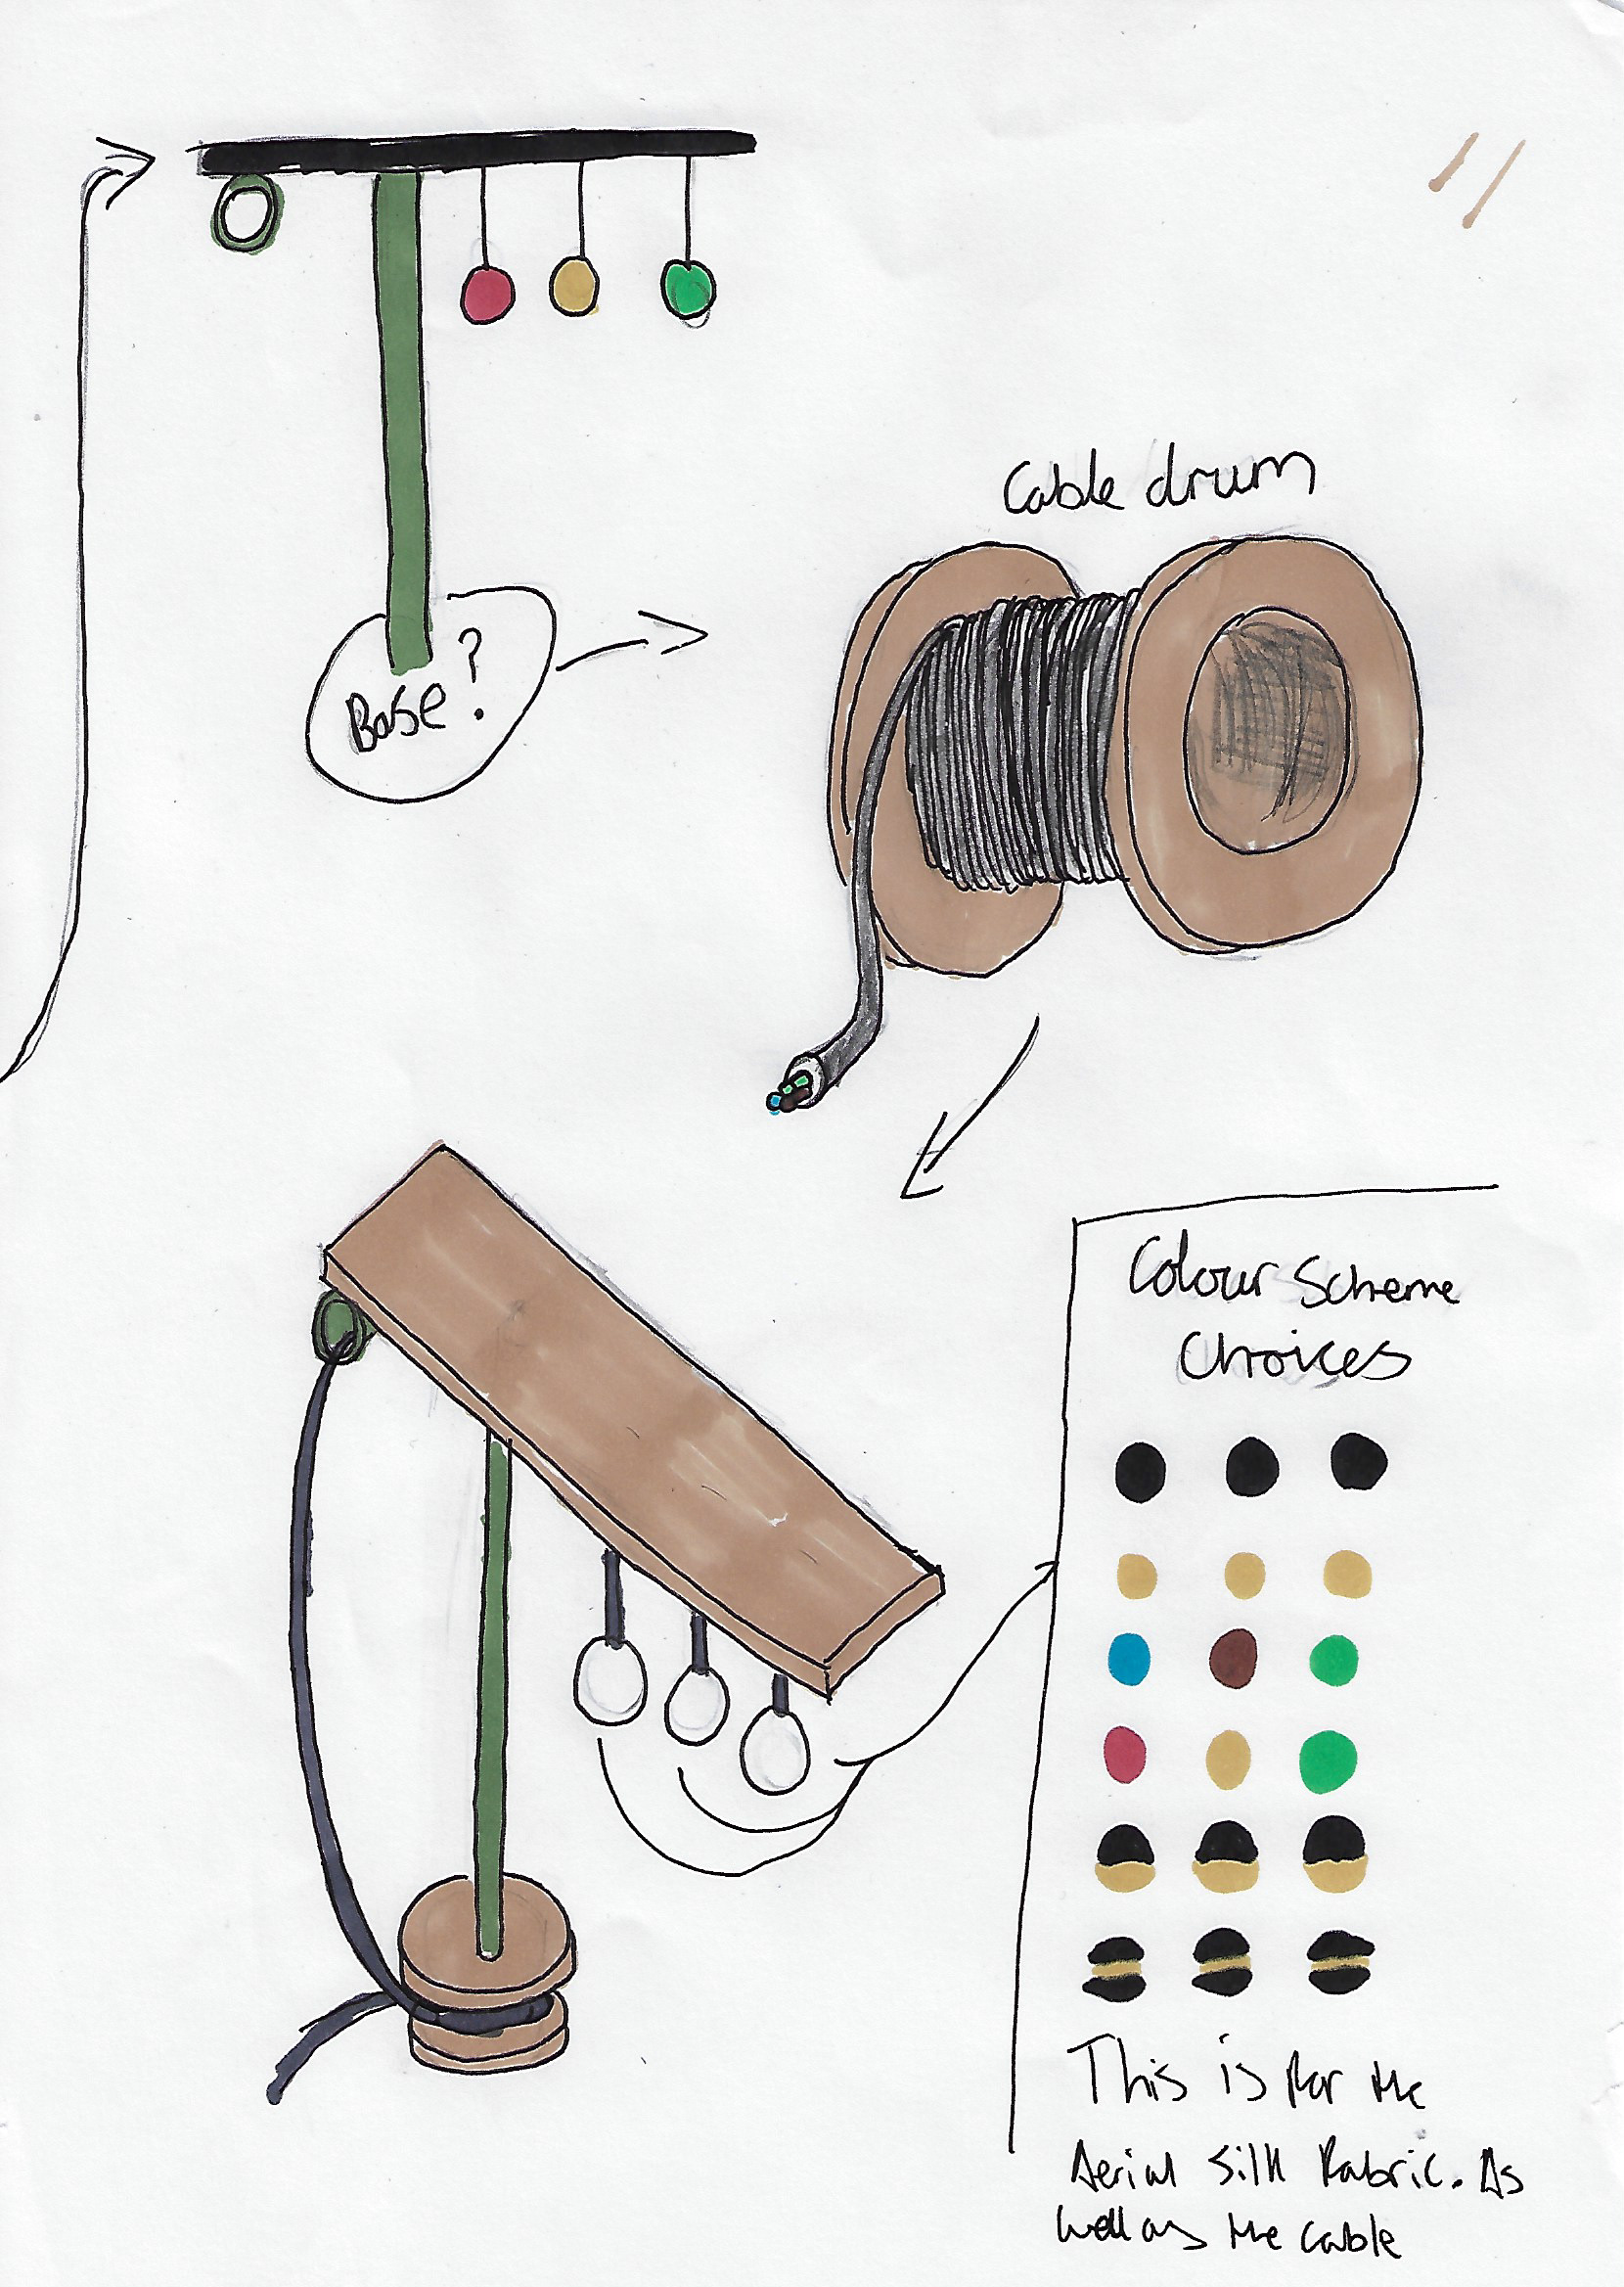
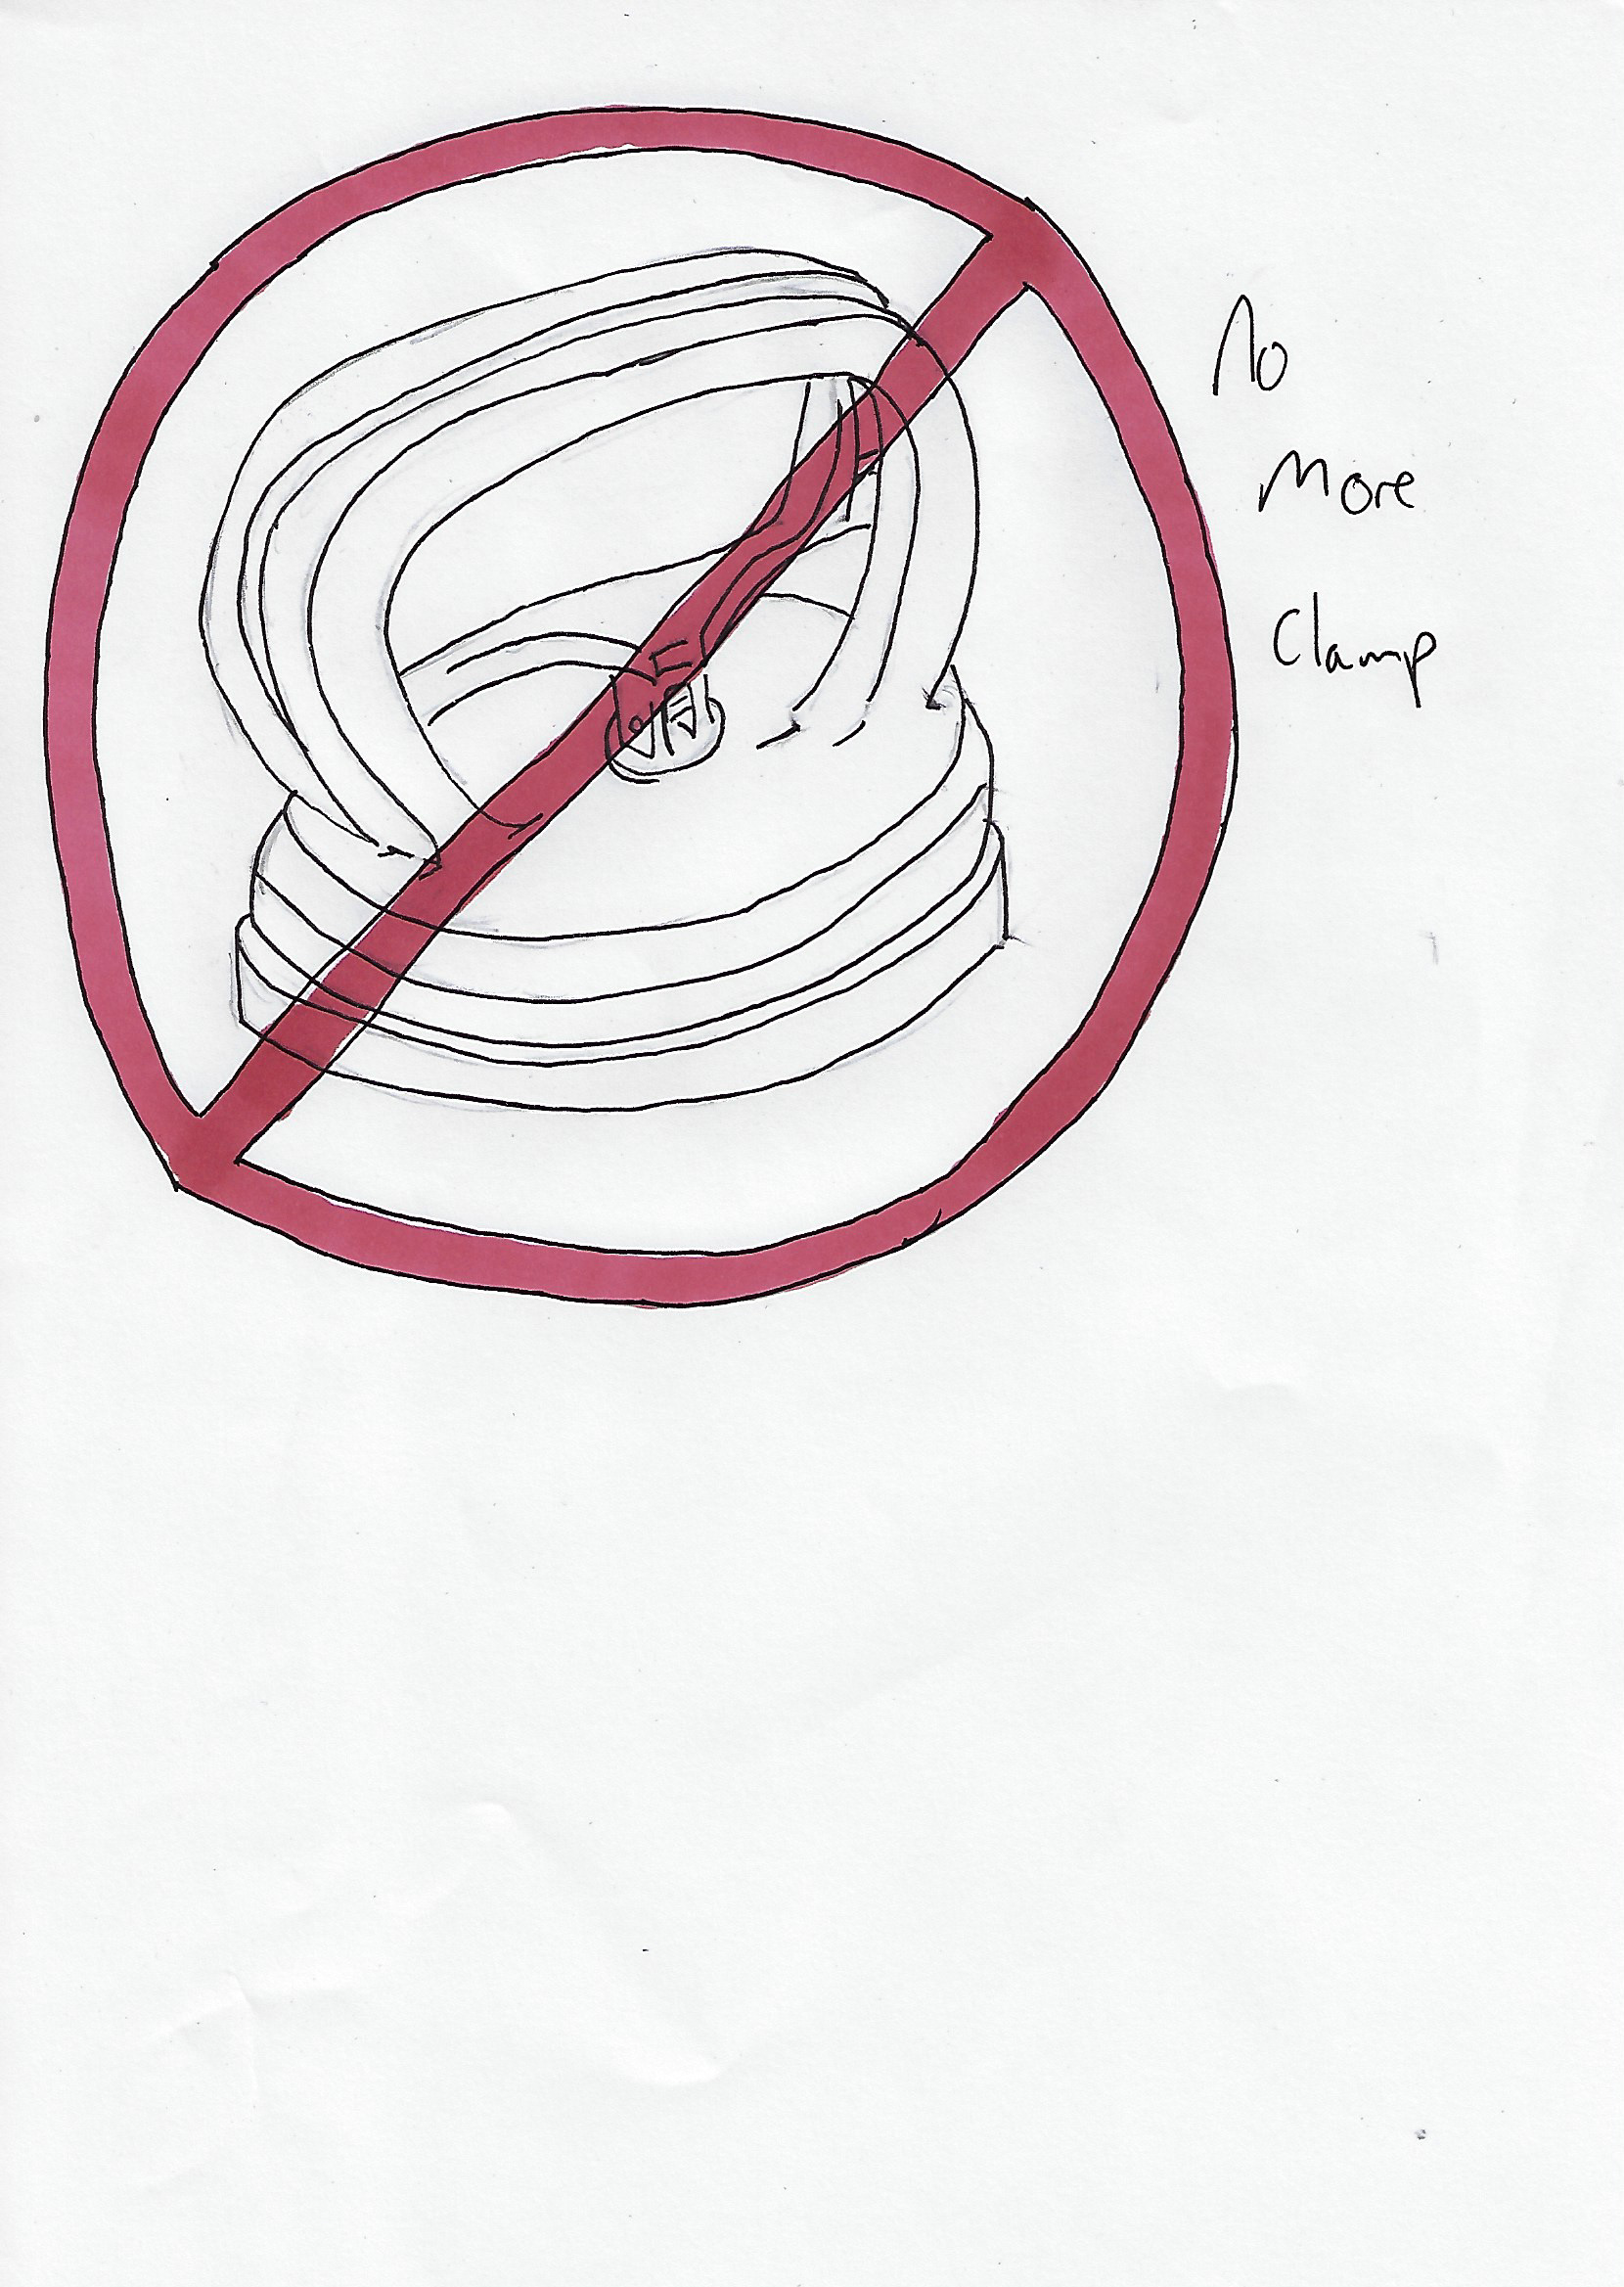
The suction clamp didn't fit in with the overall design. anyway, a lamp is usually kept in the same place in the room. so since it doesn't move it kind of refers to friction. I should also make aware that the scanner on the printer made the colours in the above drawings go slightly off. the army green on the traffic is grey.
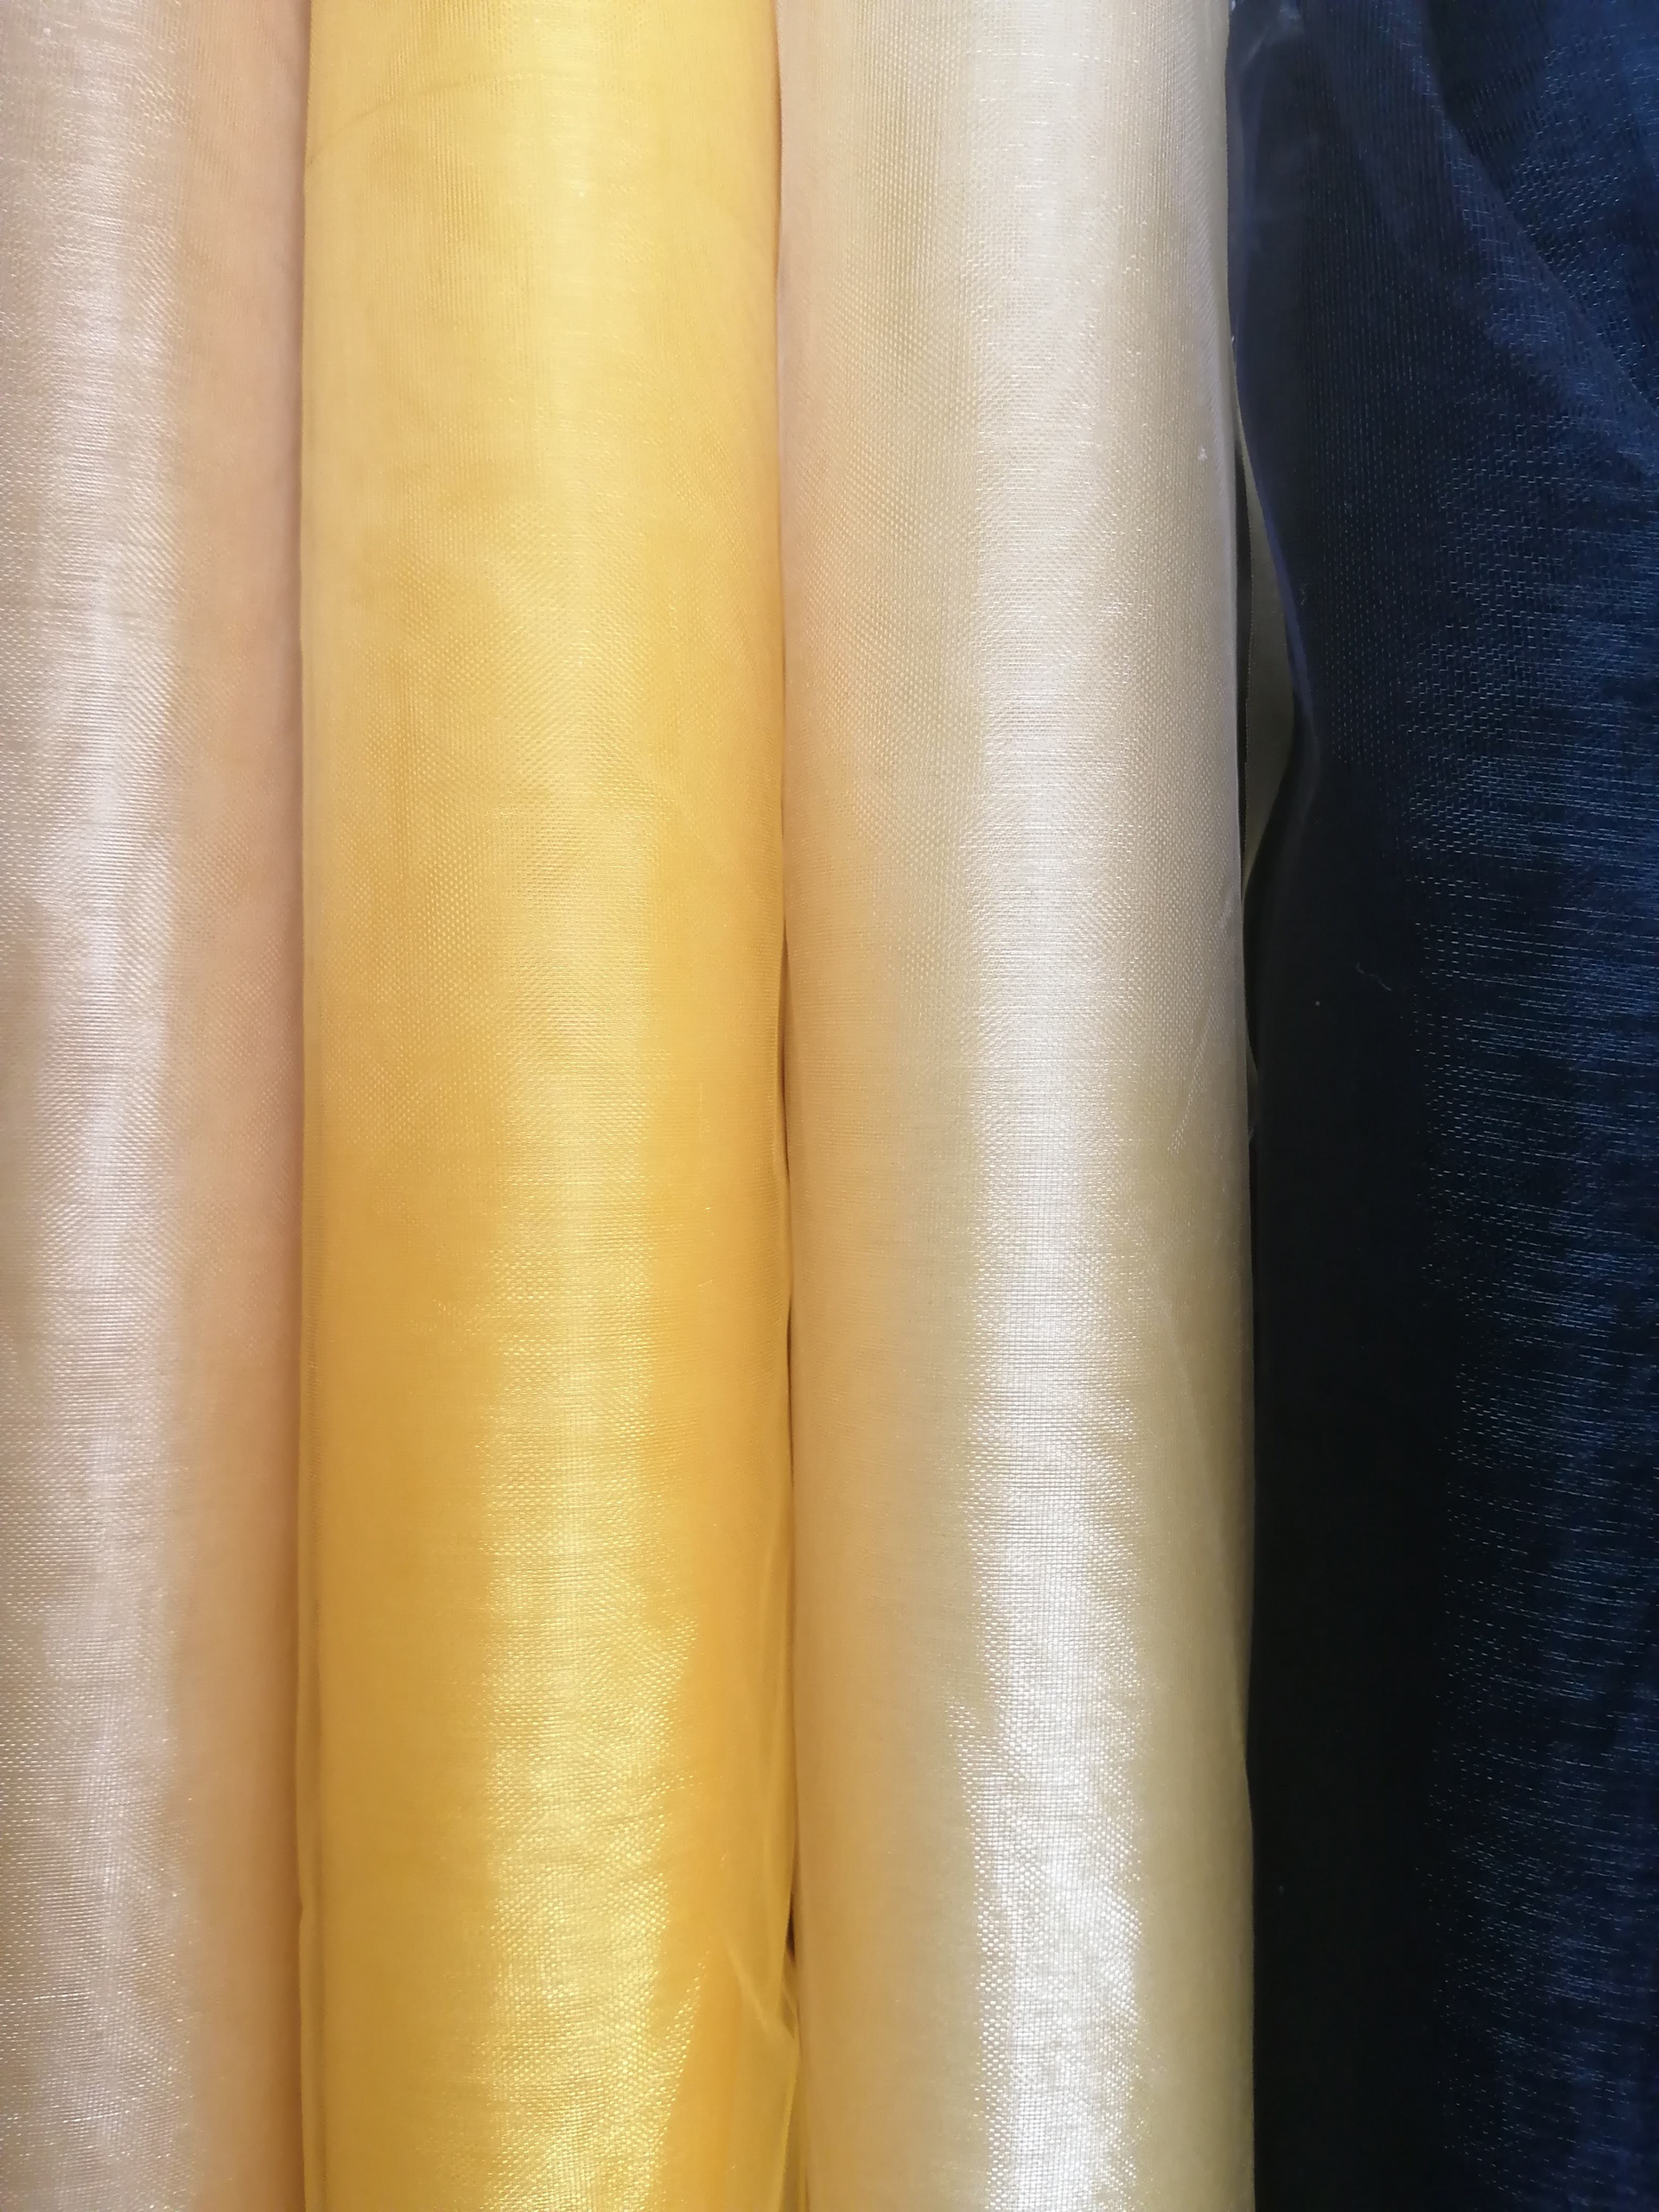
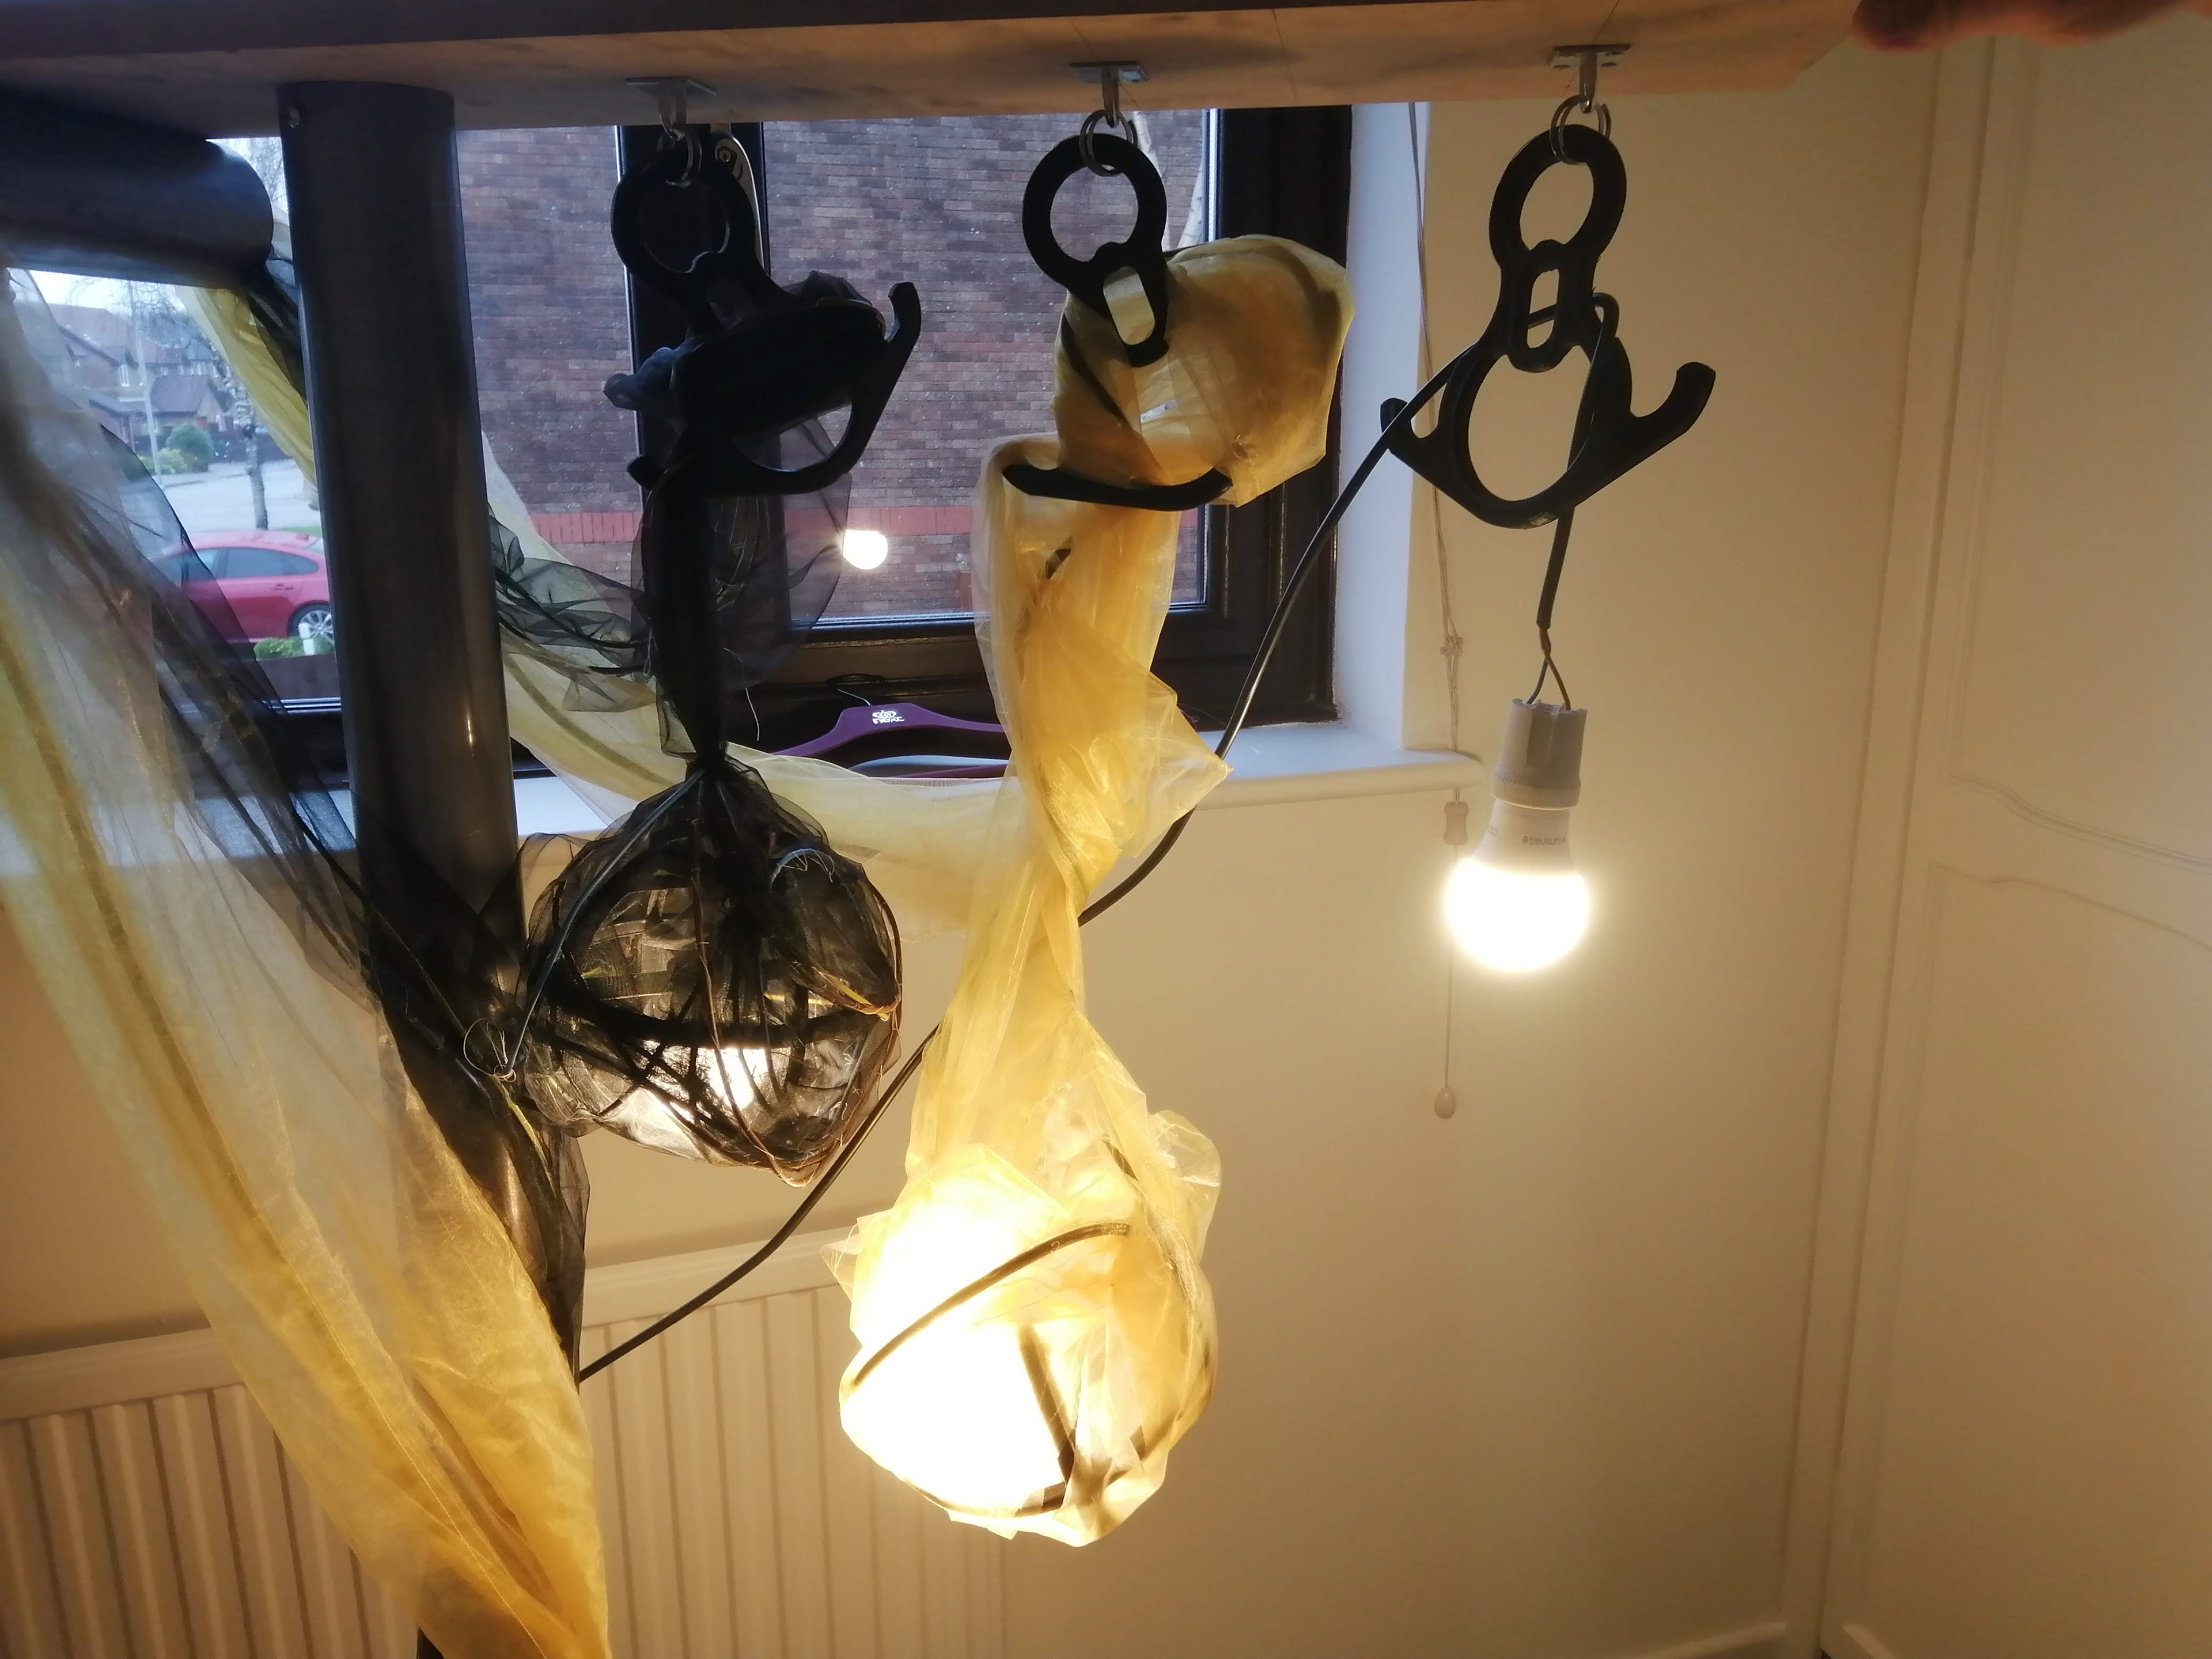
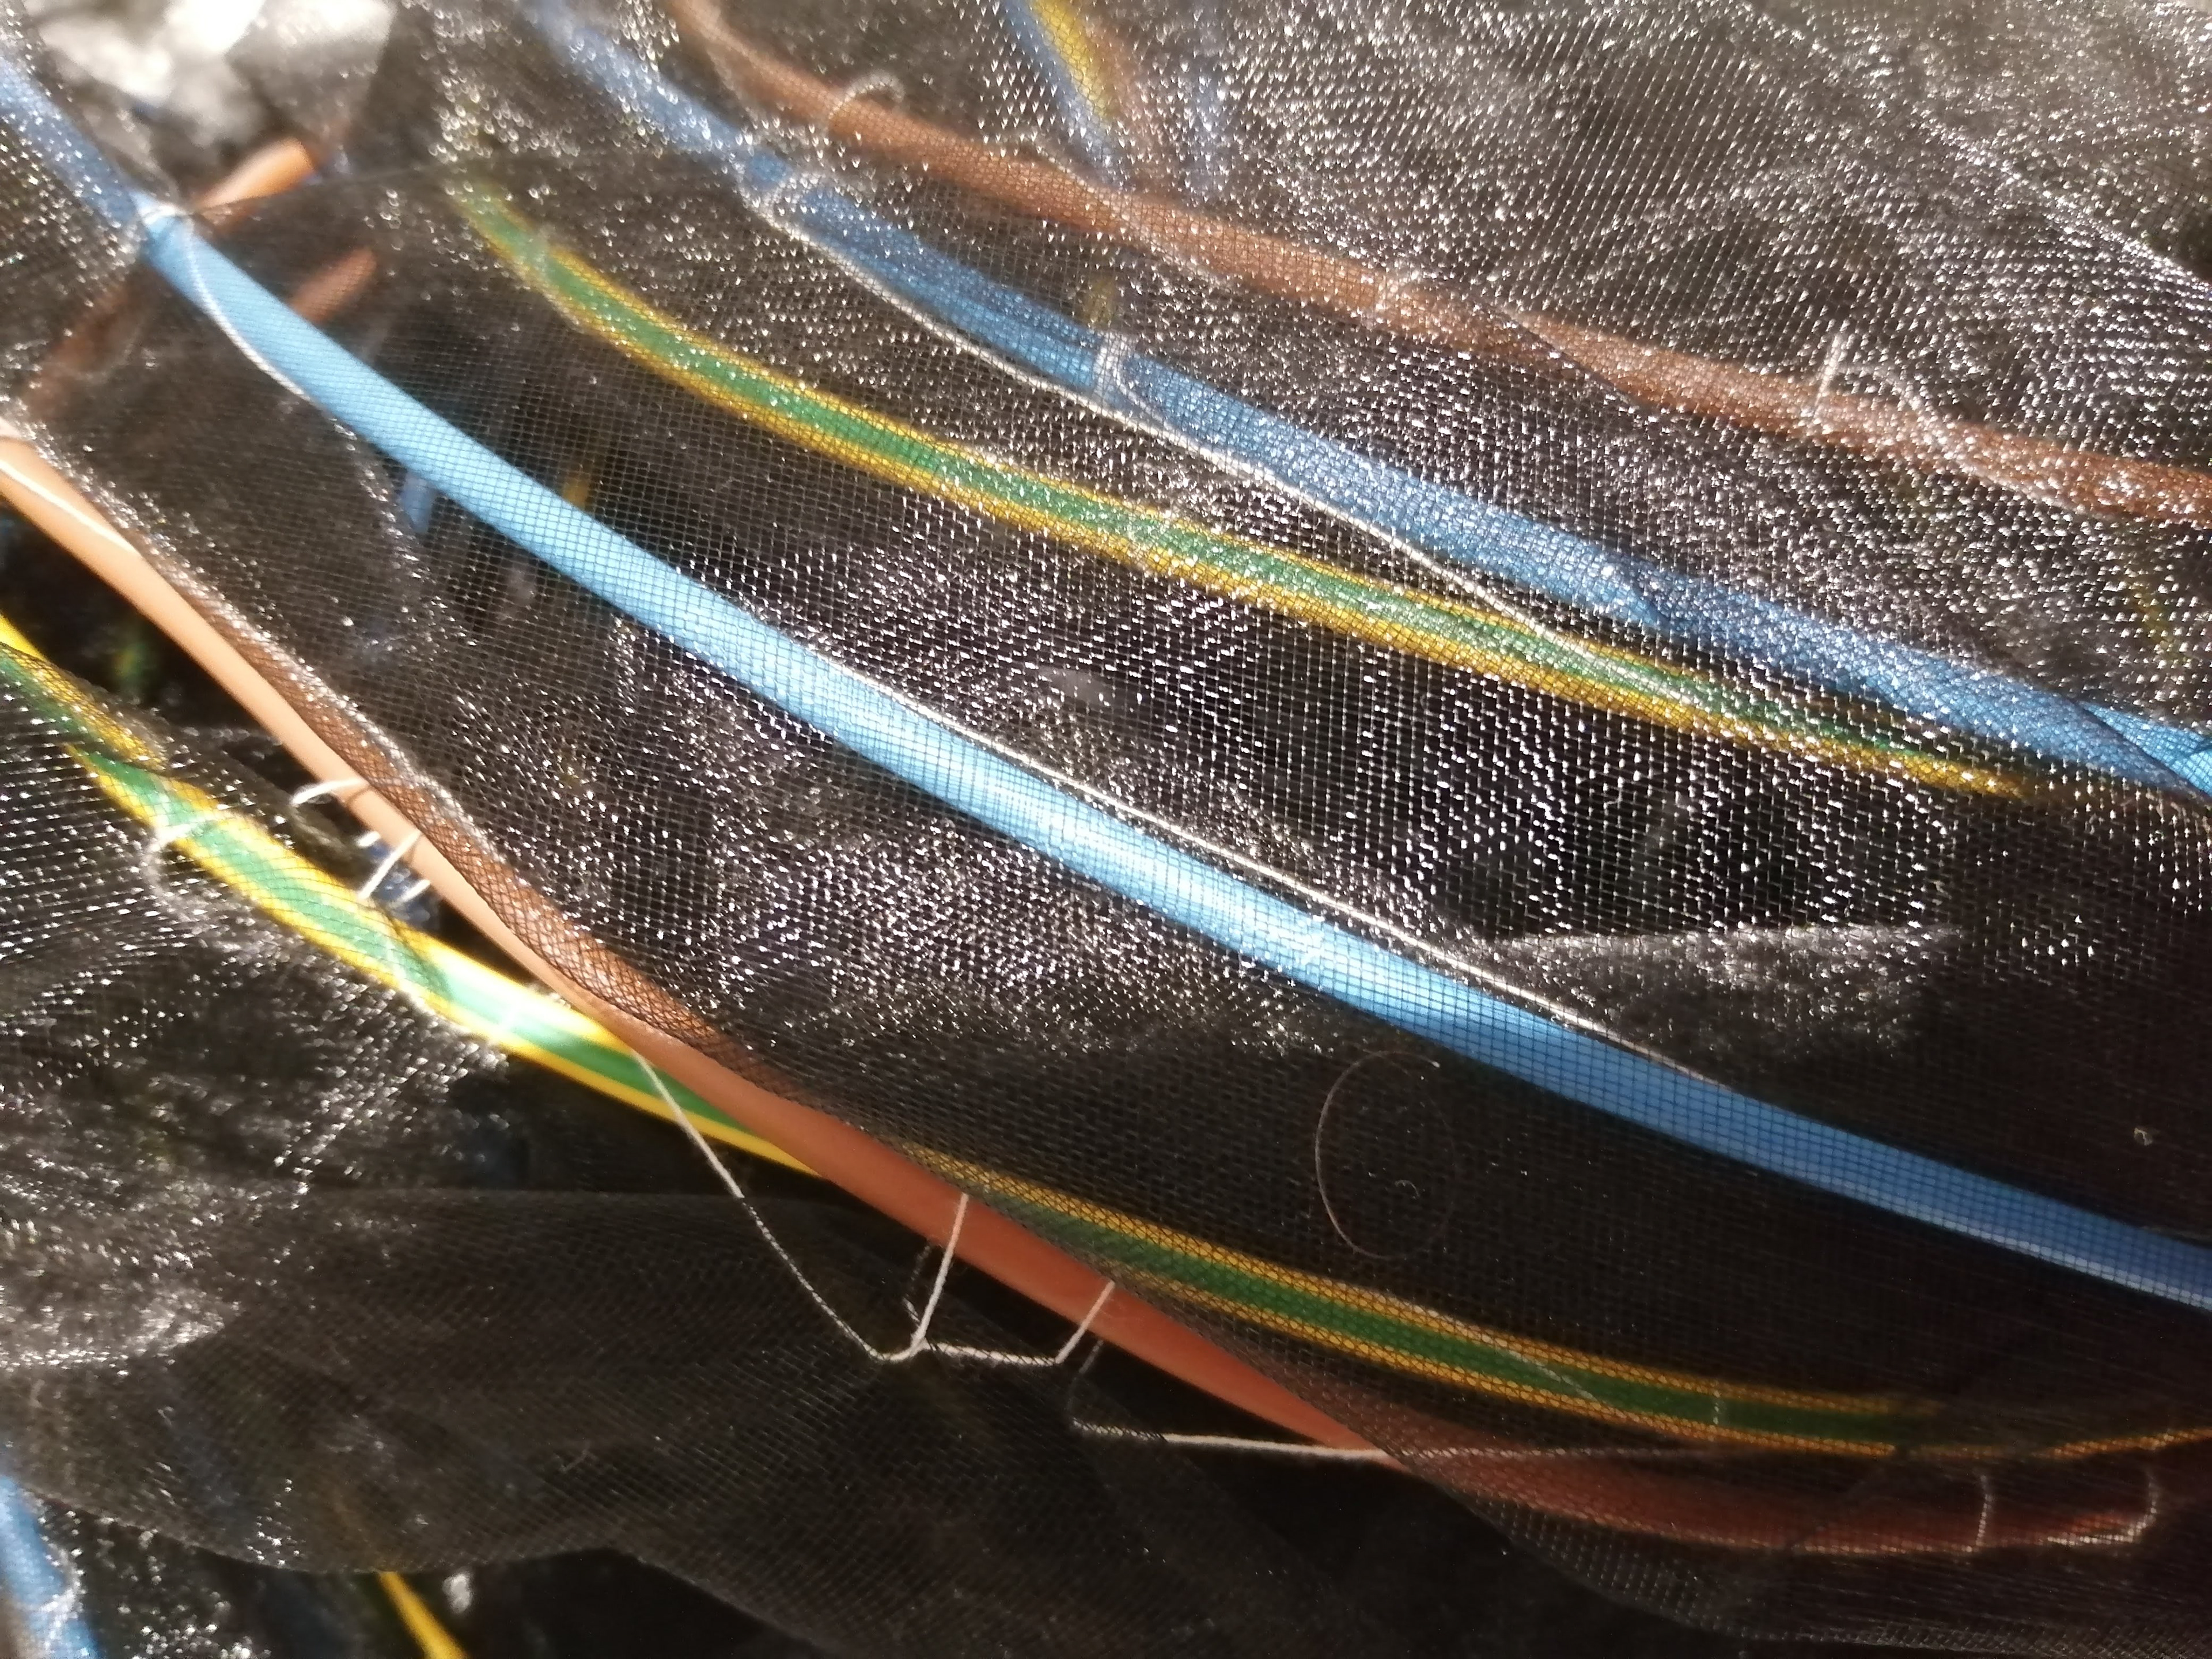
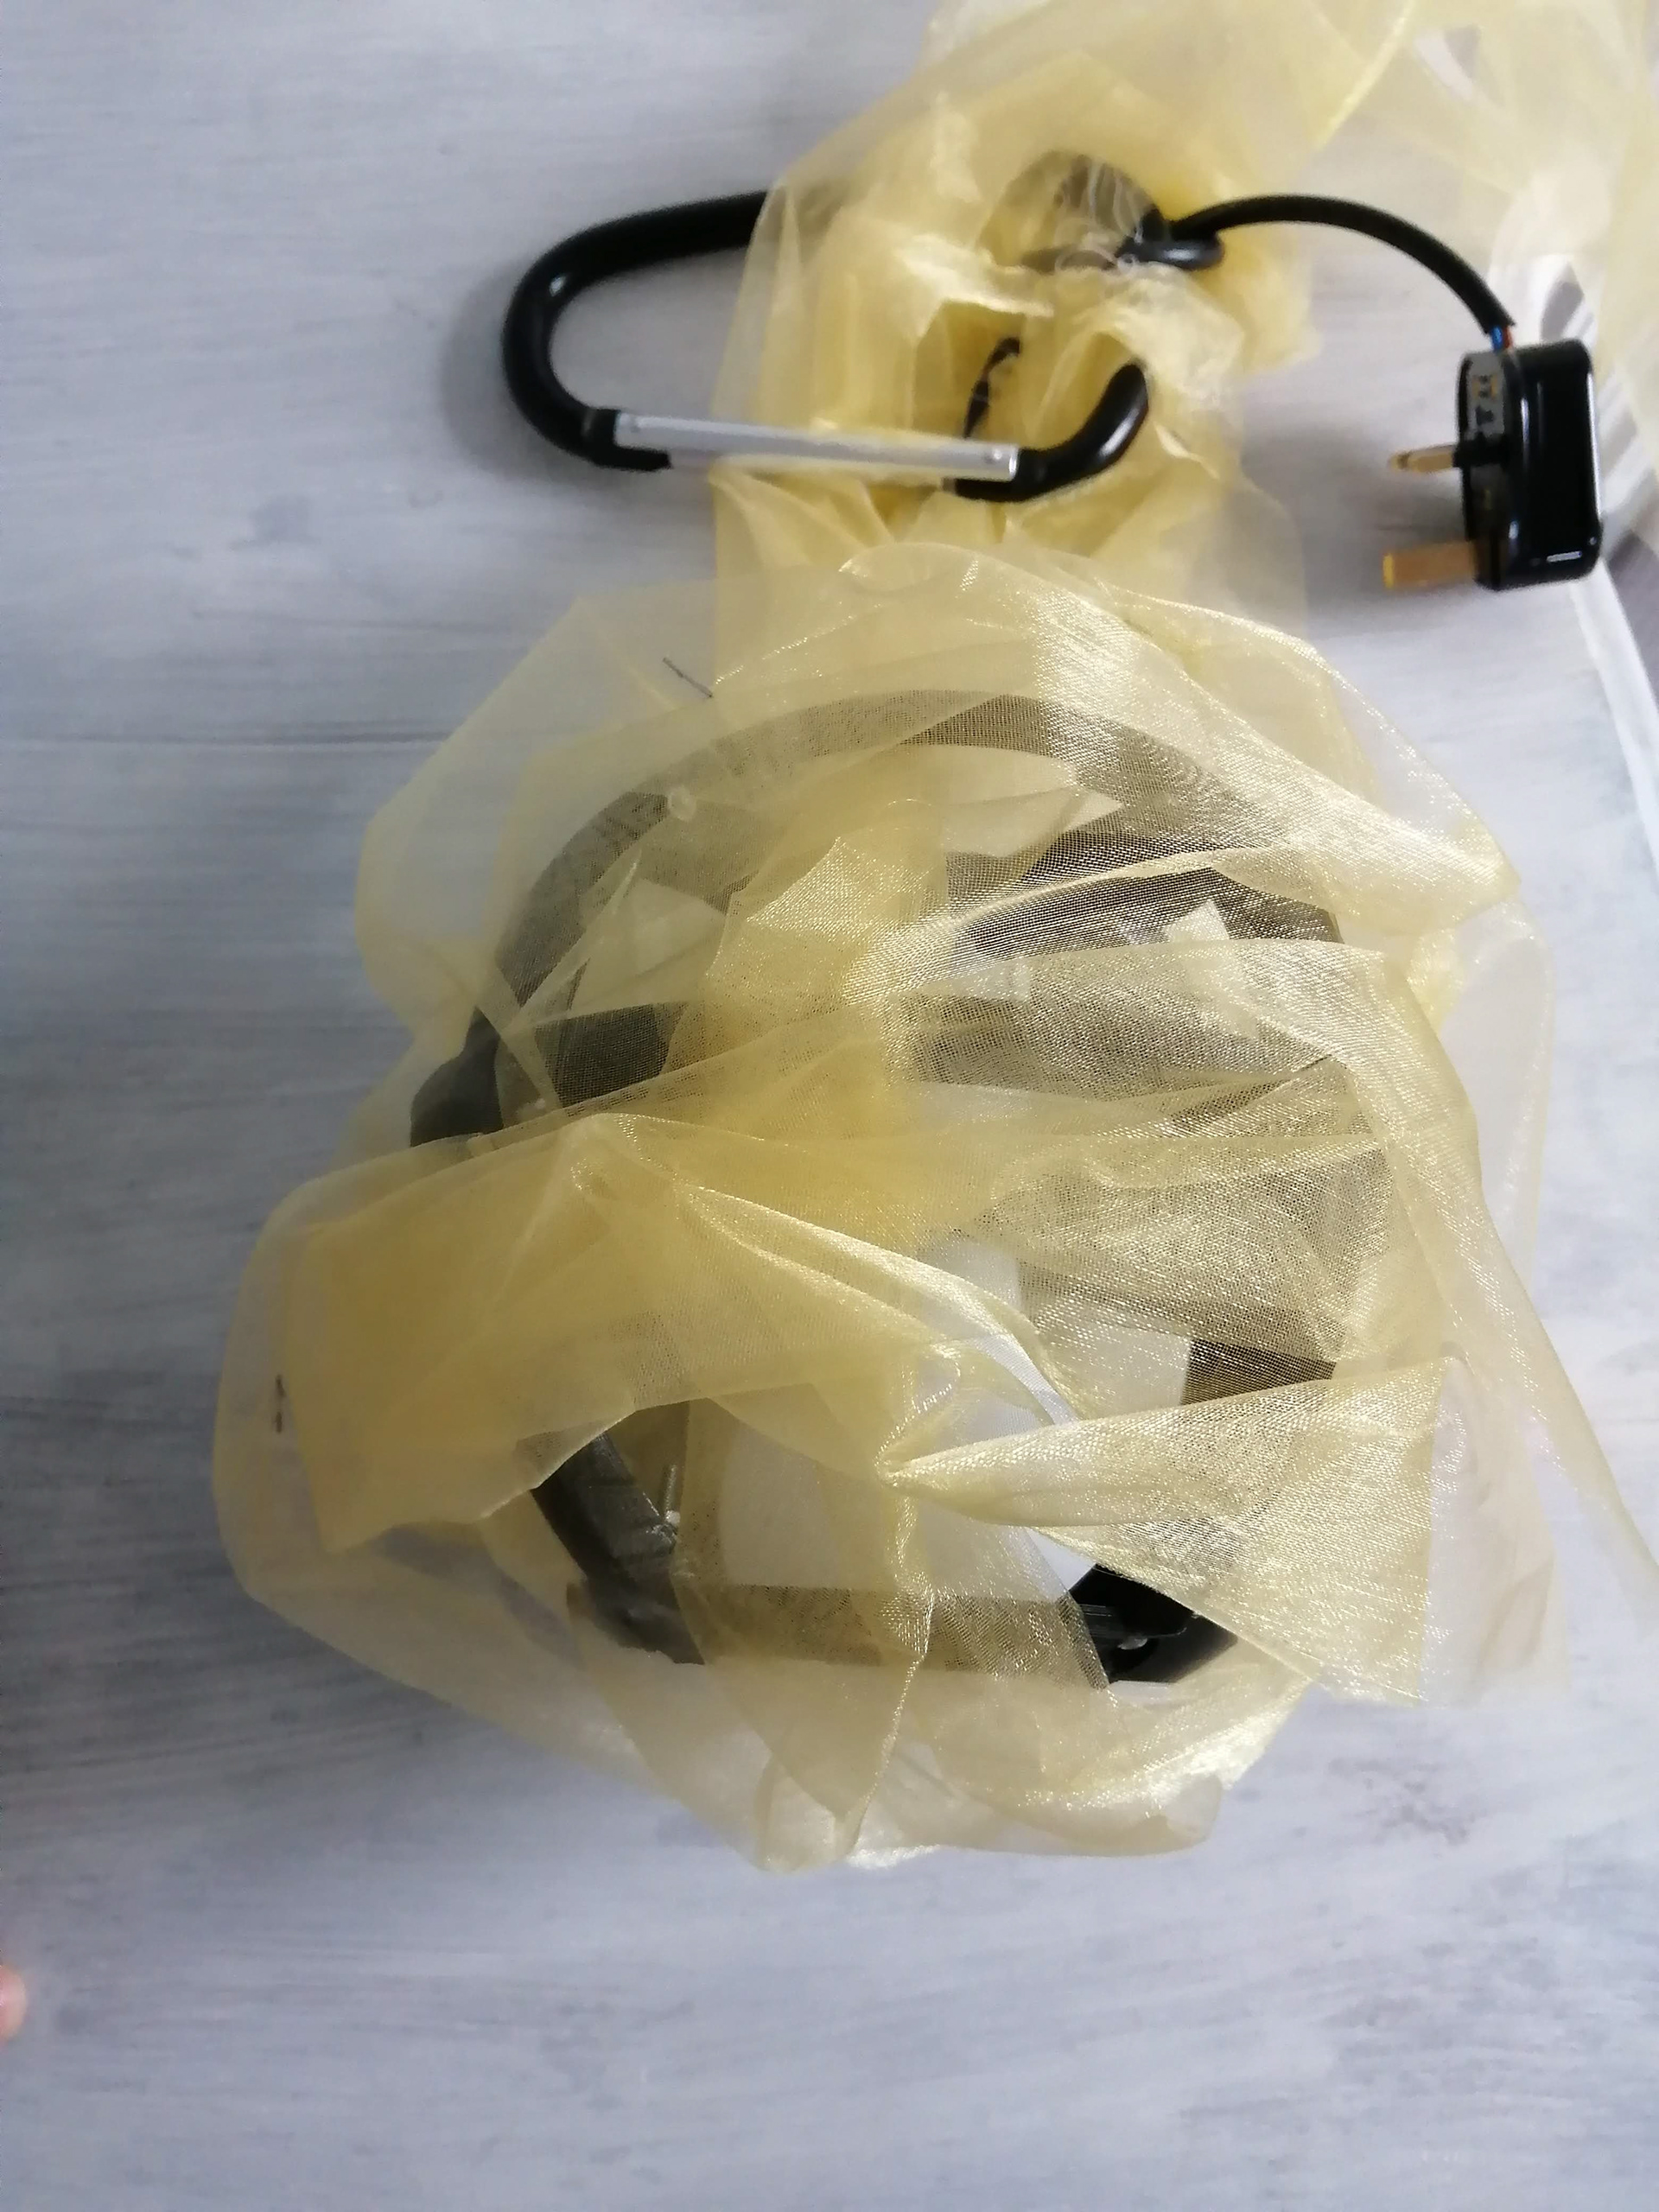
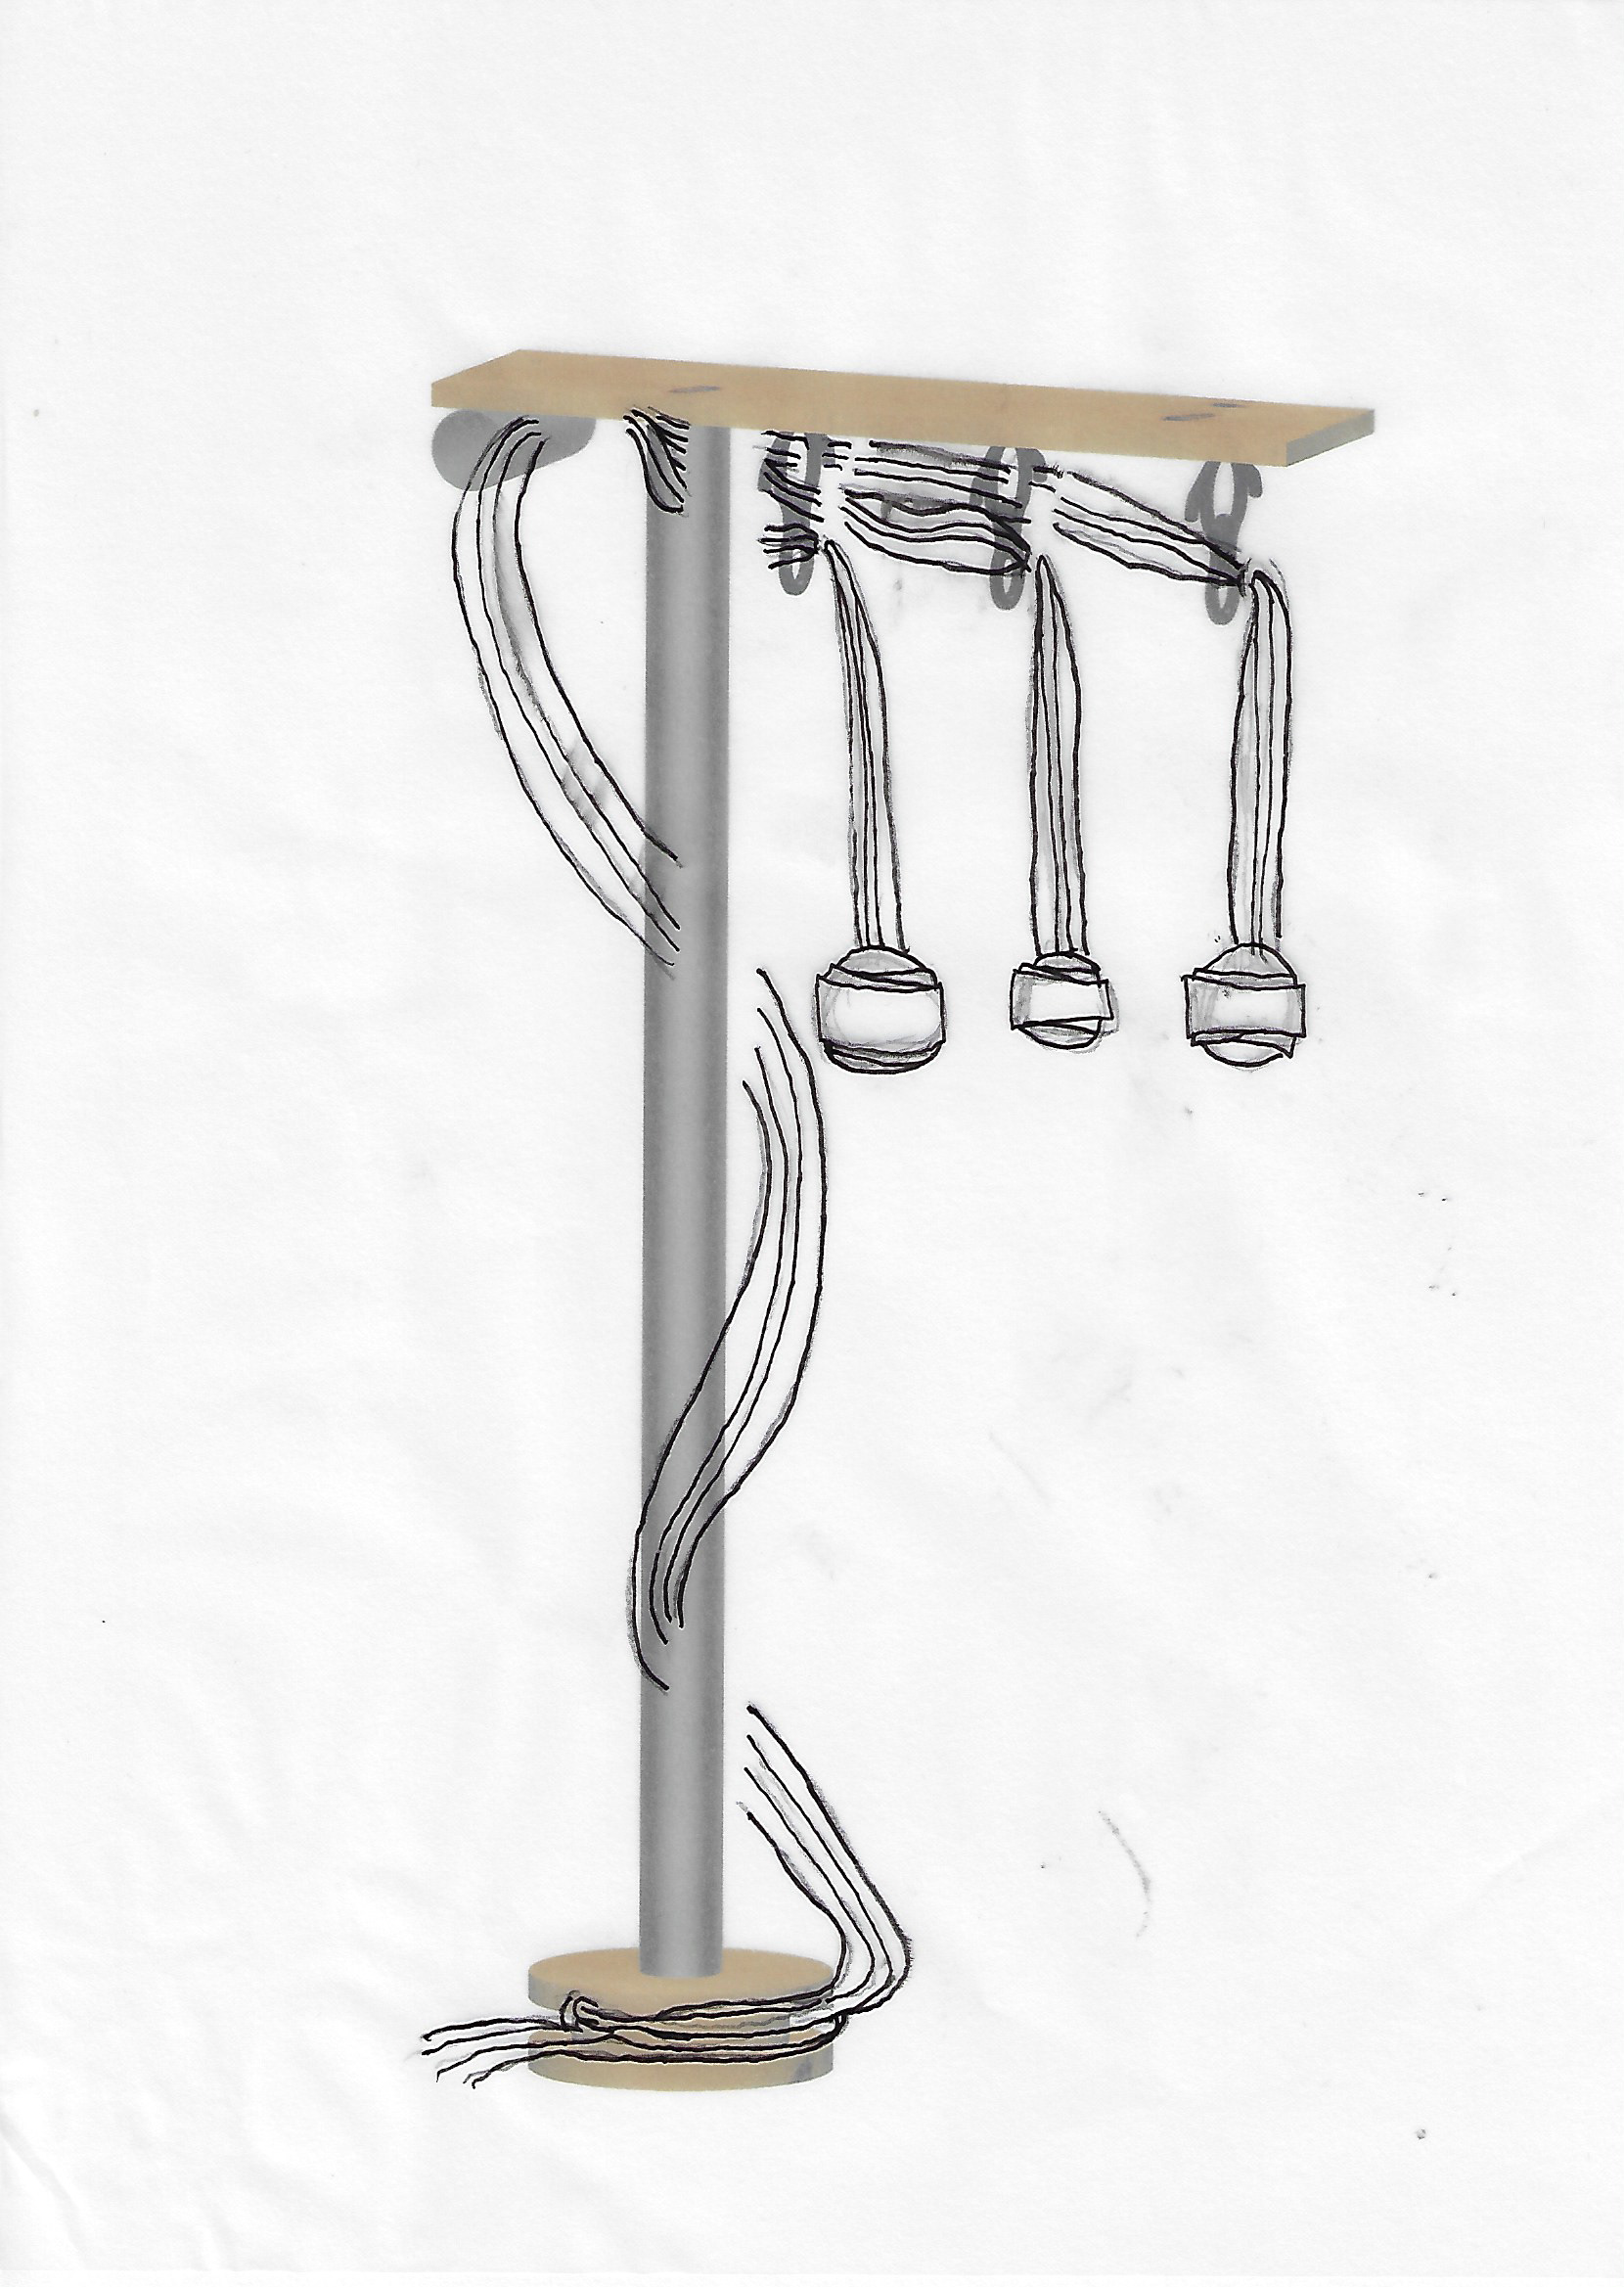
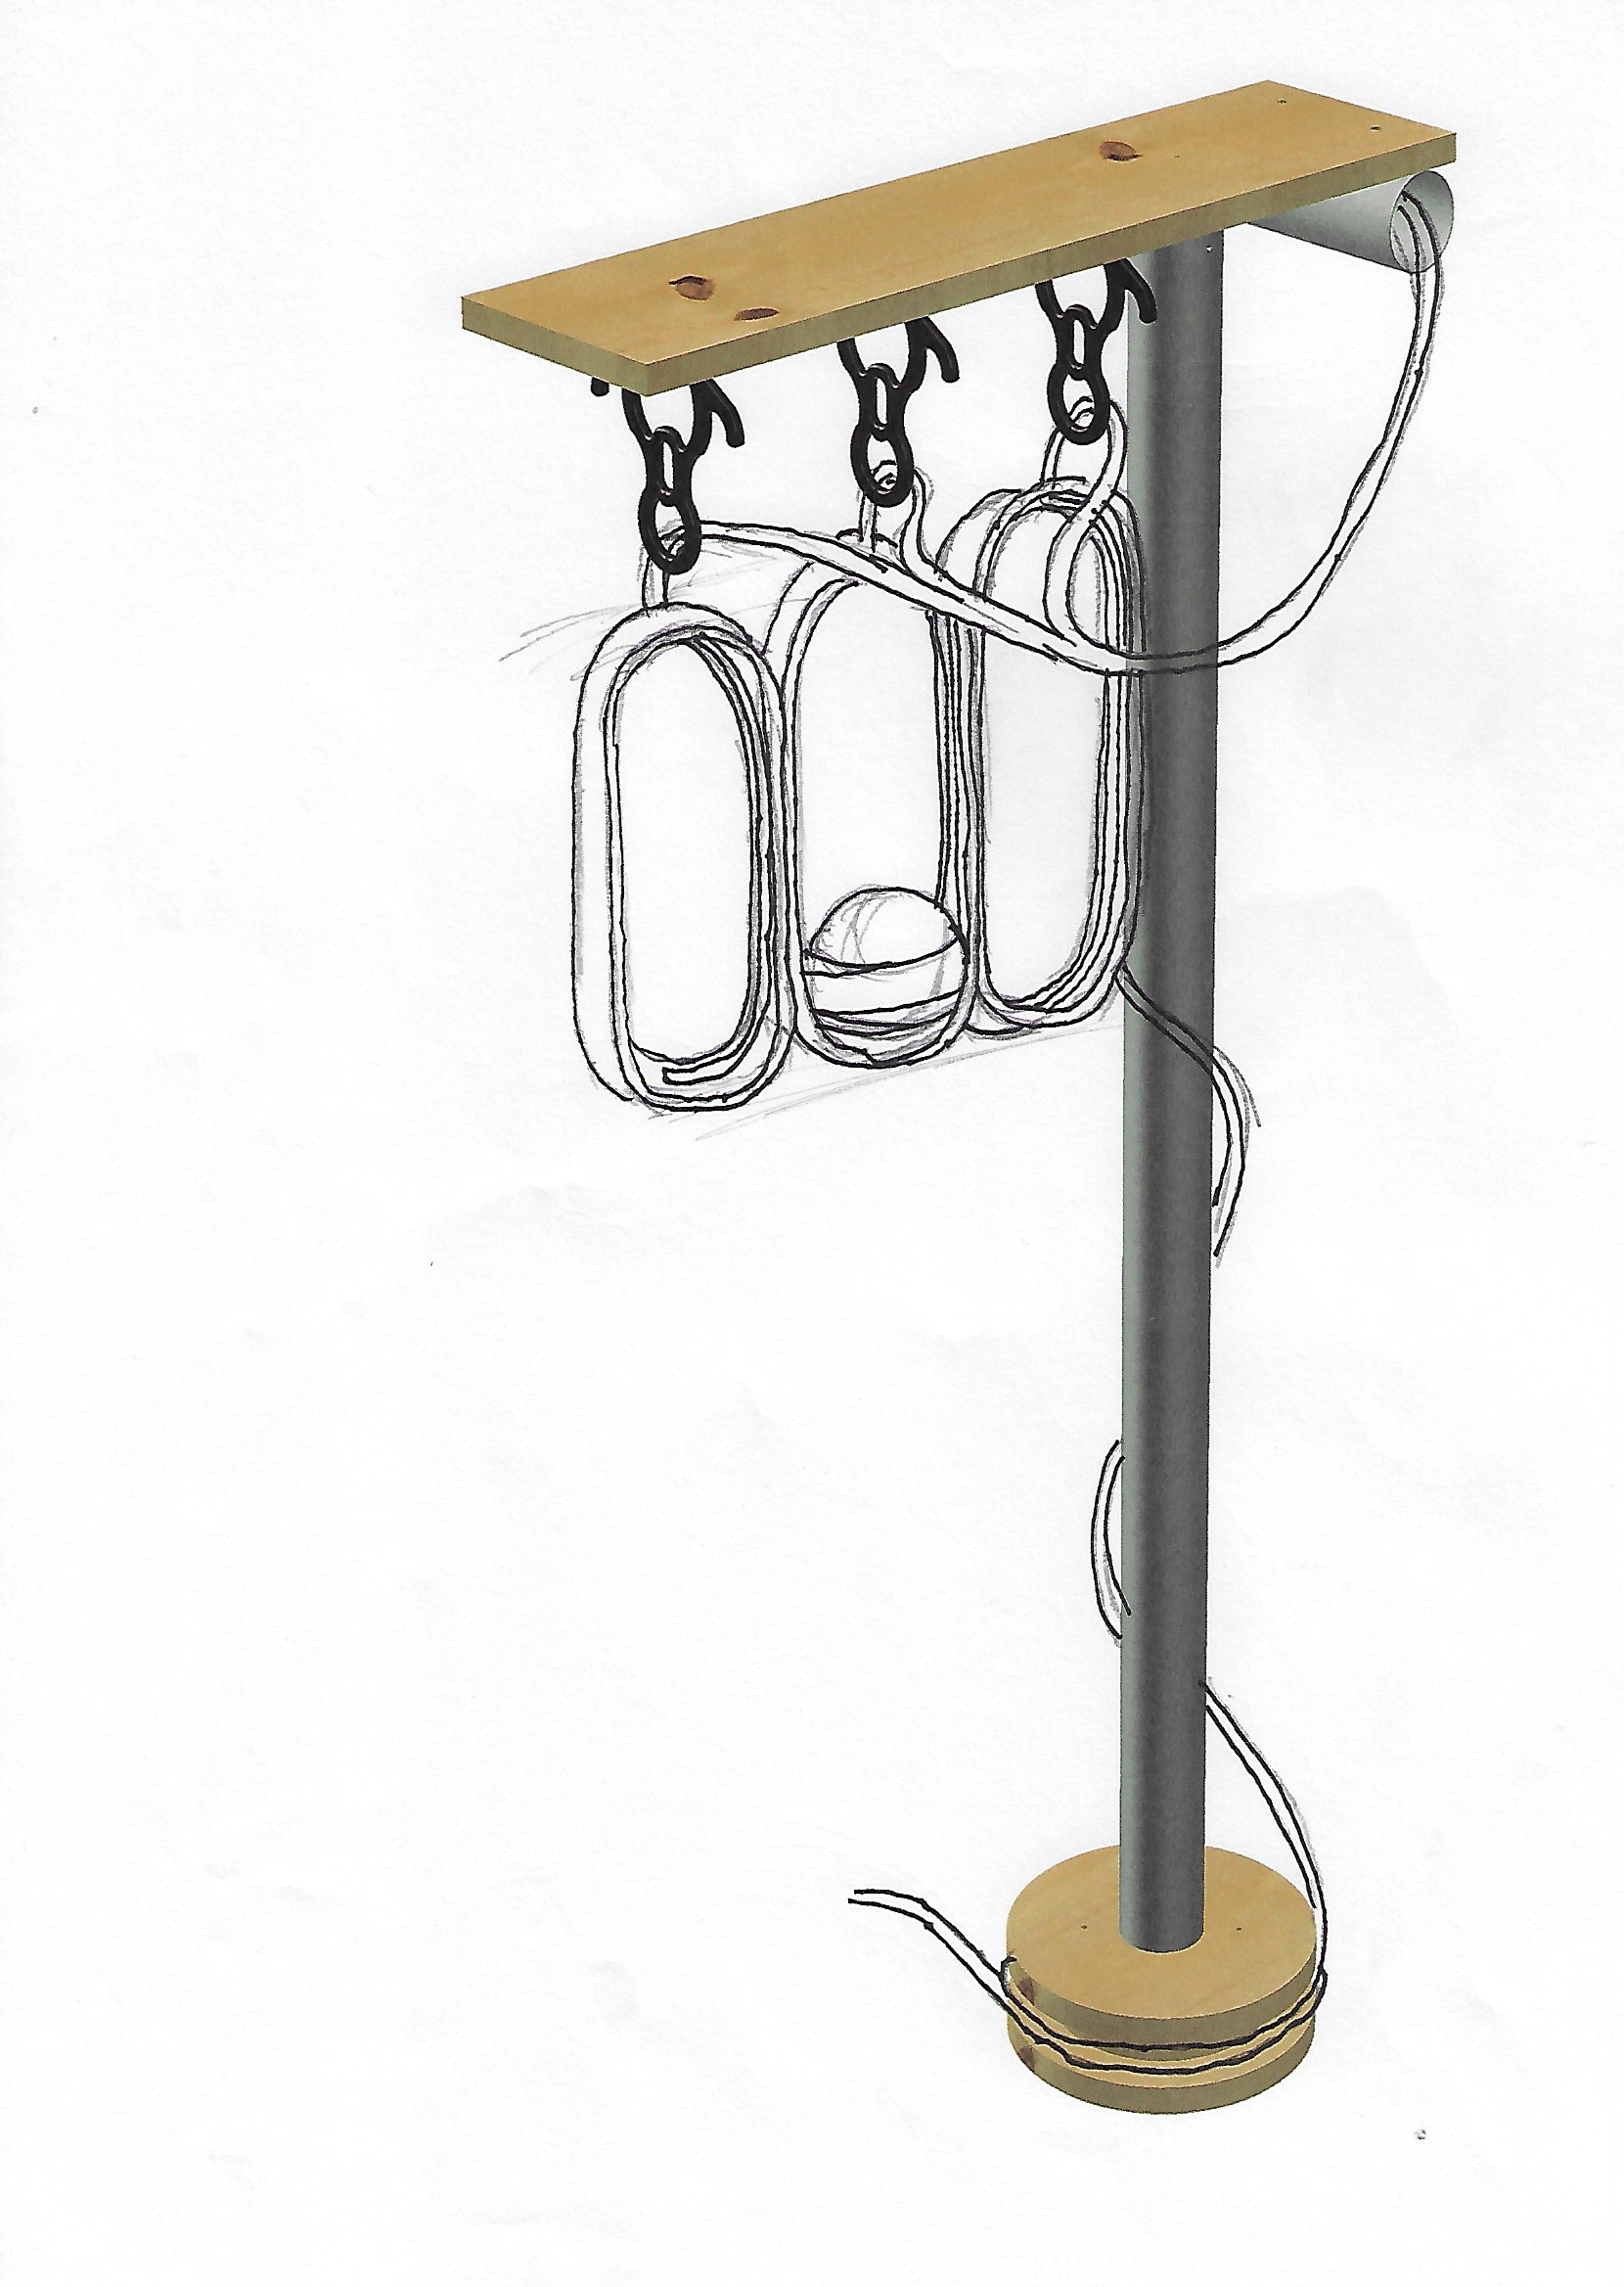
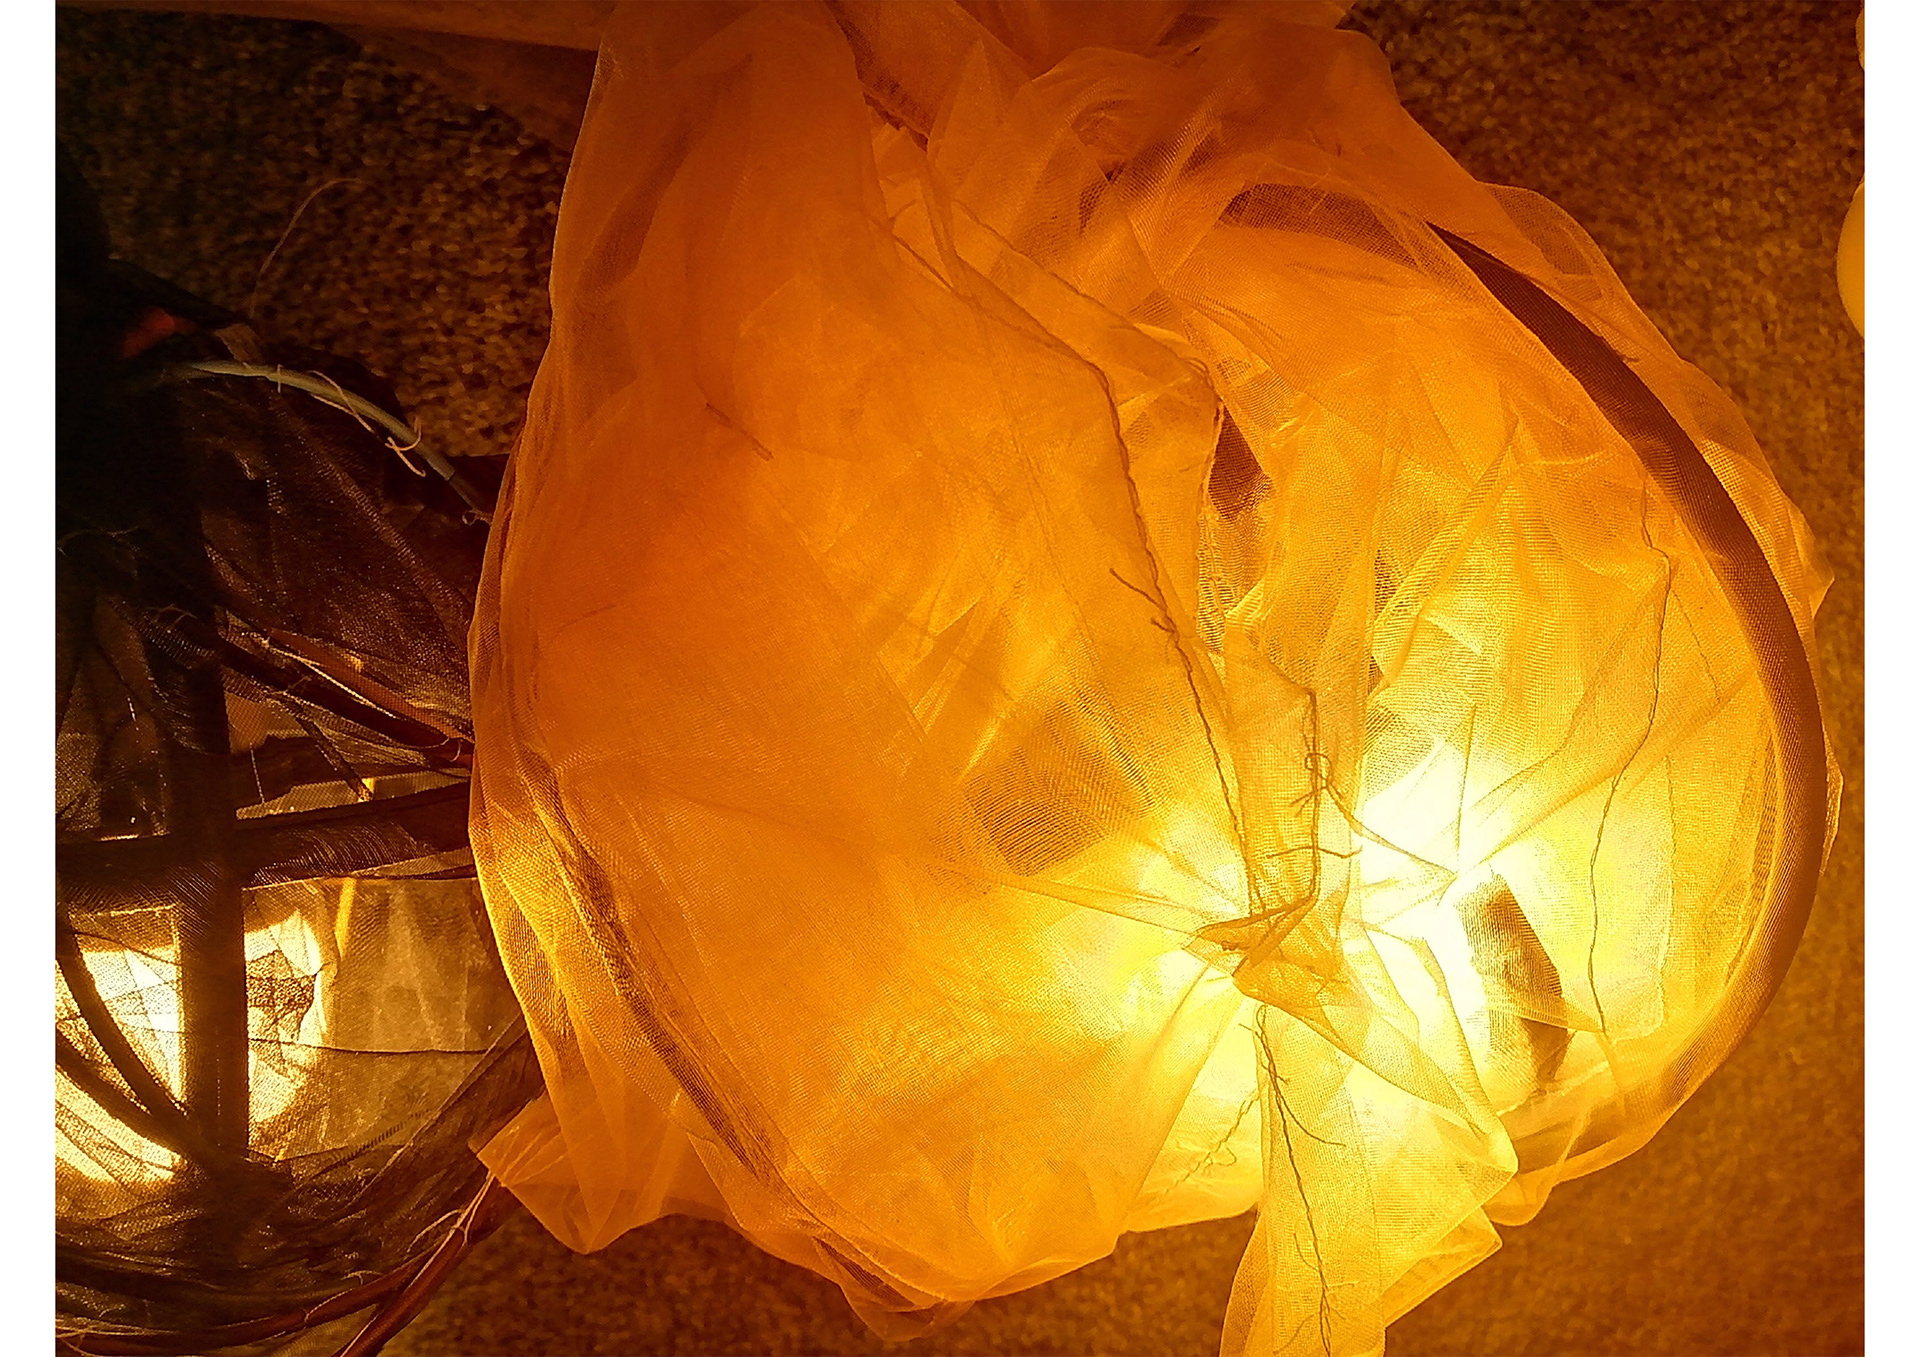
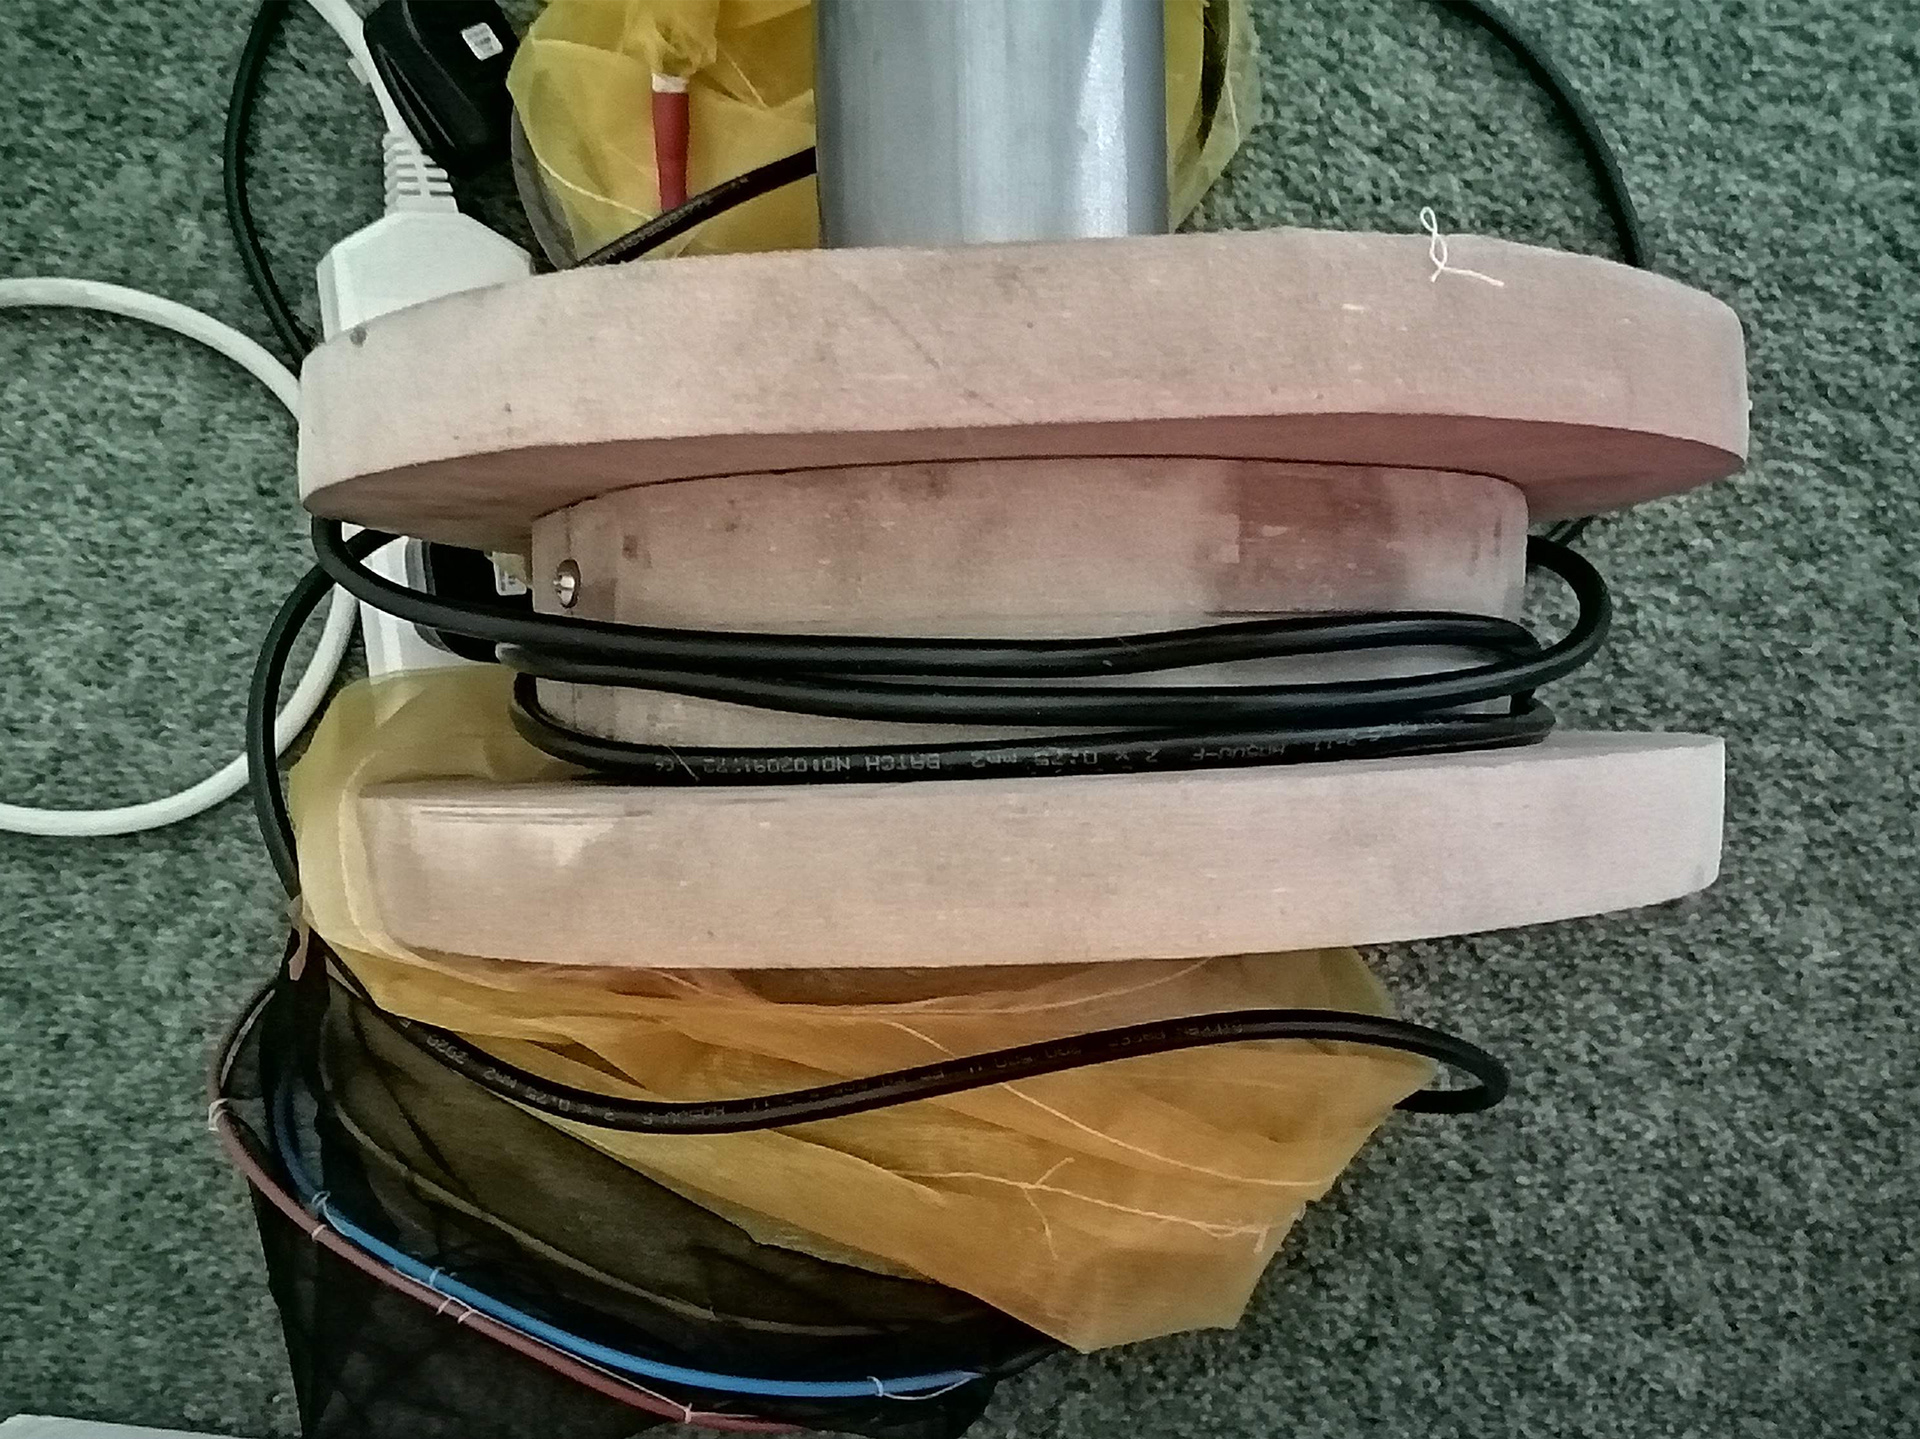
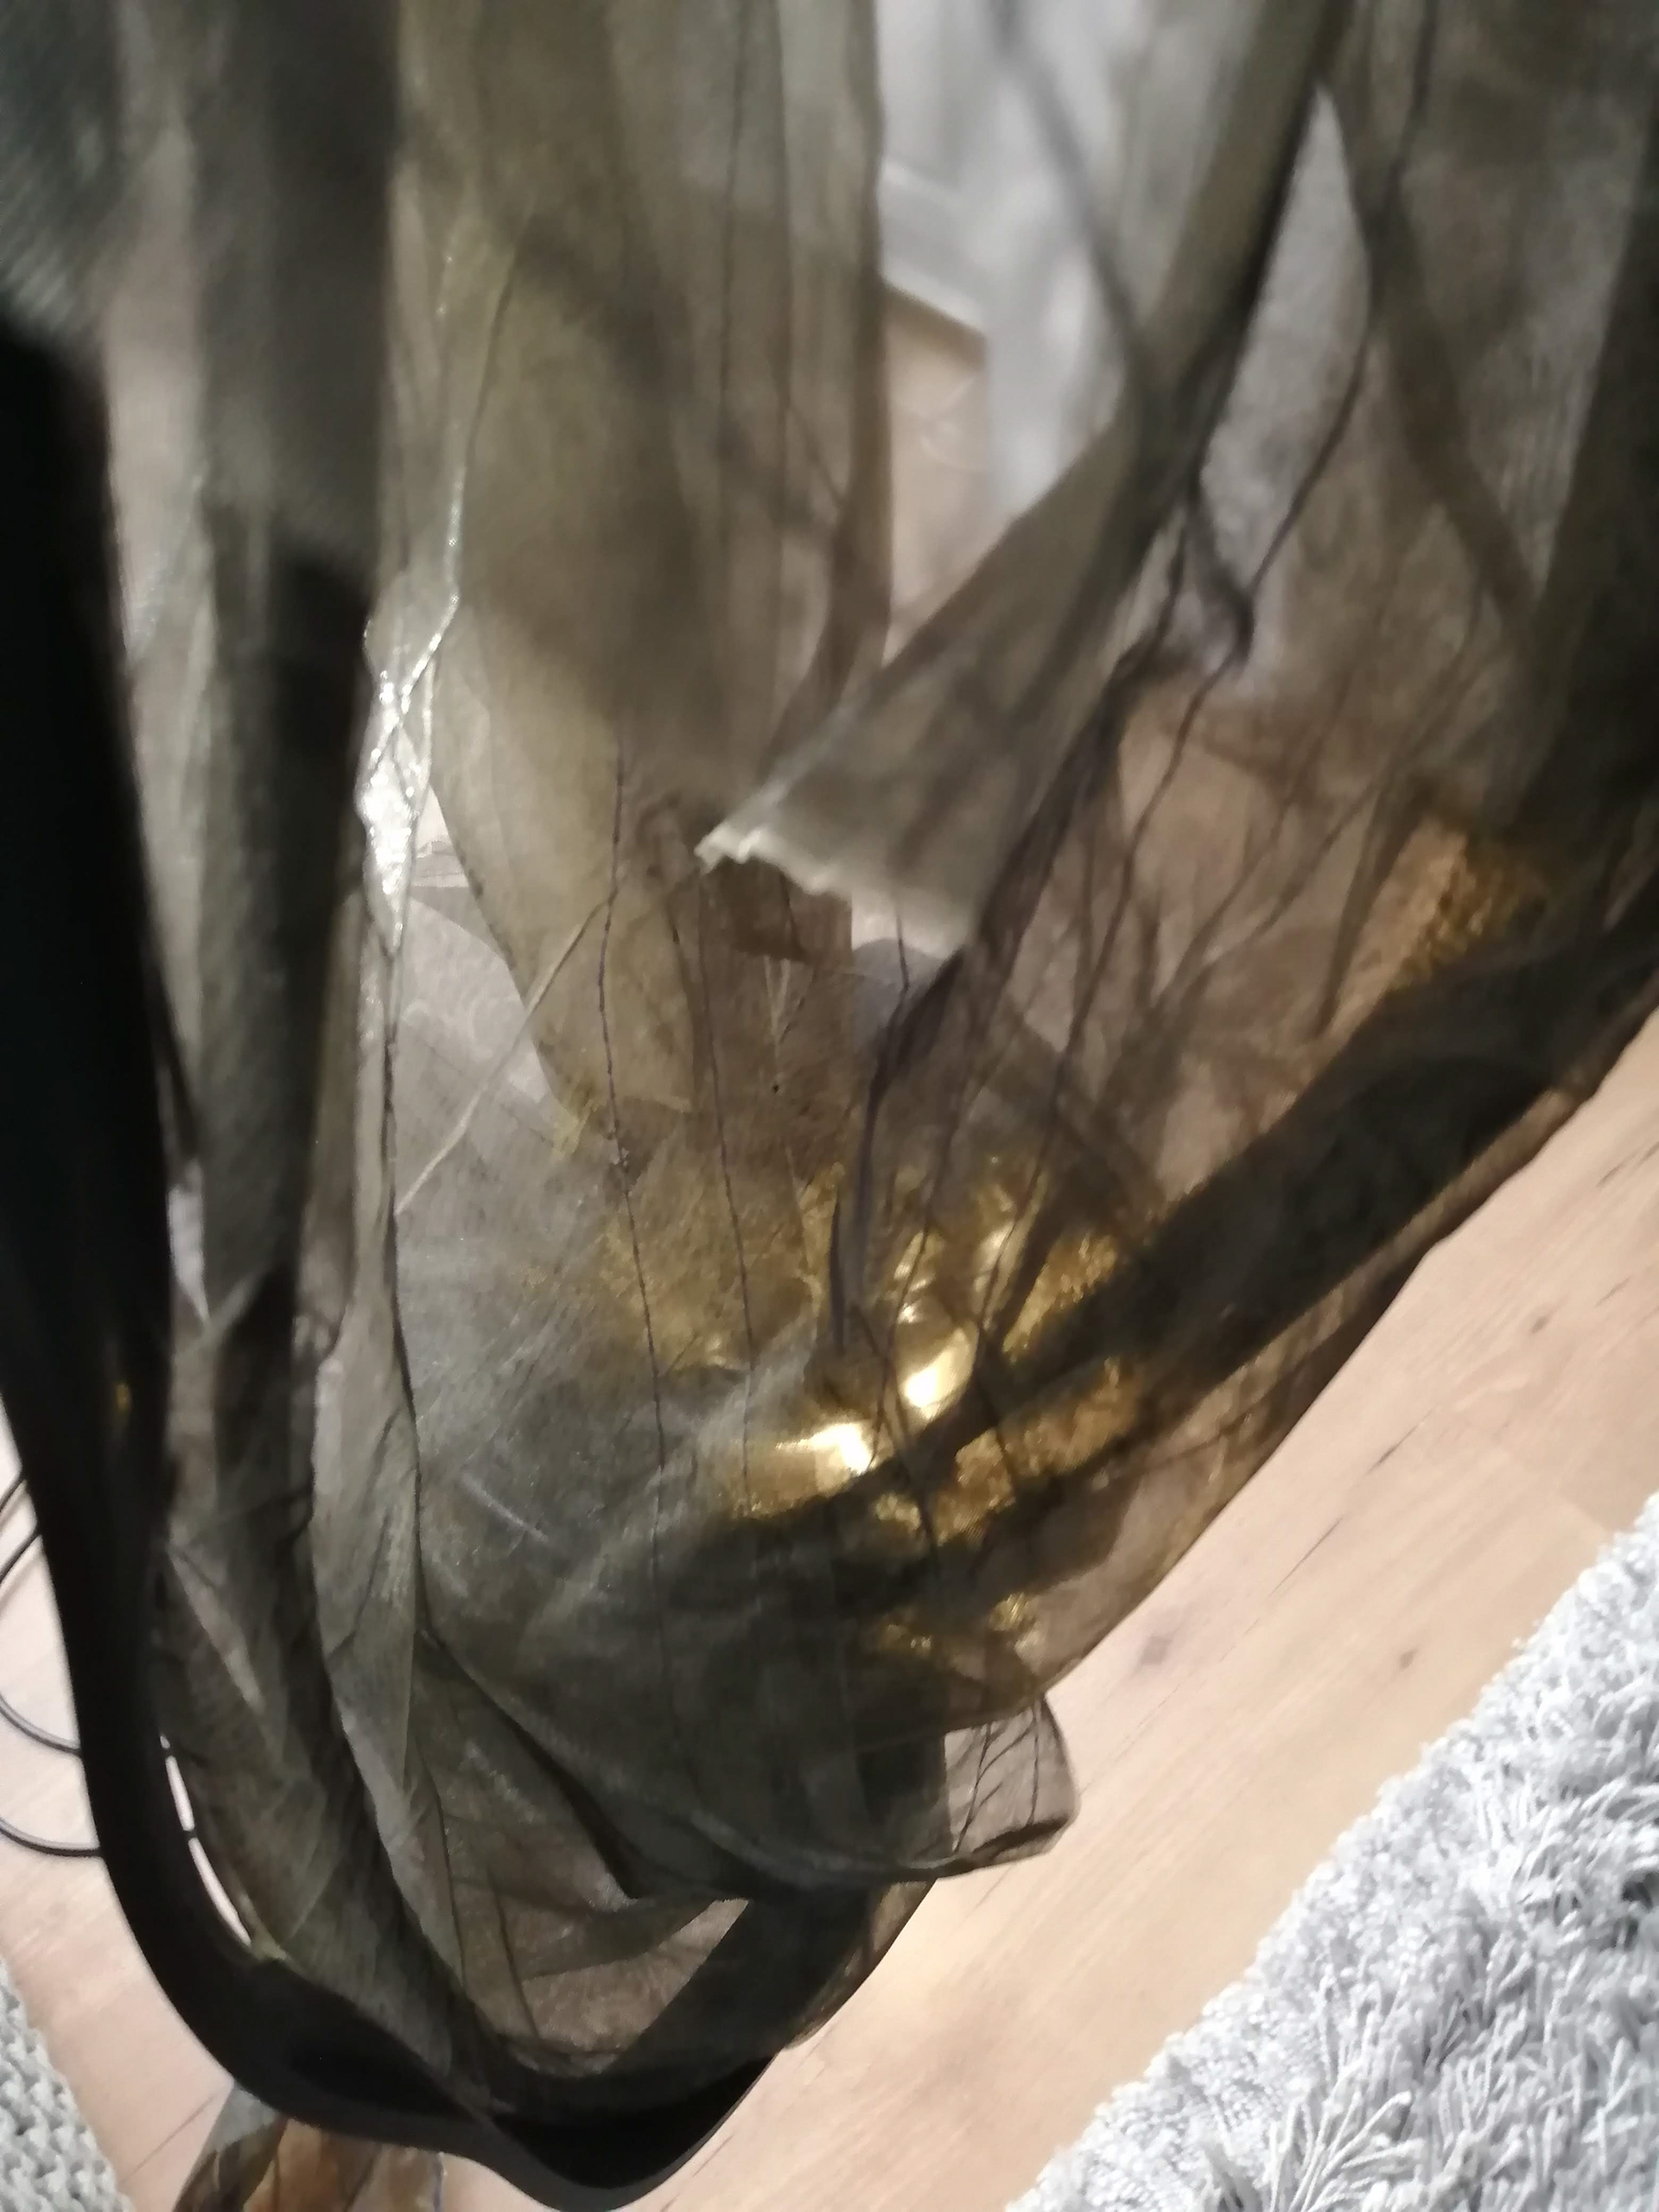
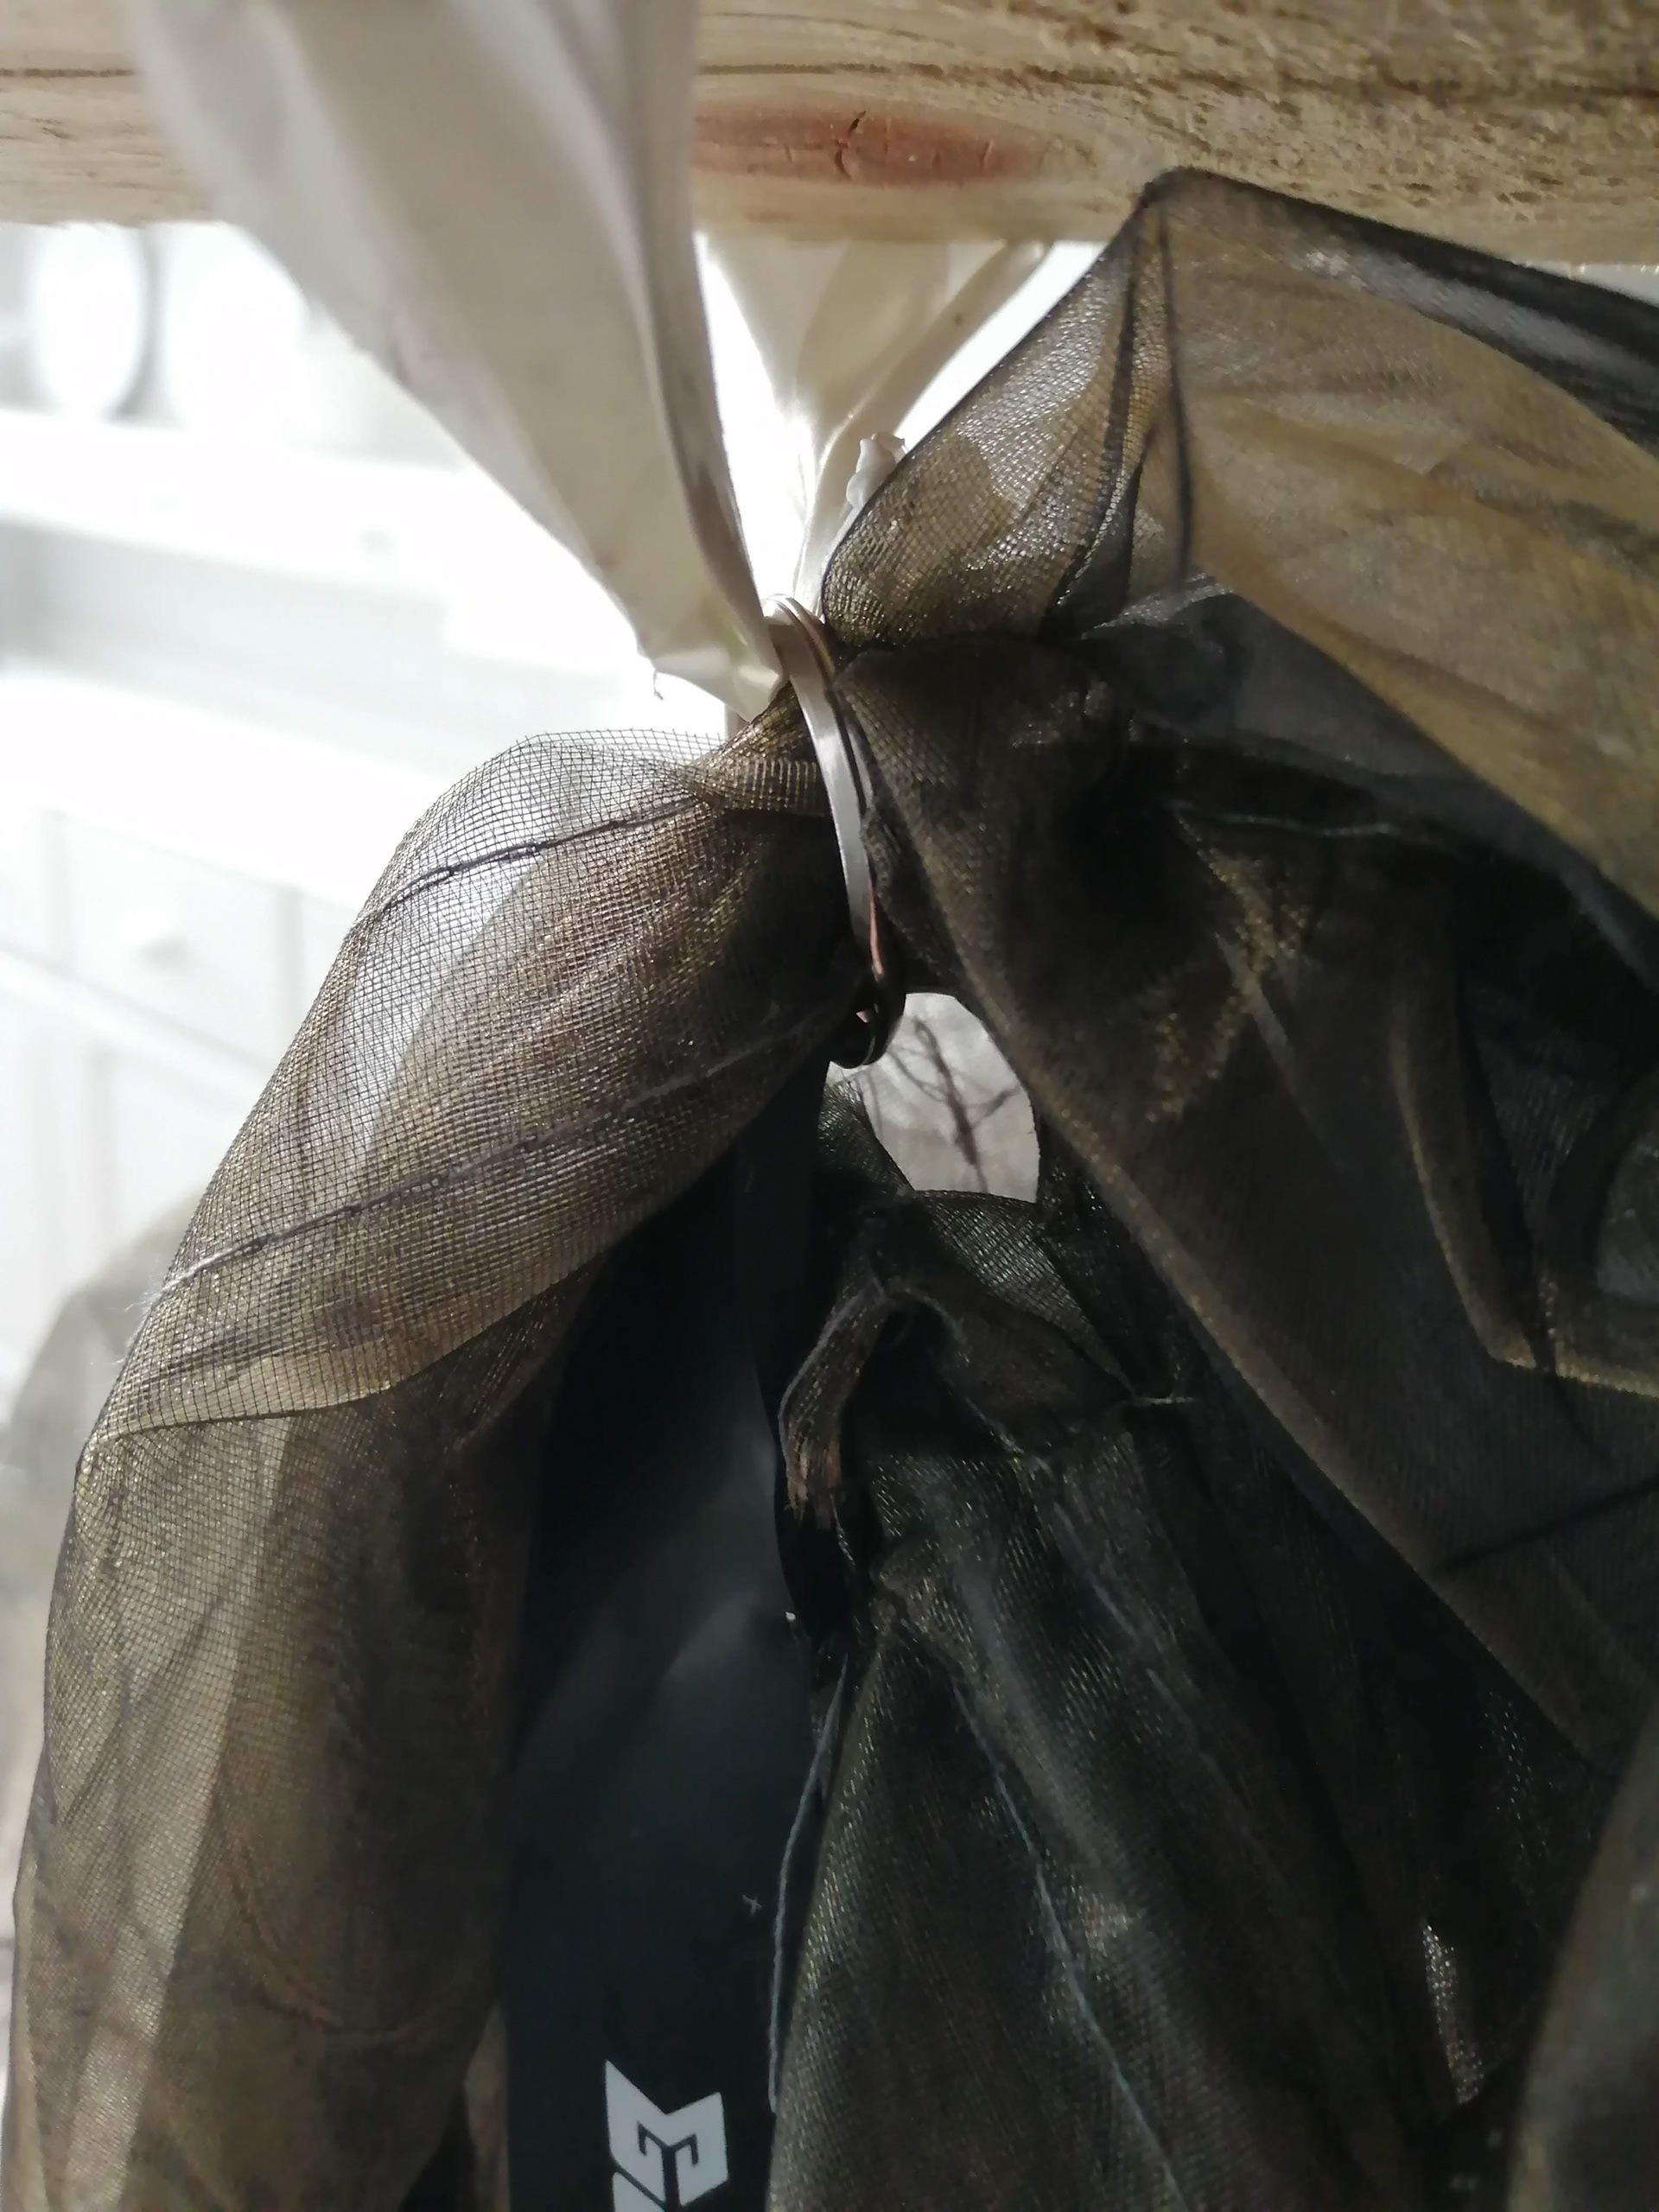
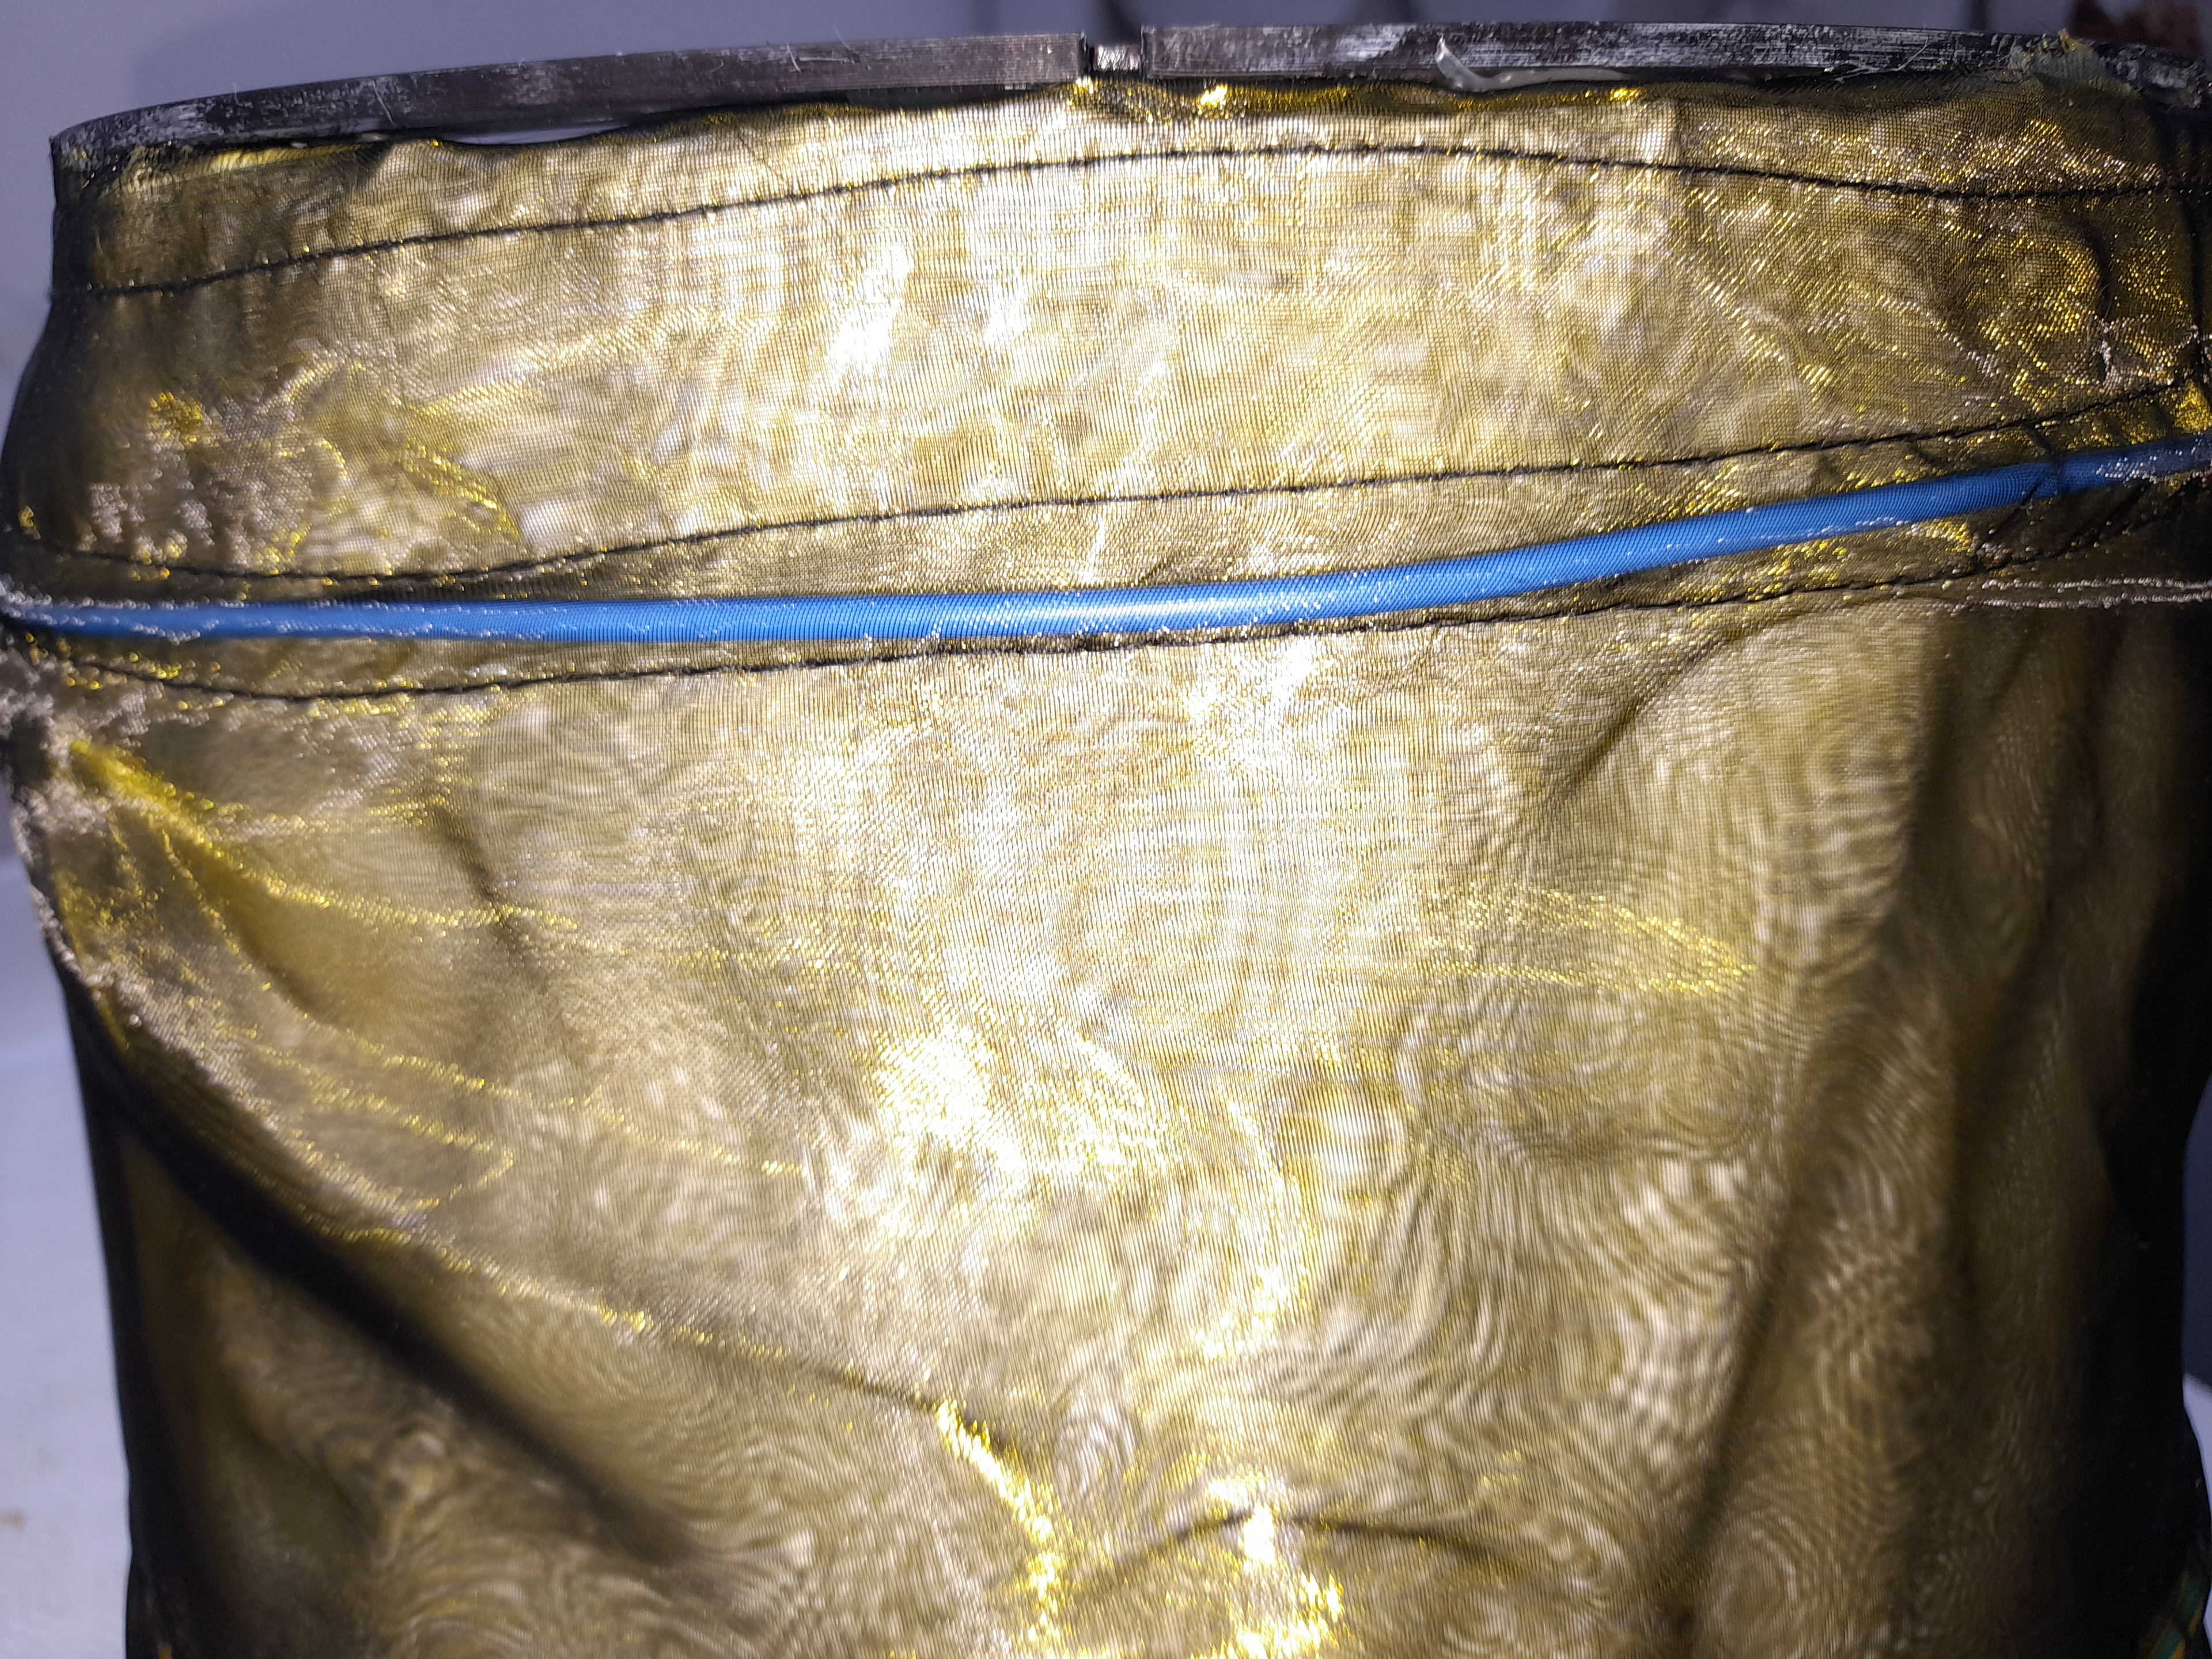
The above photos are of the first model. the difference in colours is because I wanted to see what works and what doesn't. The yellow nylon mesh is meant to represent amber. the aerial silk performers use a grip enhancer called rosin. It's appearance usually comes in shades of amber. To create this amber colour I used three different shades of yellow. the reason for three was because since the standing structure/ frame takes inspiration from traffic lights I thought it would make sense to use three colours. the tree pieces are joined length ways so that I could slip a cable in between them. but it did create a messy appearance so I think if I were to go with three fabrics again then I would just stitch them on top if each other.
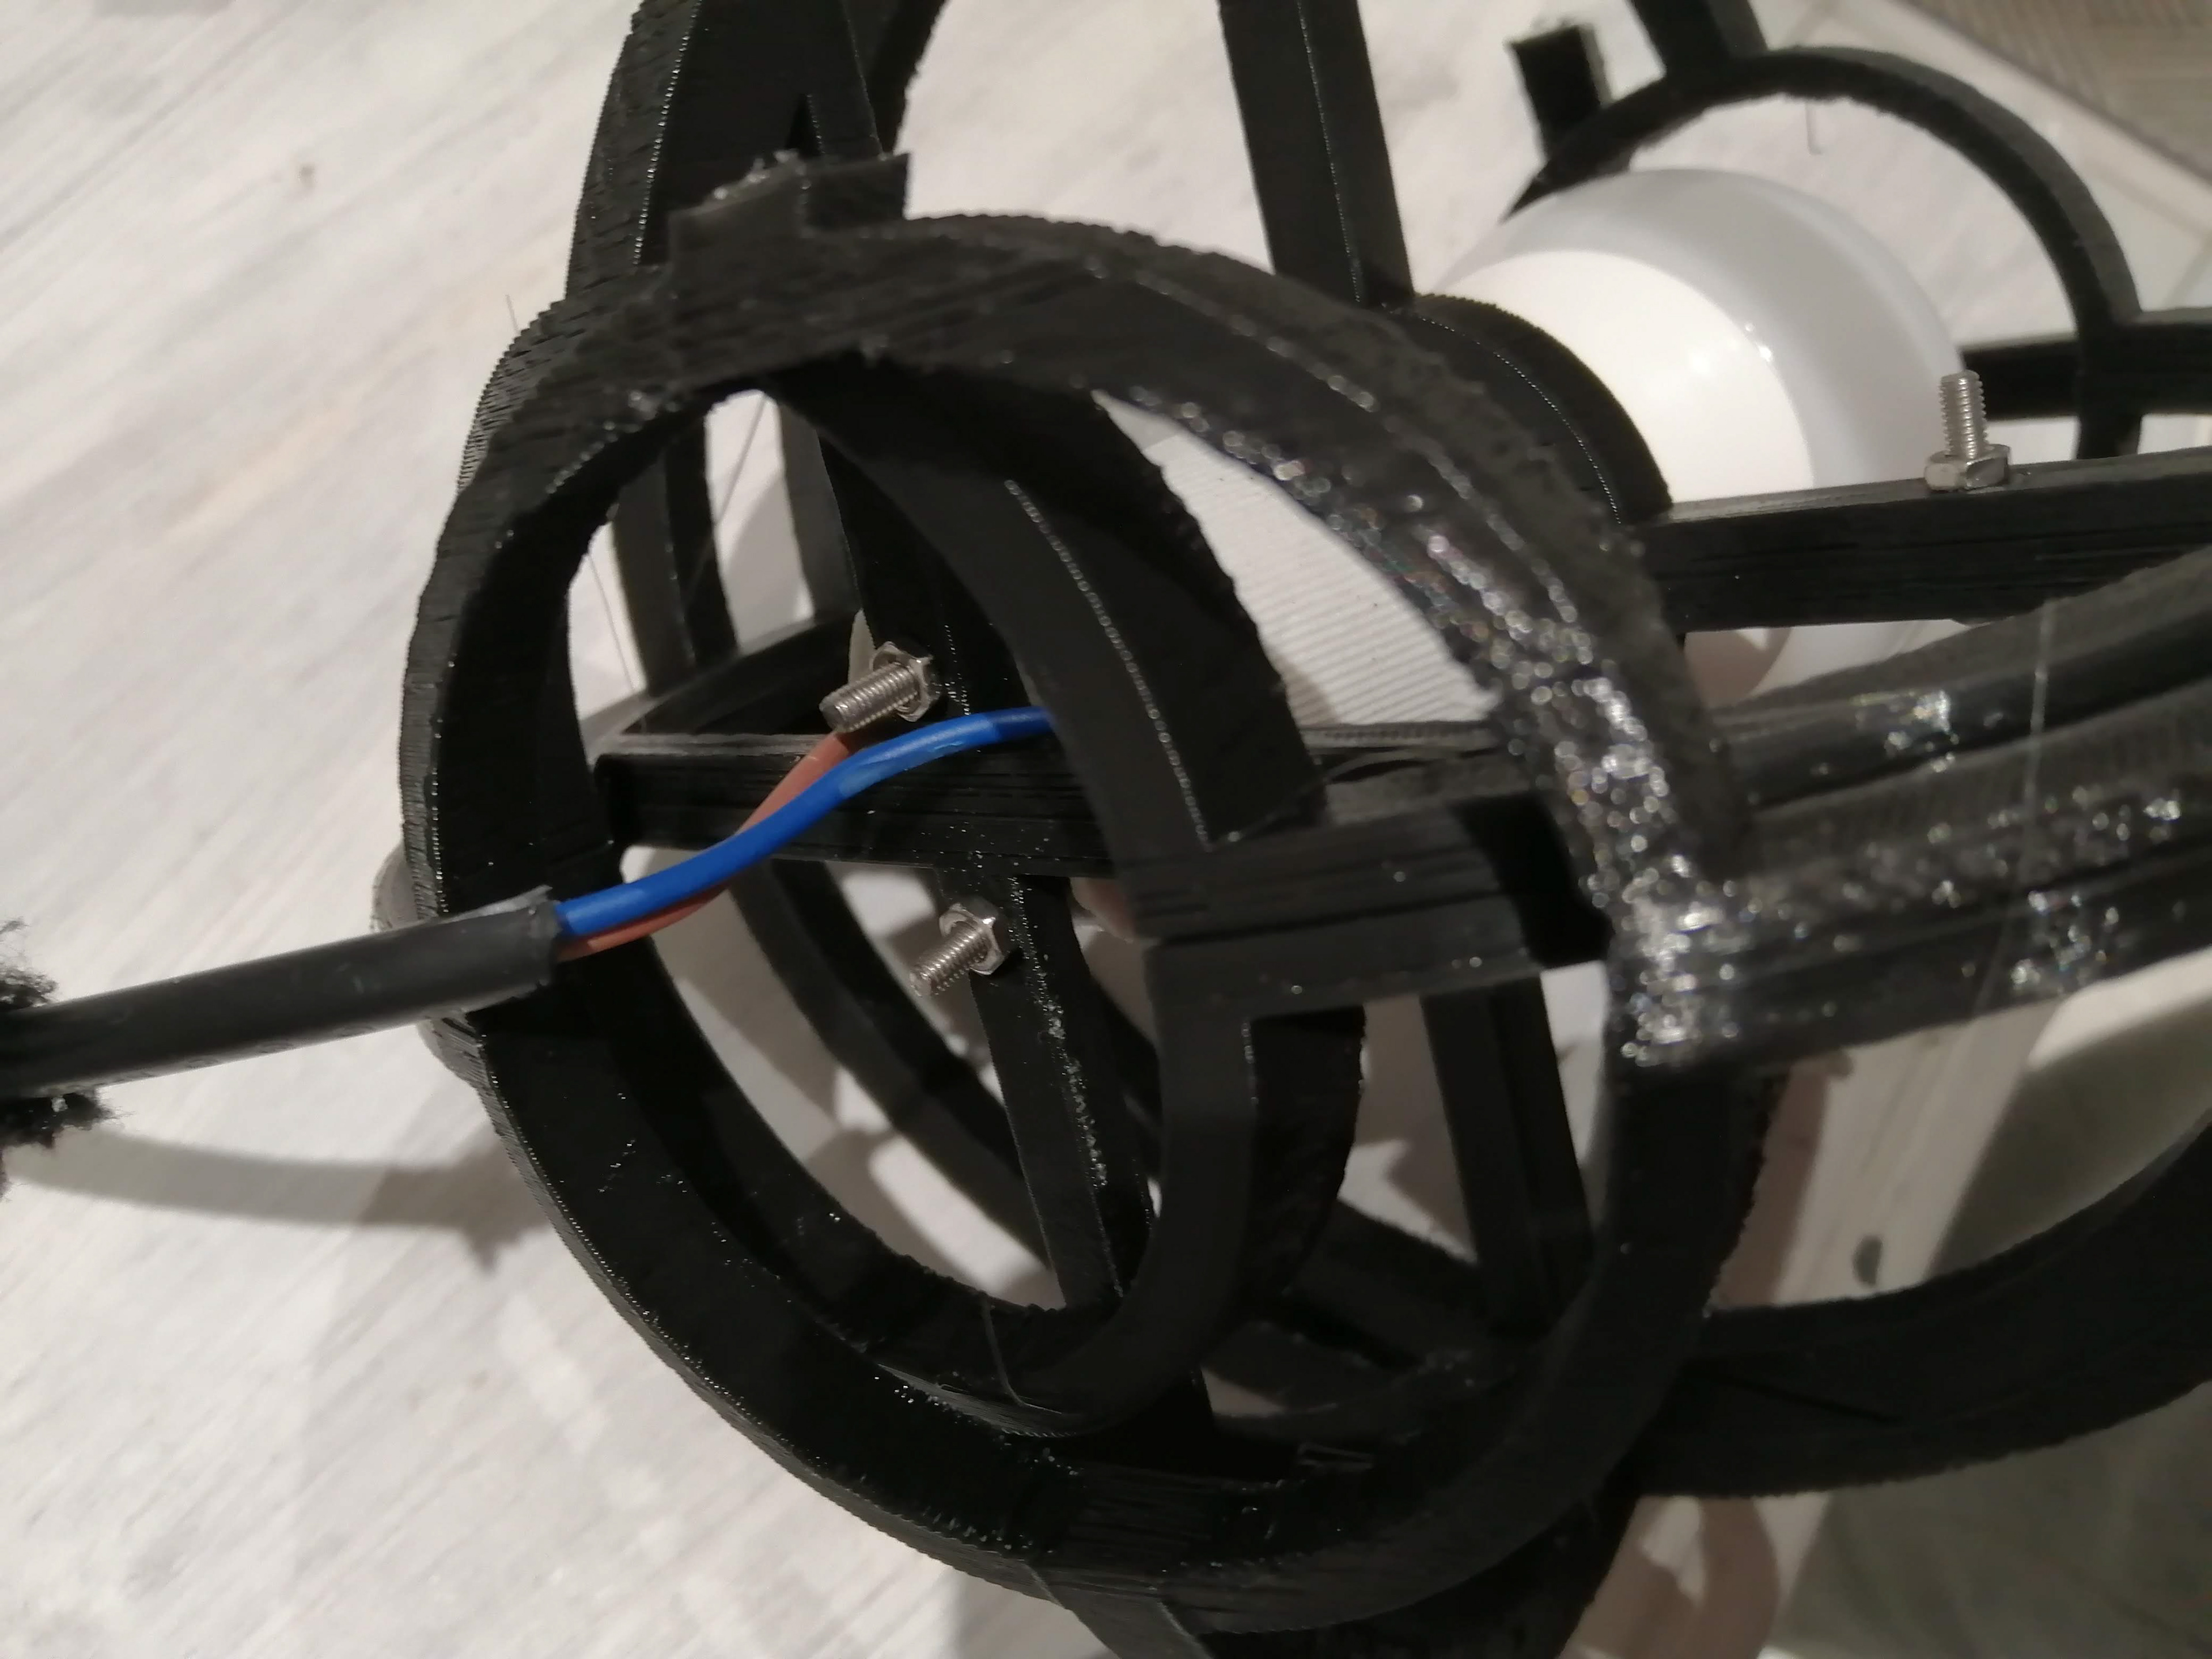
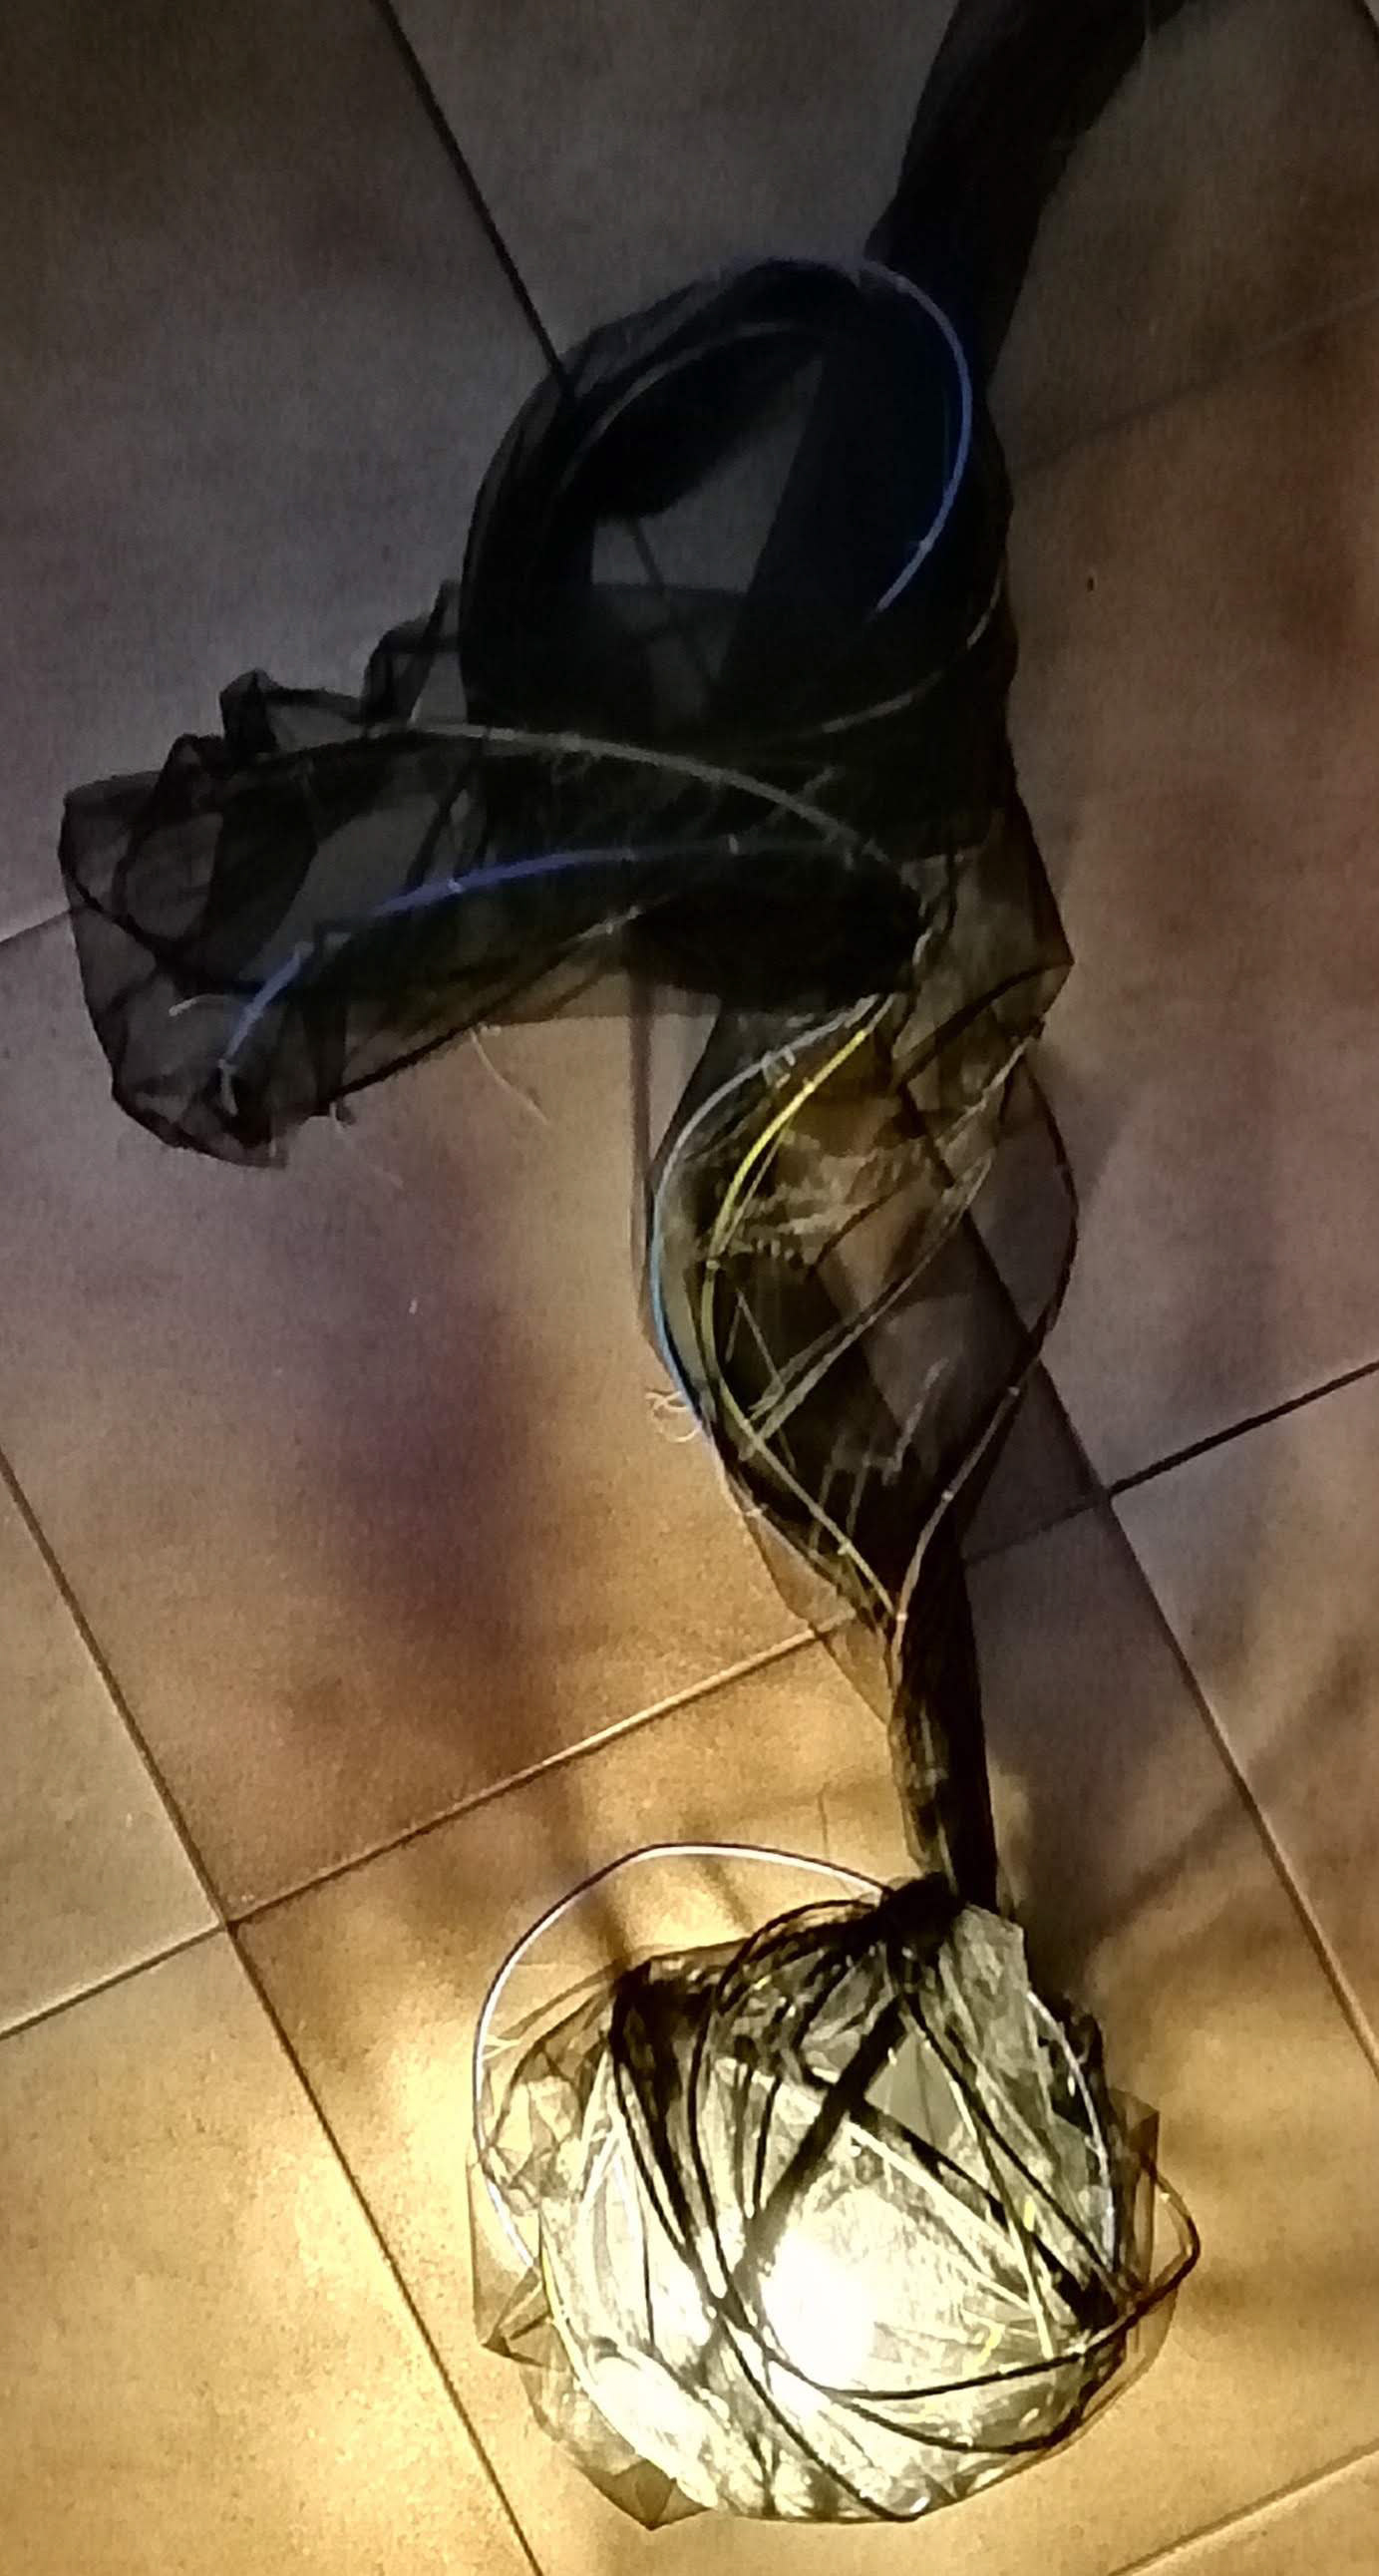
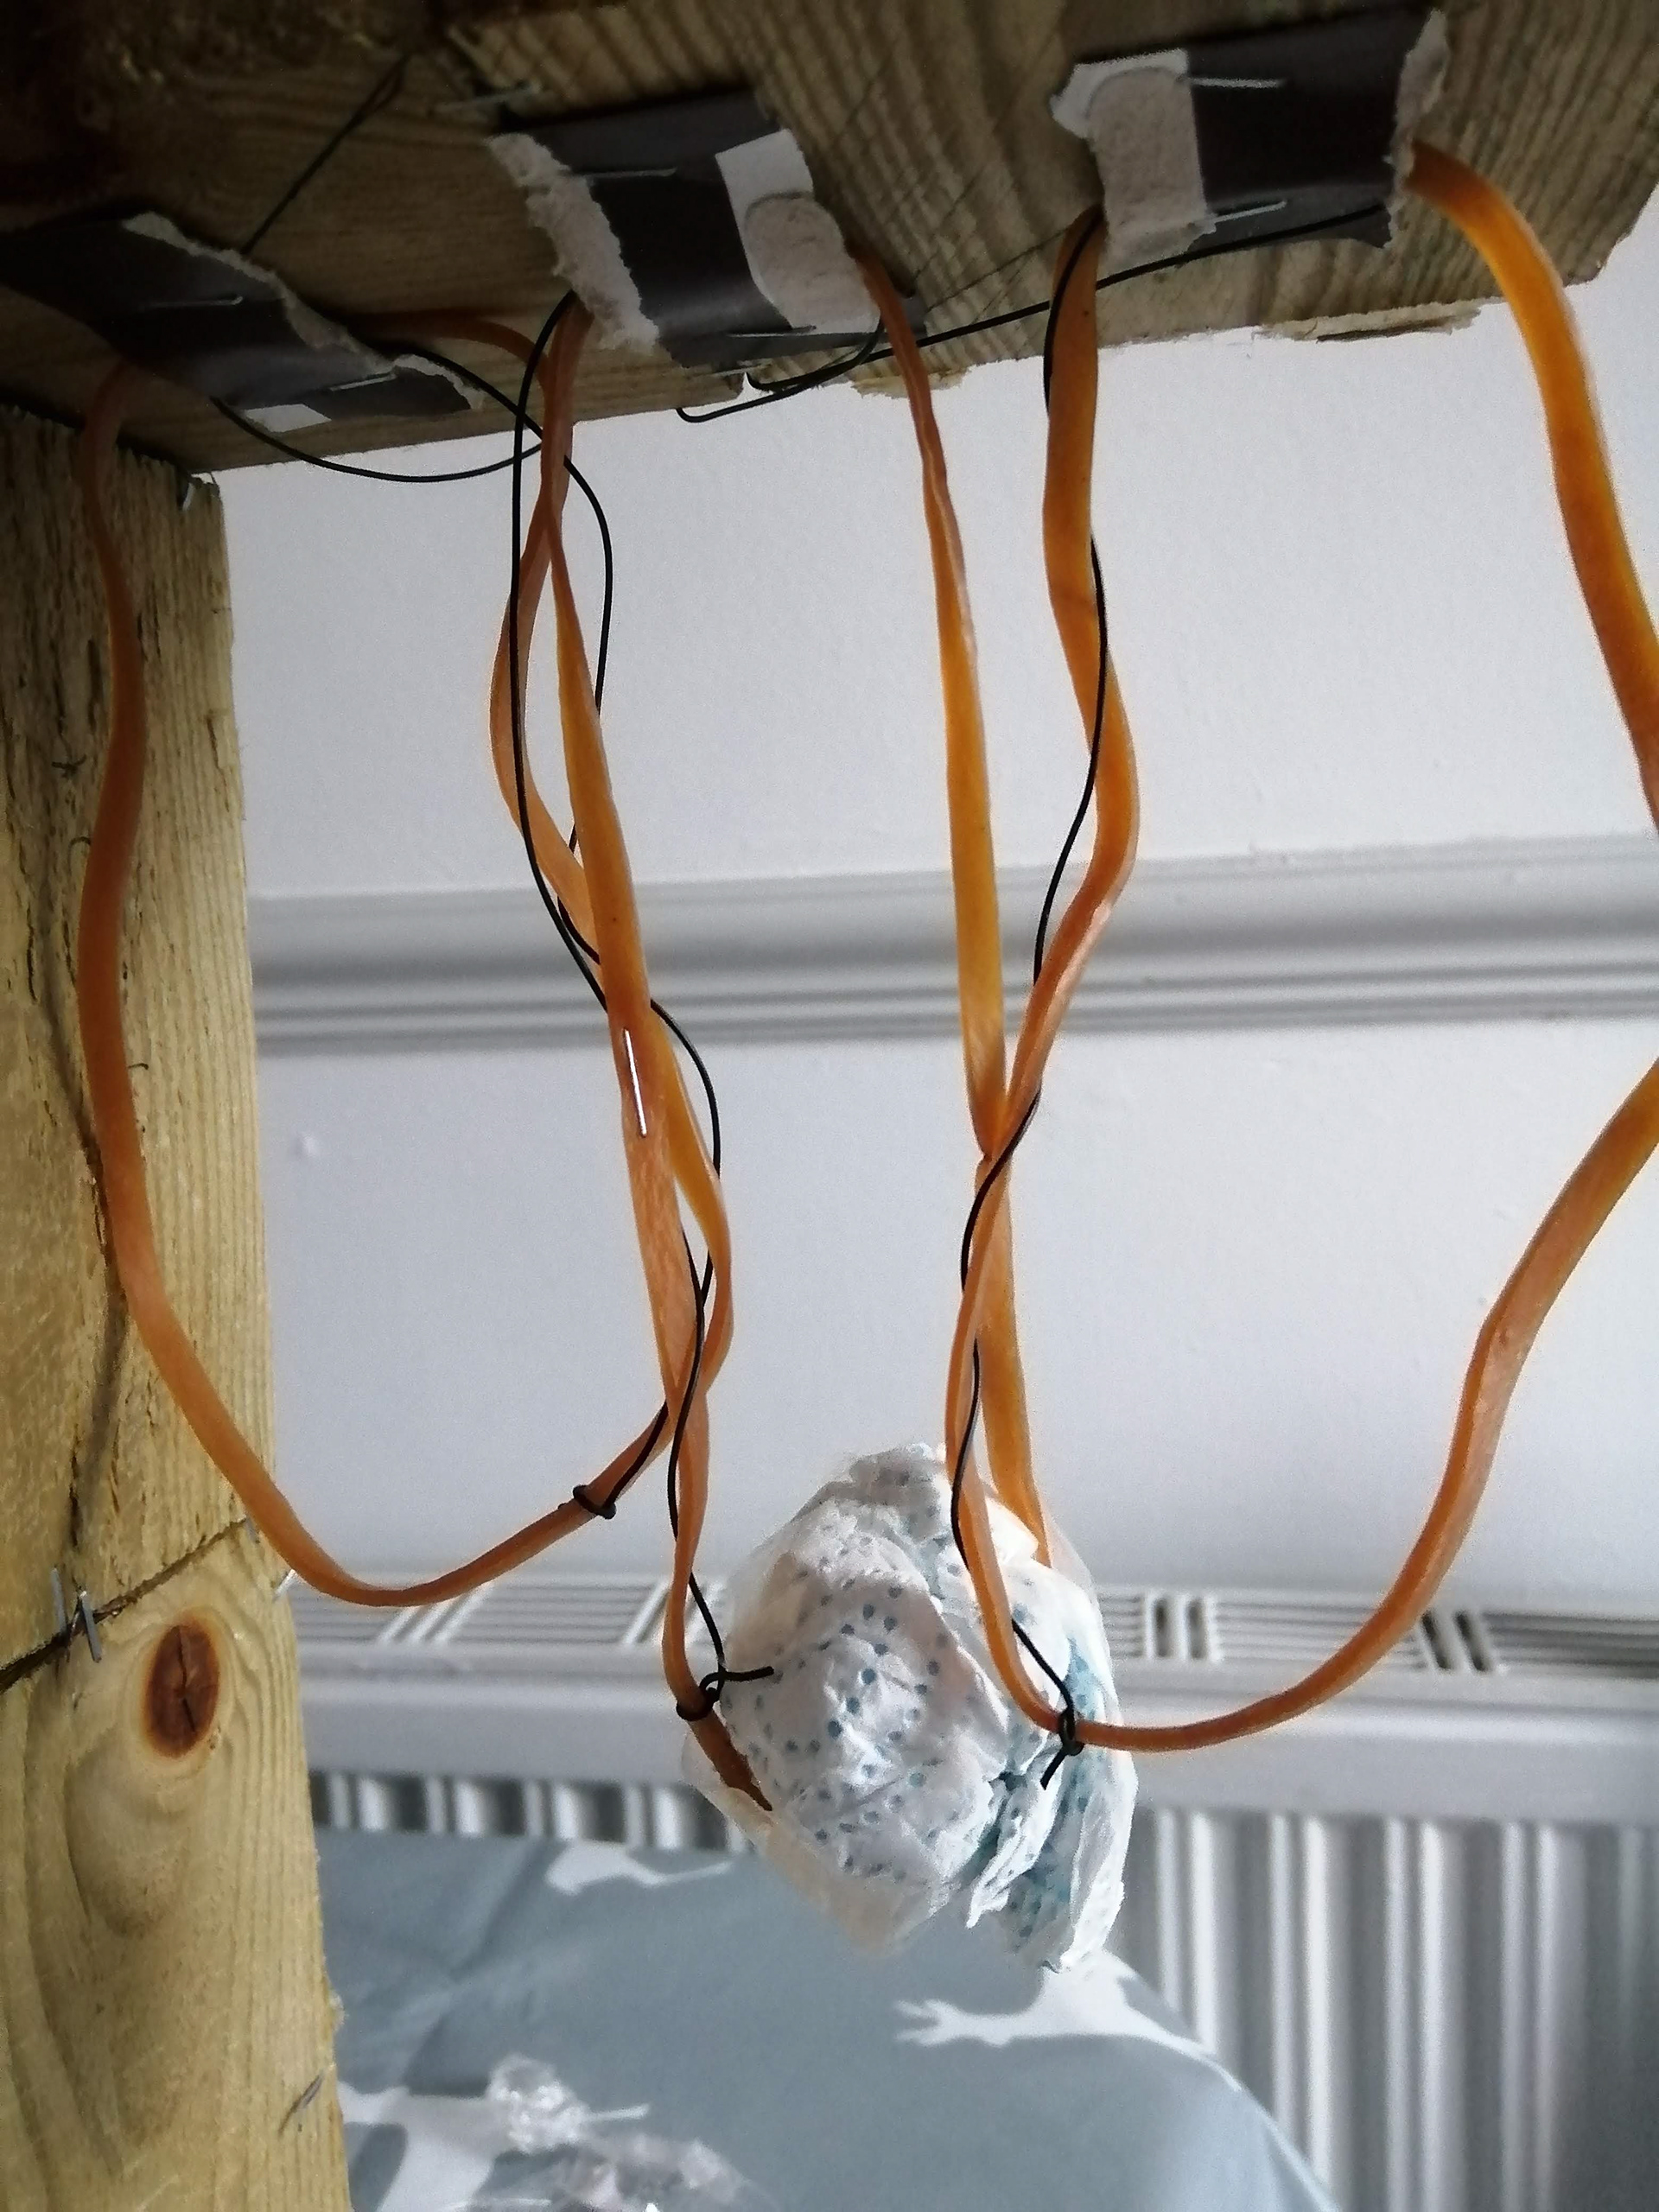
The black fabric that hangs from the first figure 8 is the same material as the yellow. Although this is only one piece. the reason for black is that cable contains earth, live and neutral wires. I striped the cable and used the inside wires instead and used the black fabric to wrap them up instead of the outer cable. in my opinion the black is more visually effective.
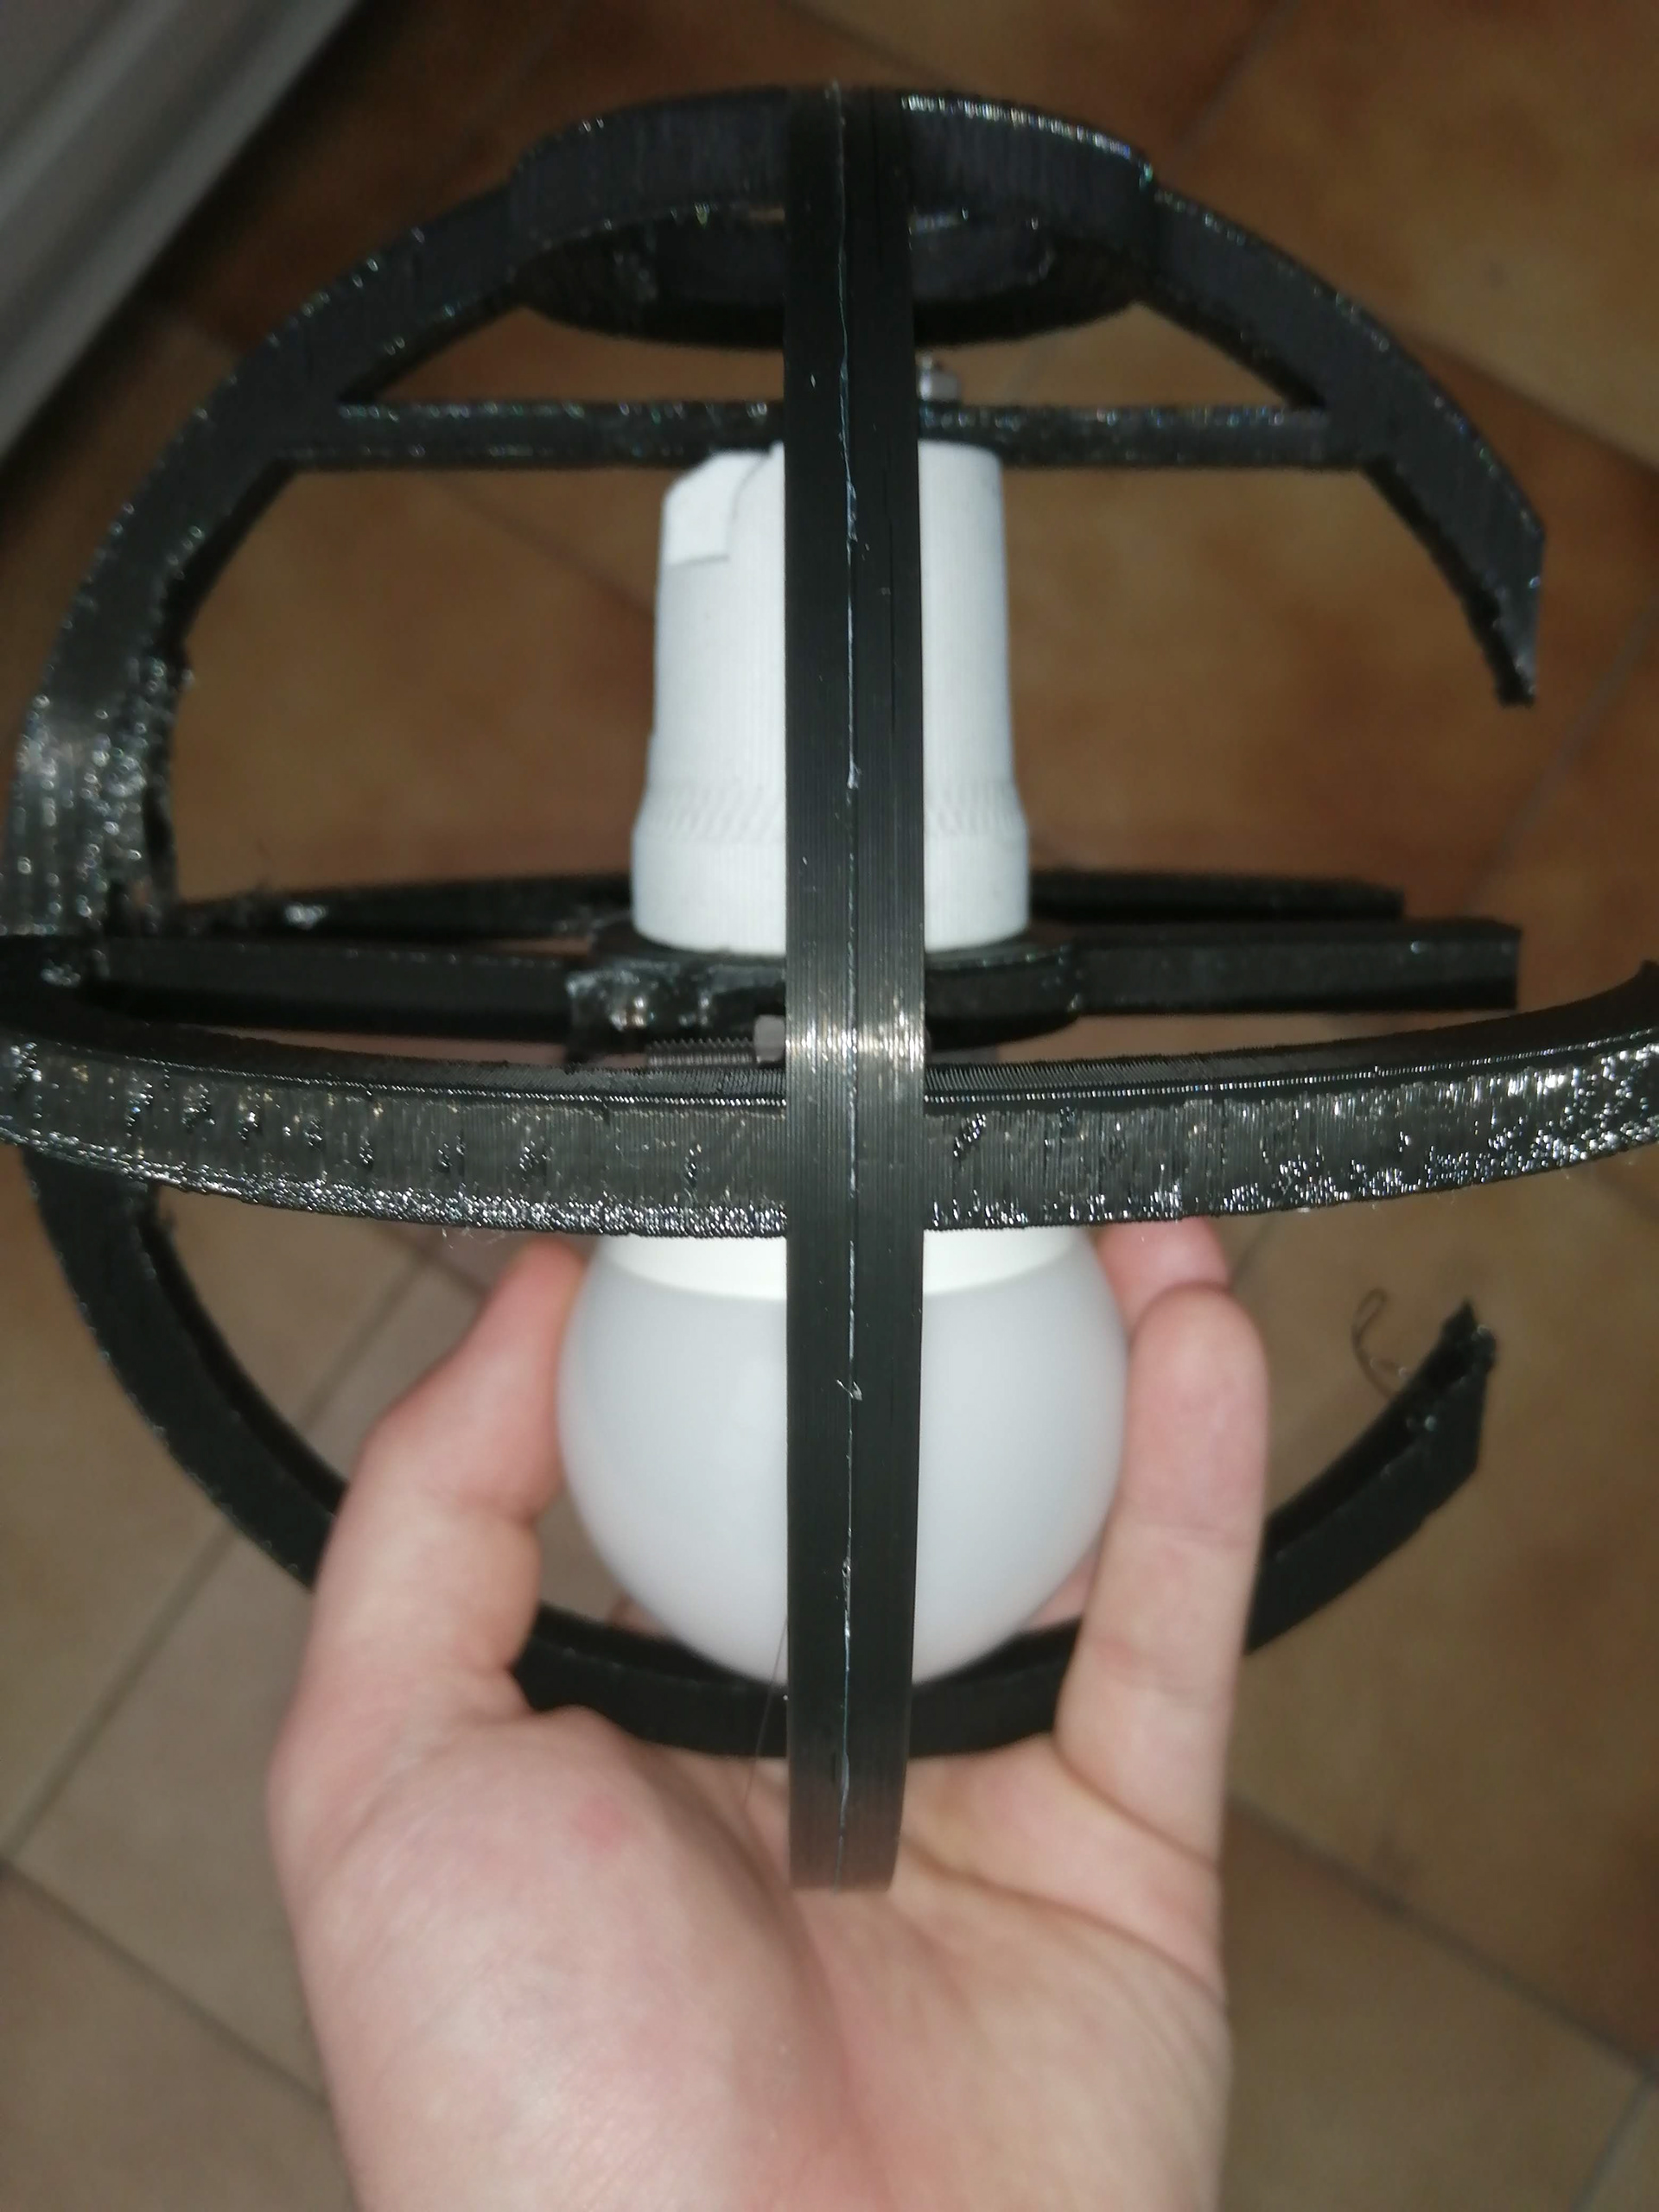
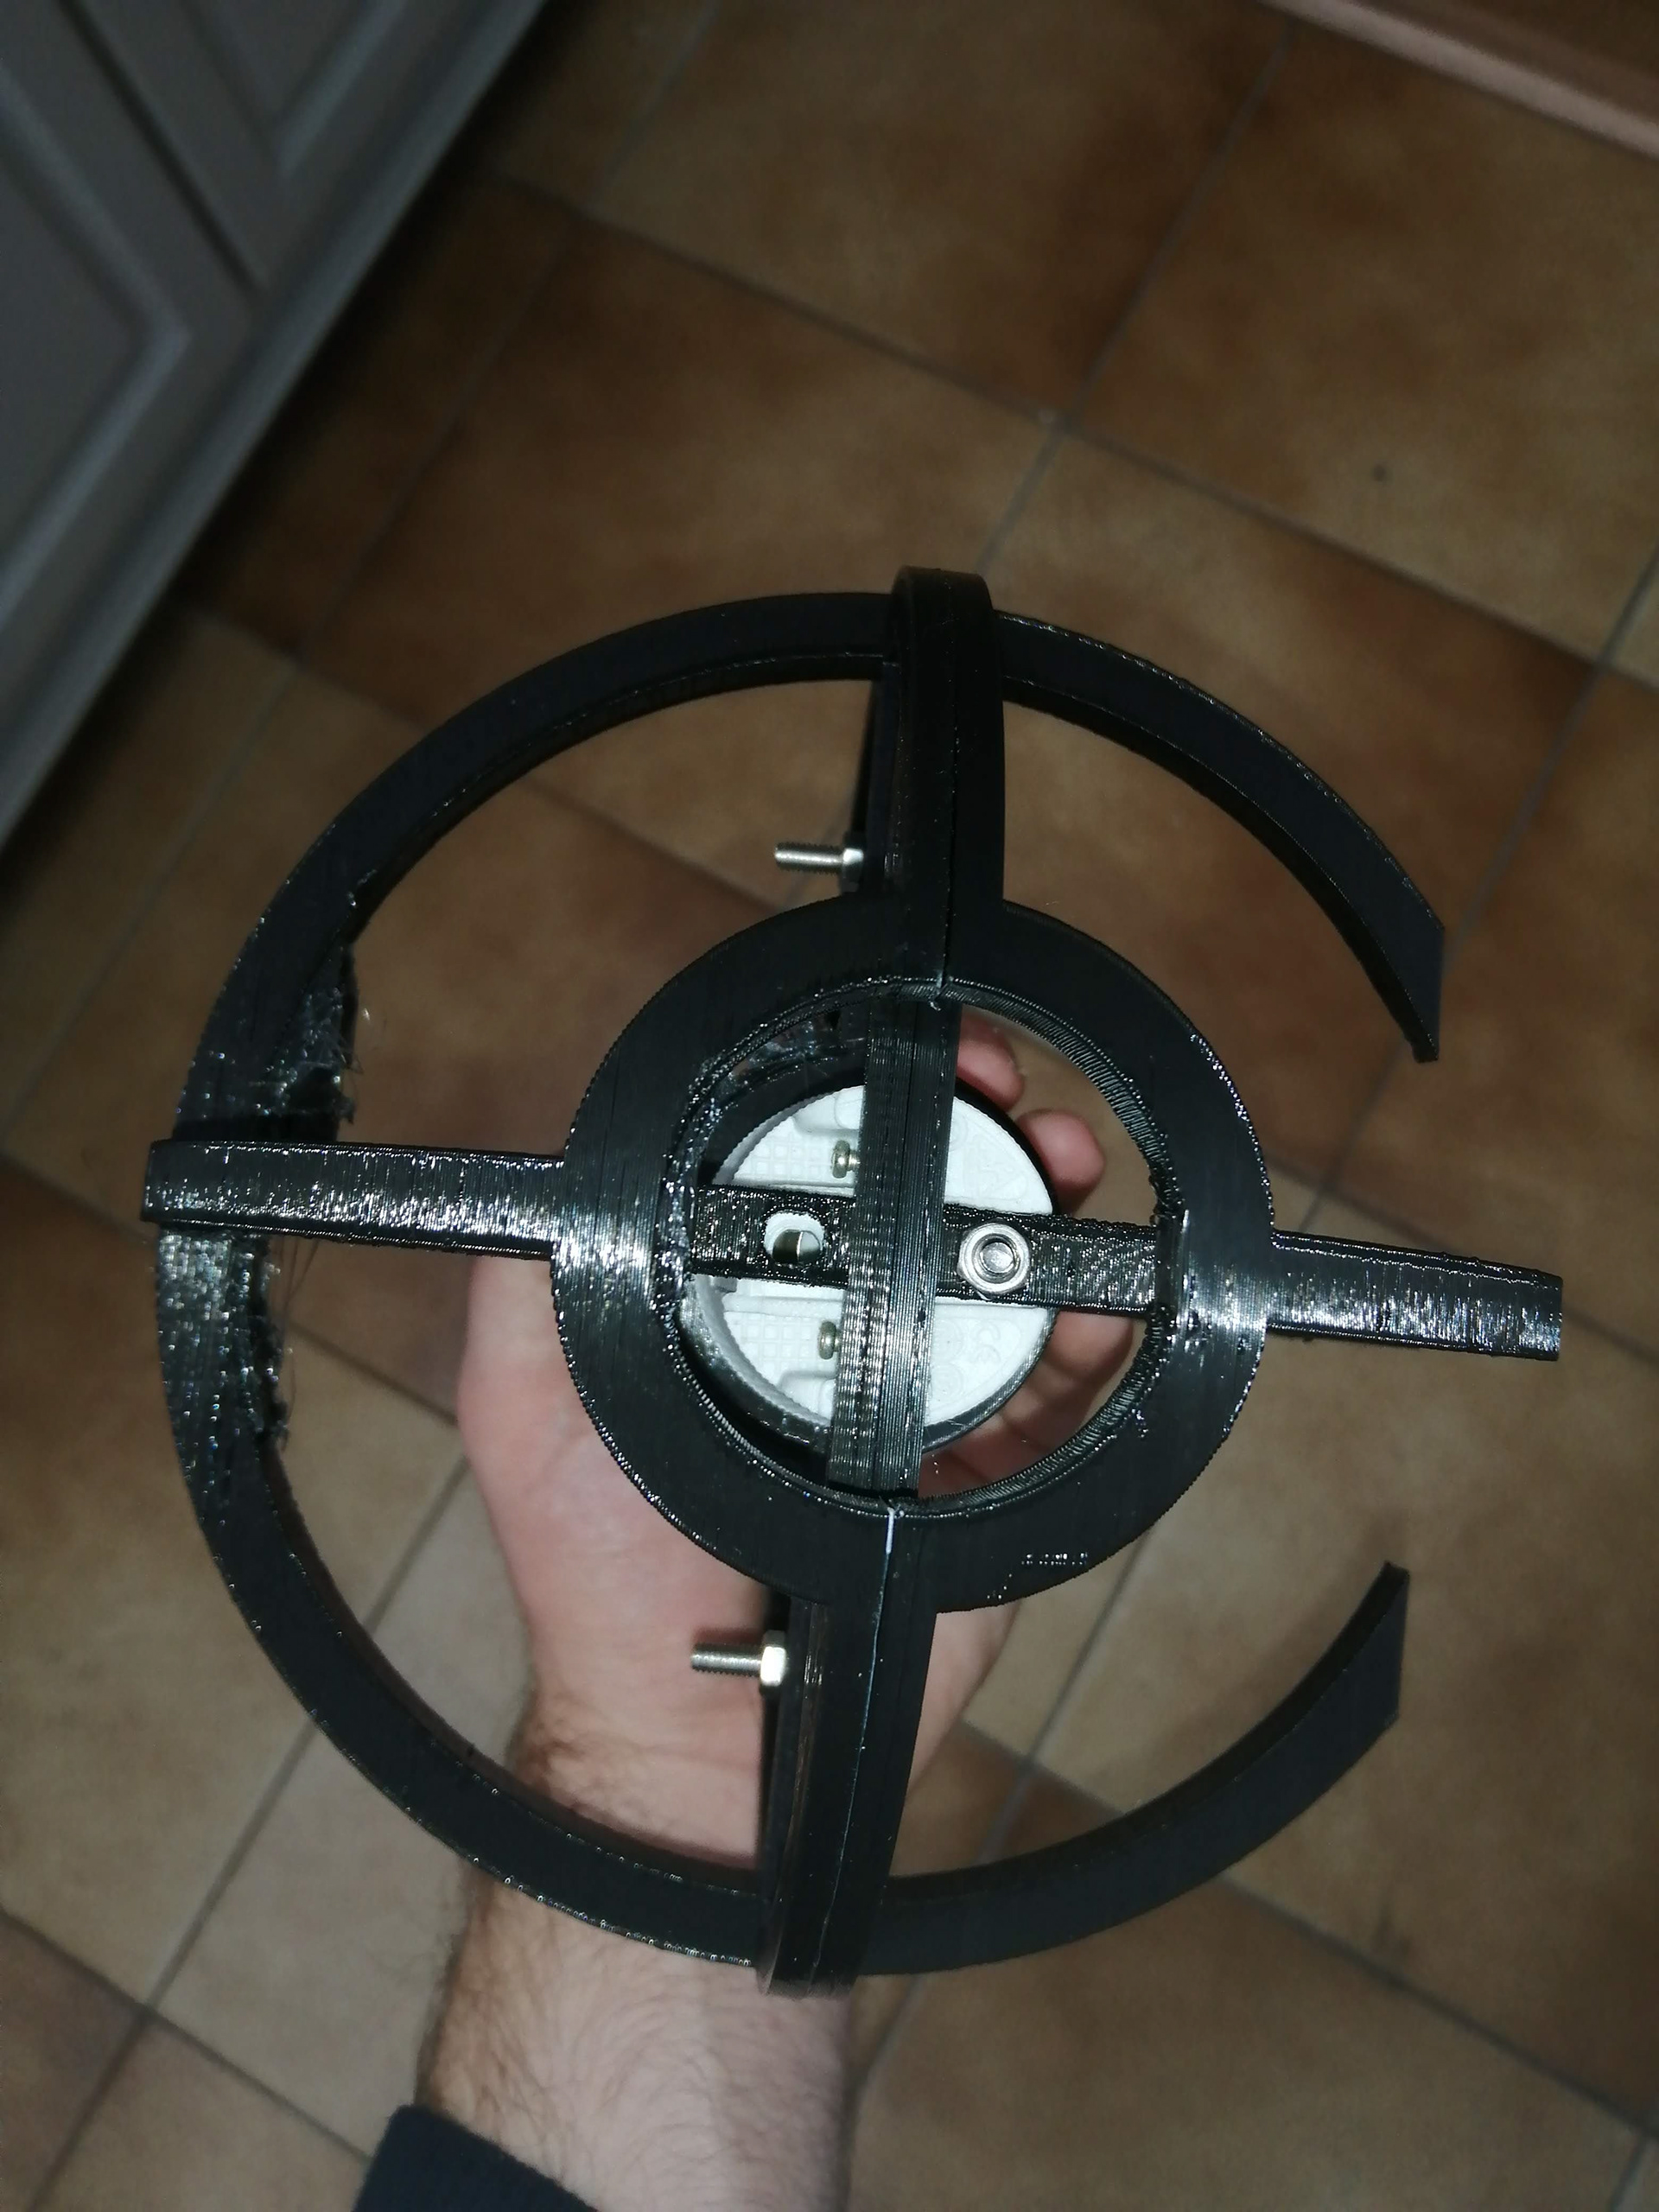
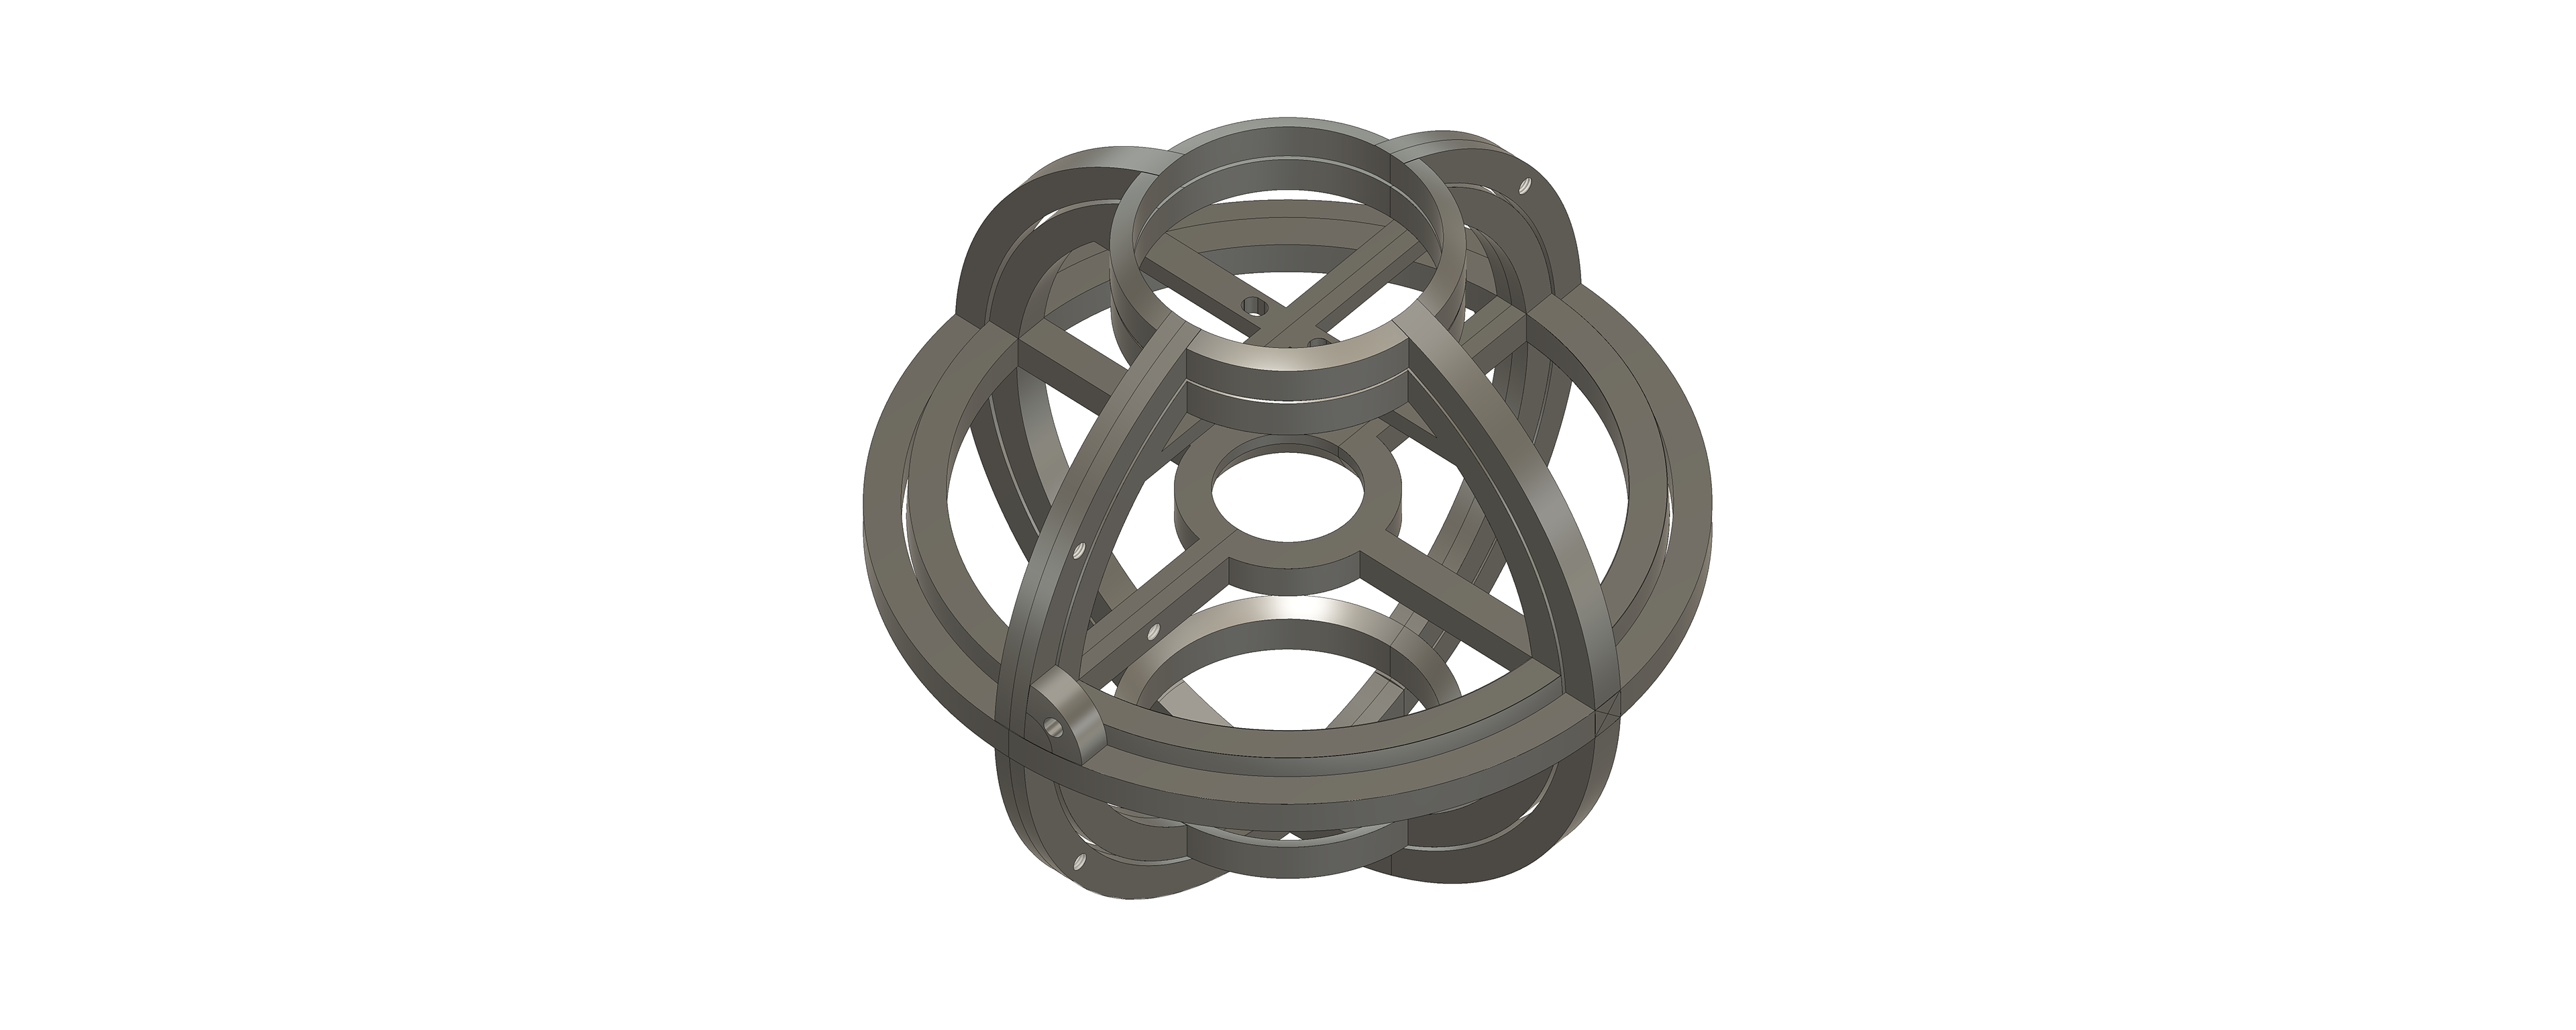
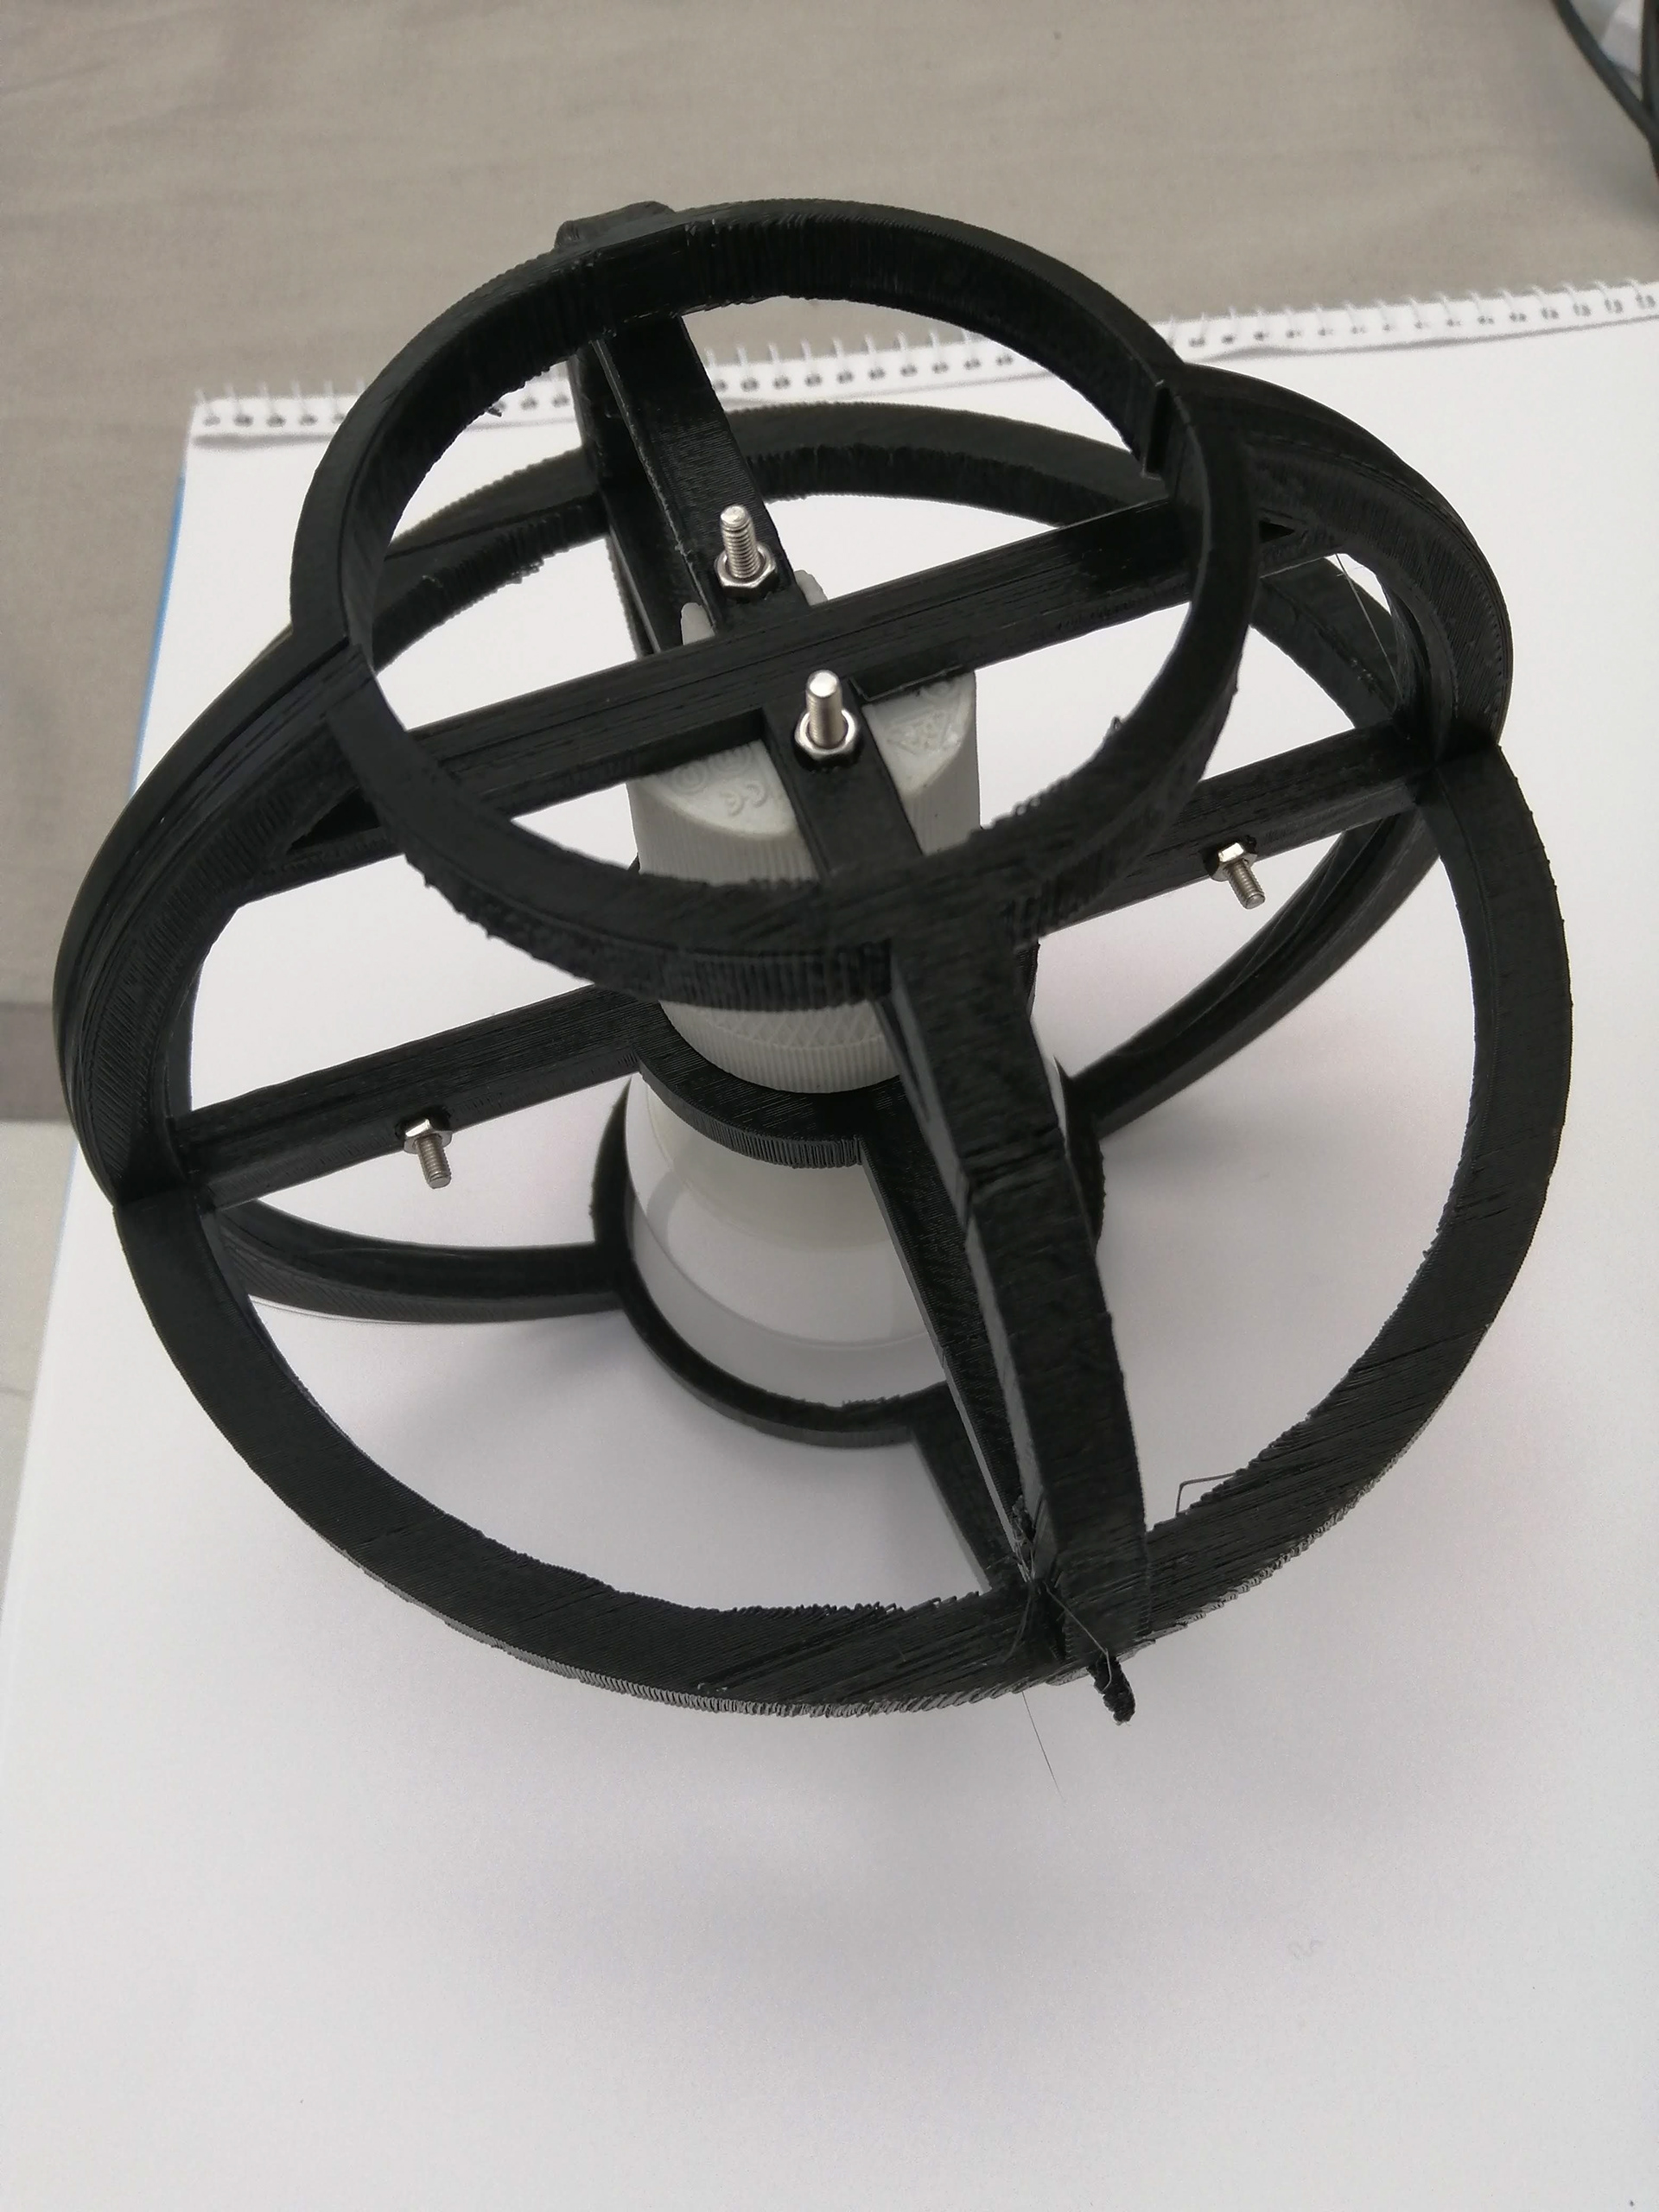
4th frame
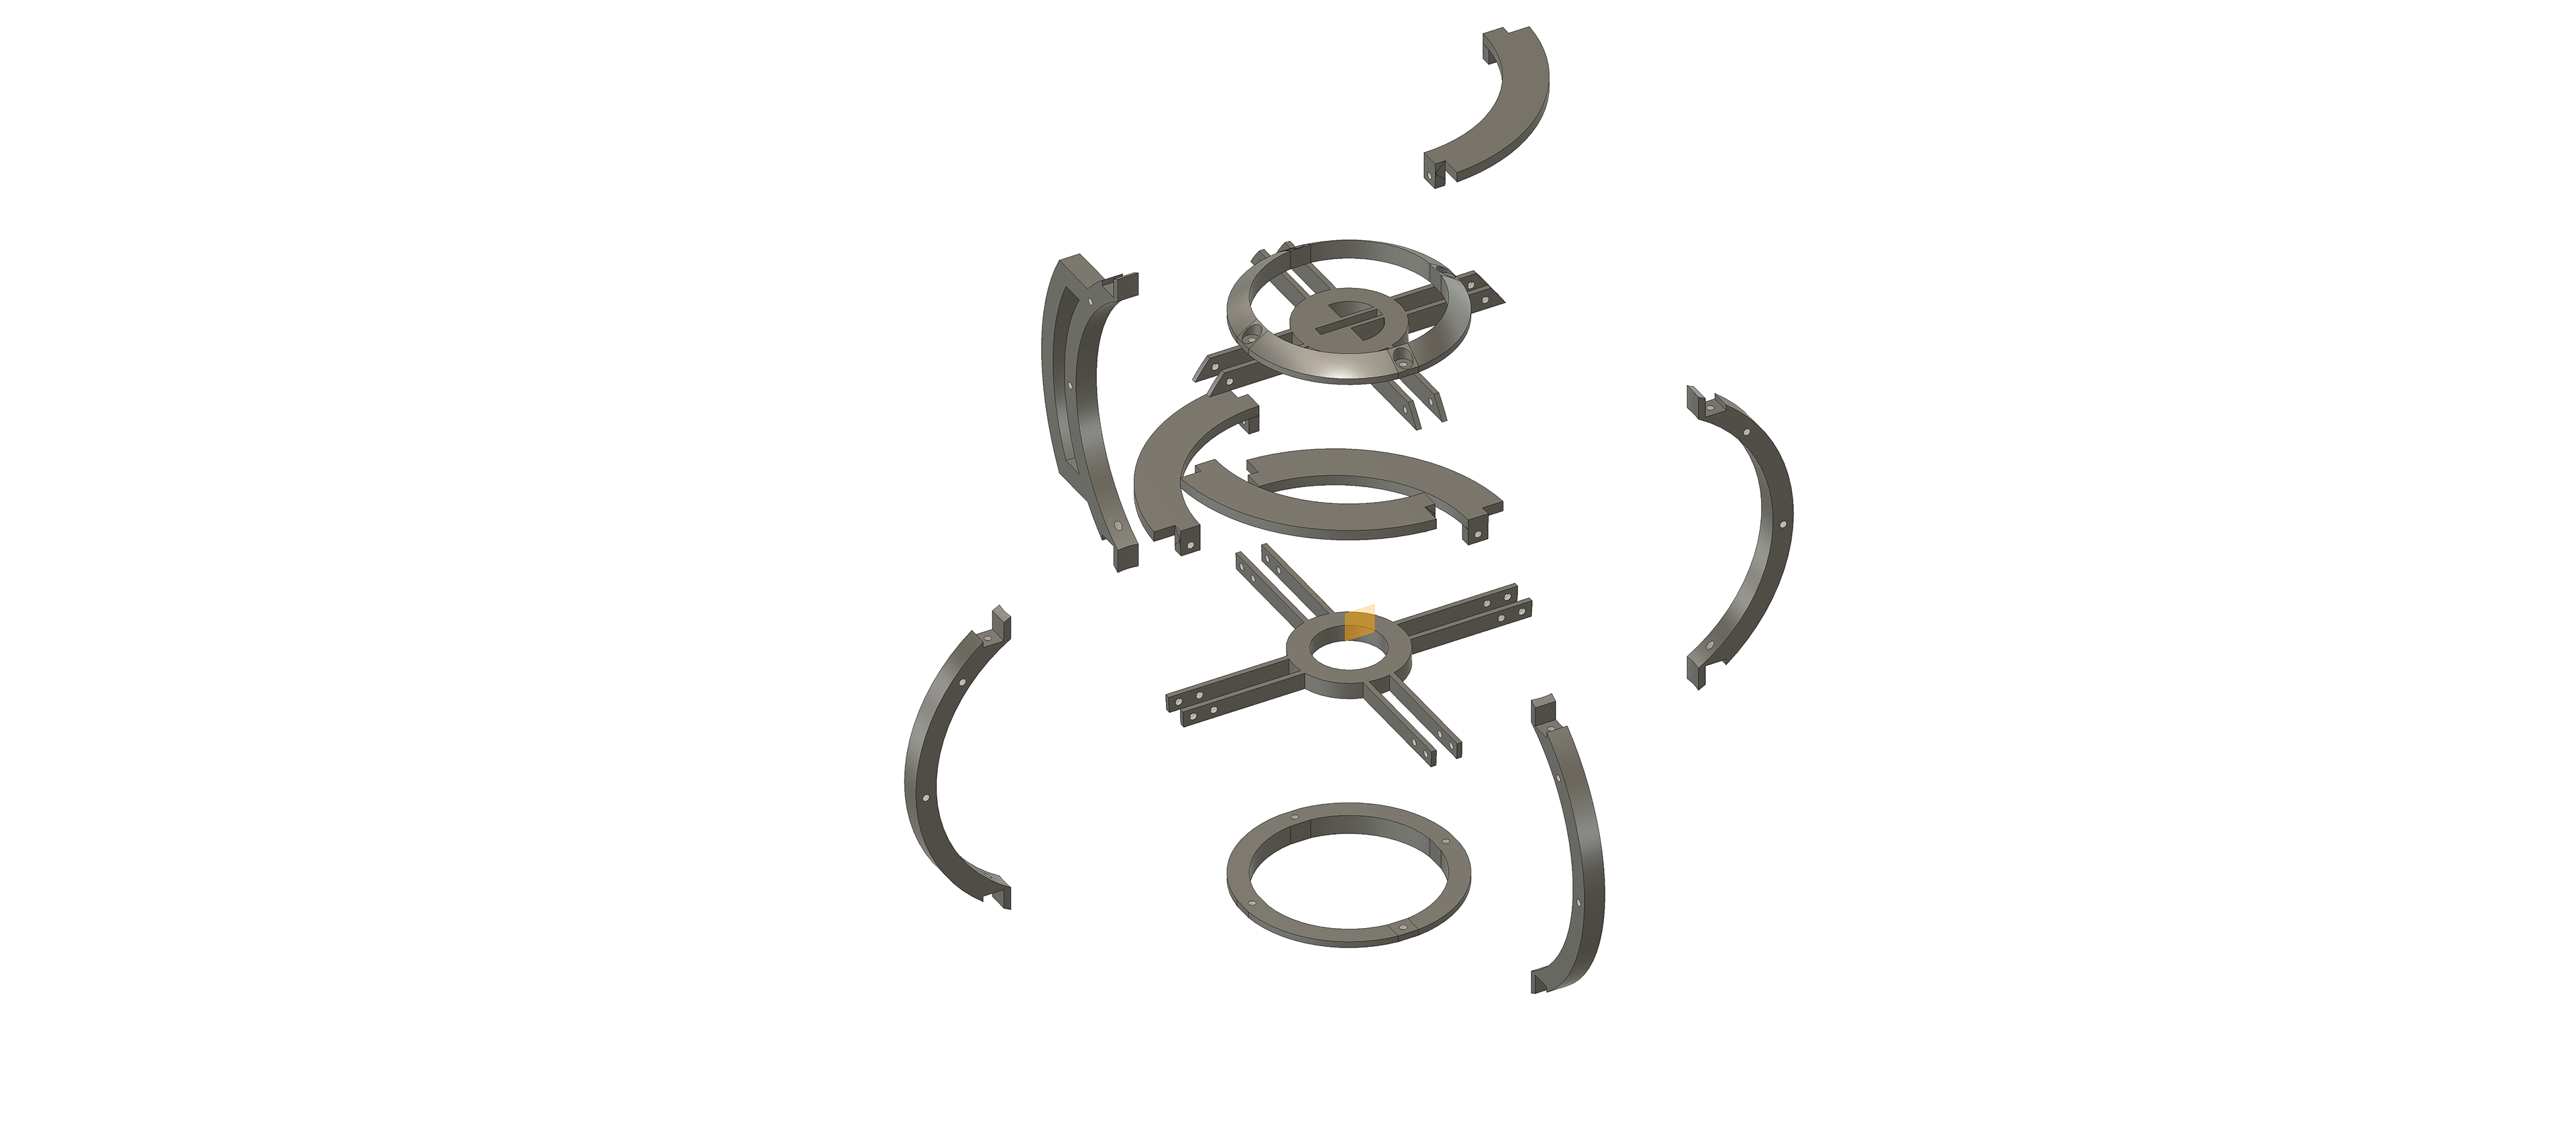
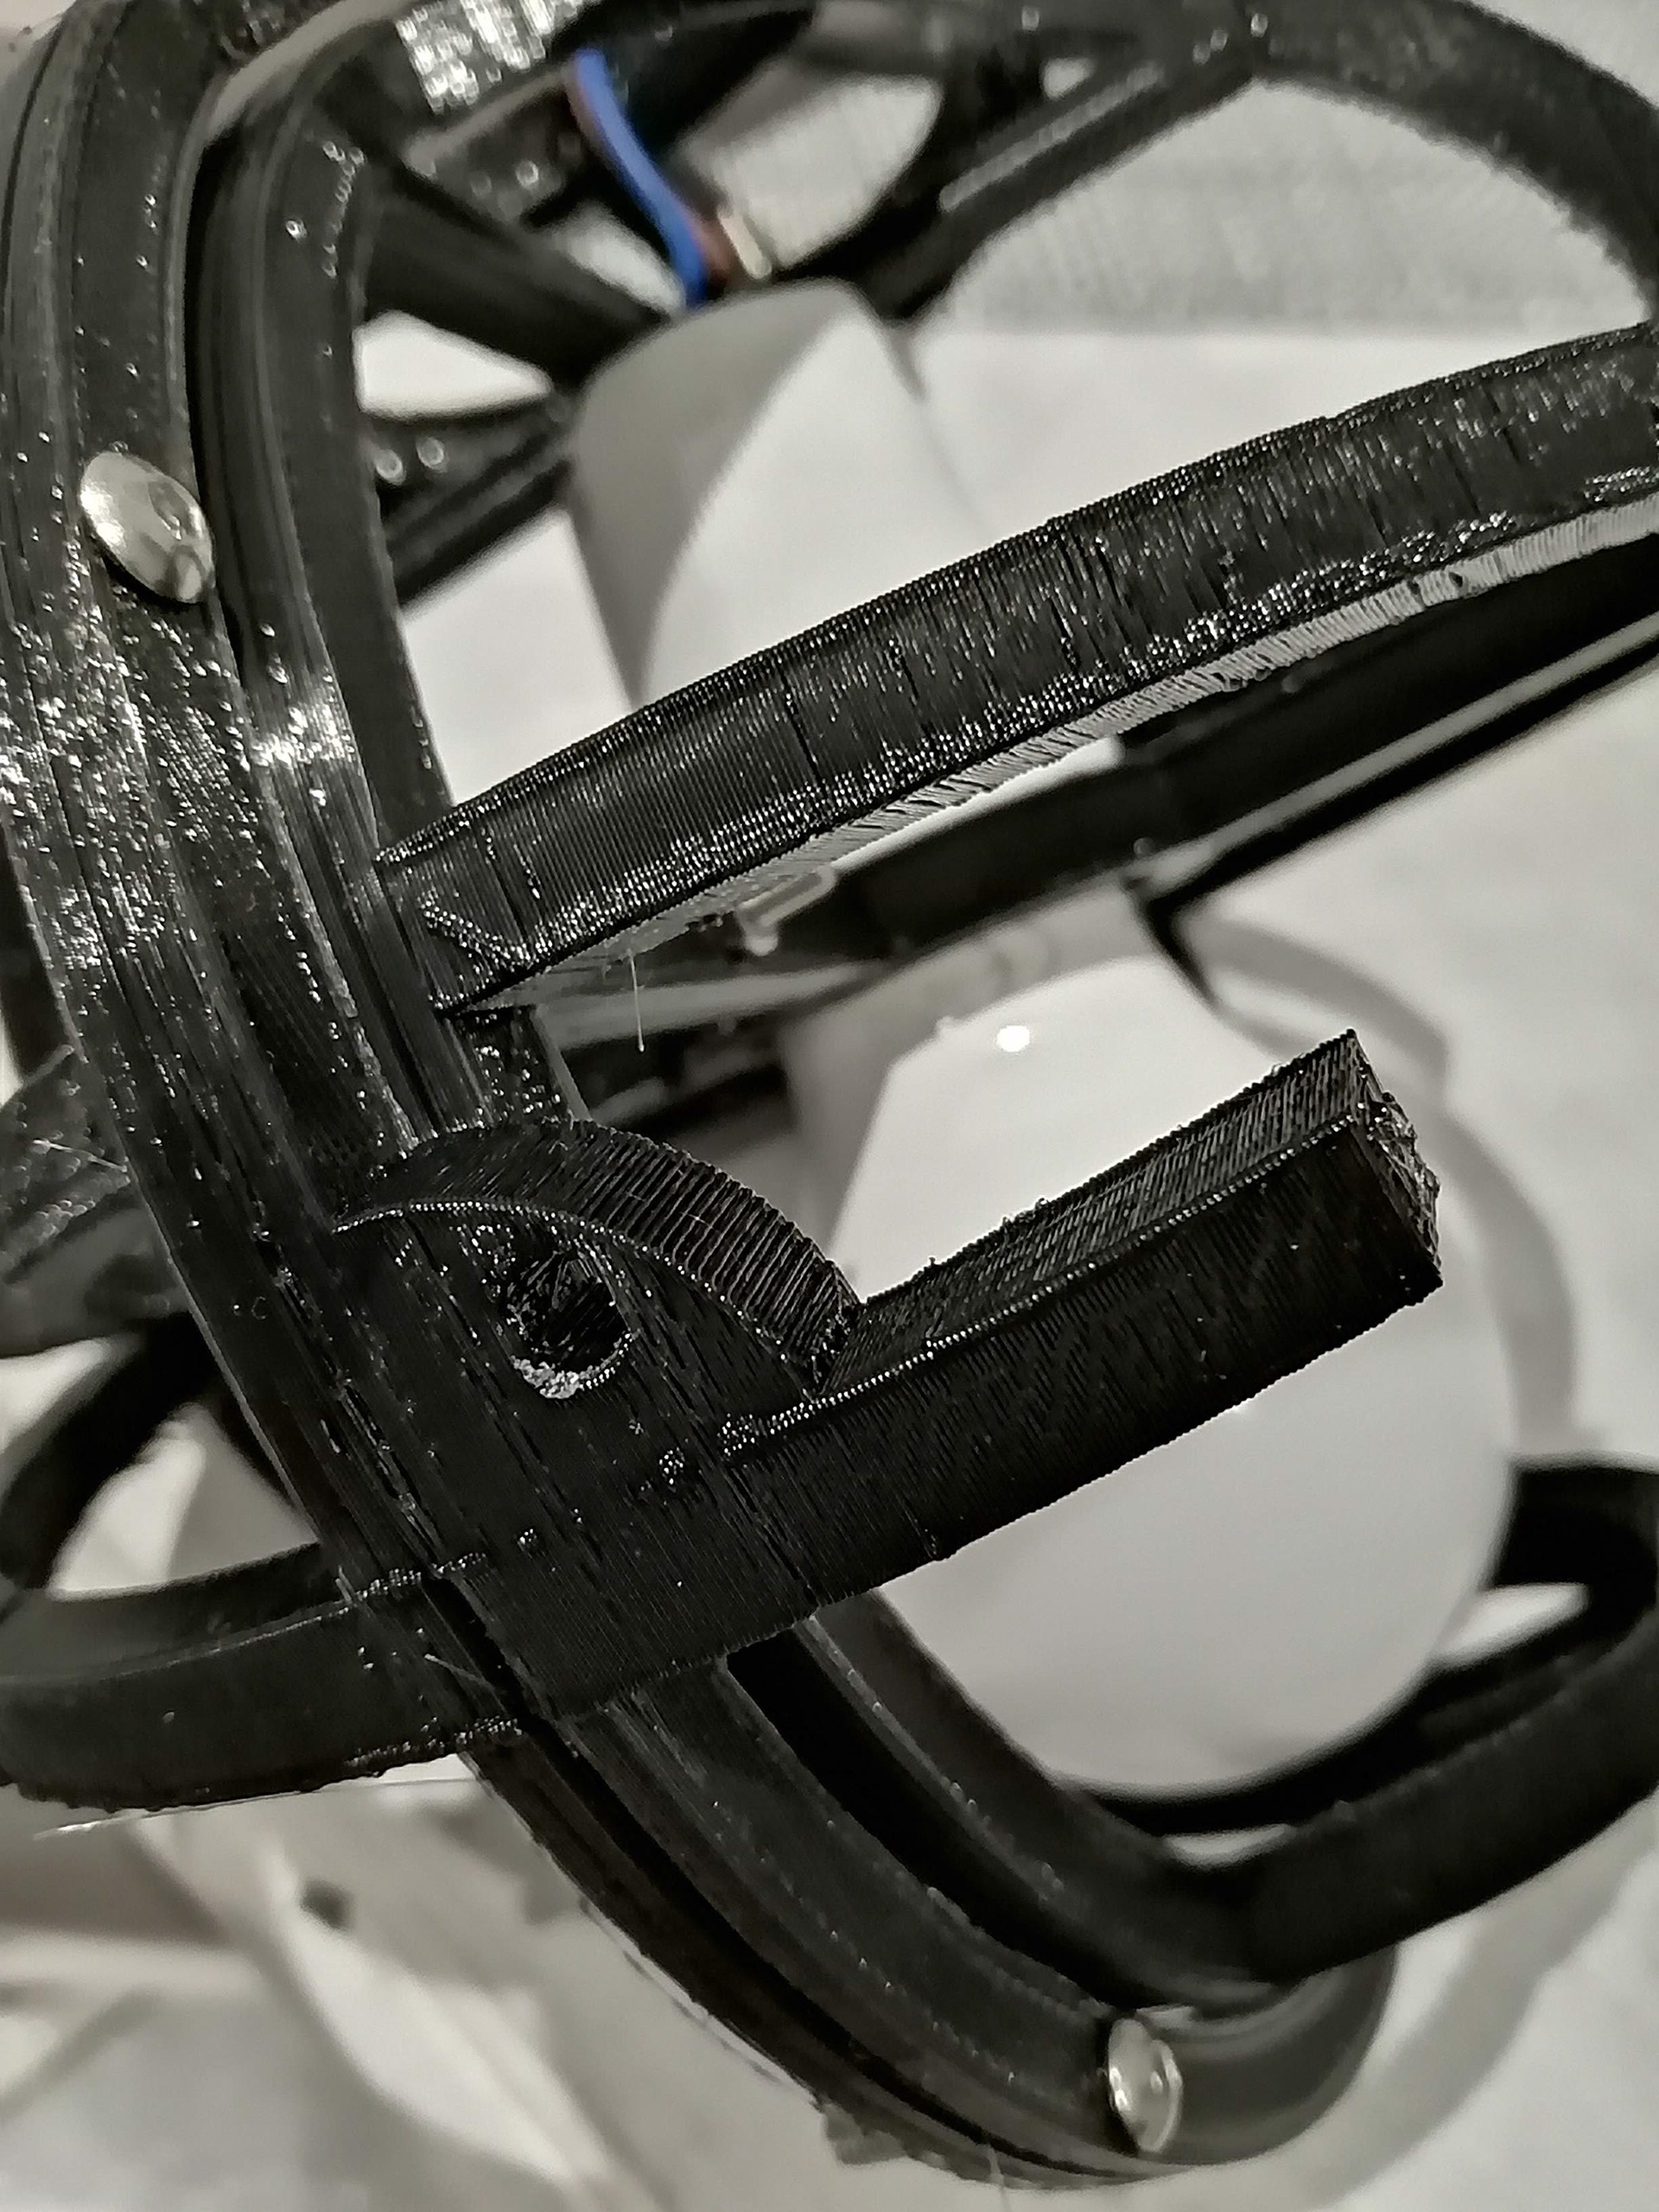
The 4th frame printed off without any problems at first. although it did take some time to put together since i made the mistake of printing with supports which filled the holes where the bolts are supposed to go.
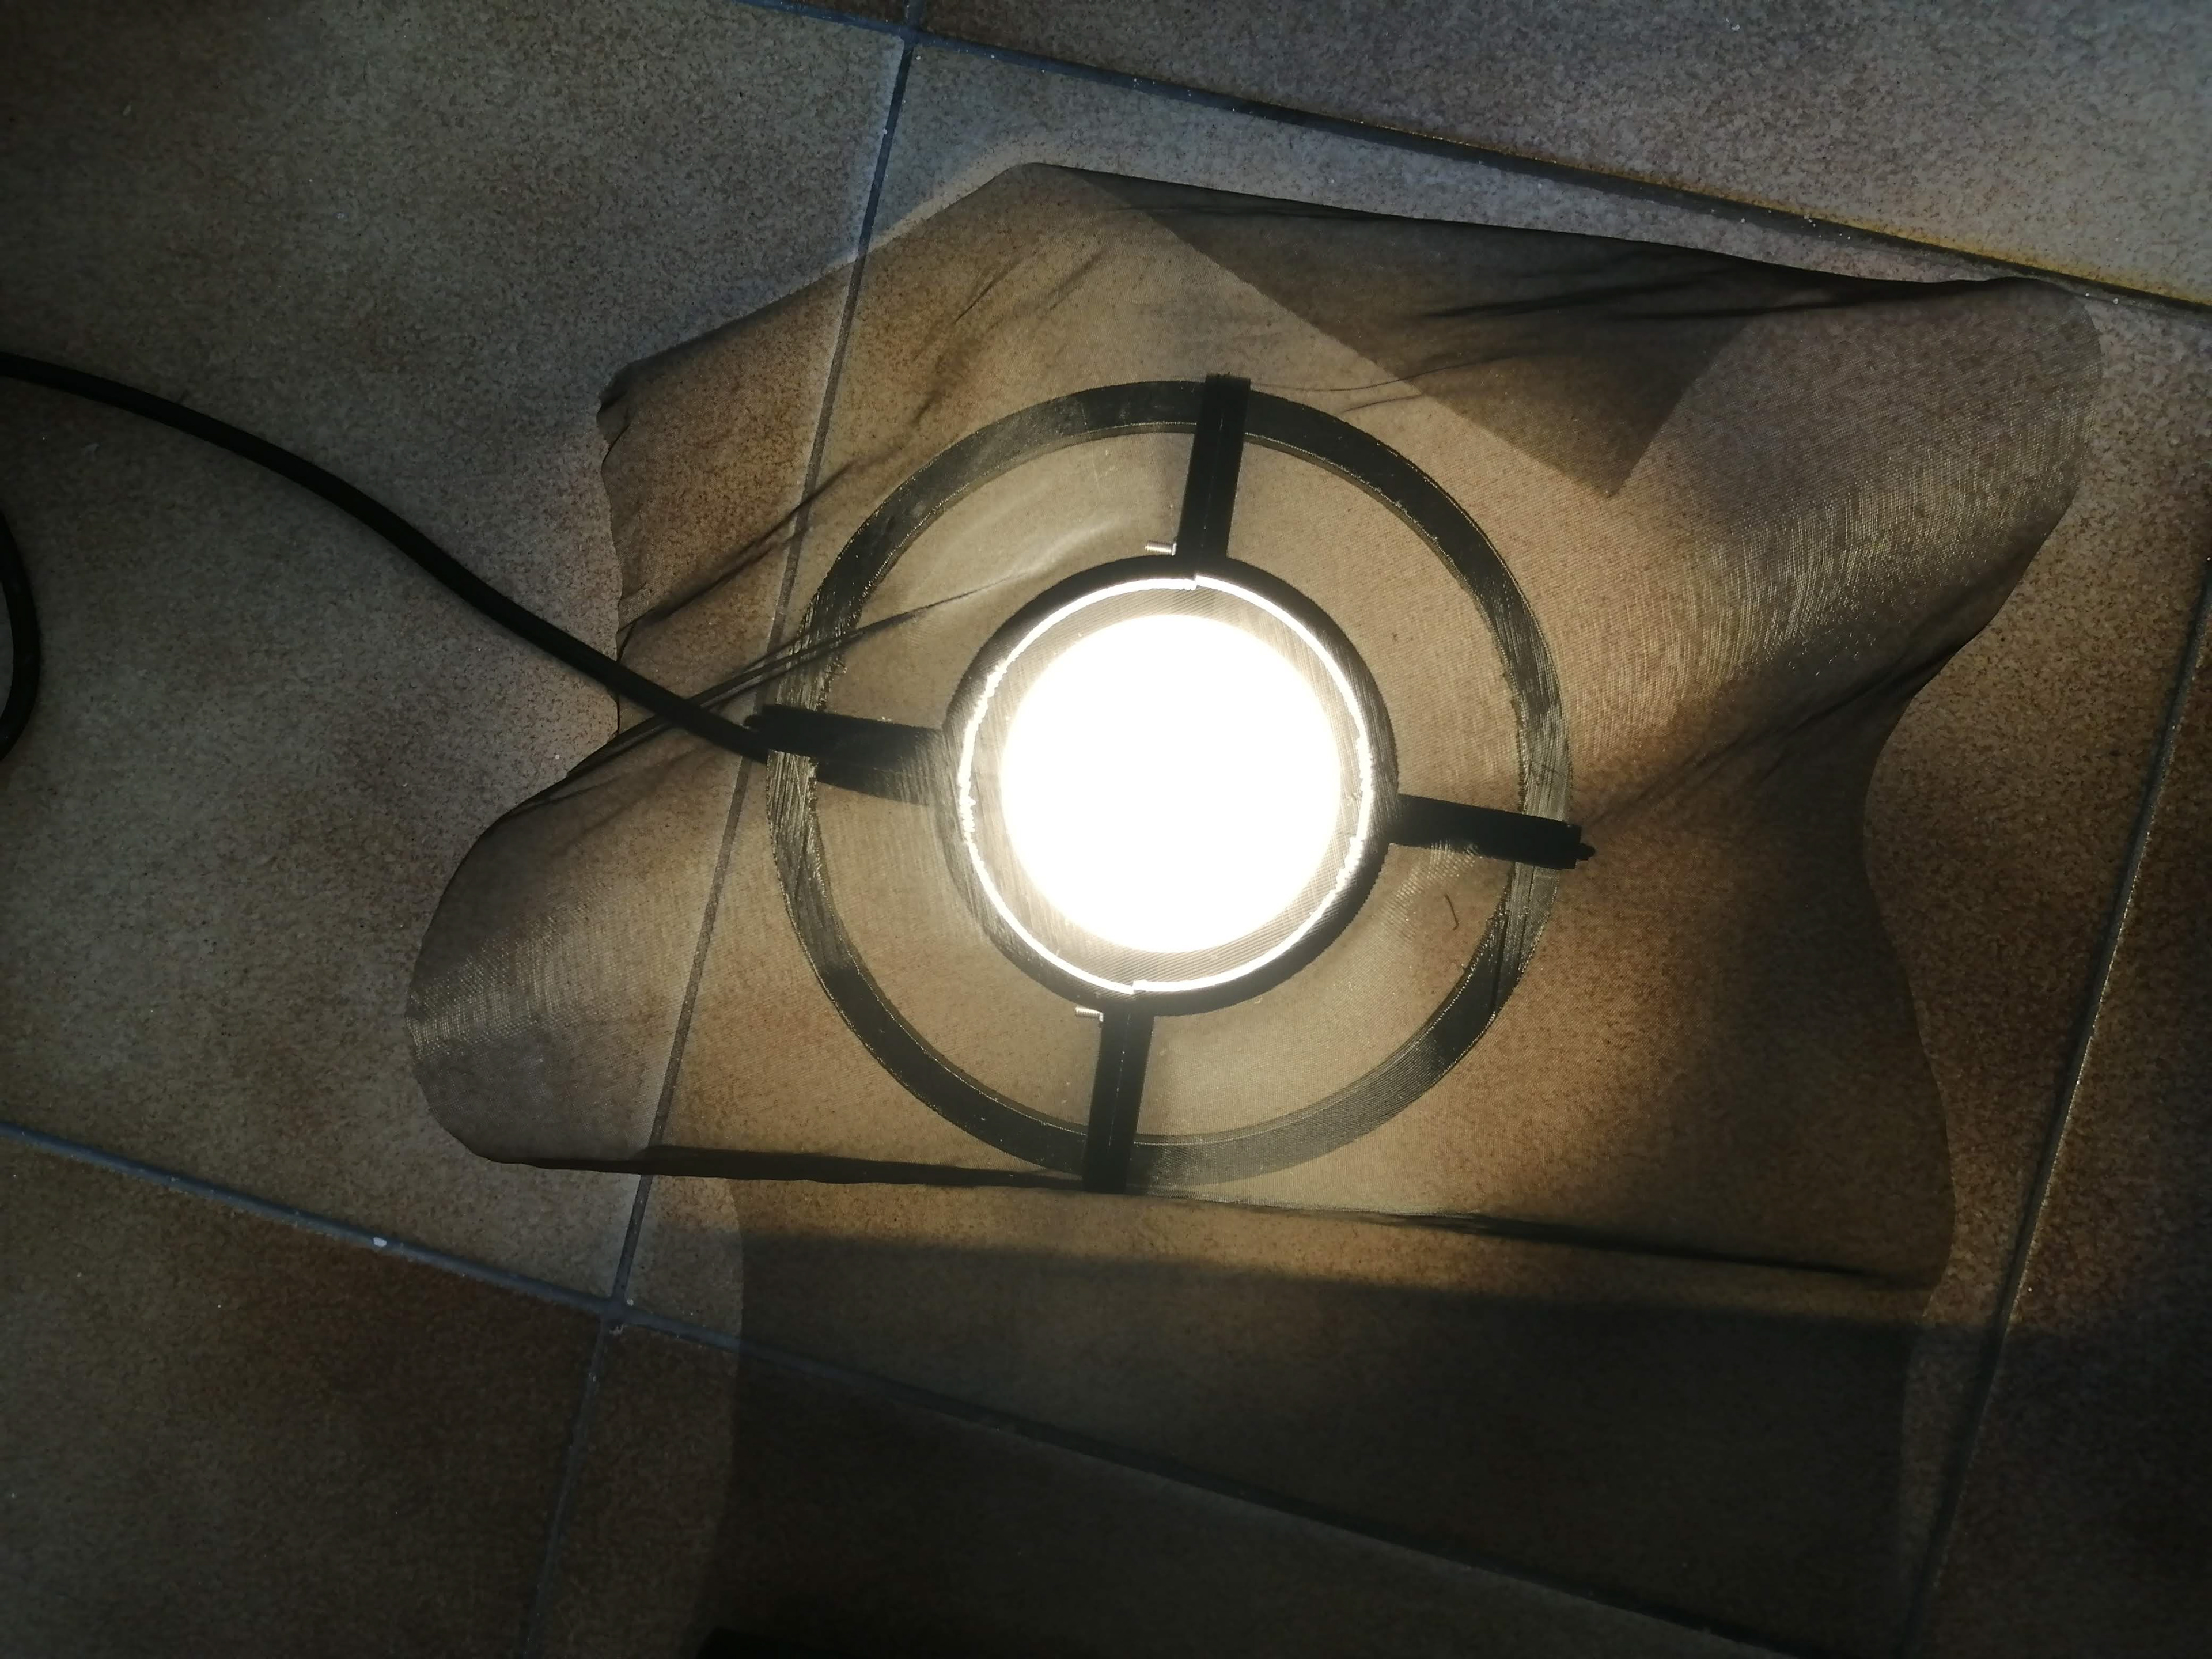
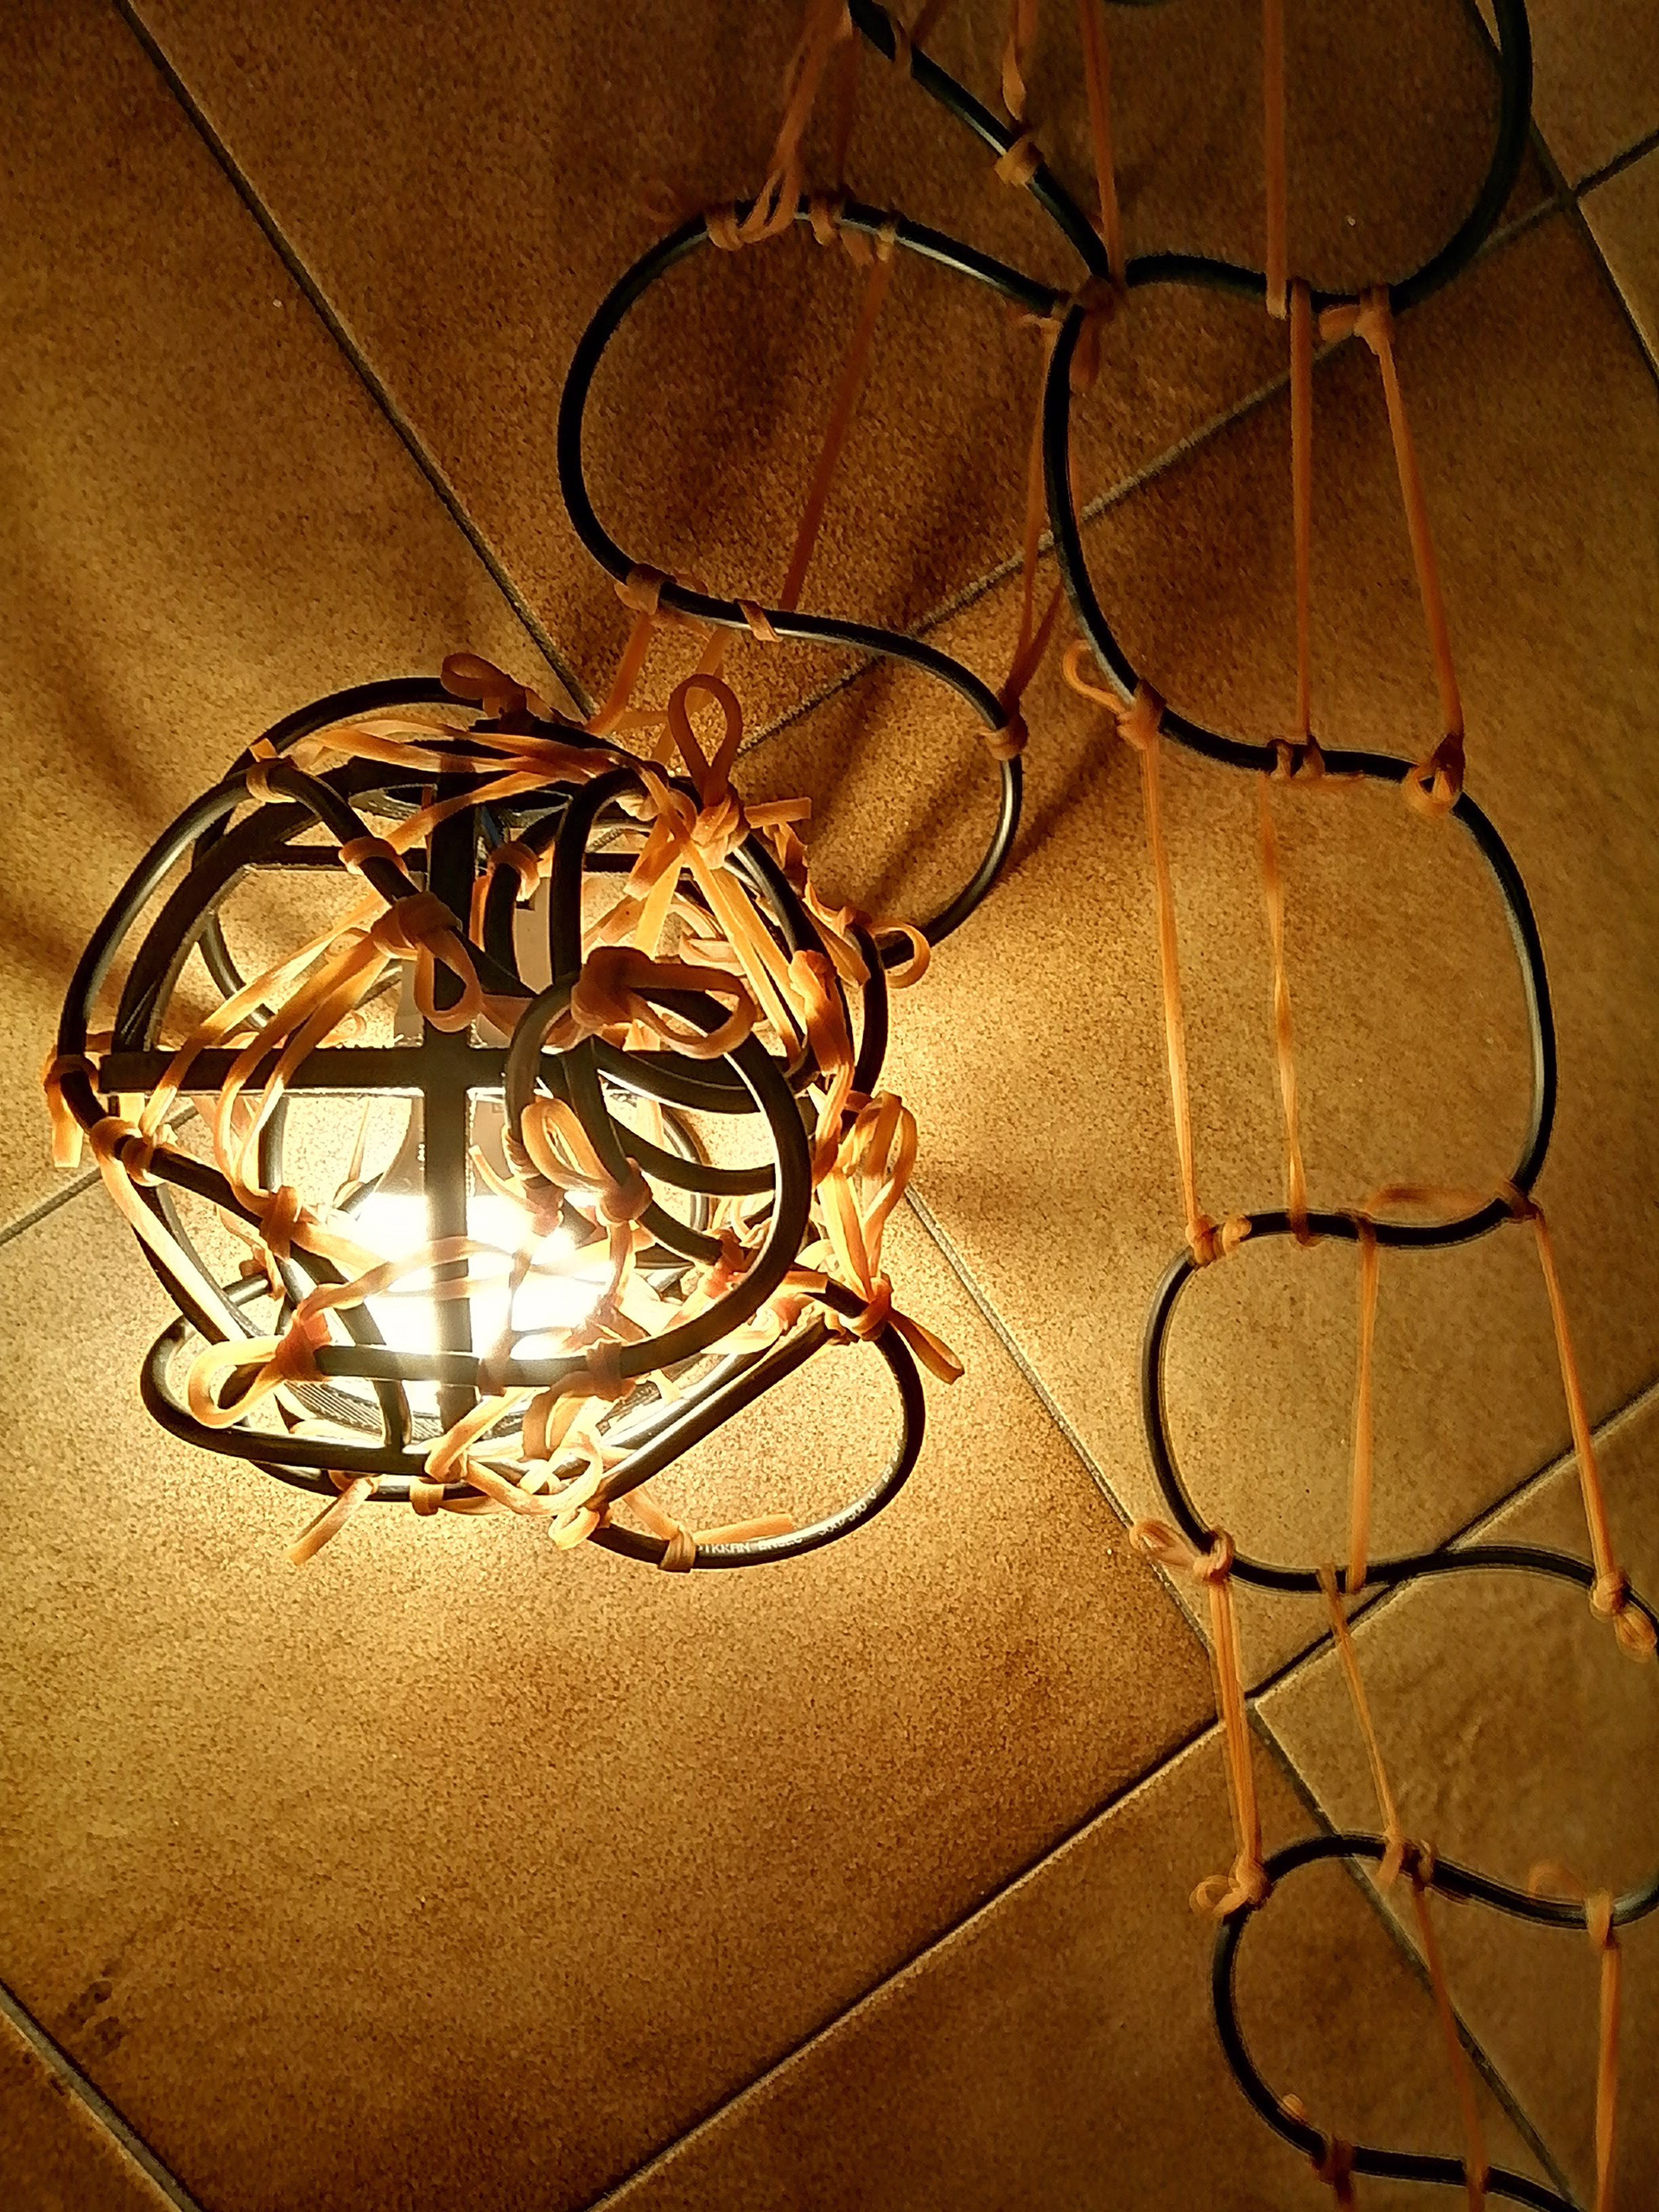
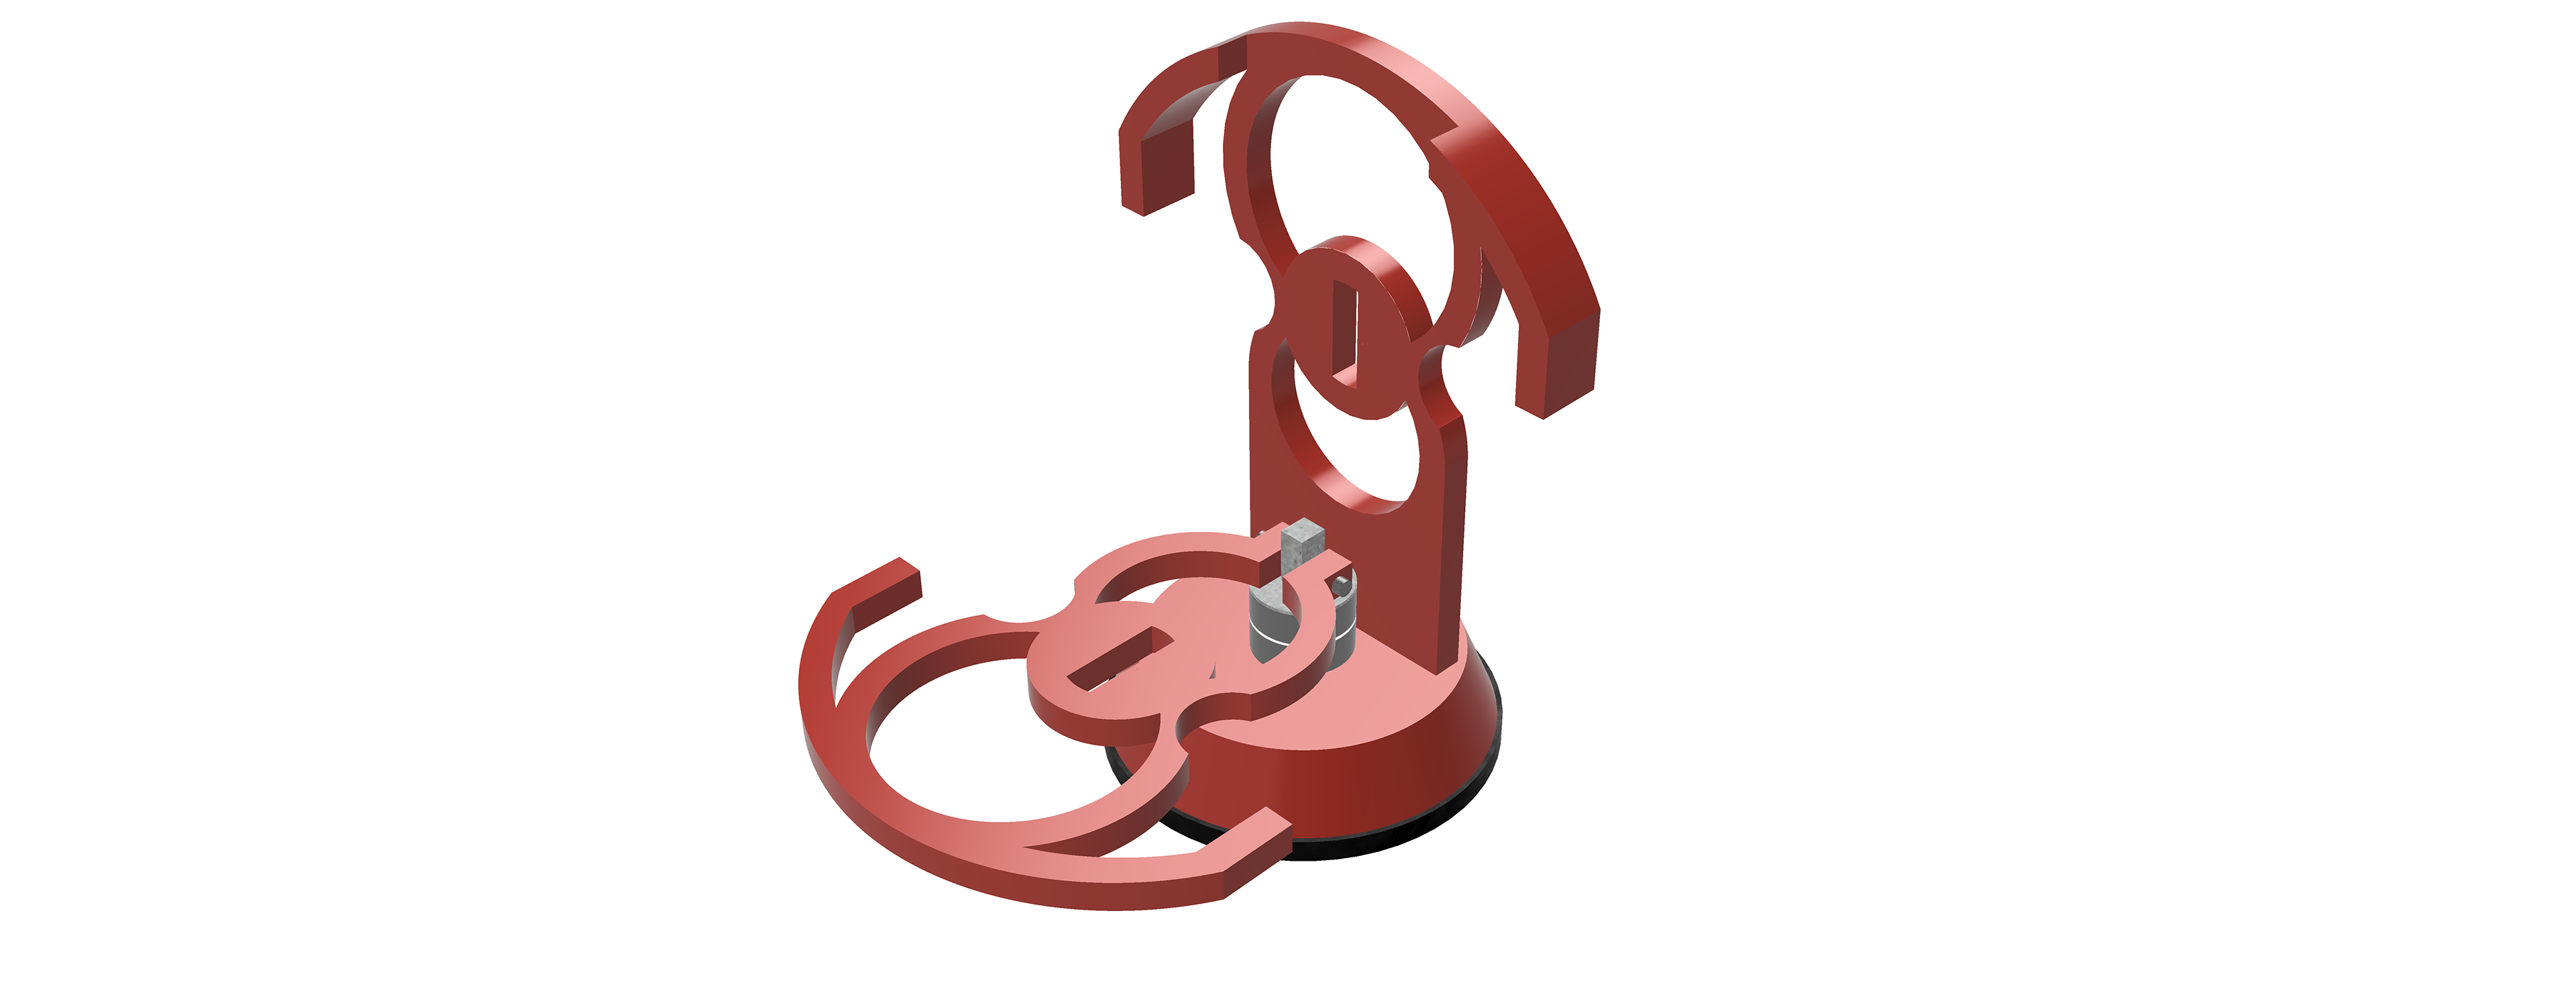
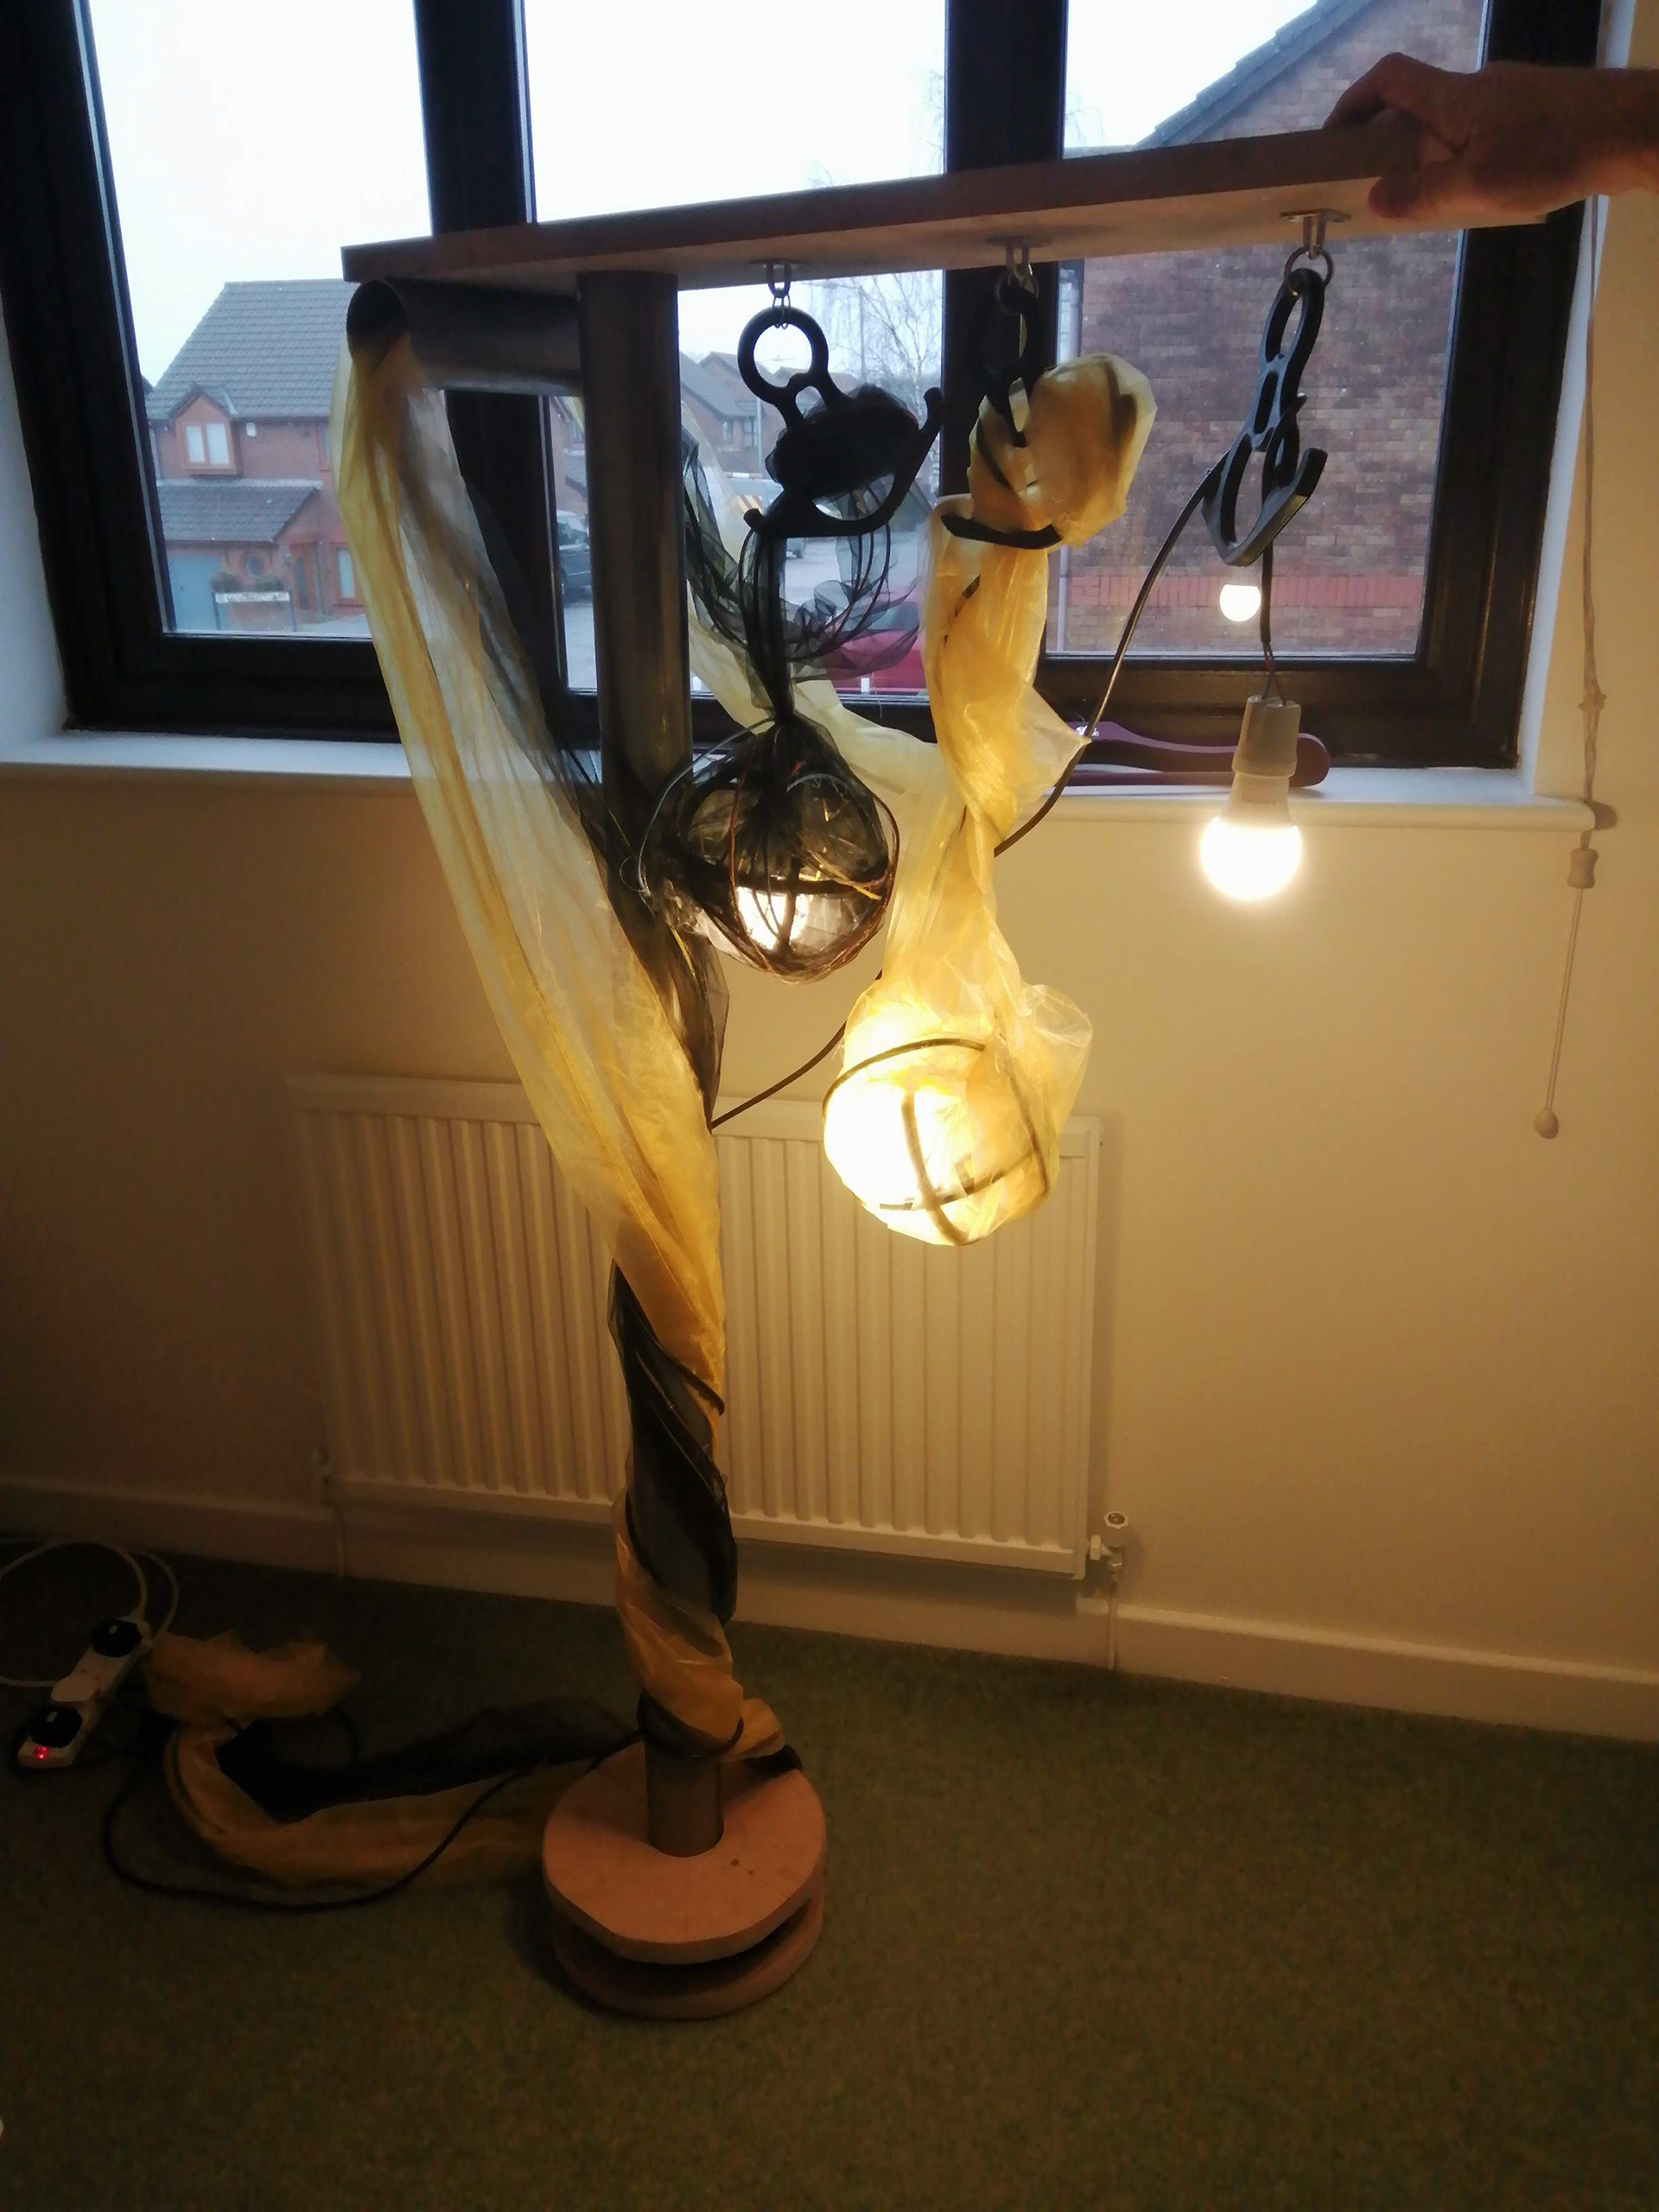
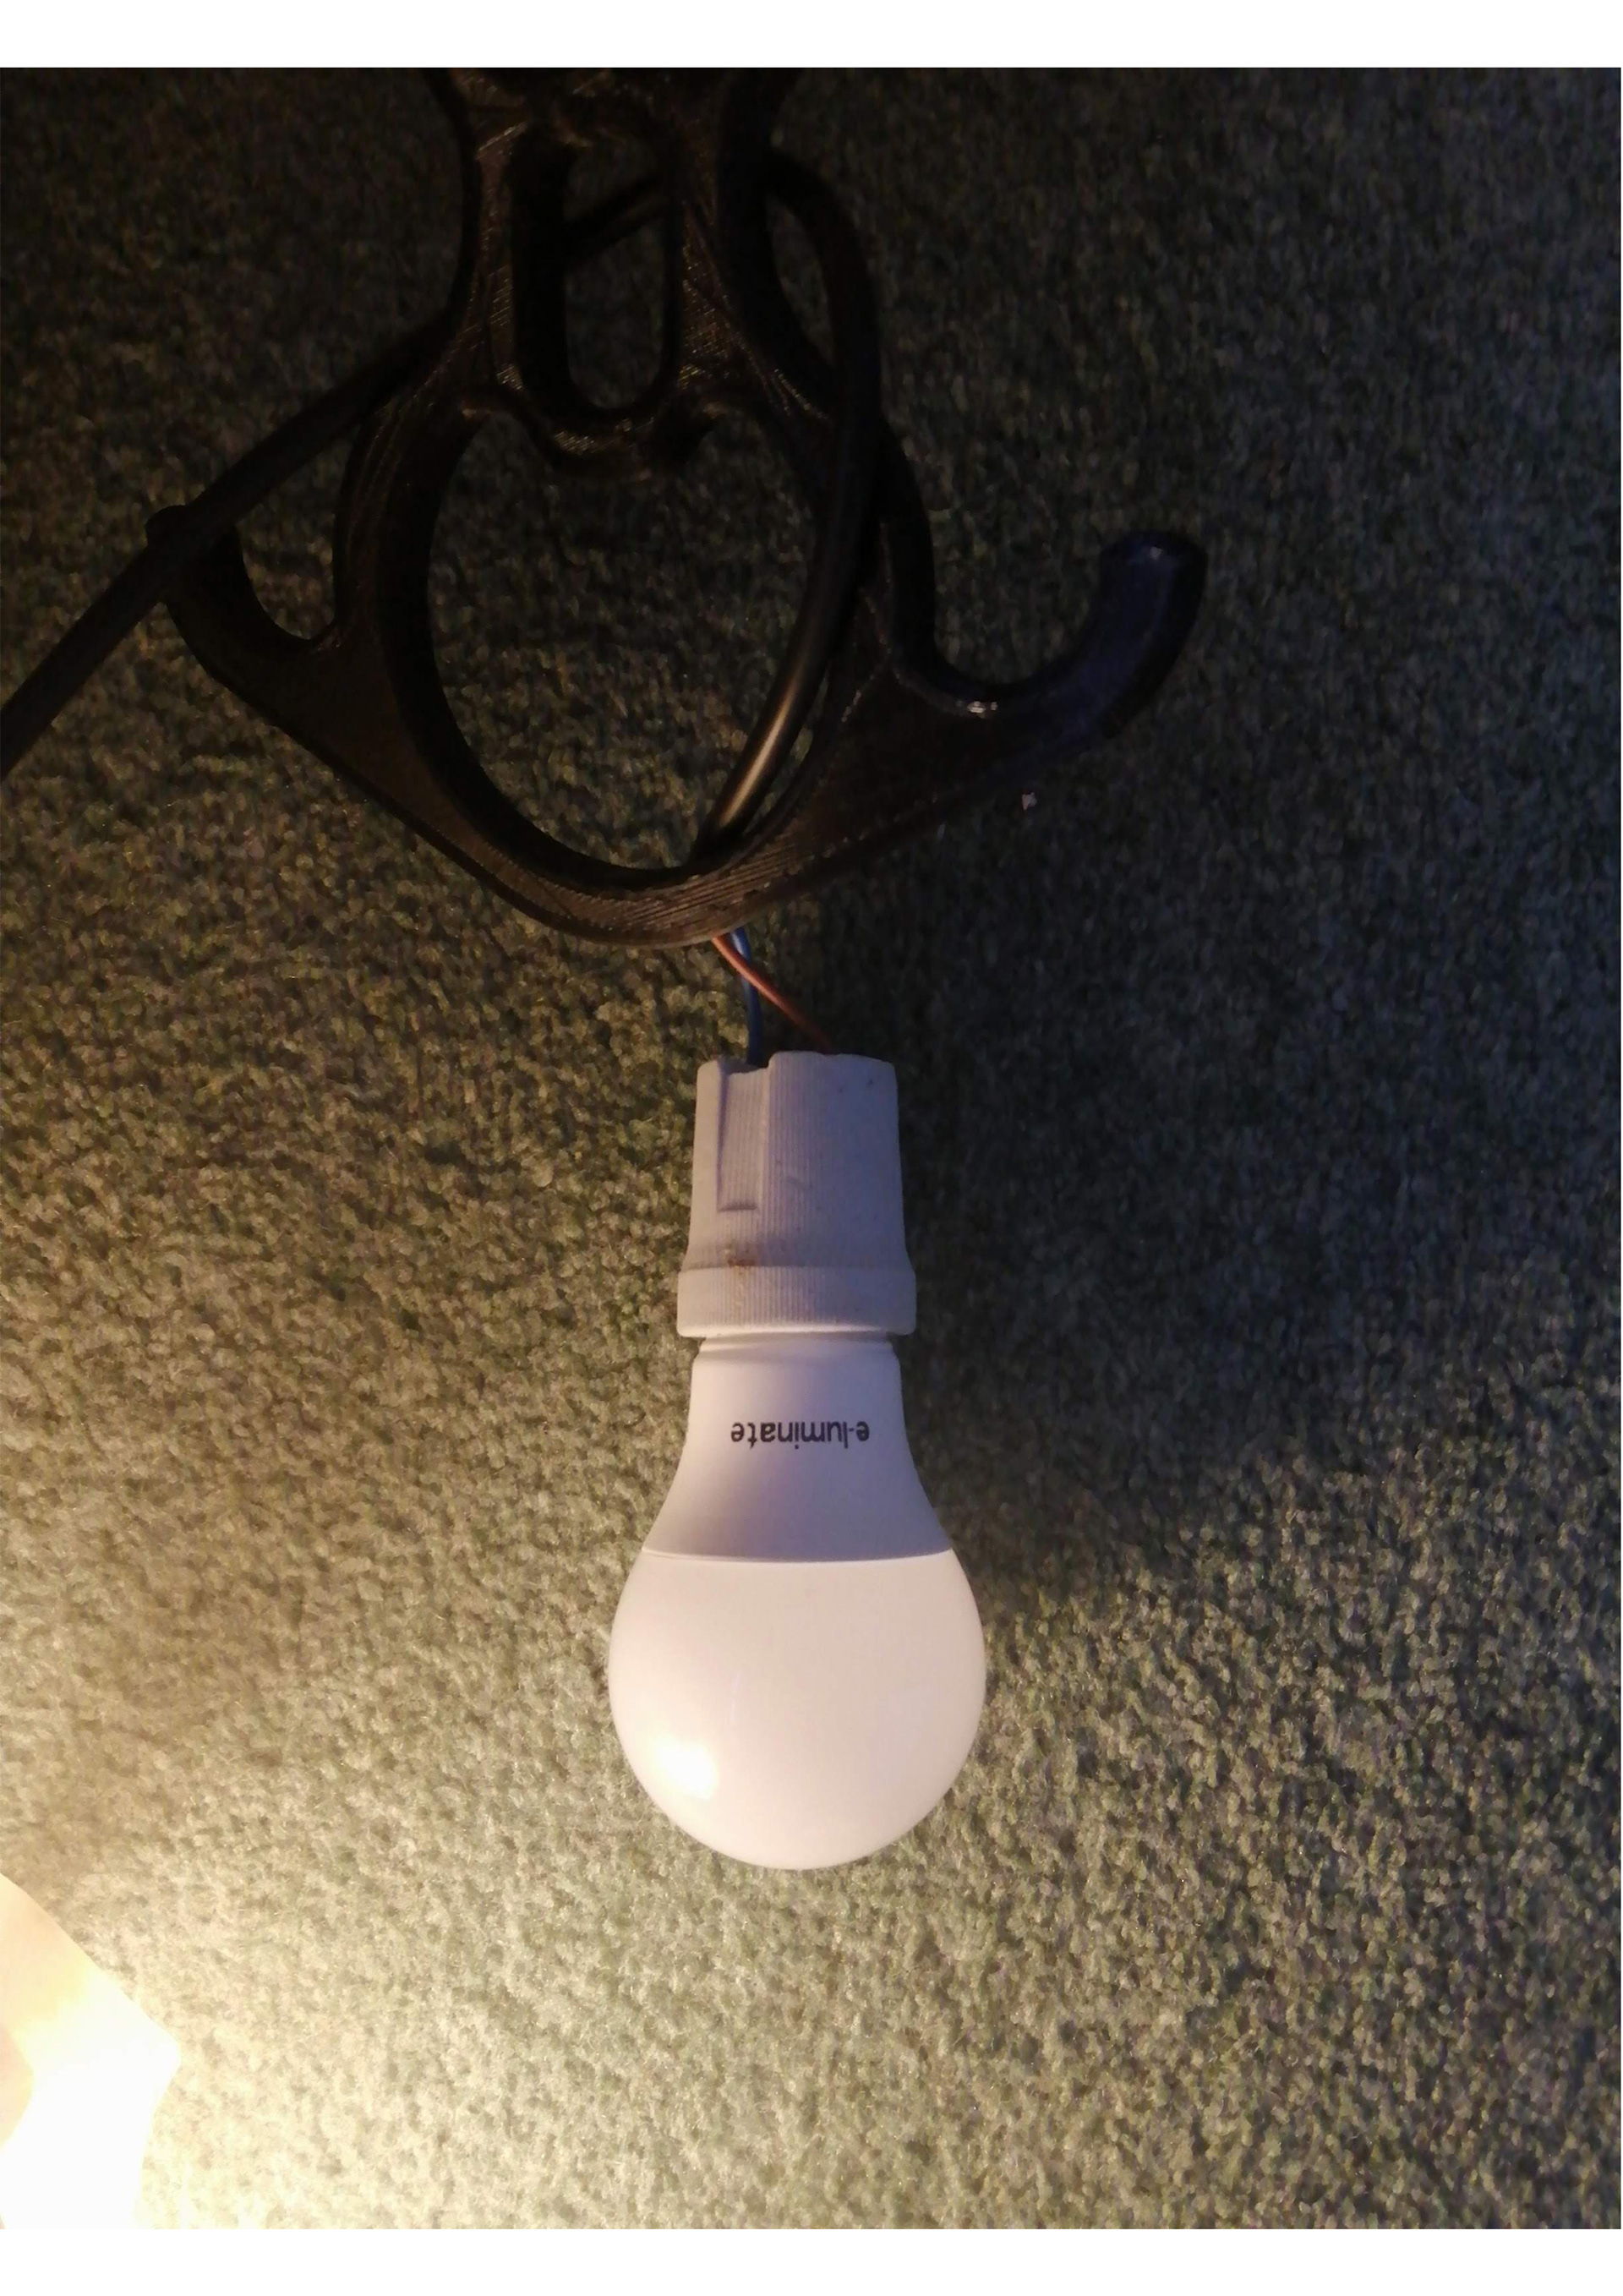
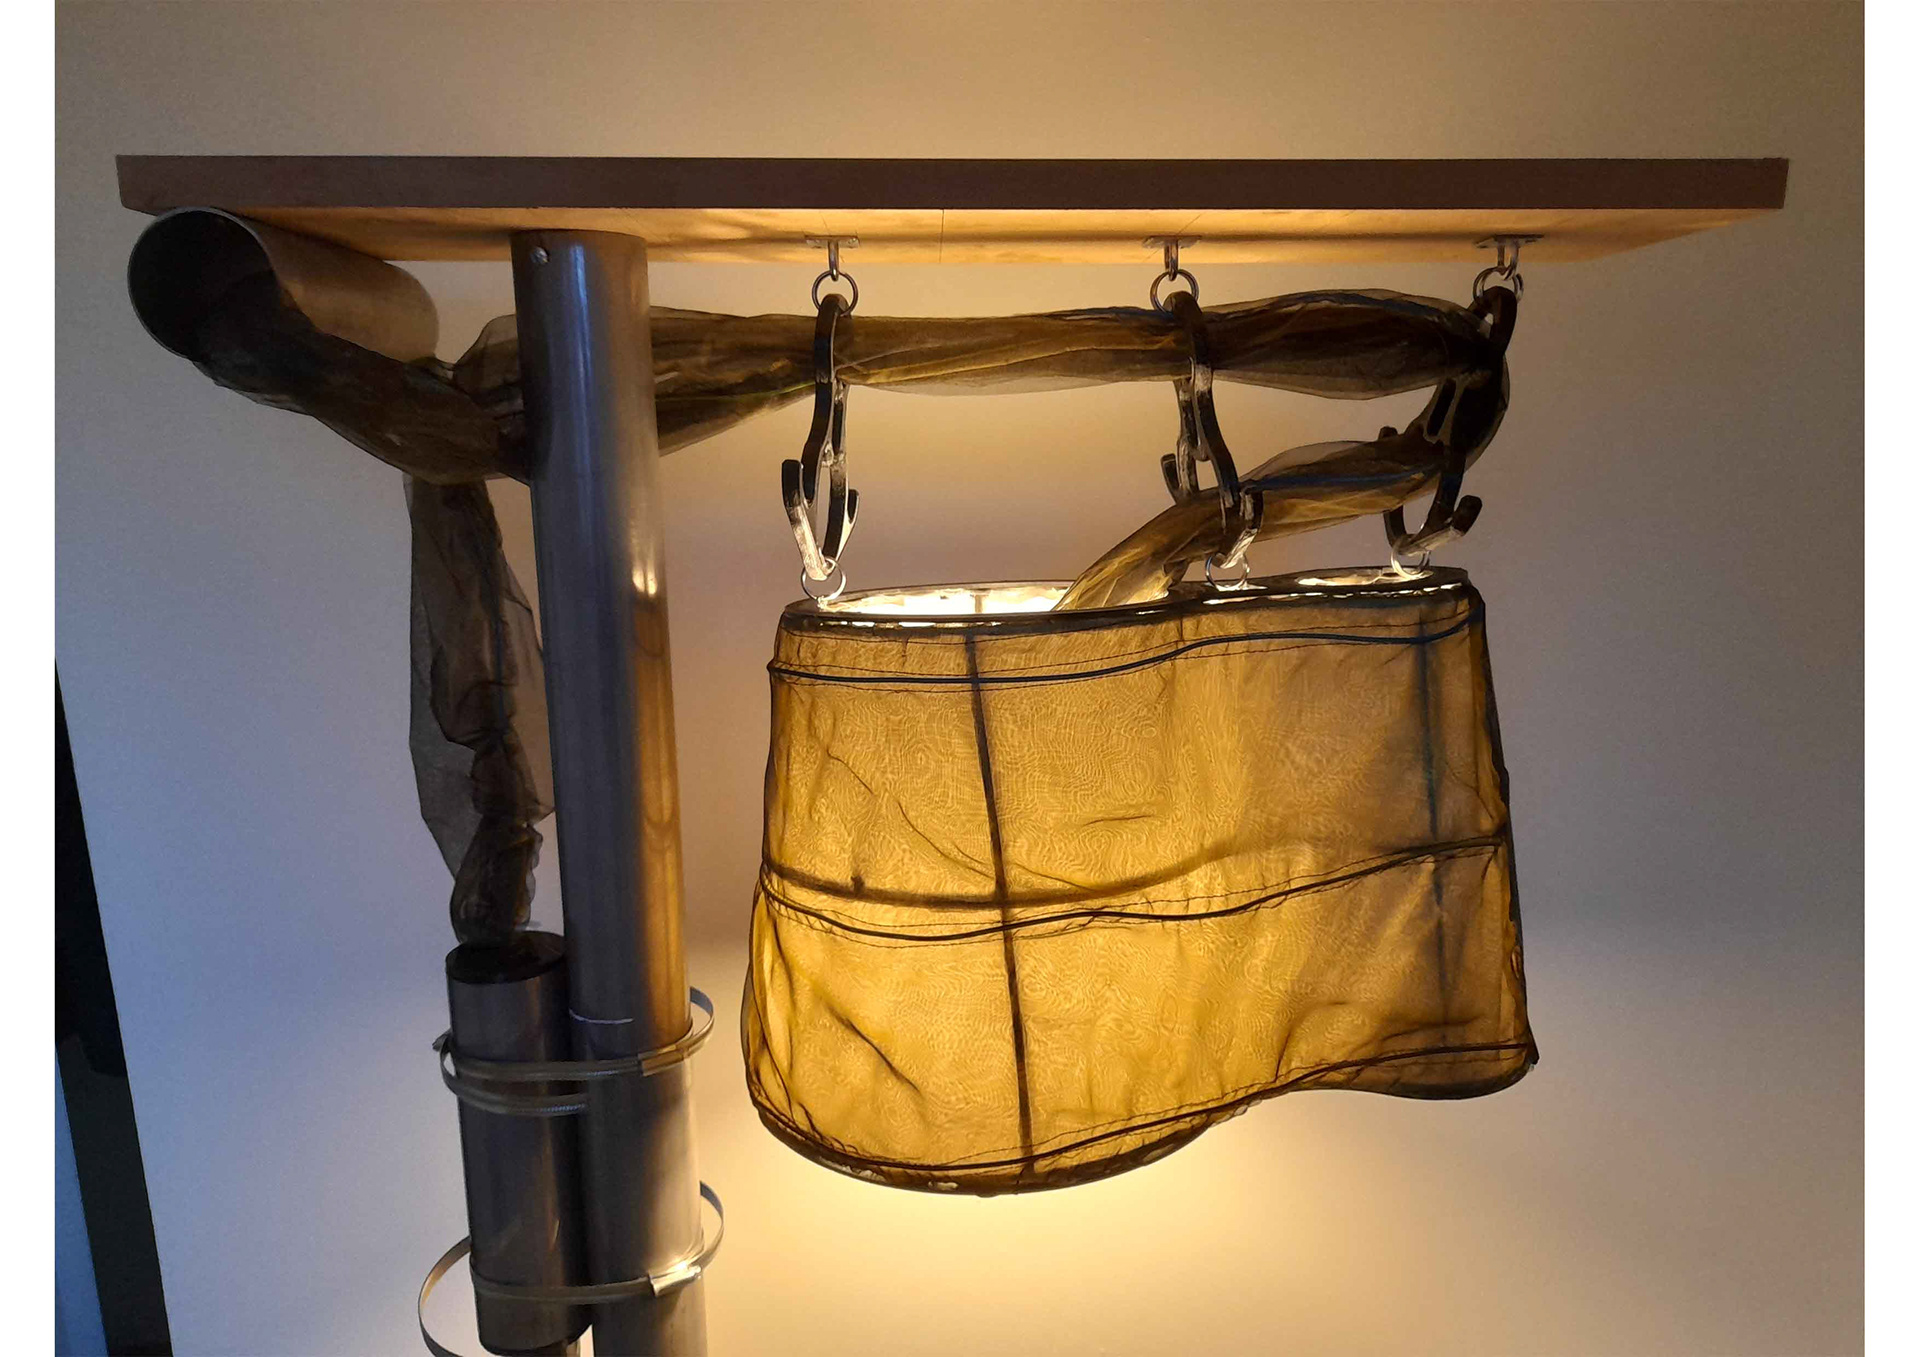
The sphere has a side that extends out so that the fabric can go through and be stitched around. this helps keeps the fabric in place. the series of photos shows how the bulb would be changed if it were to be suspended from the figure 8.
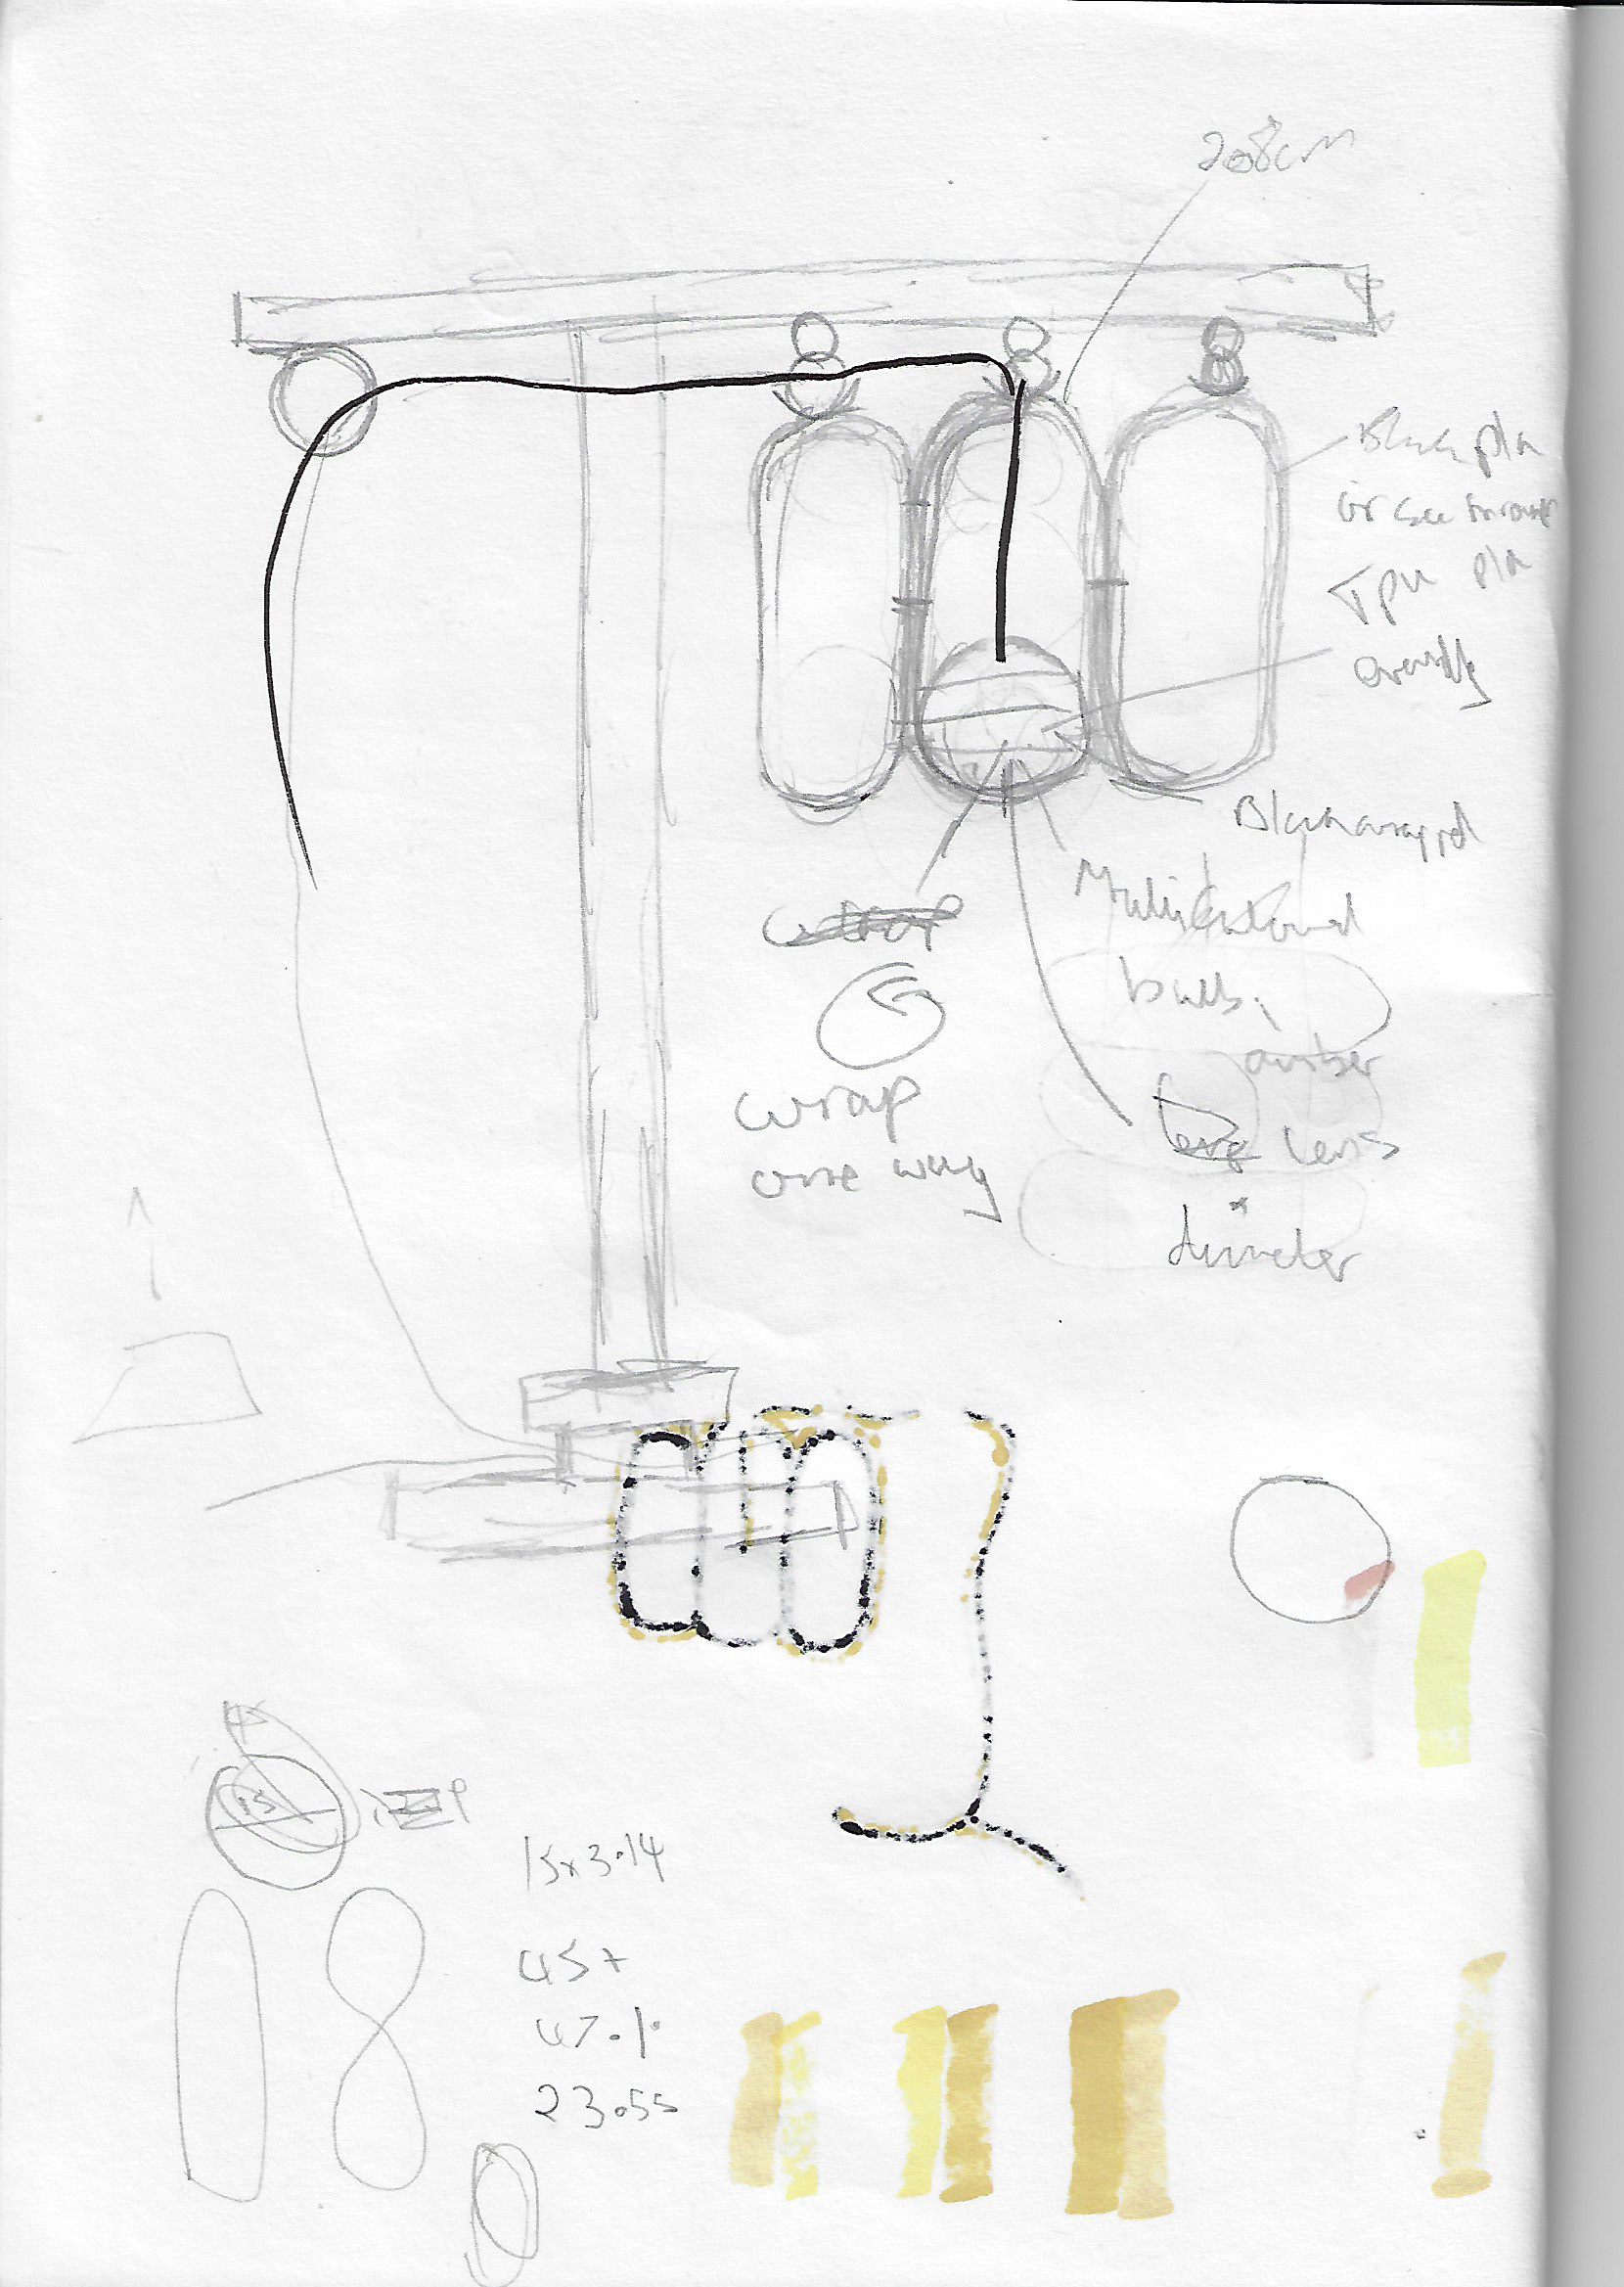
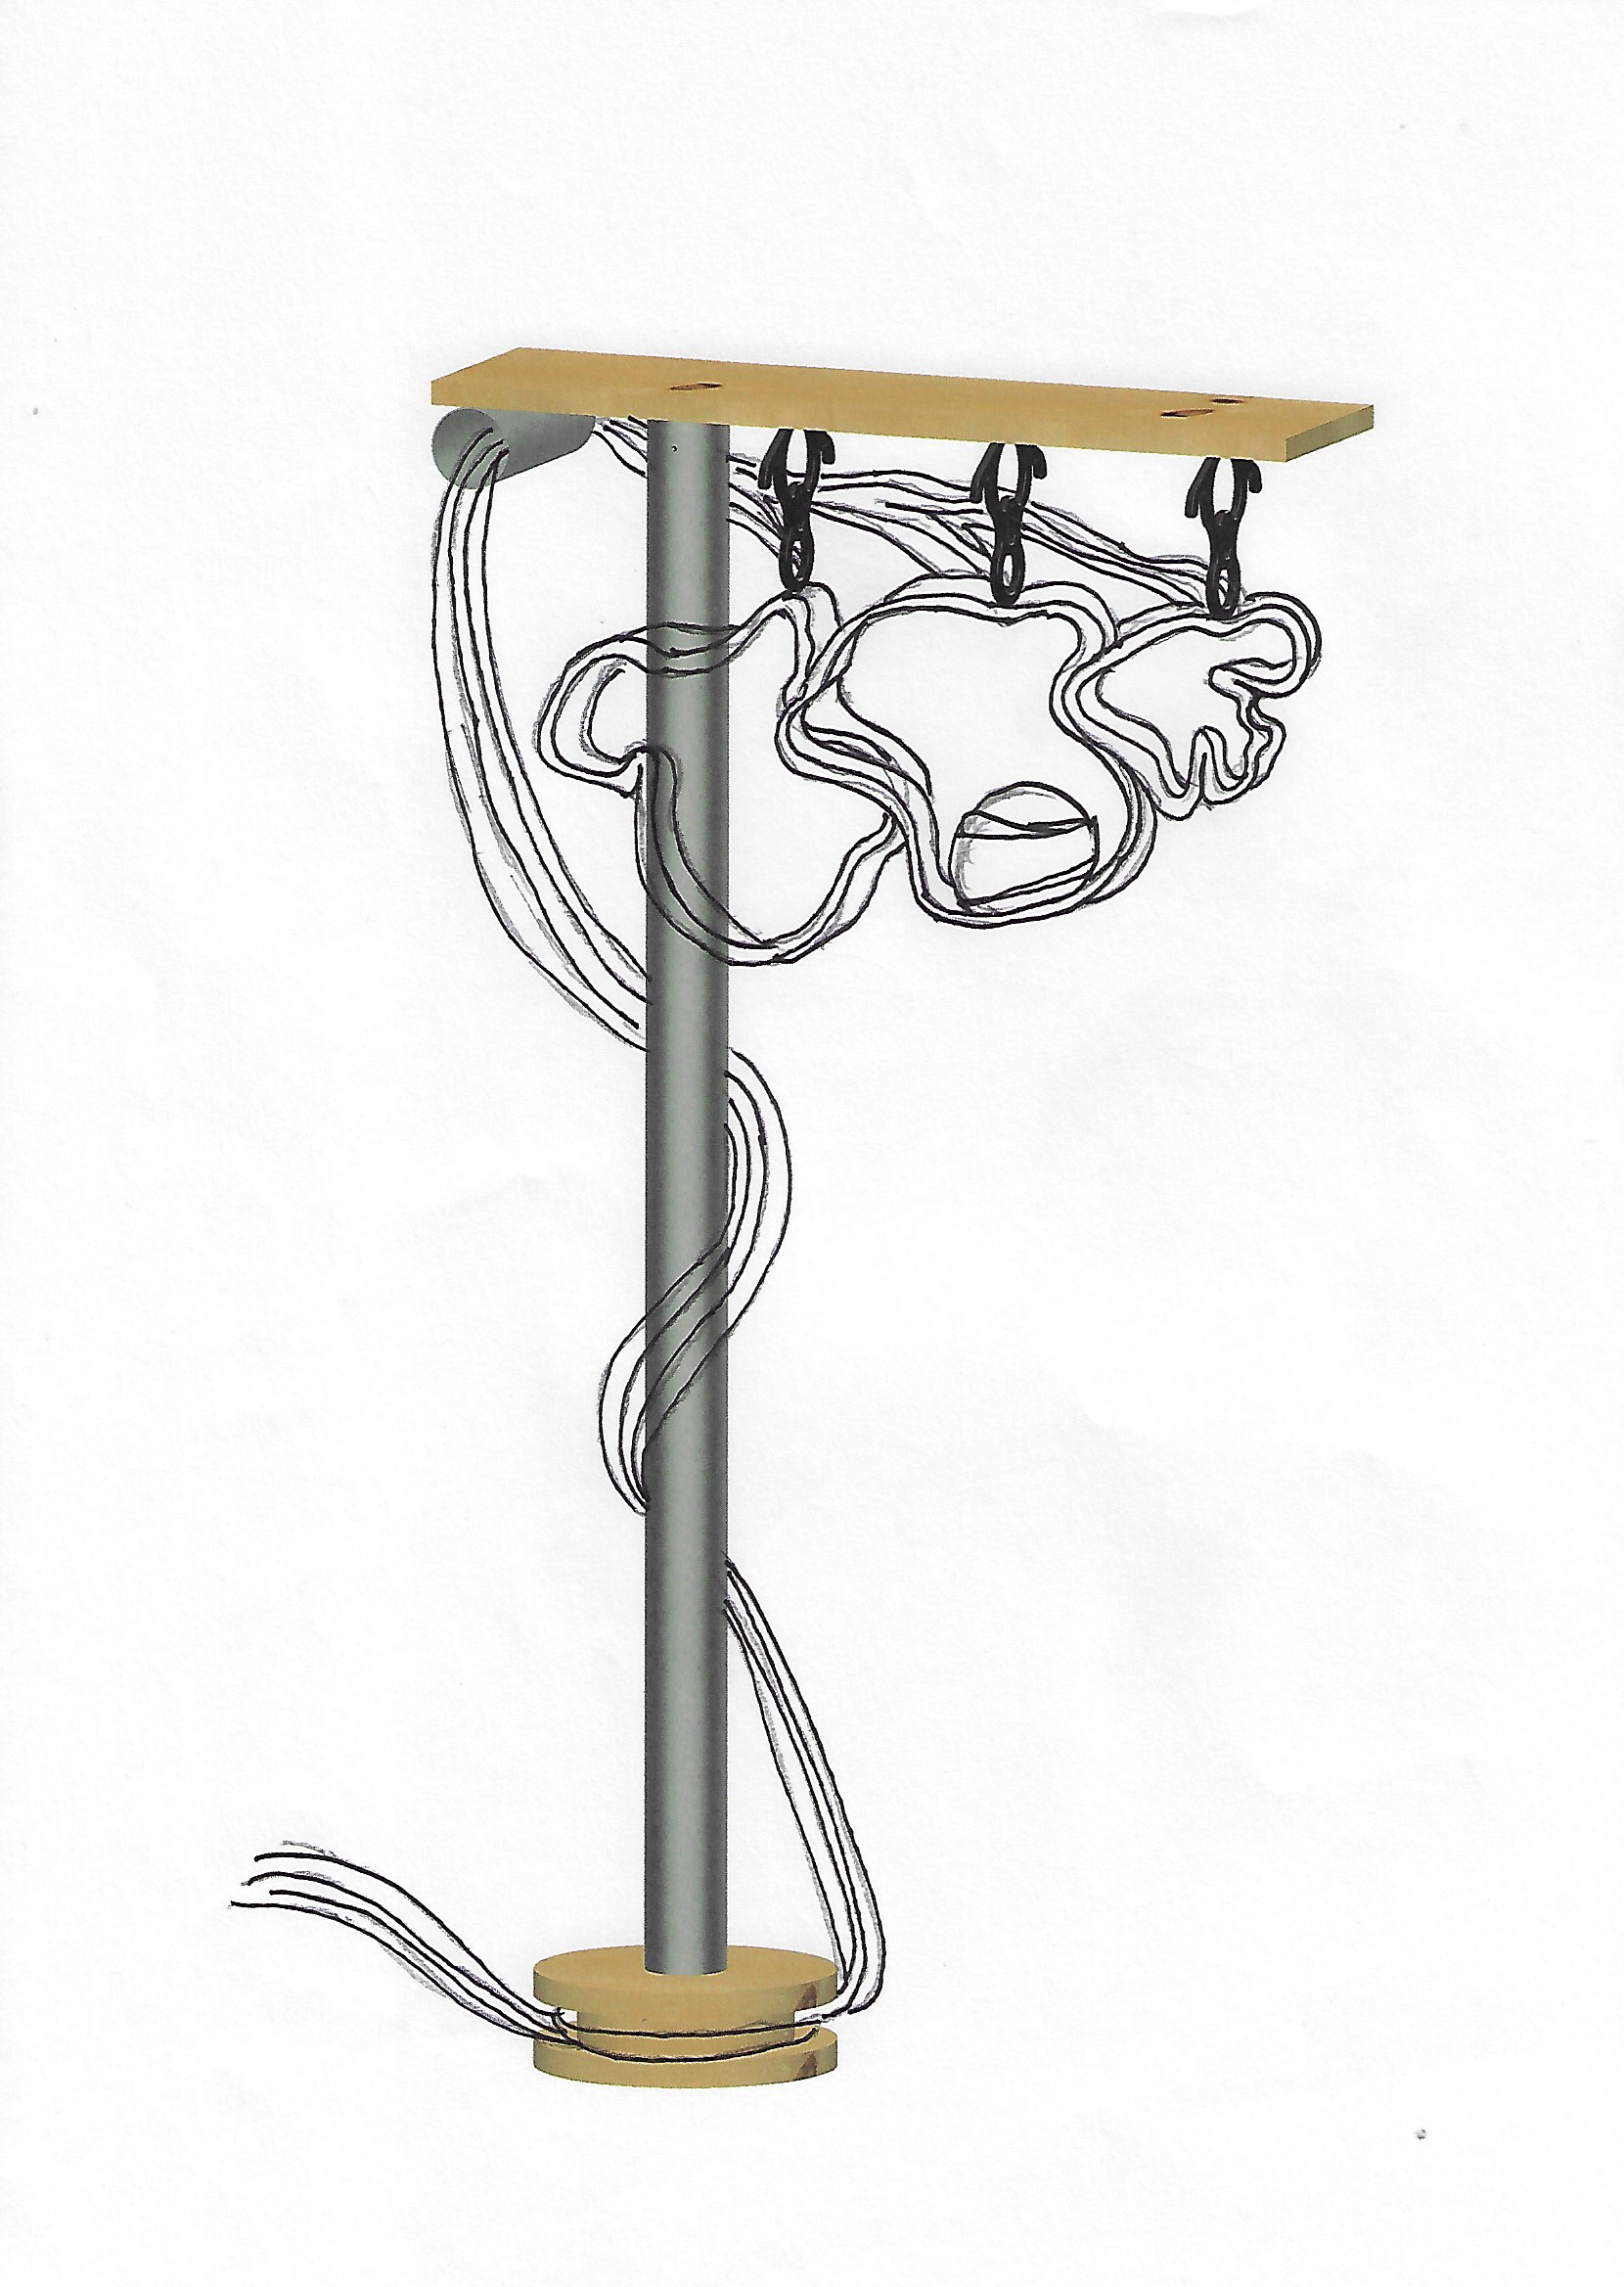
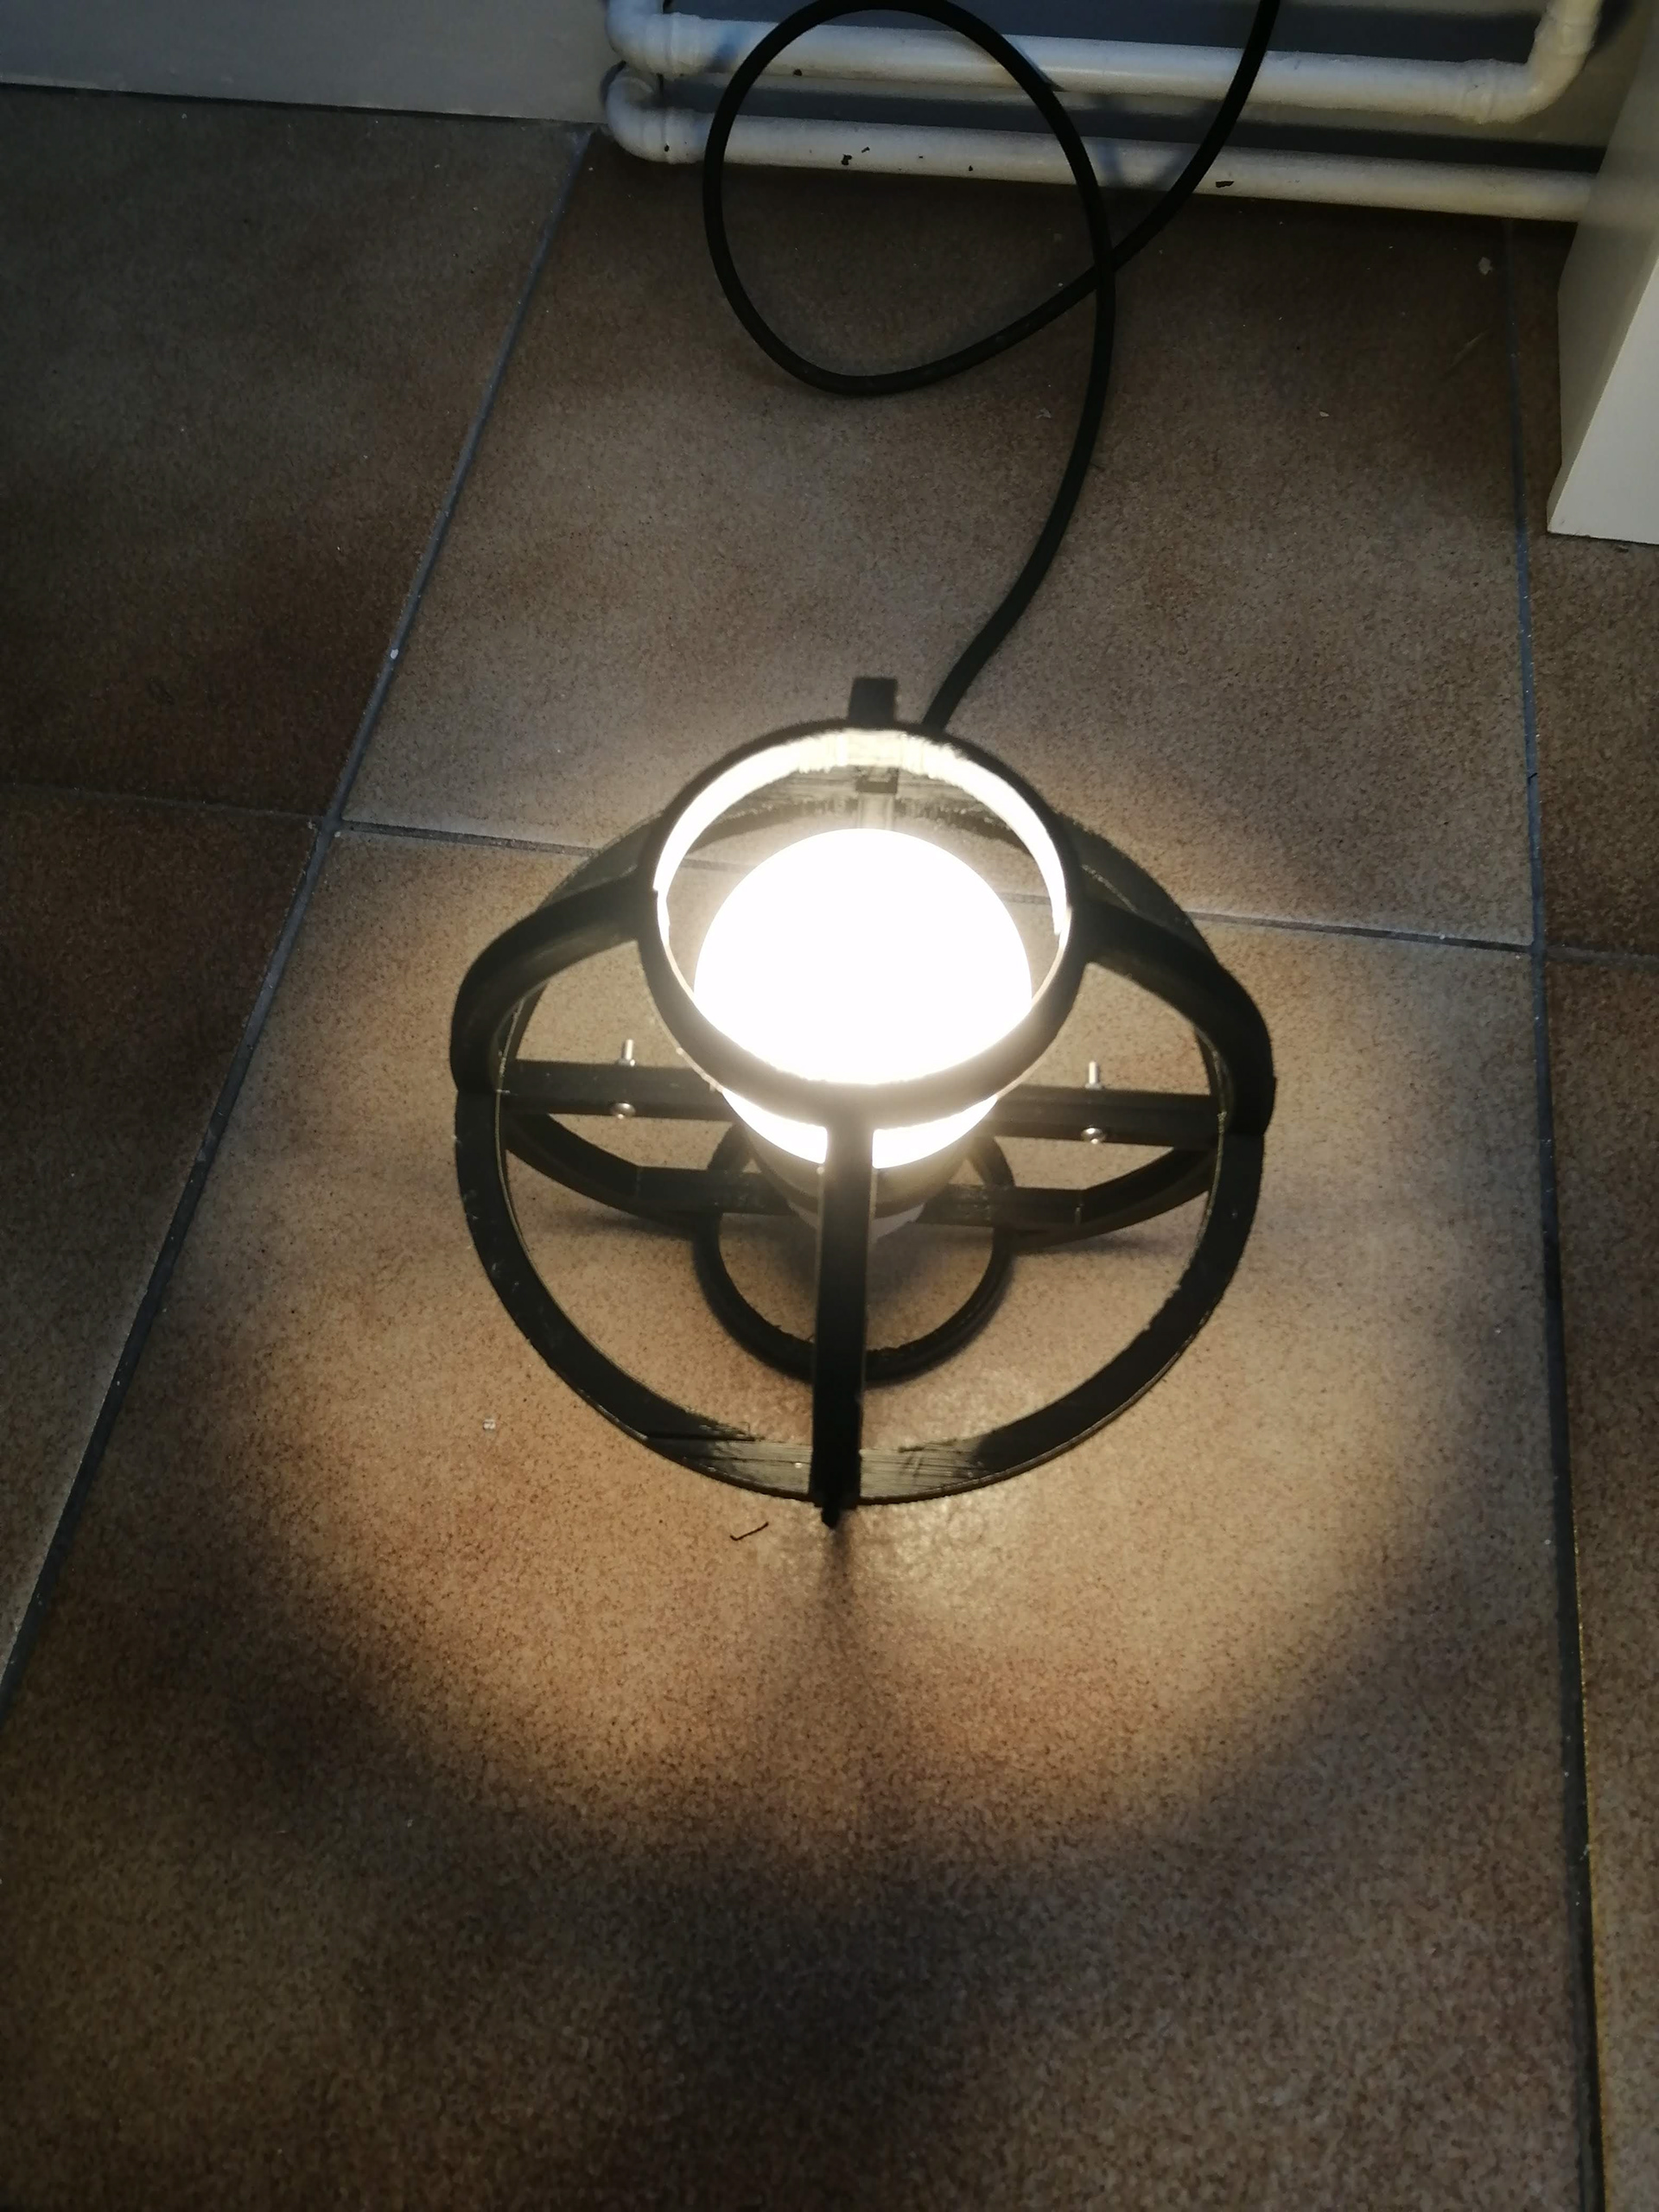
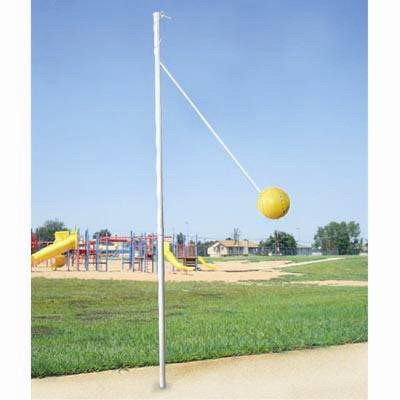
After examining and figuring out if this overall concept was working I realised it won't. A lamp is most commonly a single bulb. Because of this having three separate bulbs would make to much light and also all the cable would get tied up un-neatly. another factor was that the structure of the lamp reminded me of a fishing rod which really isn't a problem. however the problem is that the single bulb in a sphere hanging from the last figure 8 created a visual mess that I didn't want to continue.
considering the frame resembles a rod (in a over exaggerated form) and thinking about my own past experiences of fishing i knew that to make this more effective I needed something that would had more life to it.
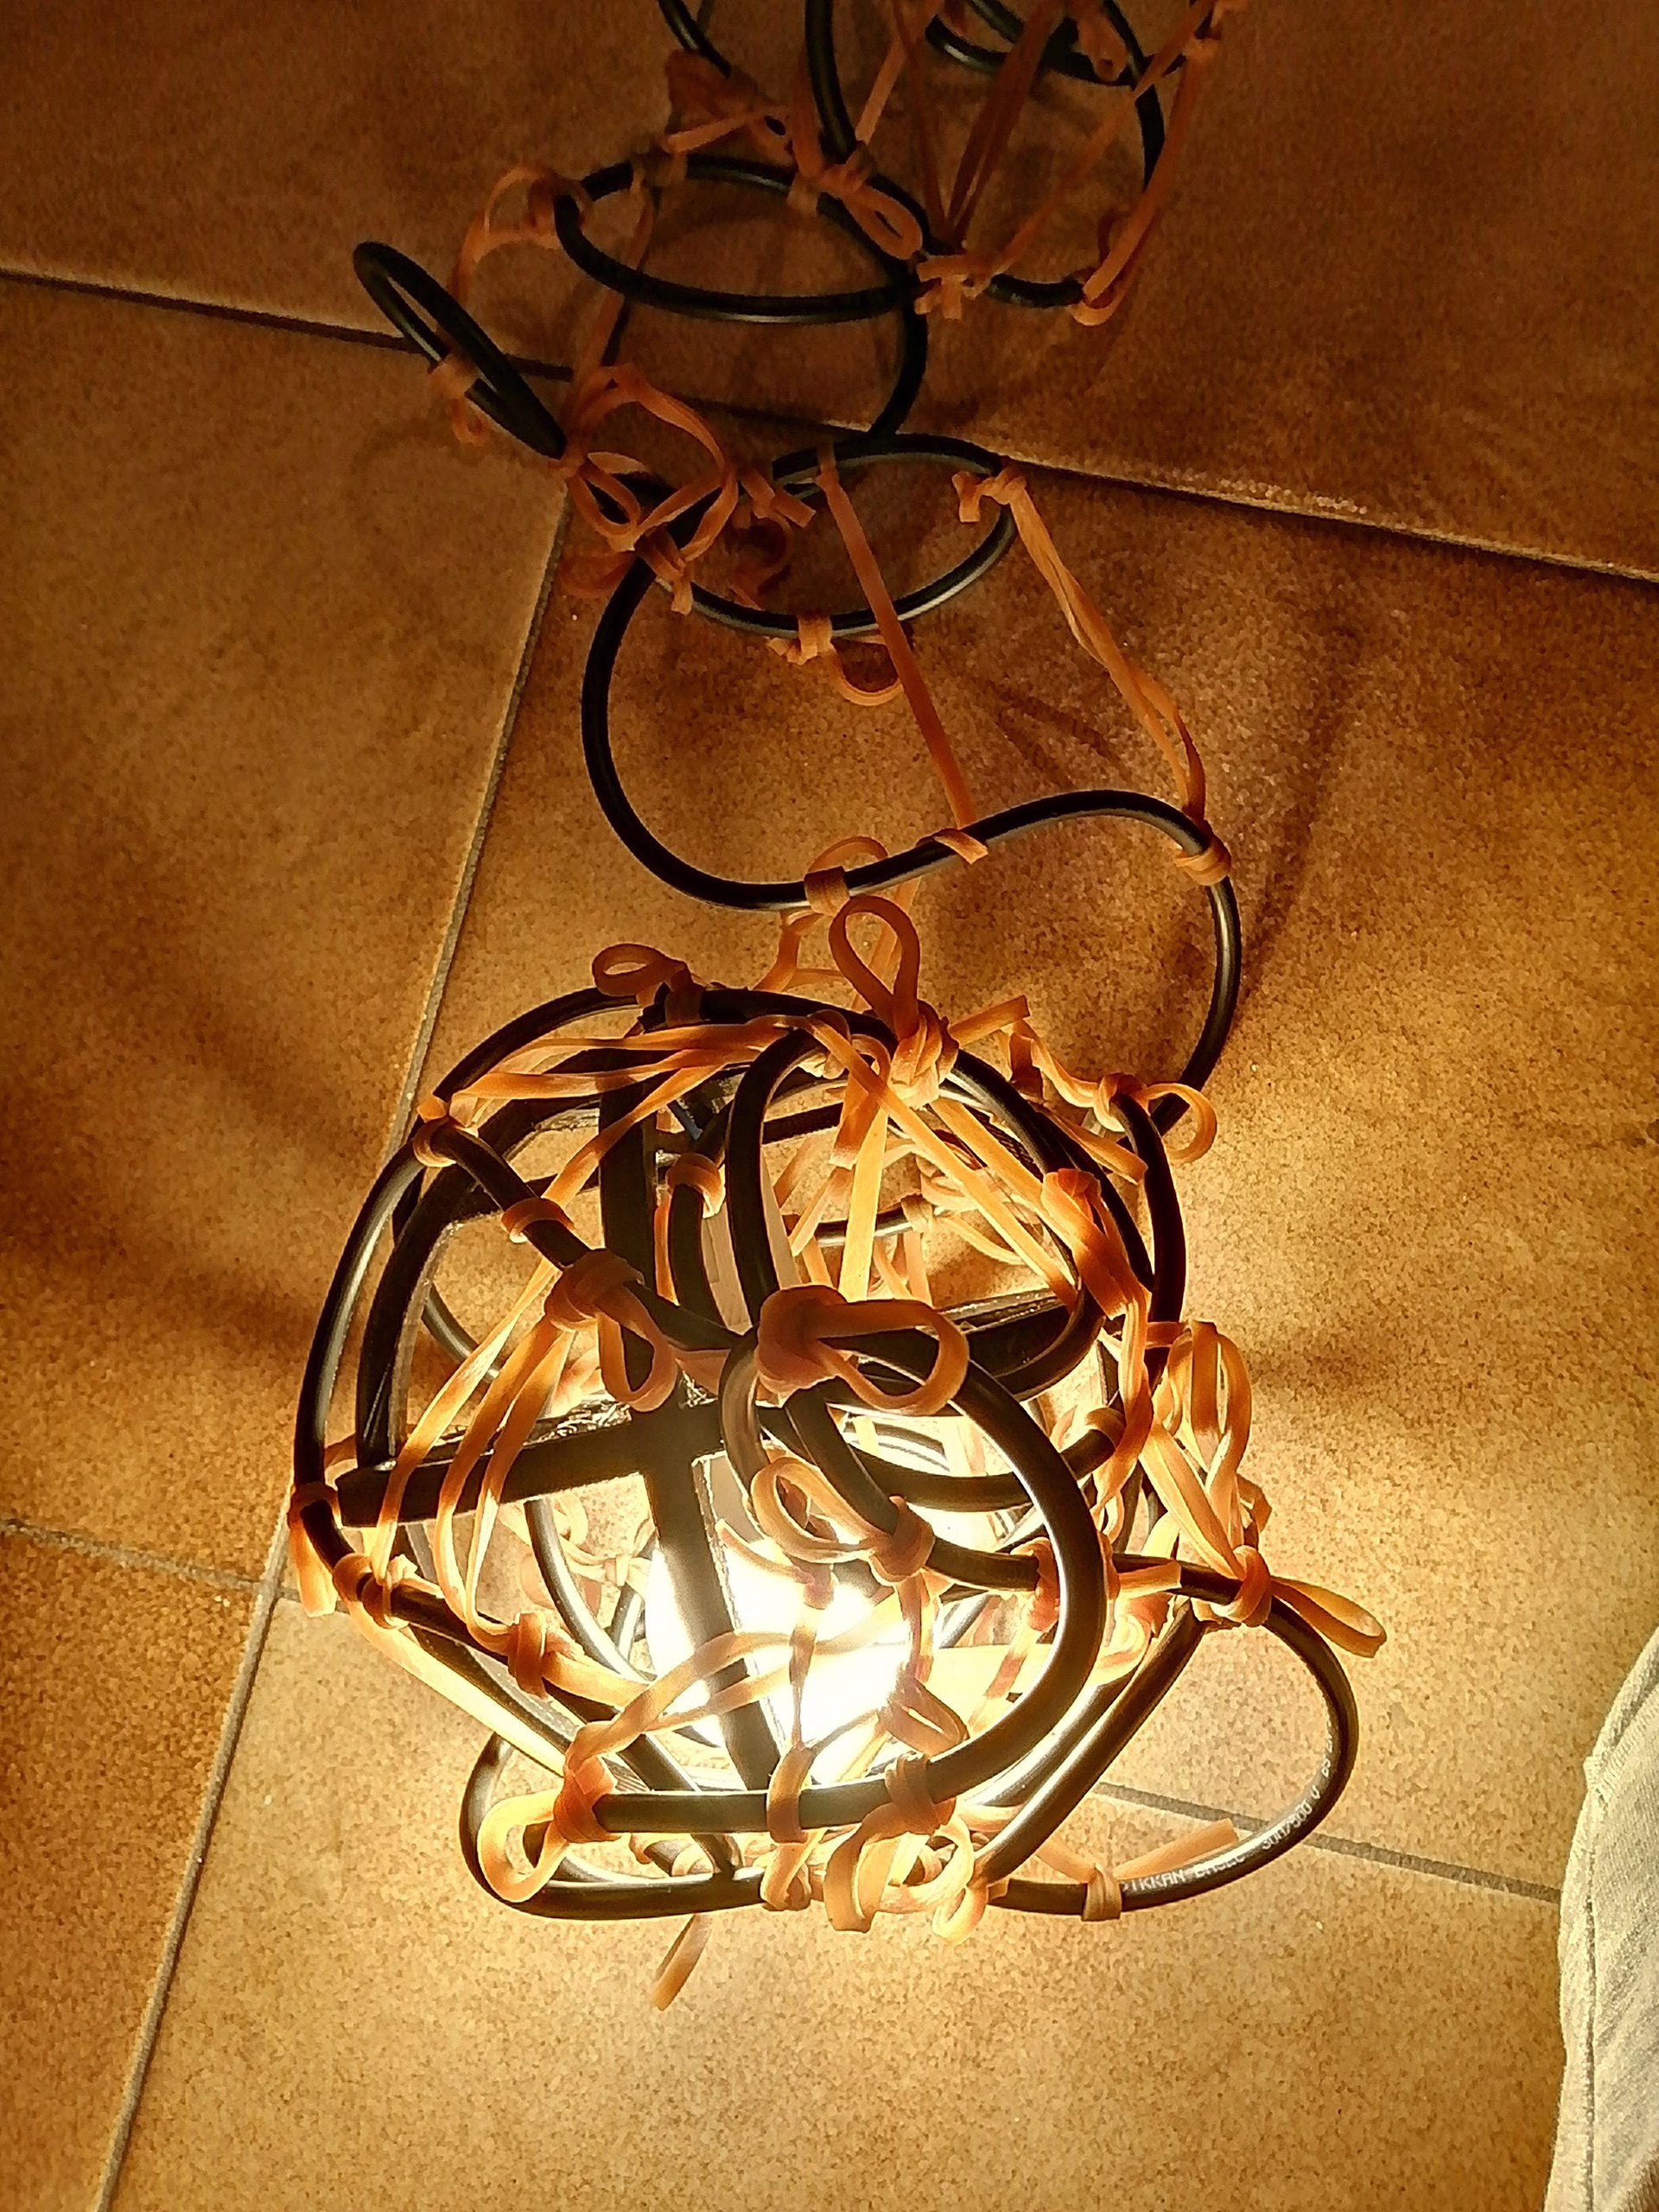
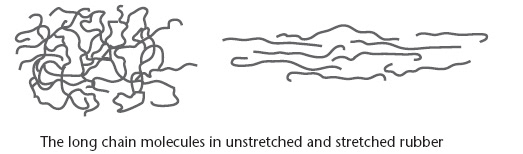
to catch a fish you need proper bait. Since a worm wiggles (the bait) it made me realise that I could include the elastic, flexible words in to the design by reconsidering rubber role in the design.
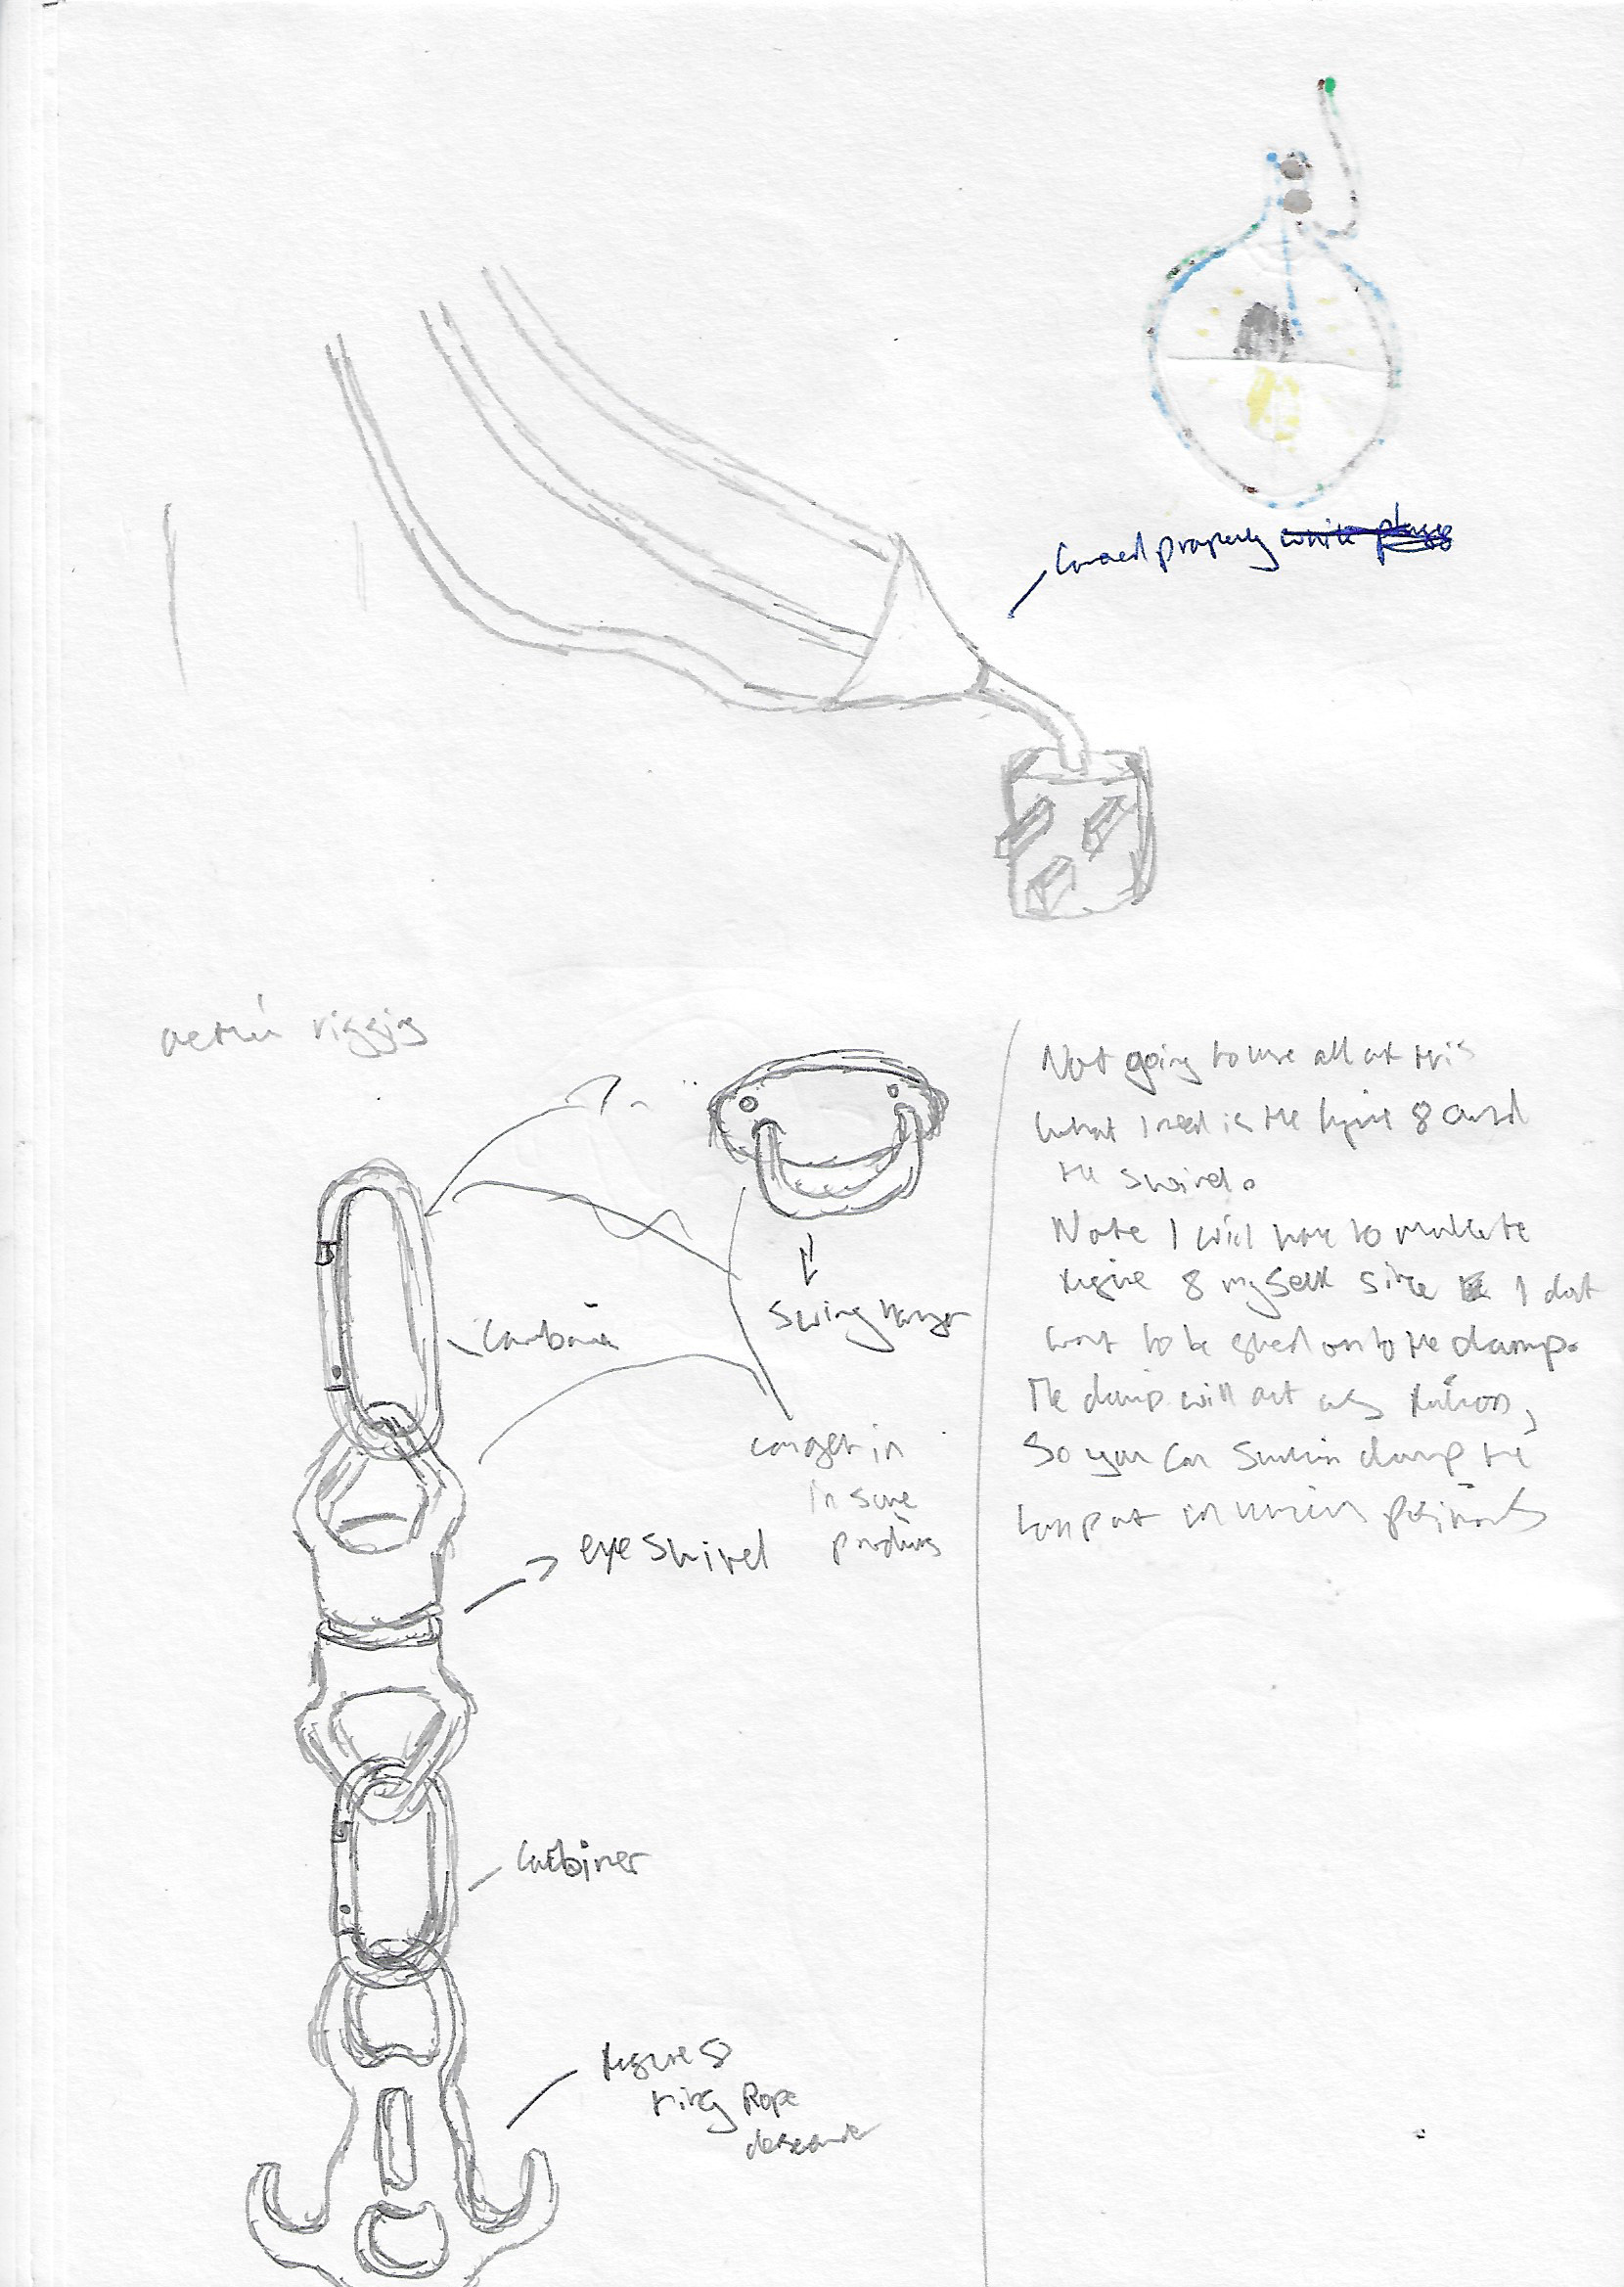
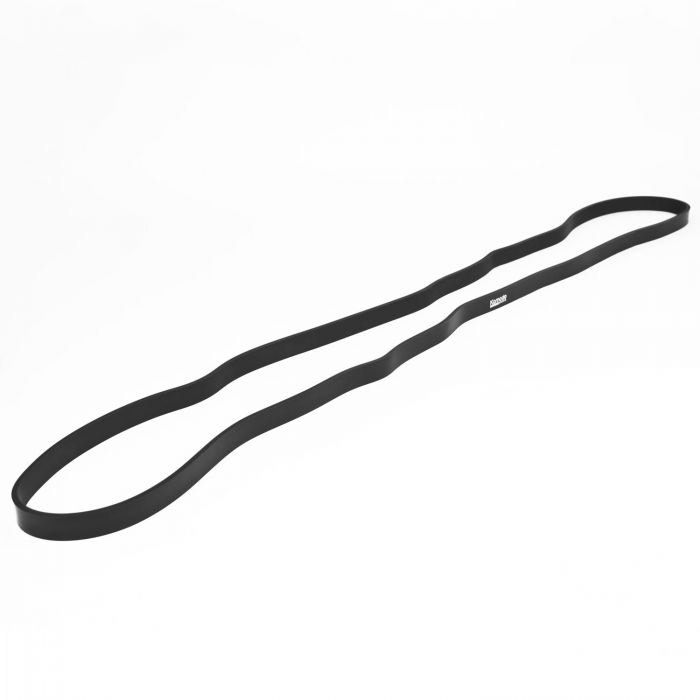
The images and videos above represent me finding out how to include rubber, elastic and flexible. what I think I could do with them is as follows. since a rubber band is elastic and flexible its able to cover all three words at once. that being said the rubber bands weren't really effective as shown earlier on. instead I will use a similar item which will be resistant bands. The main point i want to achieve is for the bands to be able to create a visual effect that makes dramatic shadows in the room like how a audience would be amazed by a aerial performer. but this isn't necessary. the consumer has the choice to do pull the cable to create this effect or to just leave it as it is.
Resistance band:
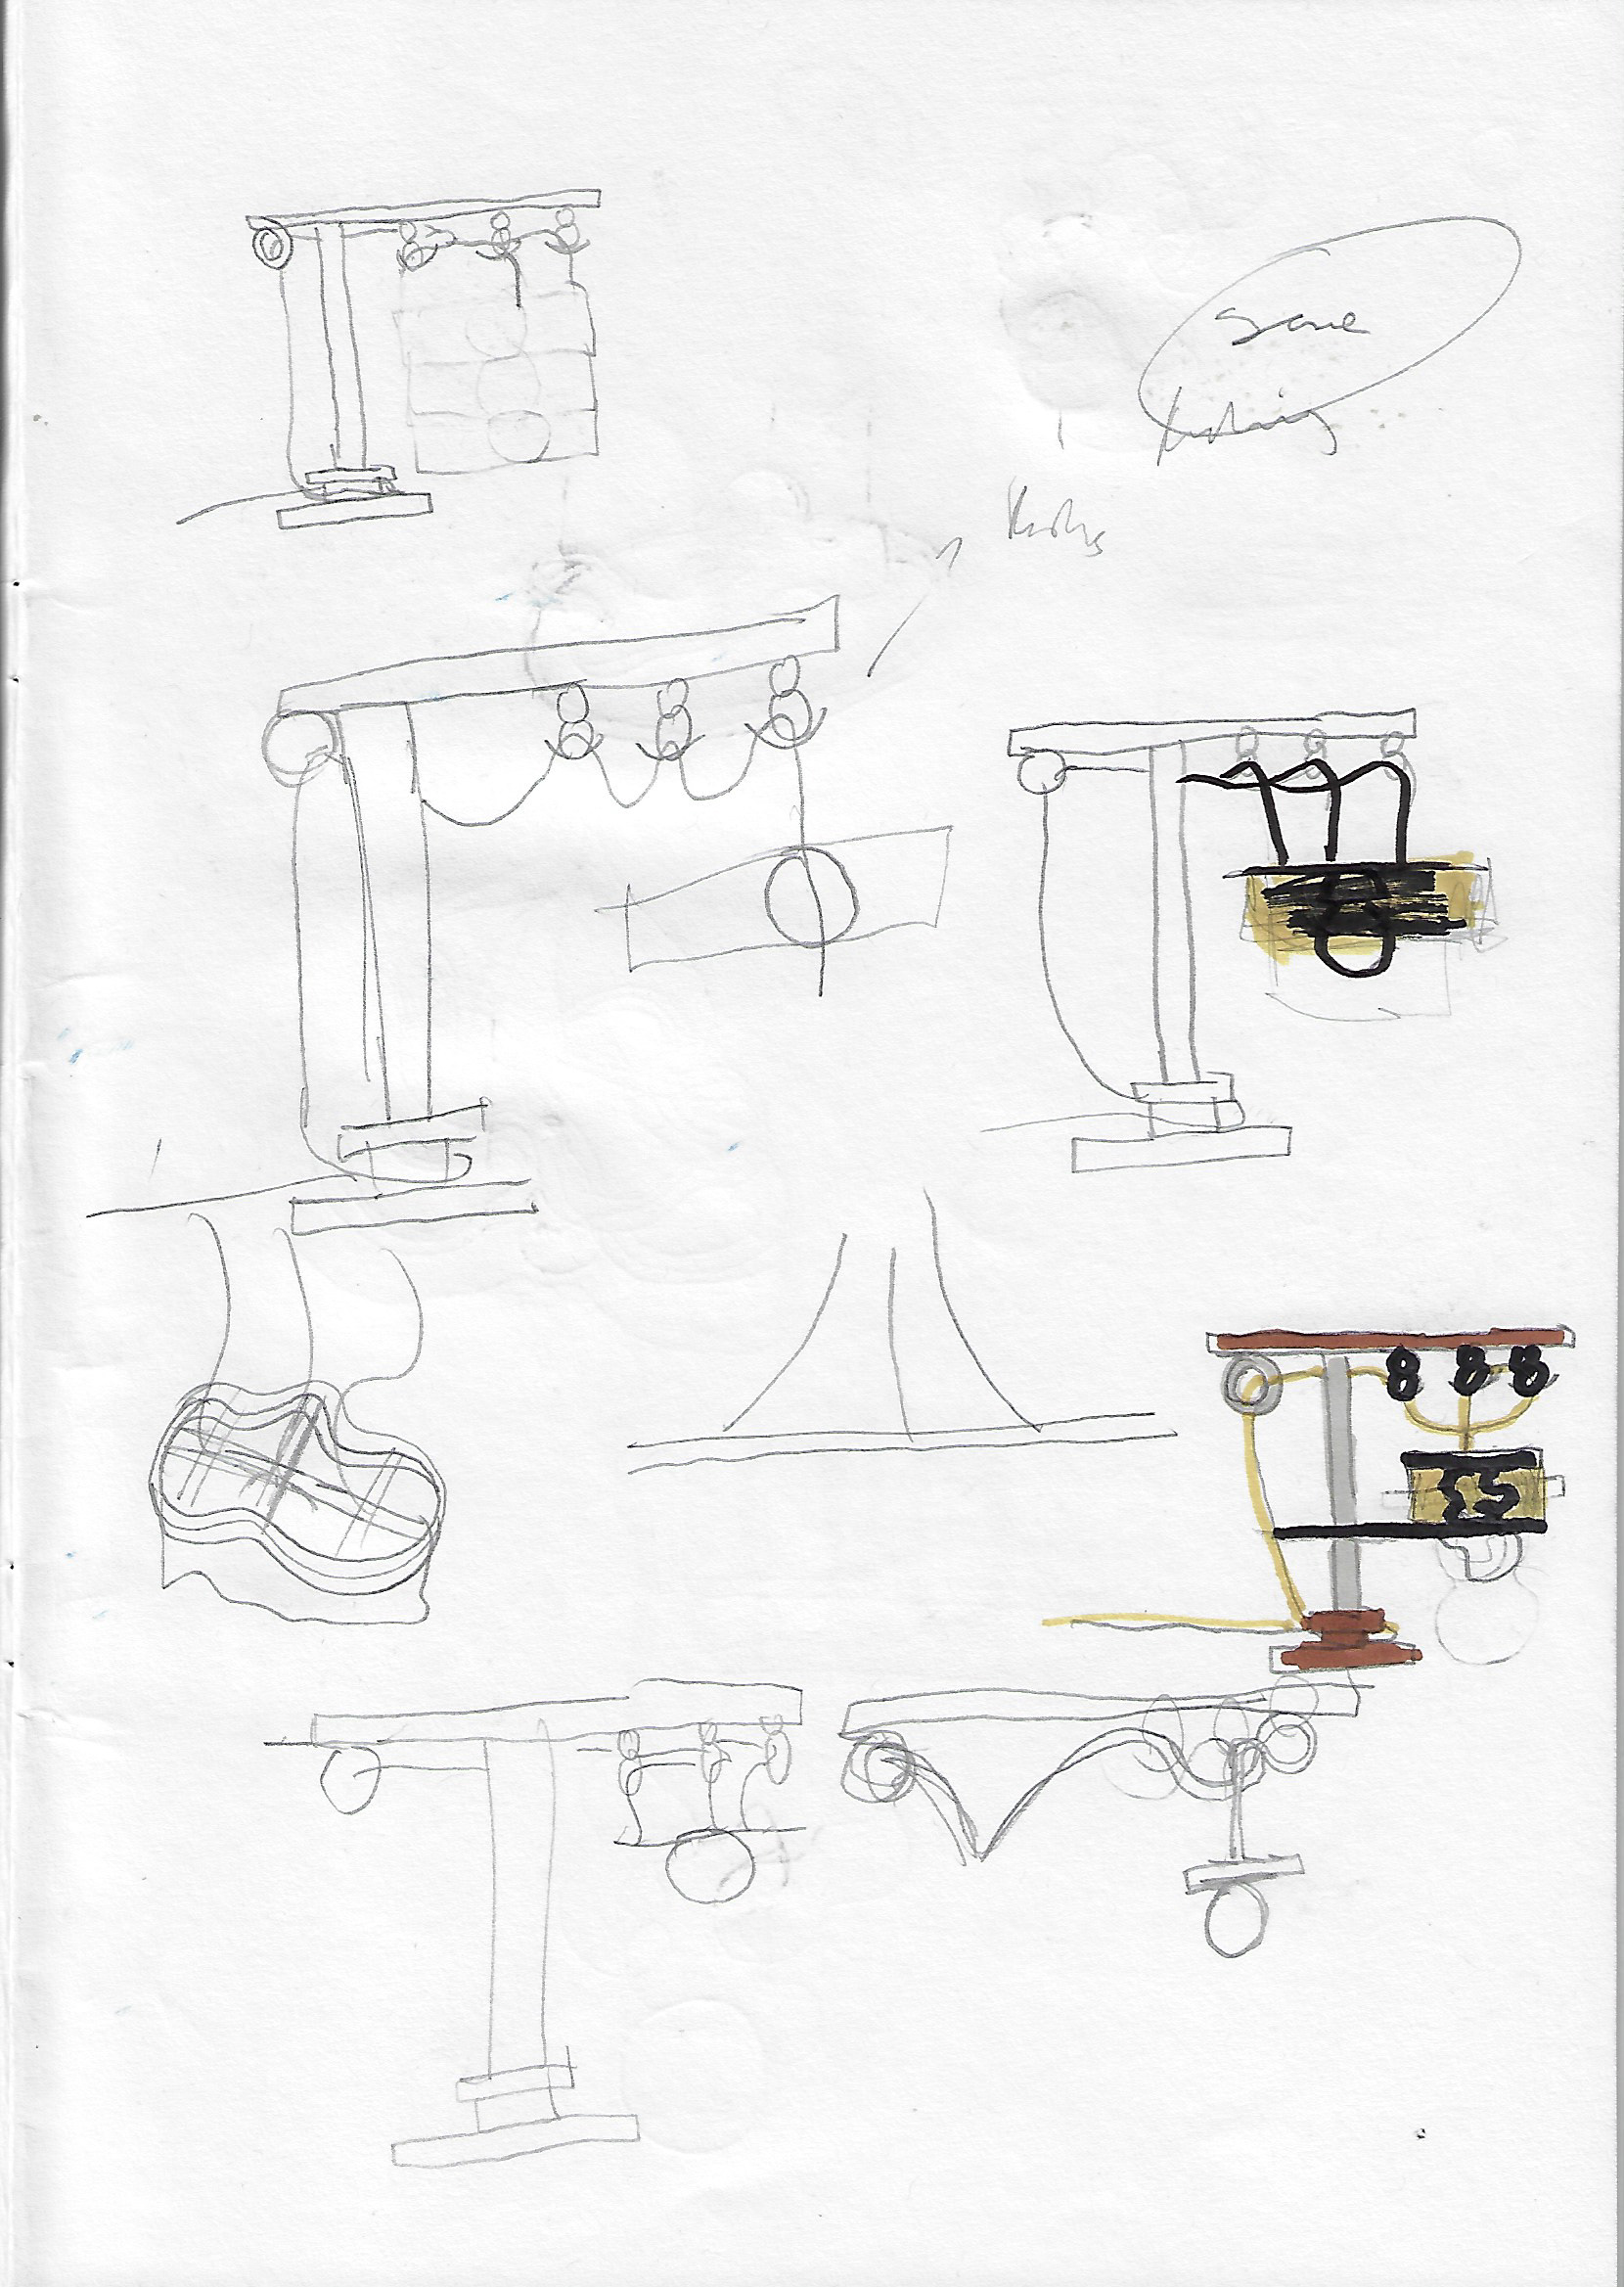
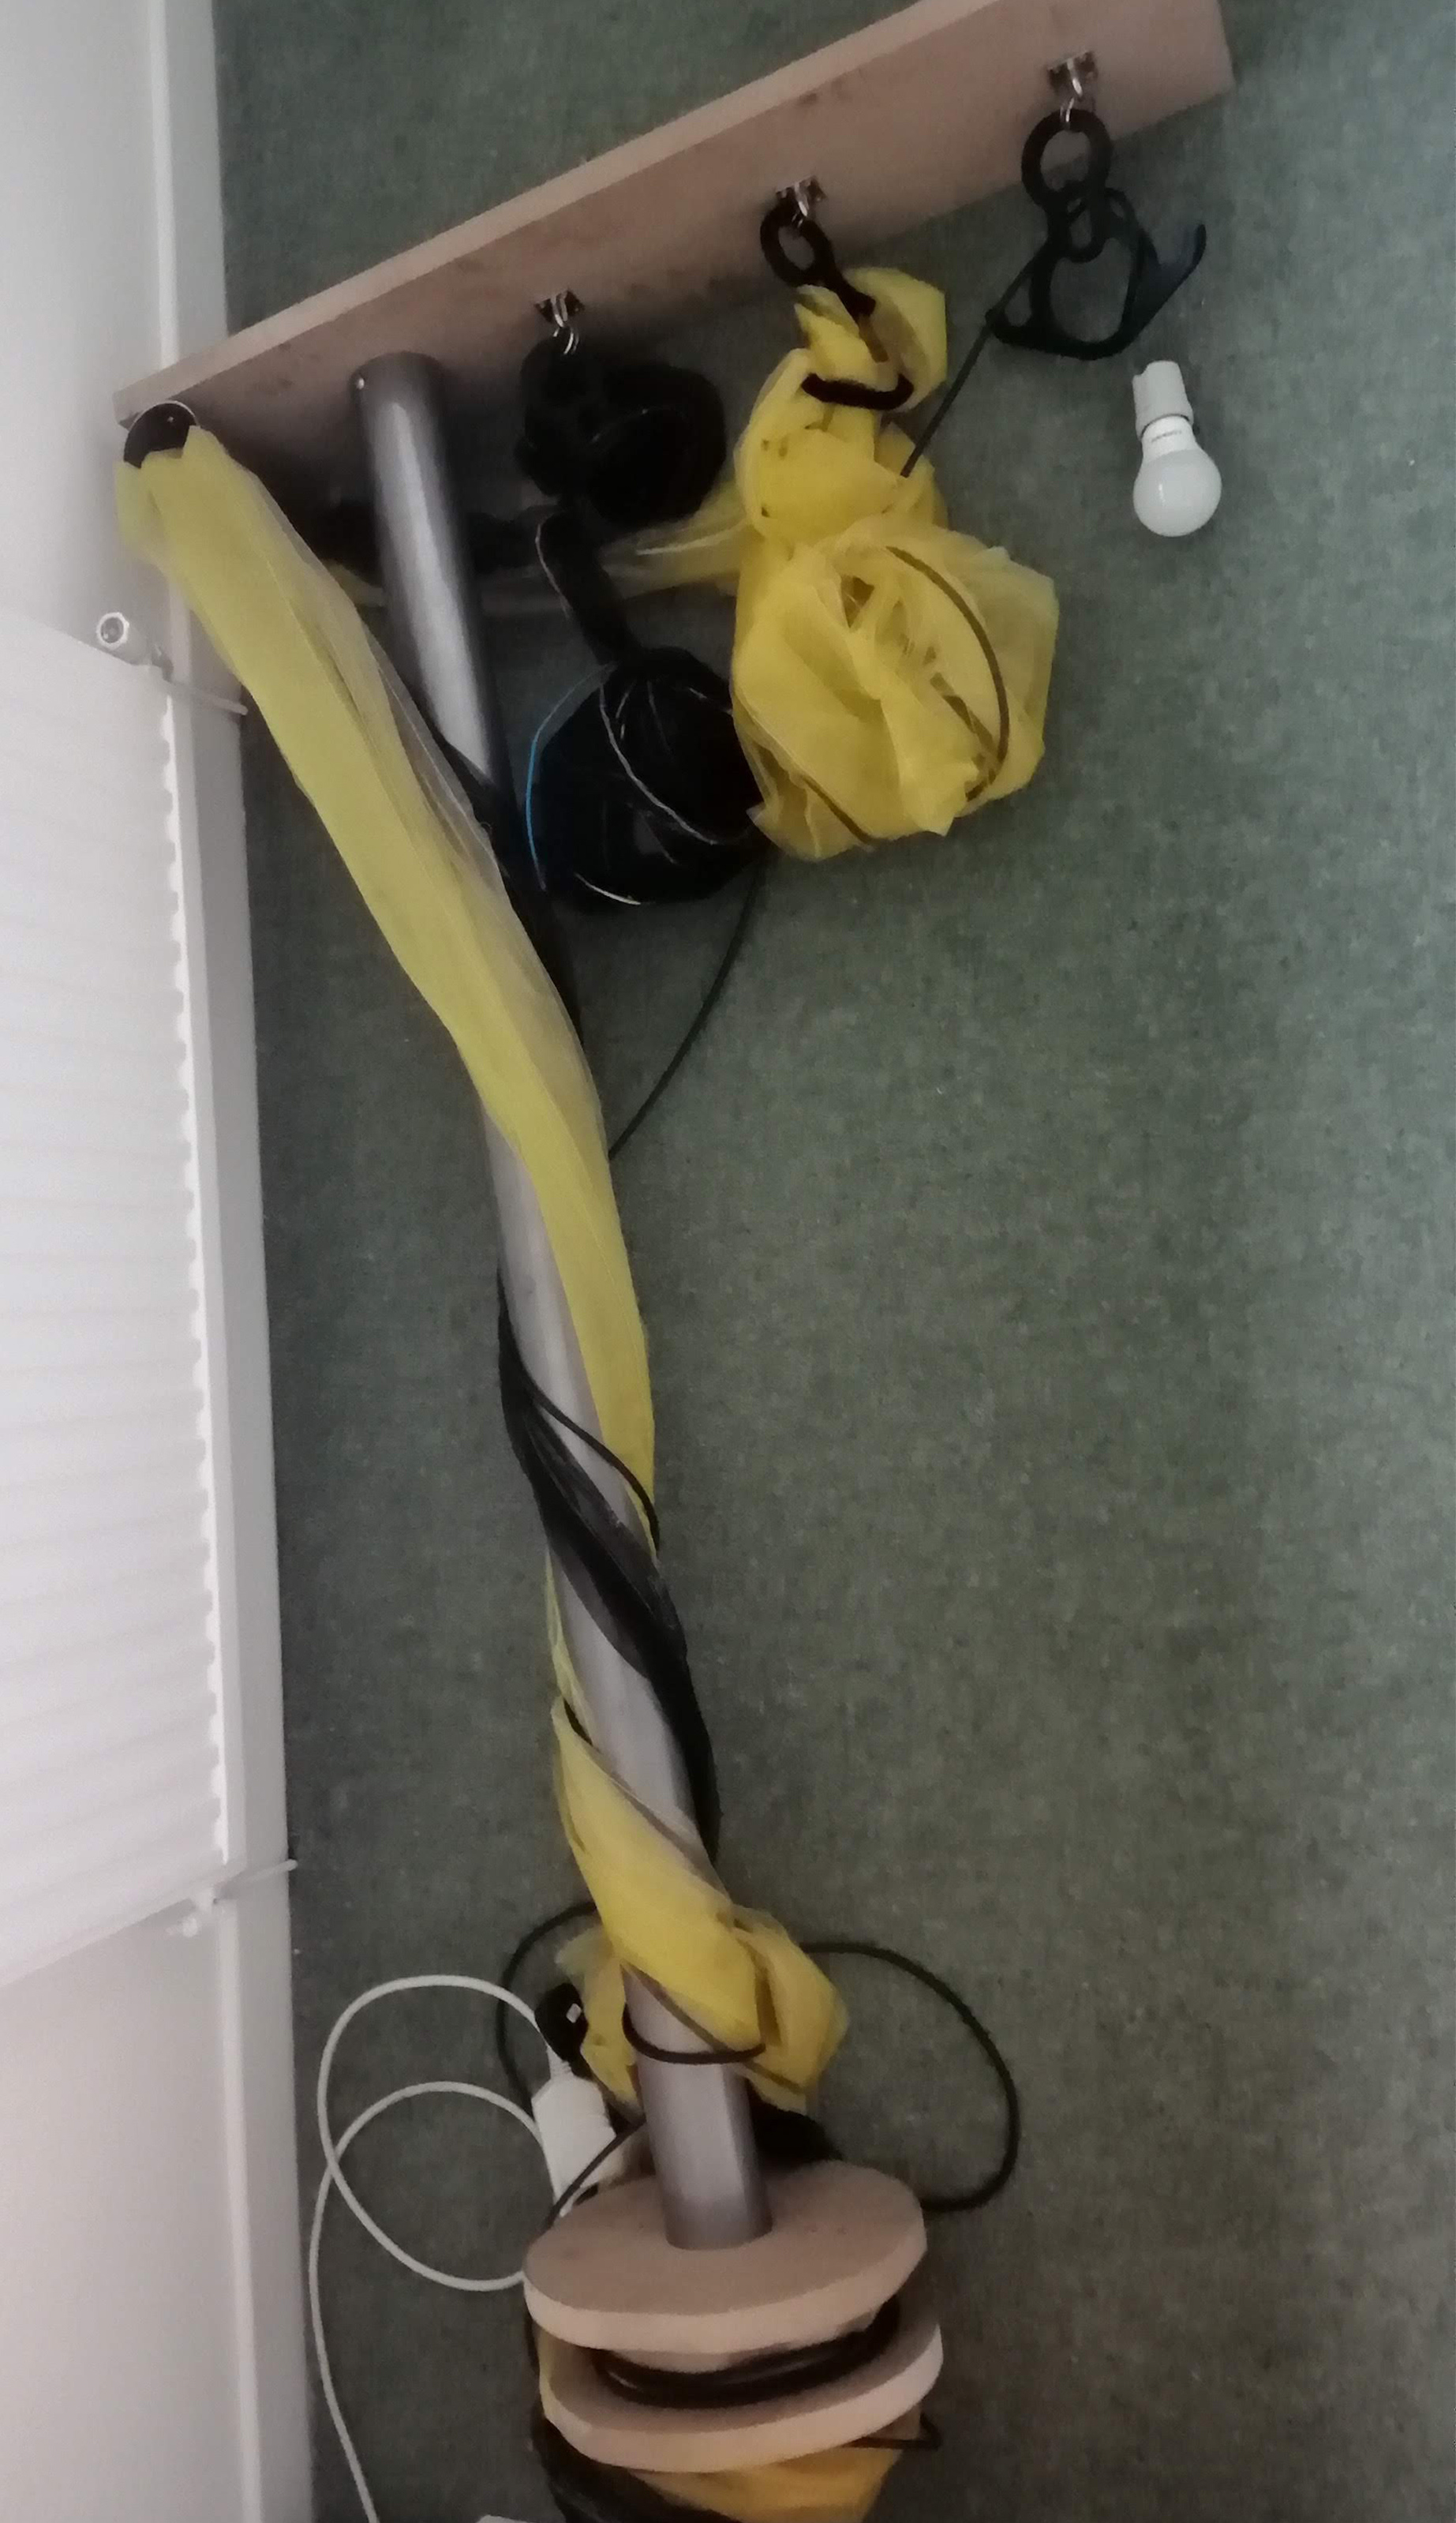
Another factor I cant ignore is the layout or how I will use the fabric. the top image is a piece of yellow fabric placed between two pieces of black. this creates a static look which is also in the word section as well. now instead of stitching the same concept multiple times with different cable options so I'm able to decide on the final form. I'm going to stitch multiple slip holes into a single form (three pieces when joined) so I can save time and be able to remove the cables with ease. the main cable choice will between the three wires as seen in the black fabric or the single black cable (above photos)
the 4 images above represent area which will will be changed or attempted so. the first image shows how there is two much cable and fabric. considering this image shows three variations it still shows how if there was a single light (the yellow fabric for example it would make a mess. it also makes it look similar to a tetherball which isn't needed since it already looks like a fishing rod. I cant have all this going on otherwise it will be confusing.
I made an error in how the bulb should be positioned. the bulb should facing upwards since if it were to remain downward then it would light up the floor more than the rest of the room. The wood used in the model is mdf. Where if it were to be manufactured then it would be pine. Rosin comes from pine.
the base needs to have a bigger bottom piece. so that it can contain the cable more and also because the structure is able to stand on solid surfaces like concrete or wood but some reason it sought of slips from underneath itself on carpet. I wouldn't say it fall over as such because when on a solid surface its able to hold three bulbs. whereas on a carpet surface it cant even hold a single bulb.
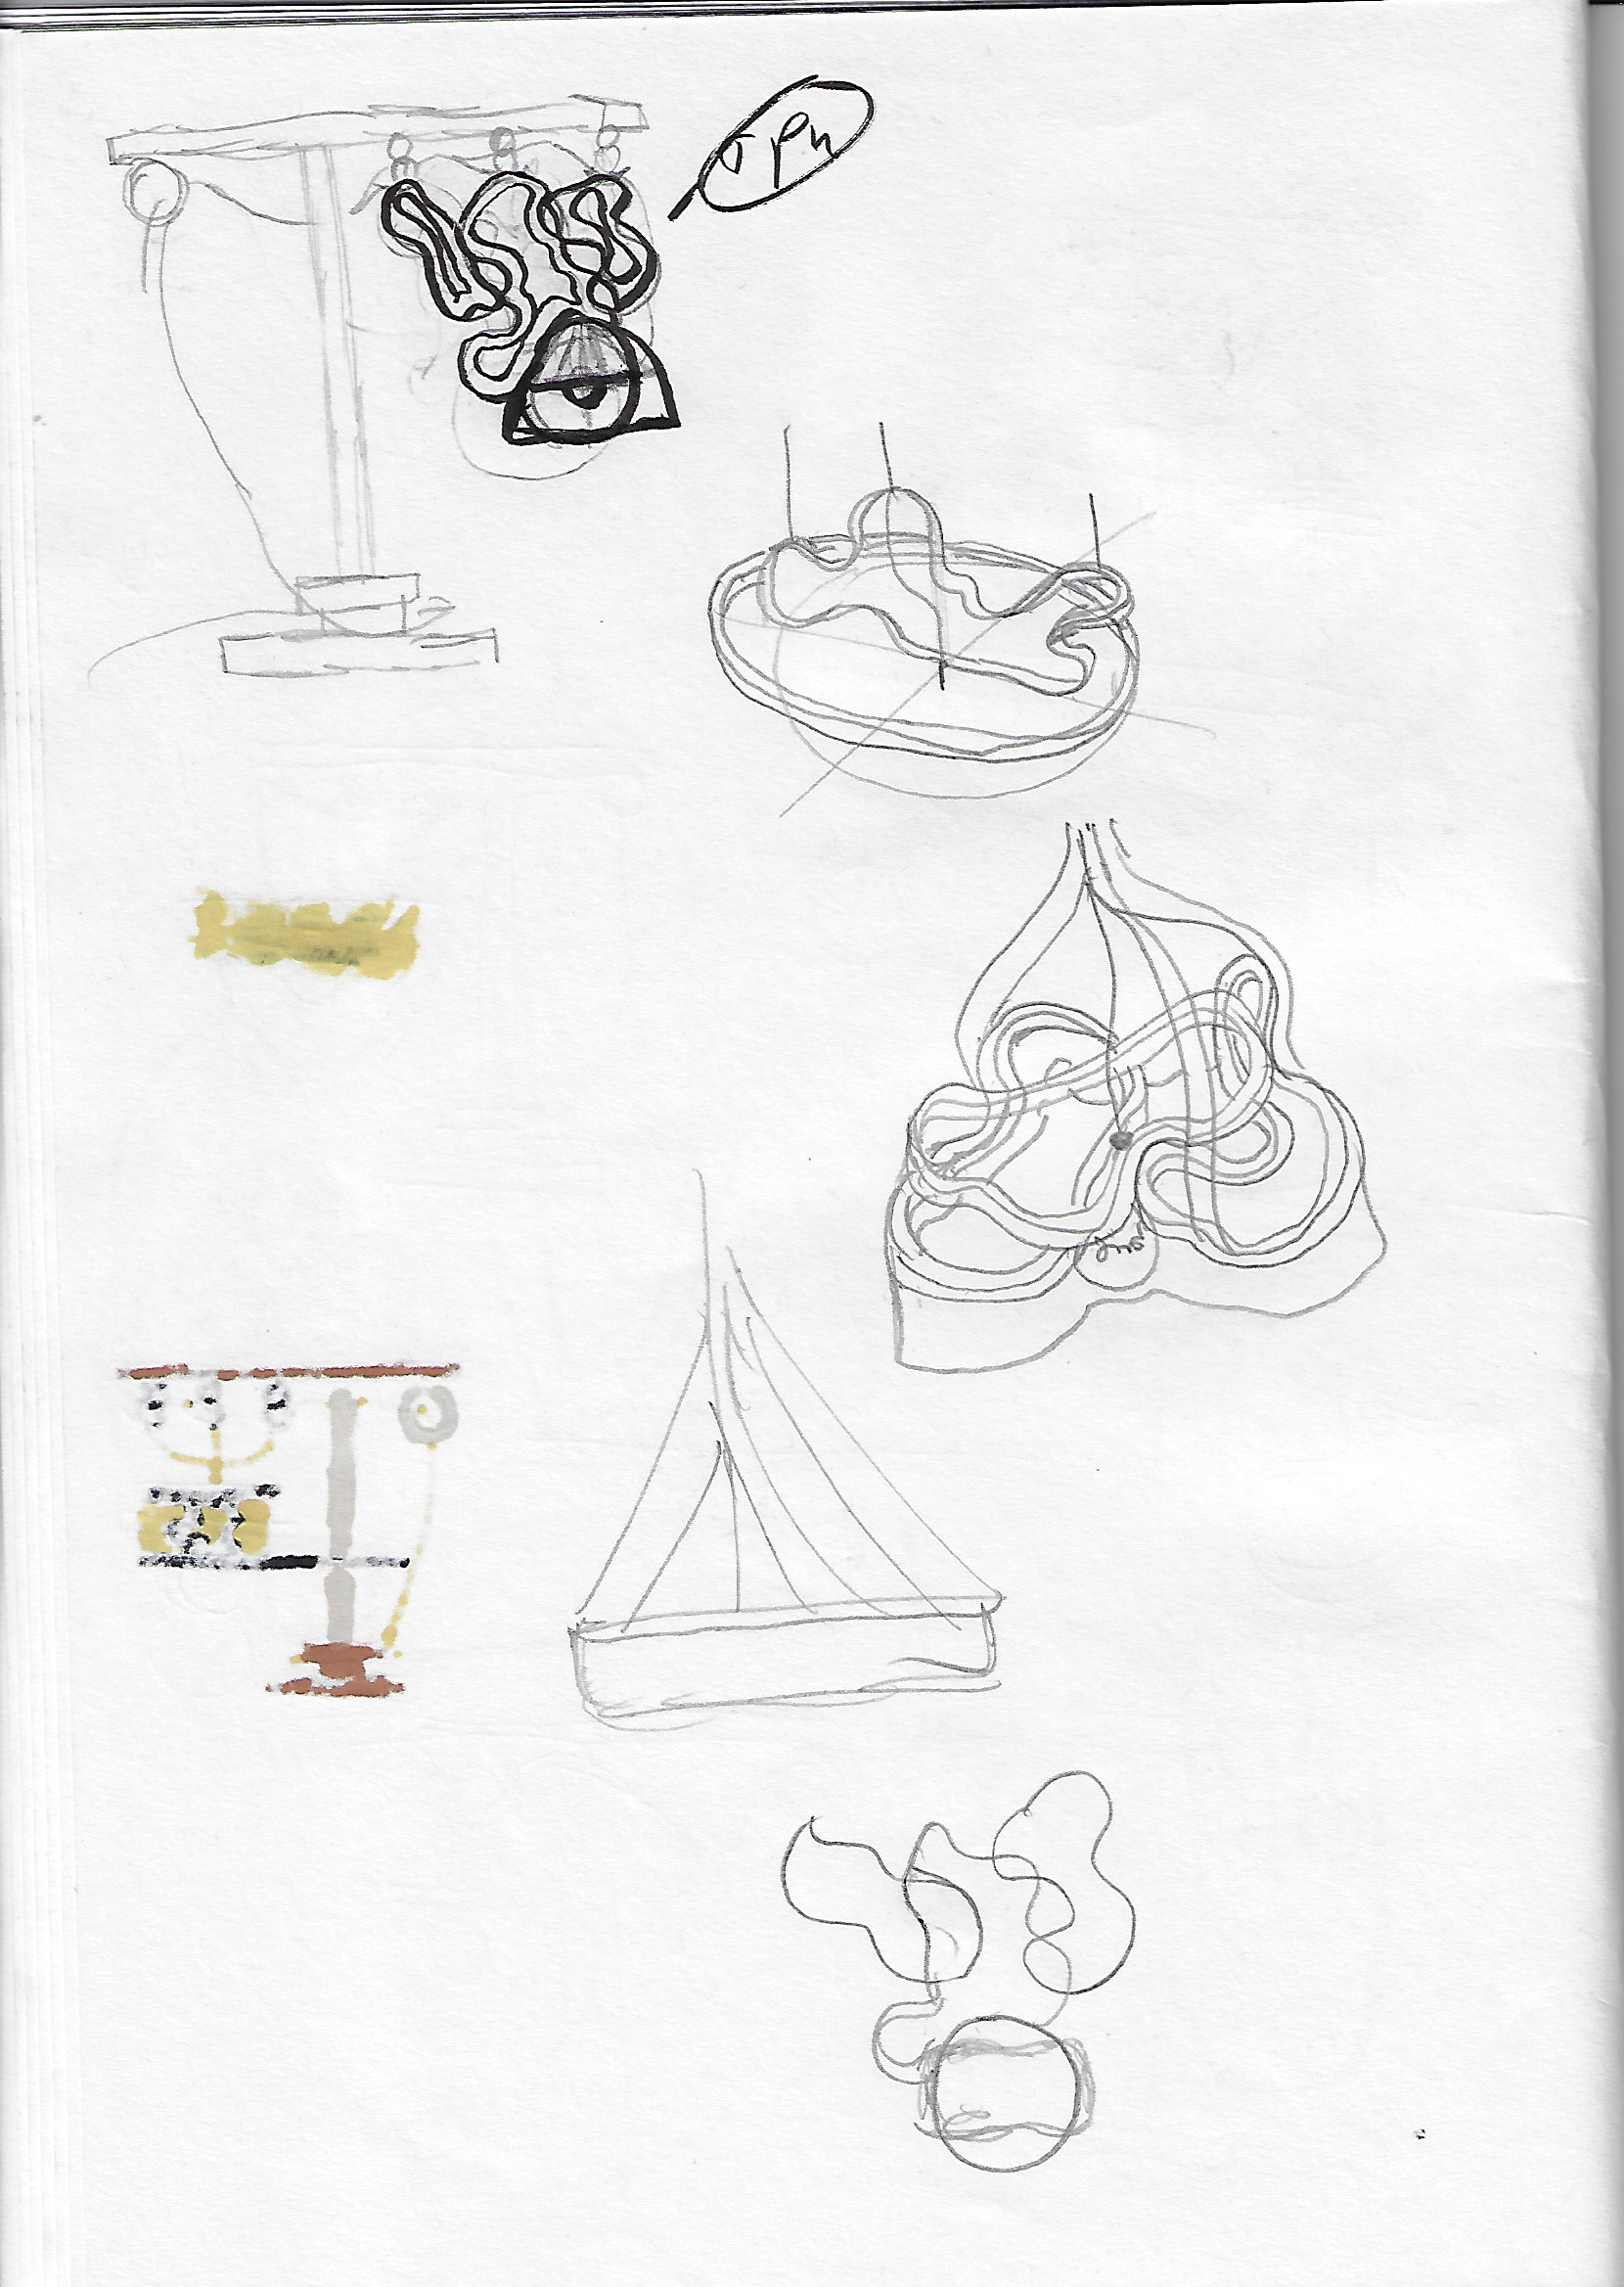
tetherball:

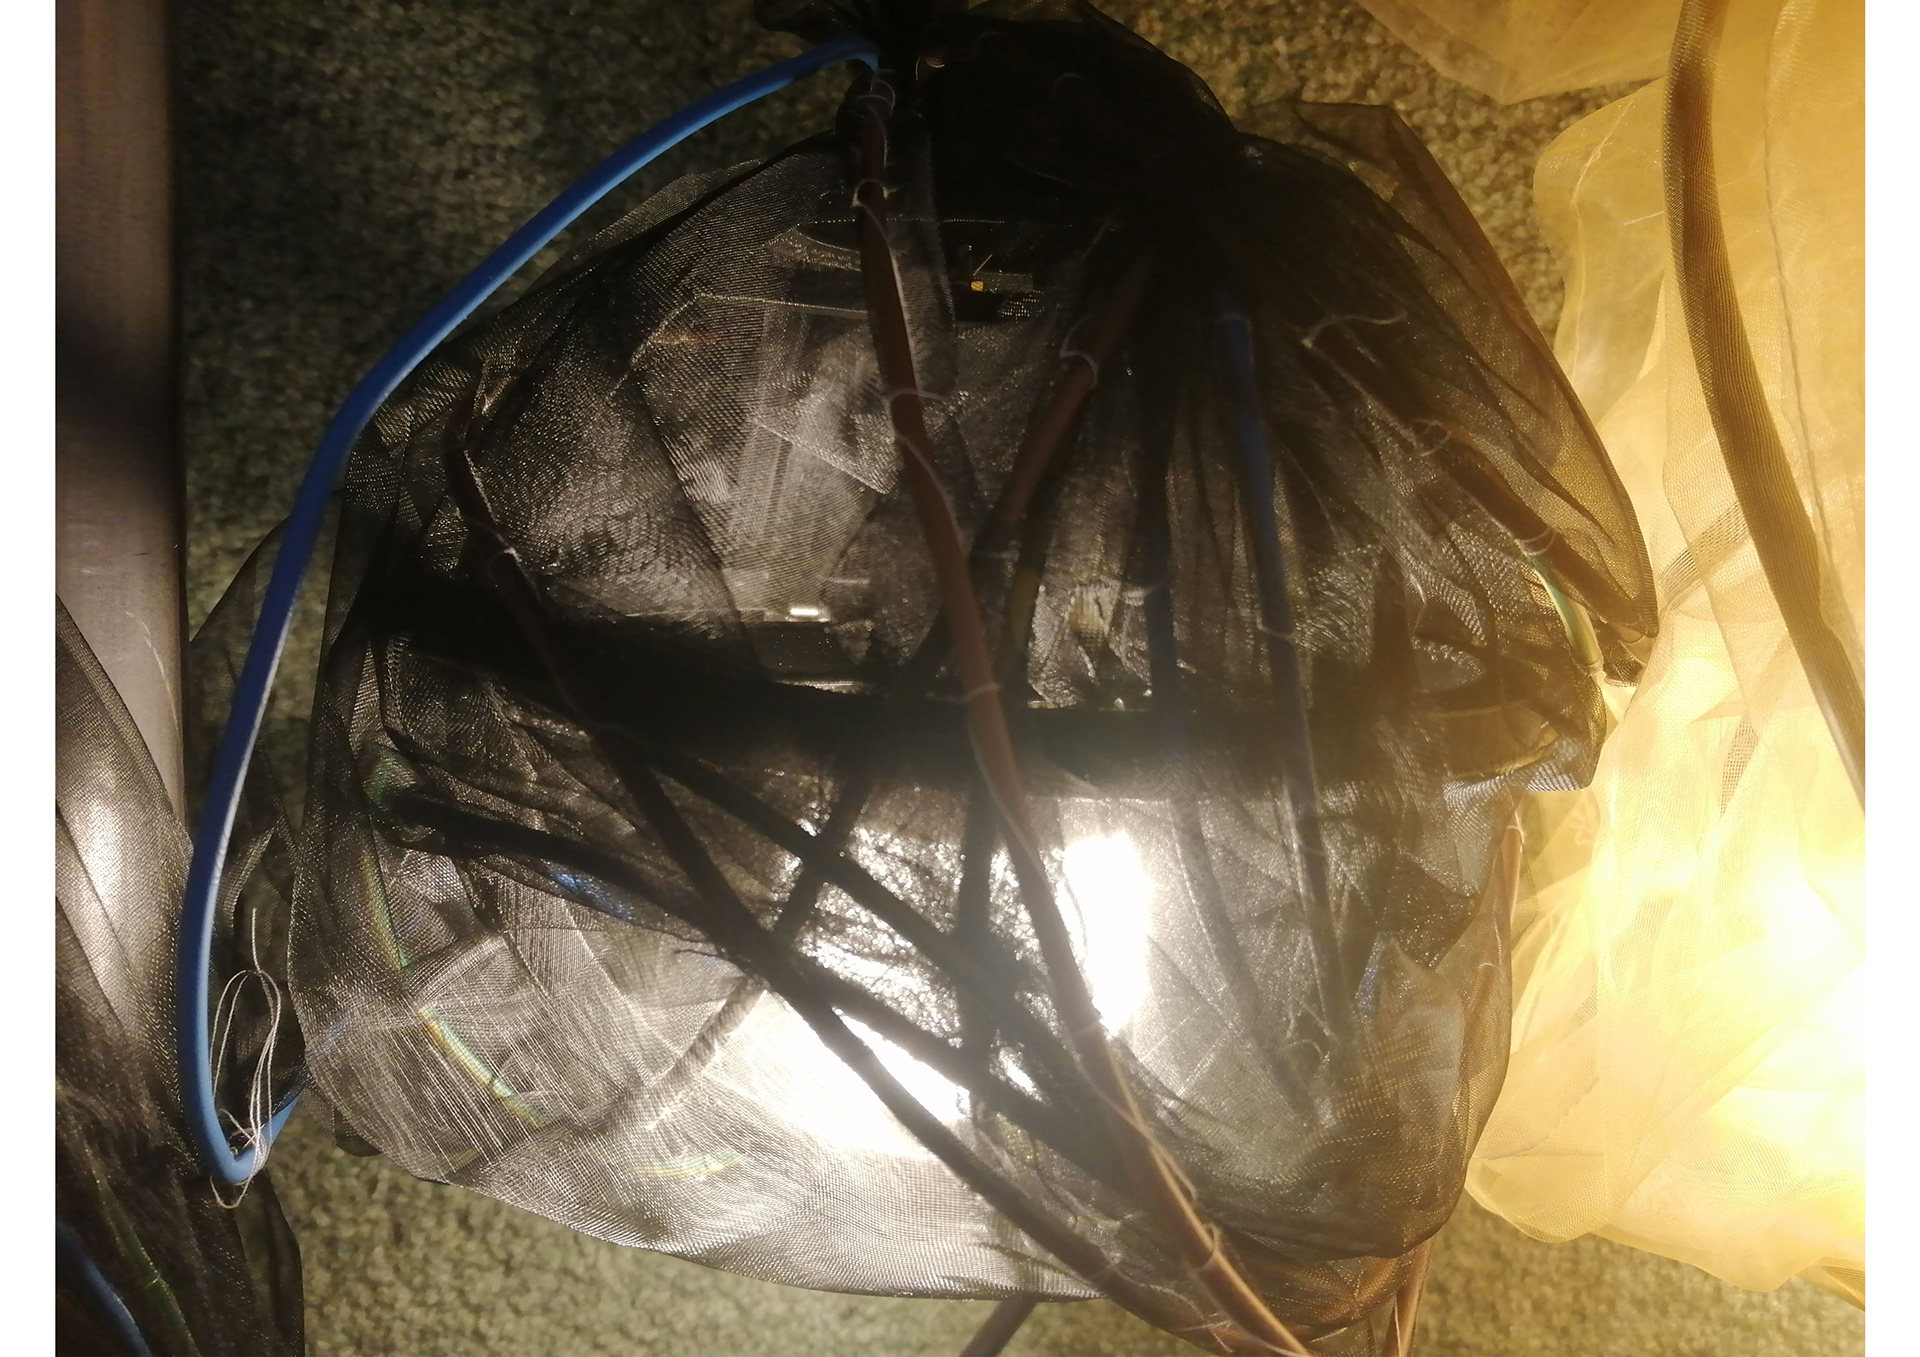
After adding the resistance band and wrapping the material around it I made the decision to scrap this lamp shade design idea. The reason being is that it wasn't really creating the effect I wanted and it was just a big mess.
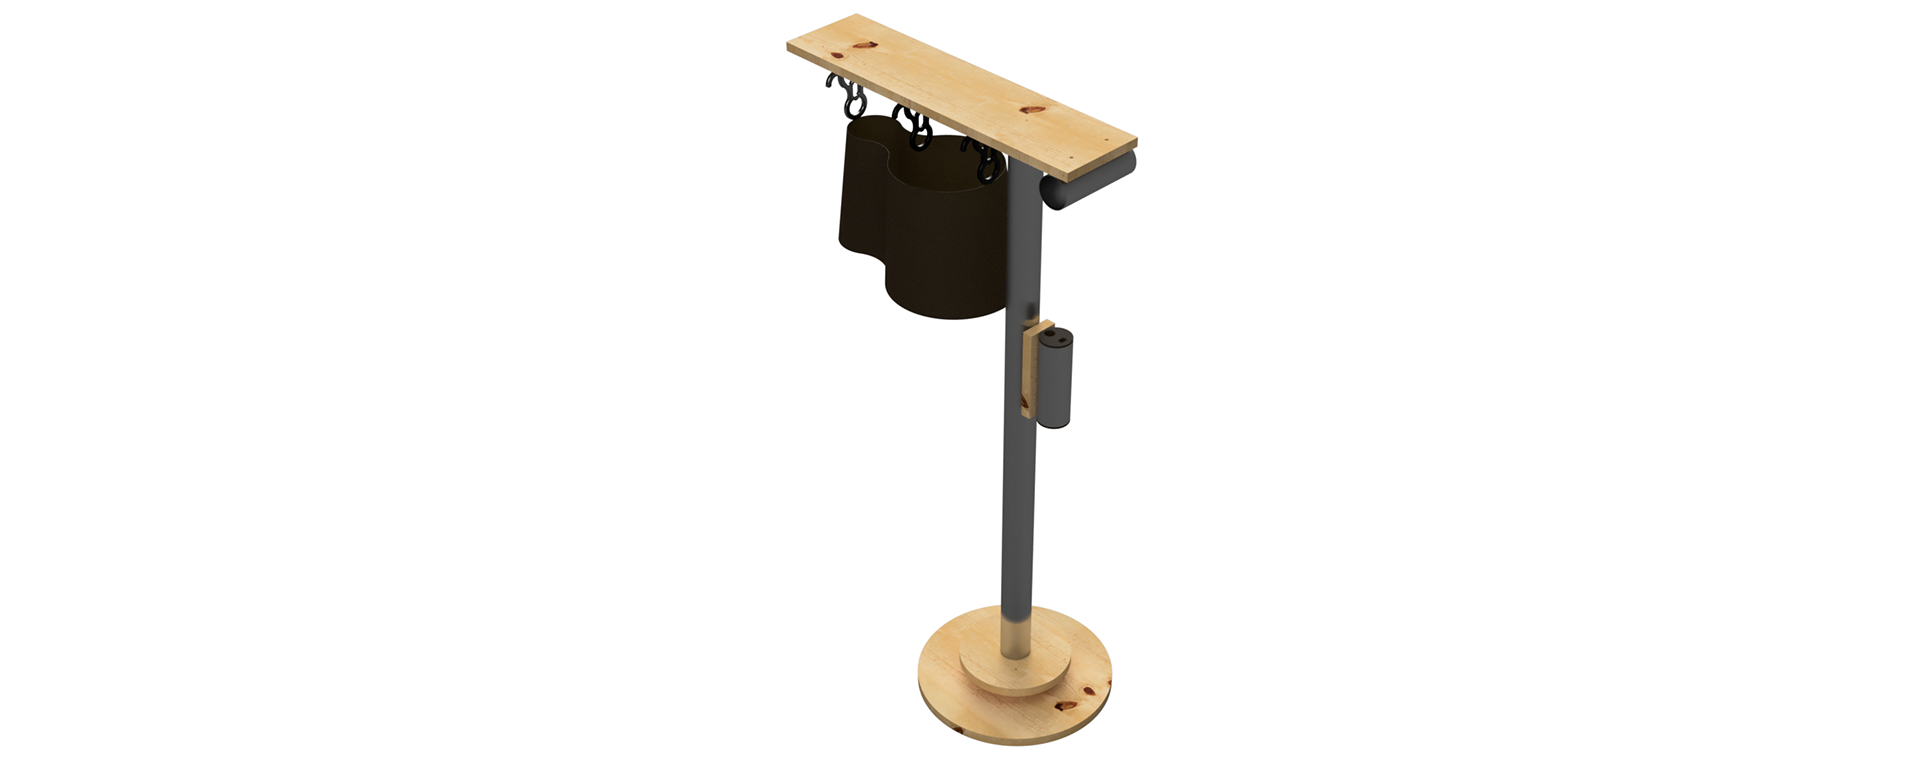
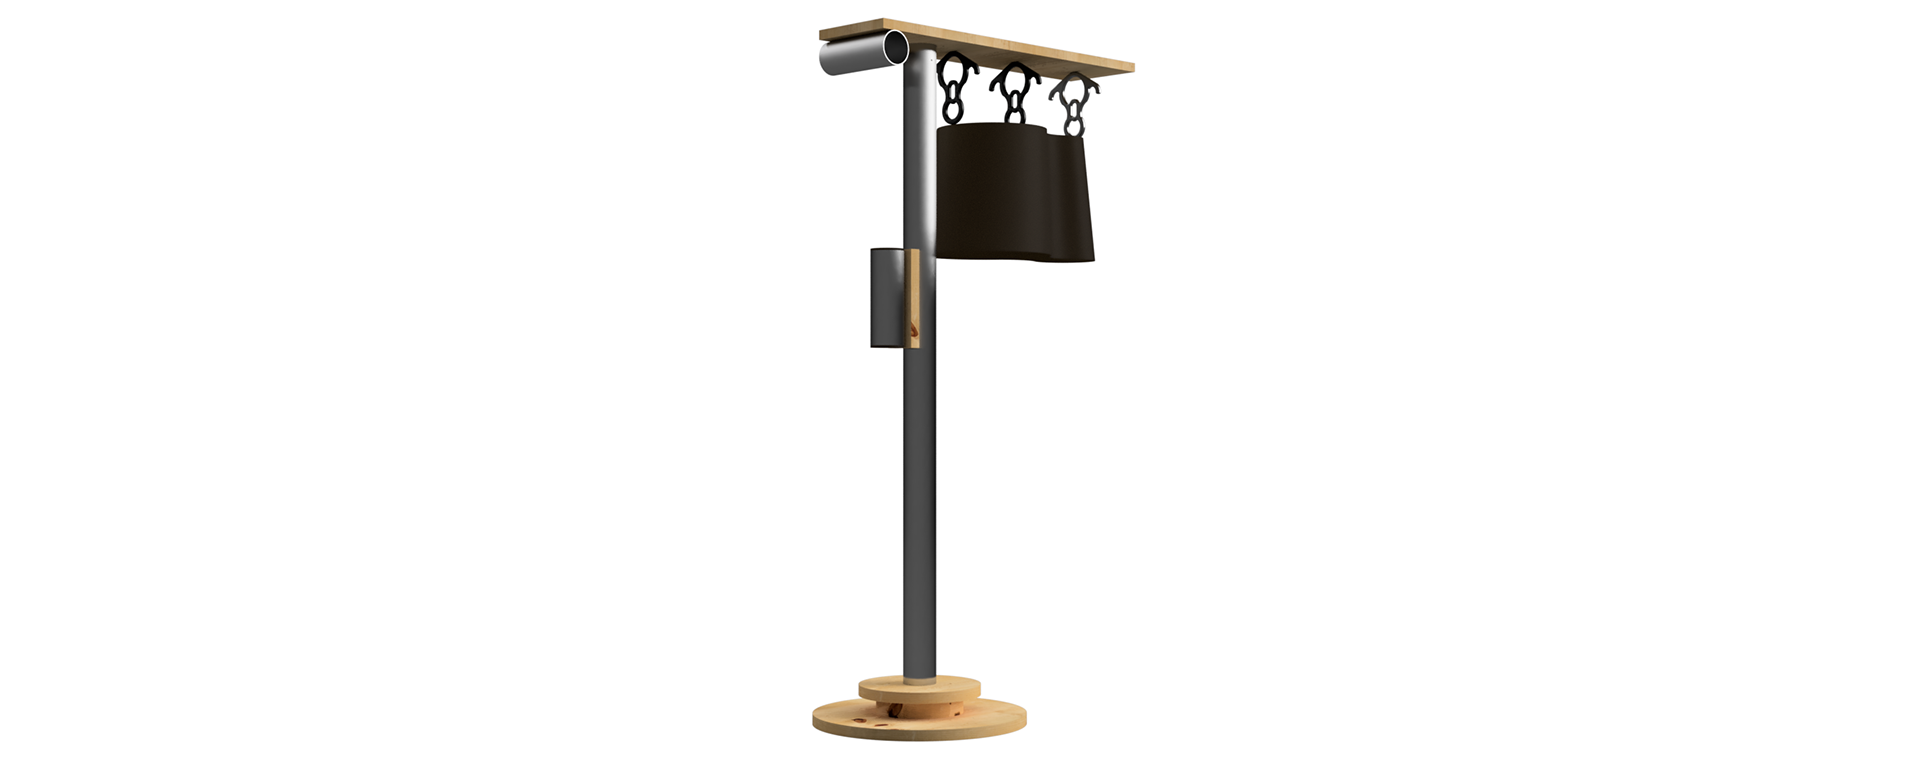
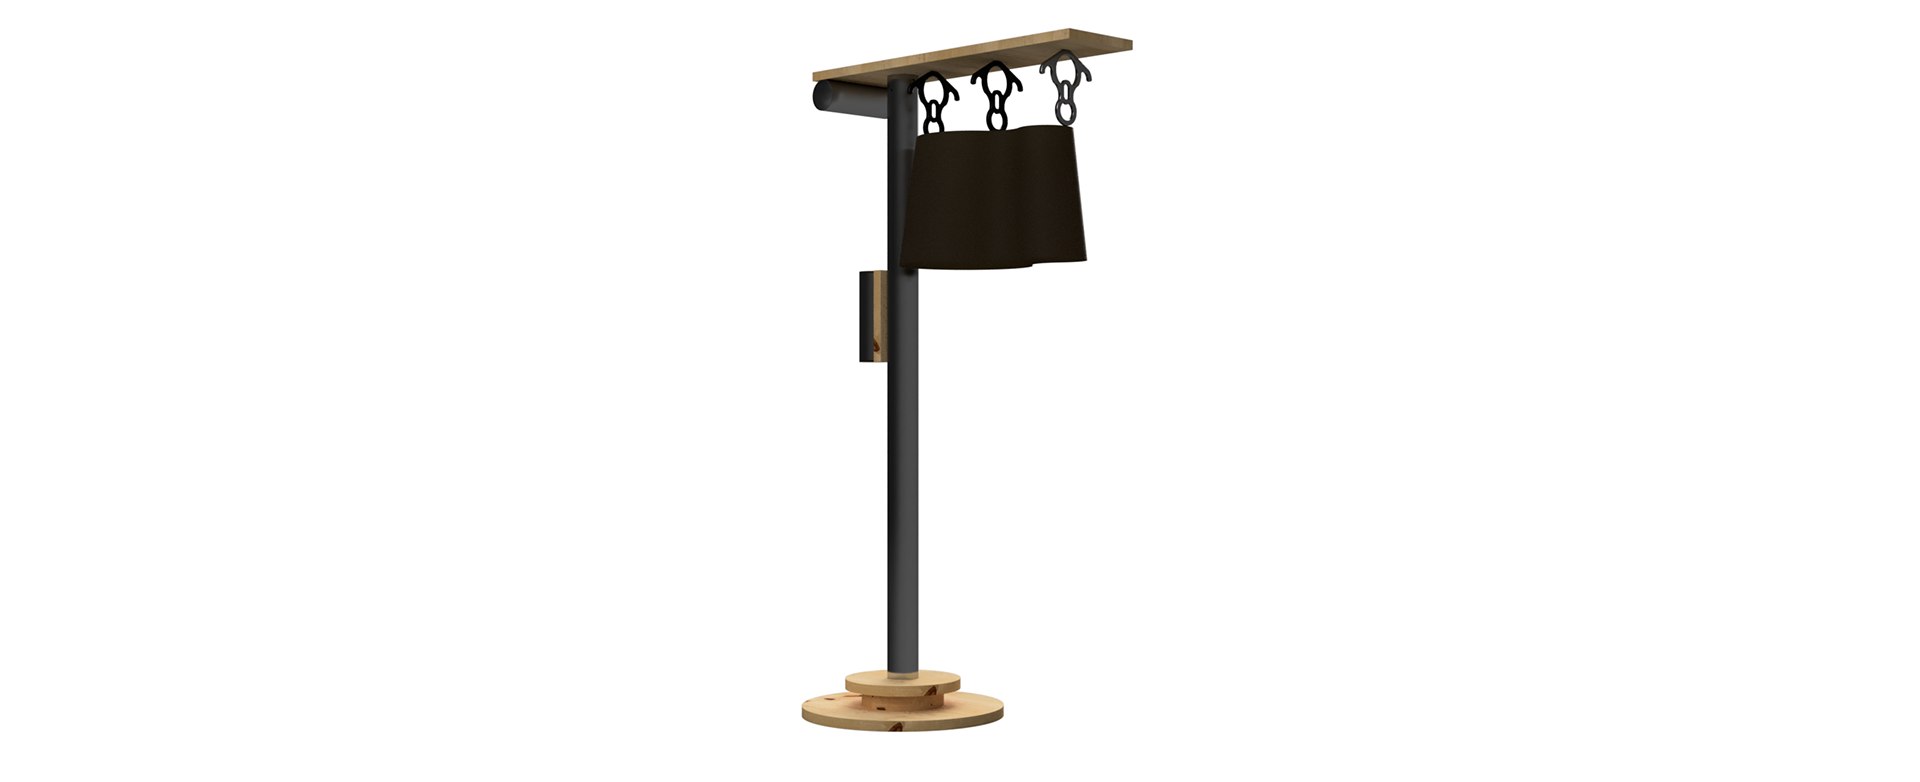
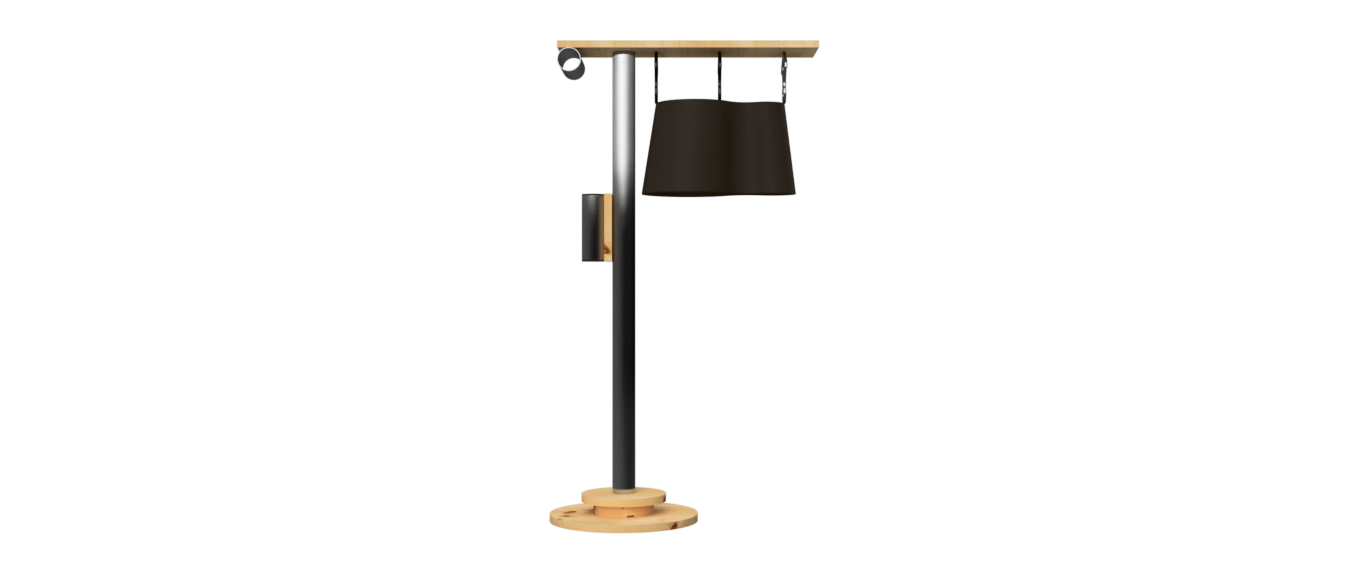
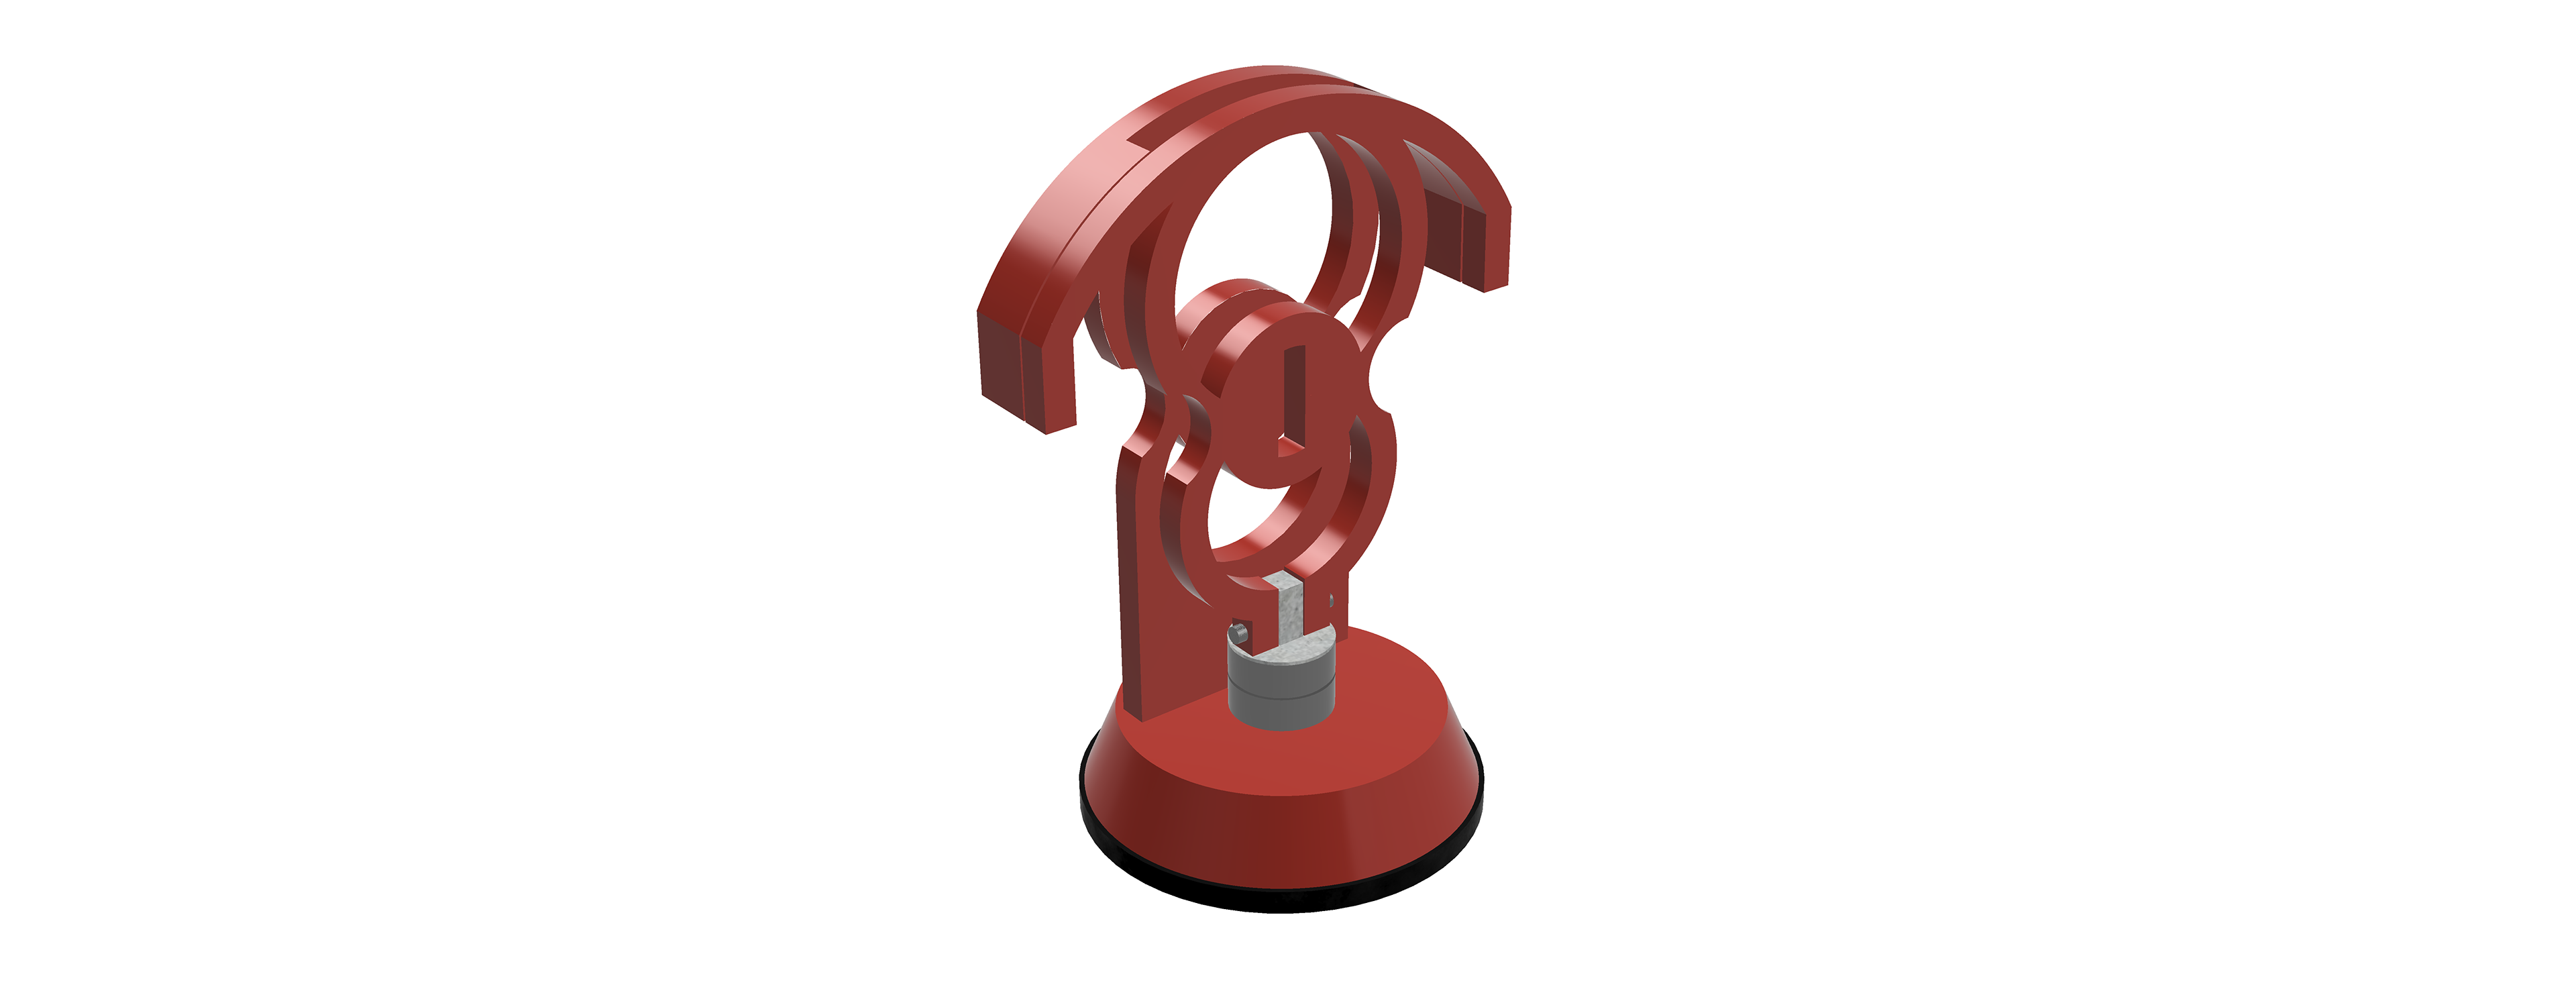
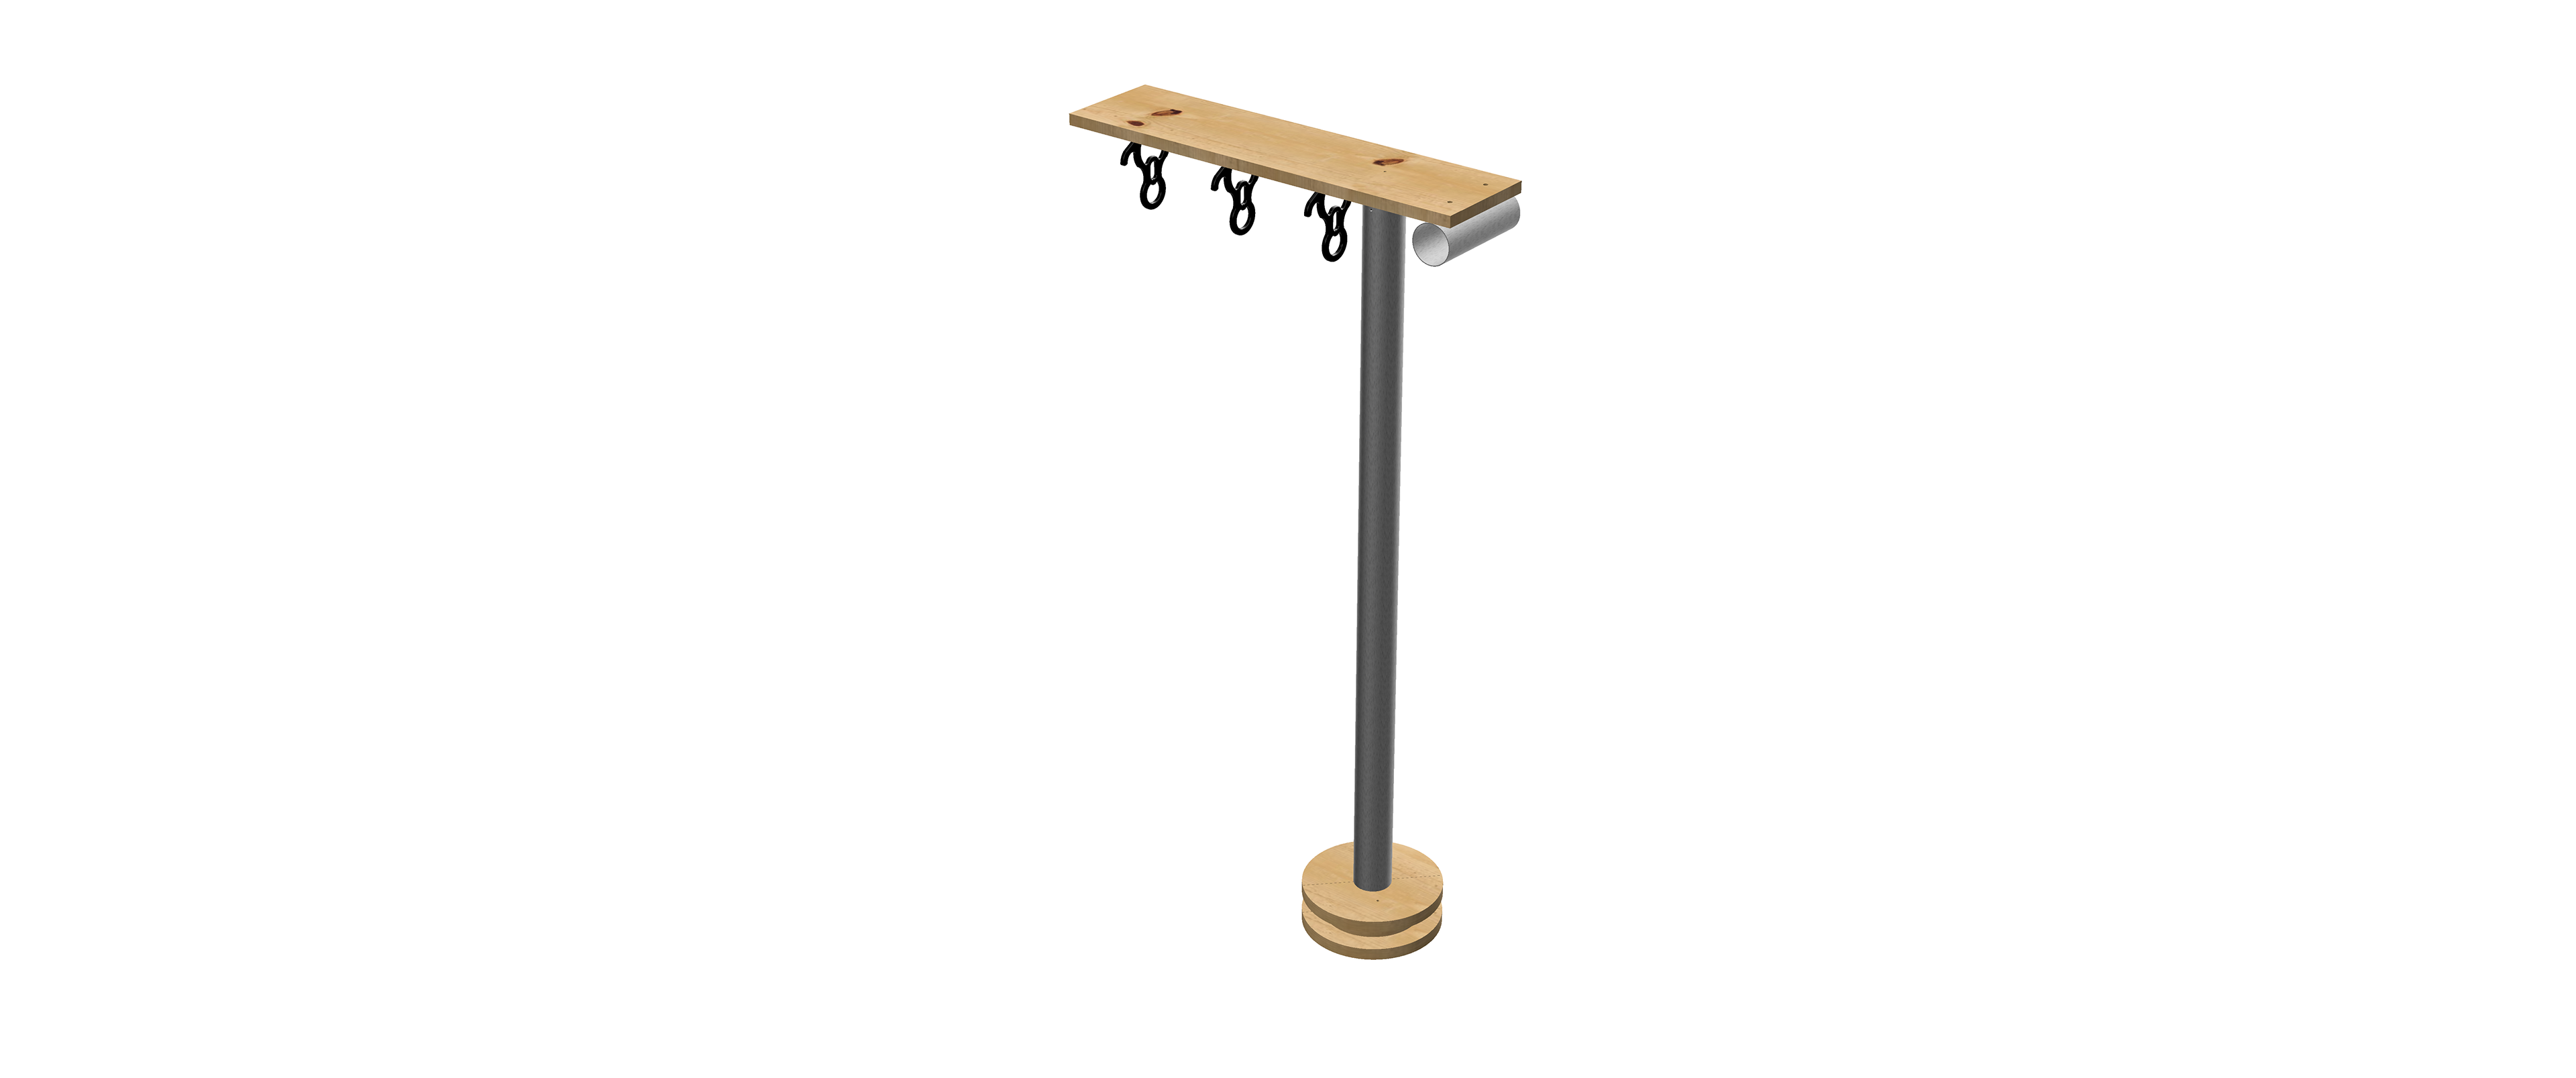
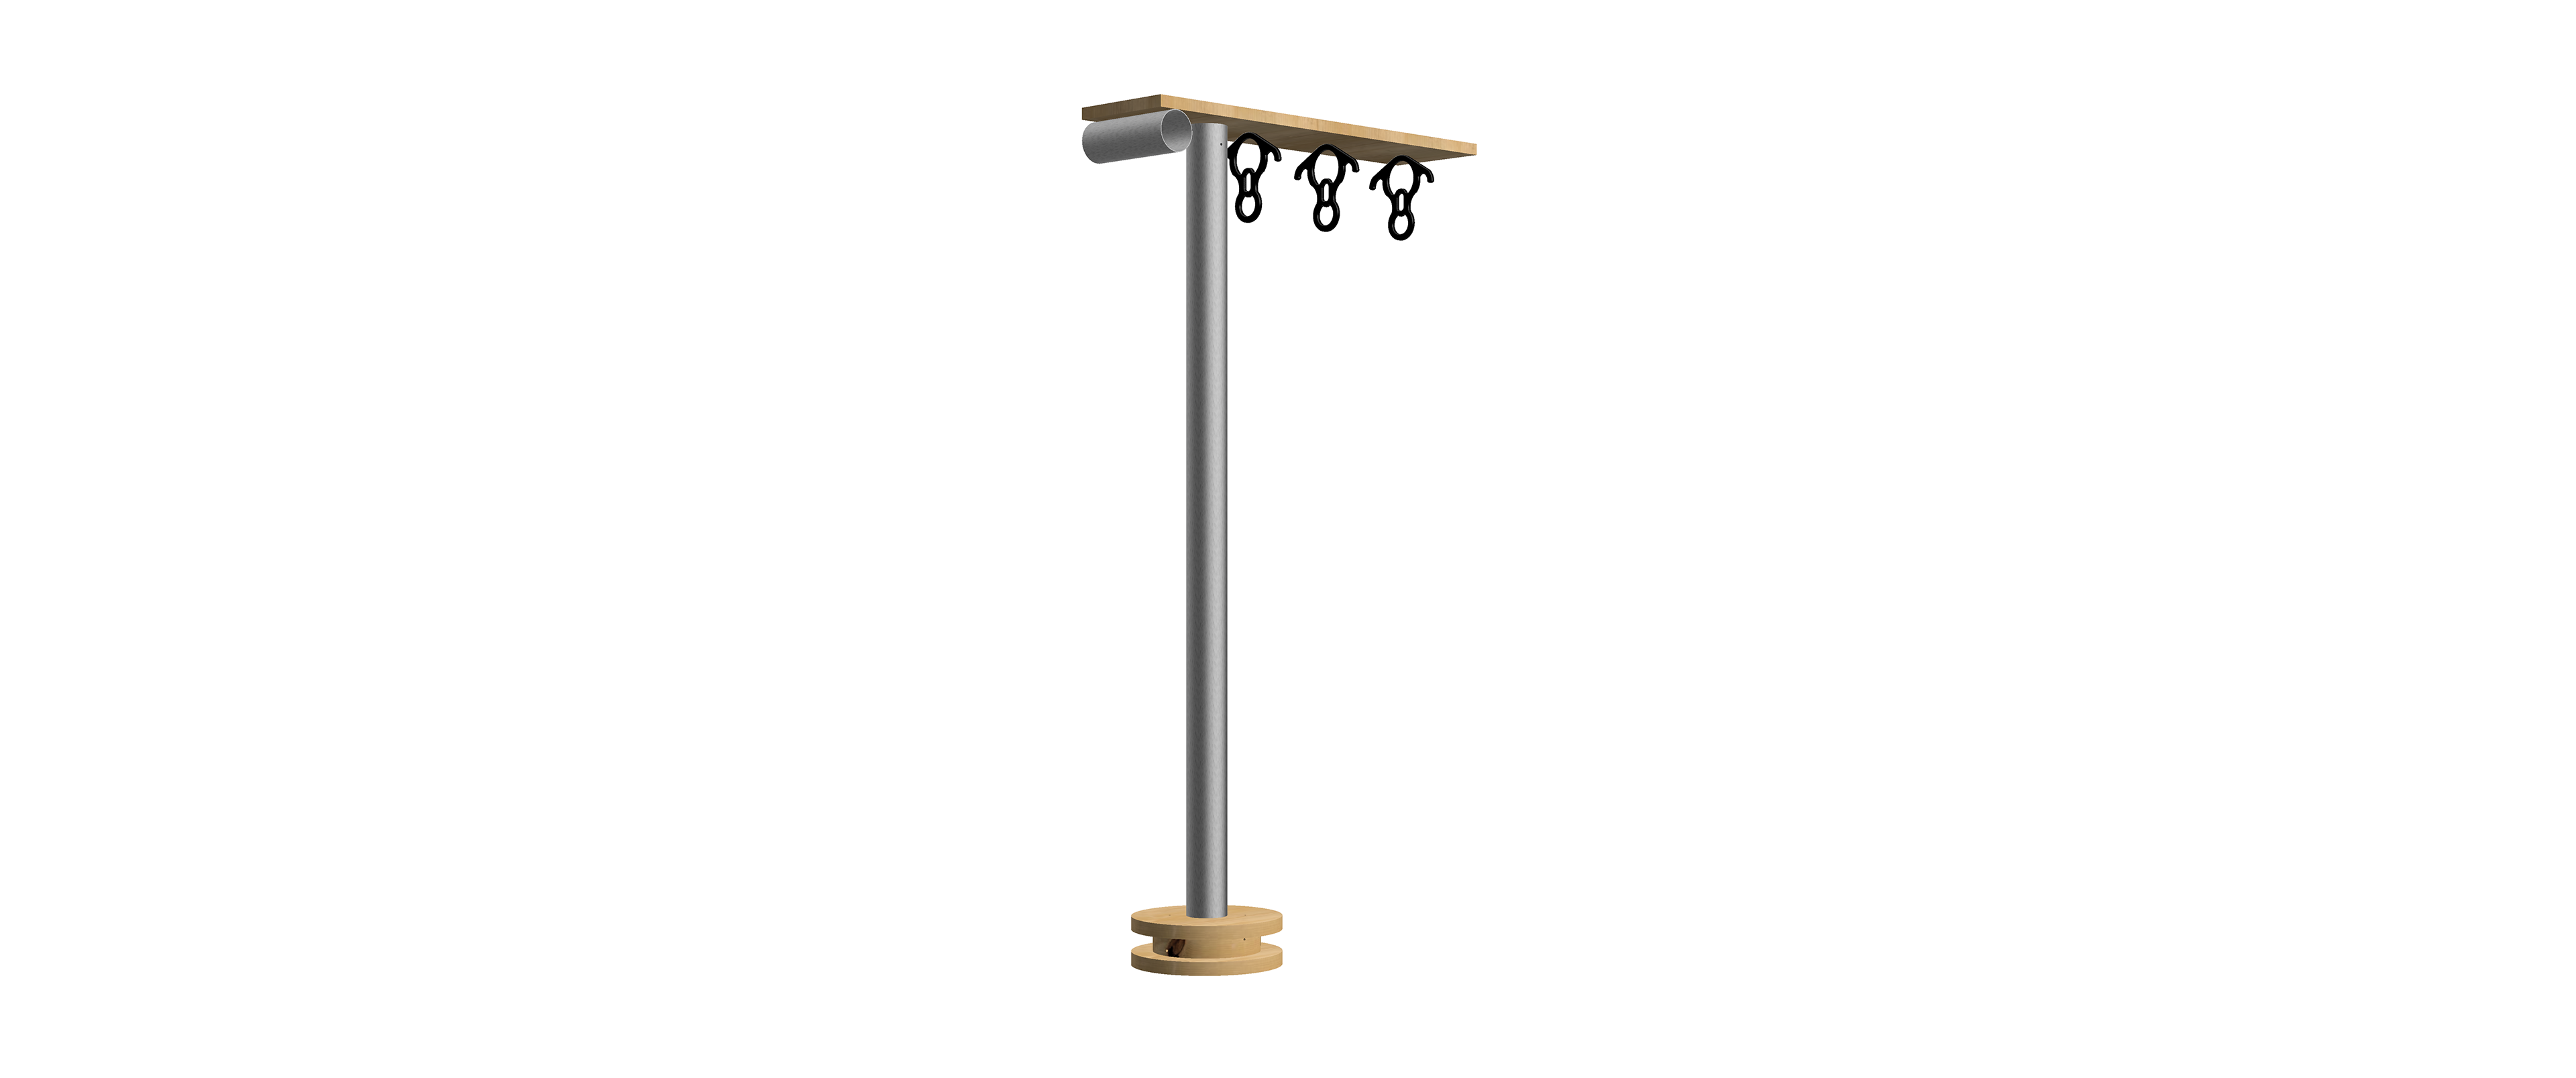
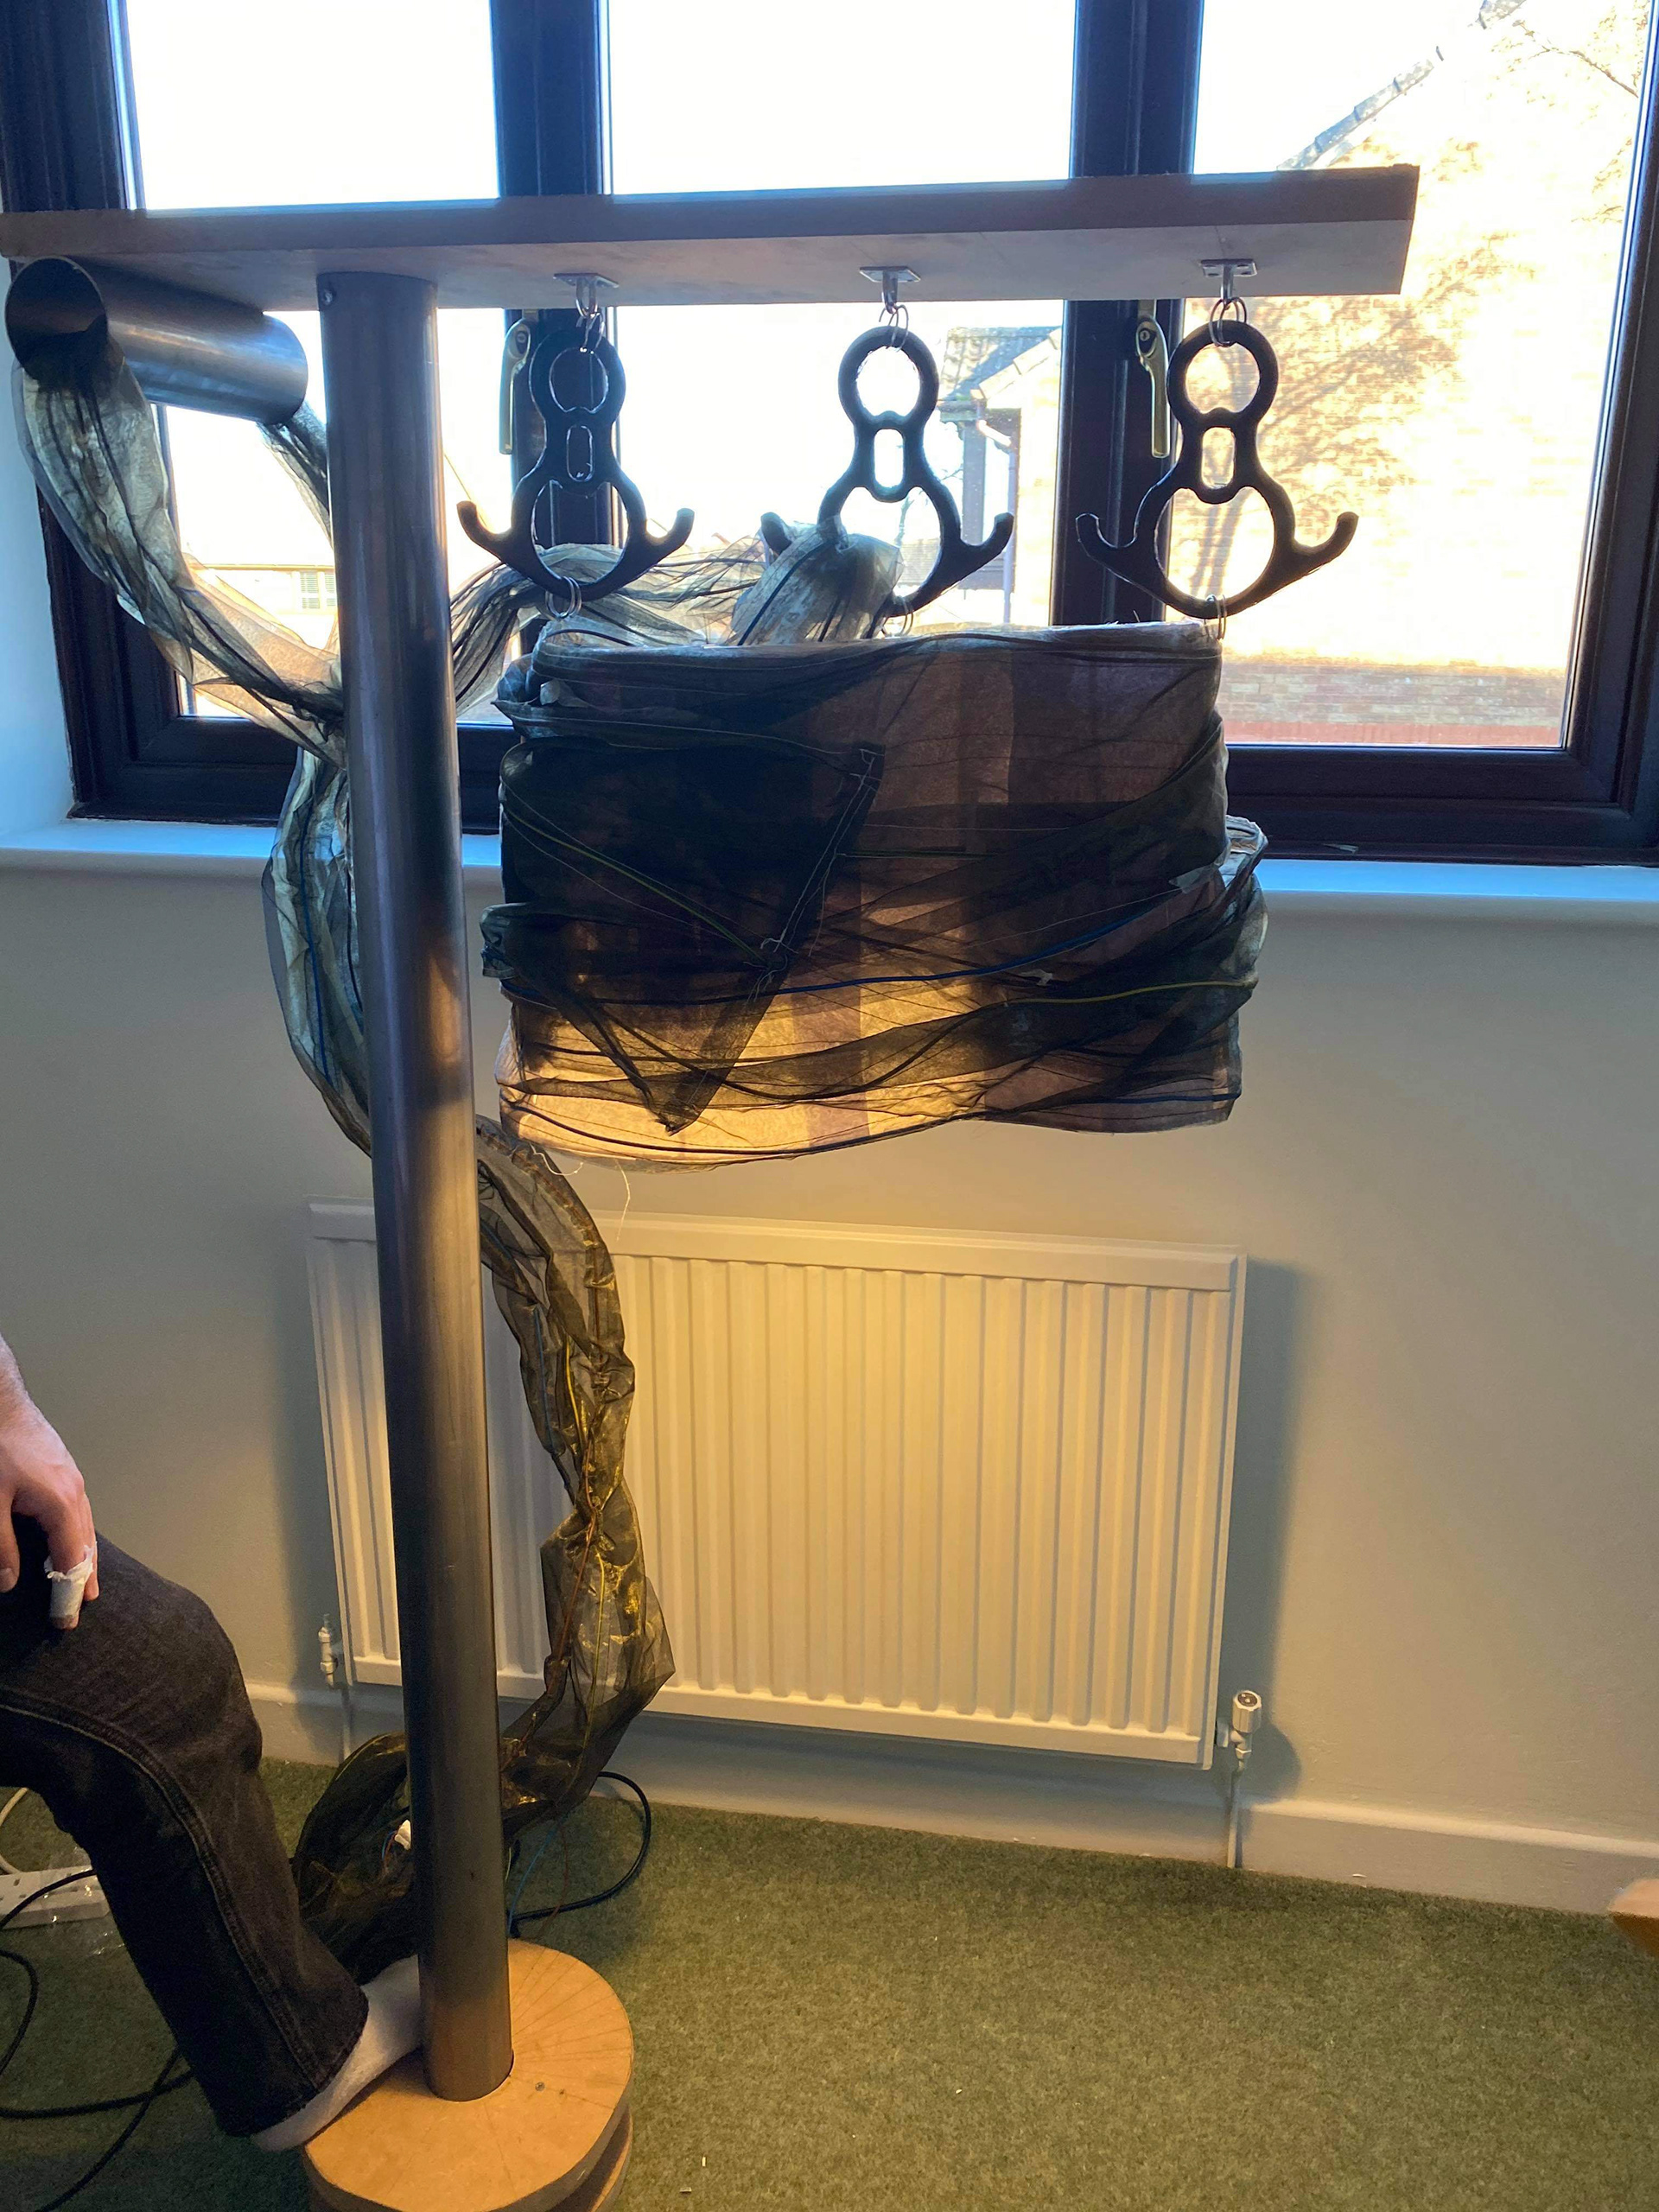
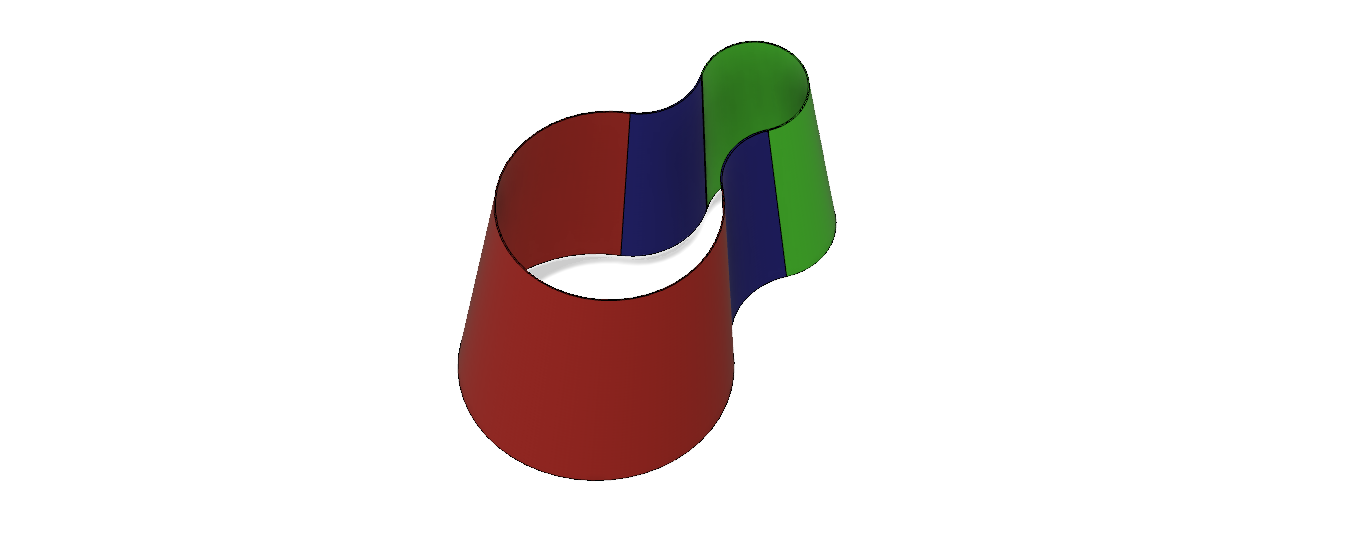
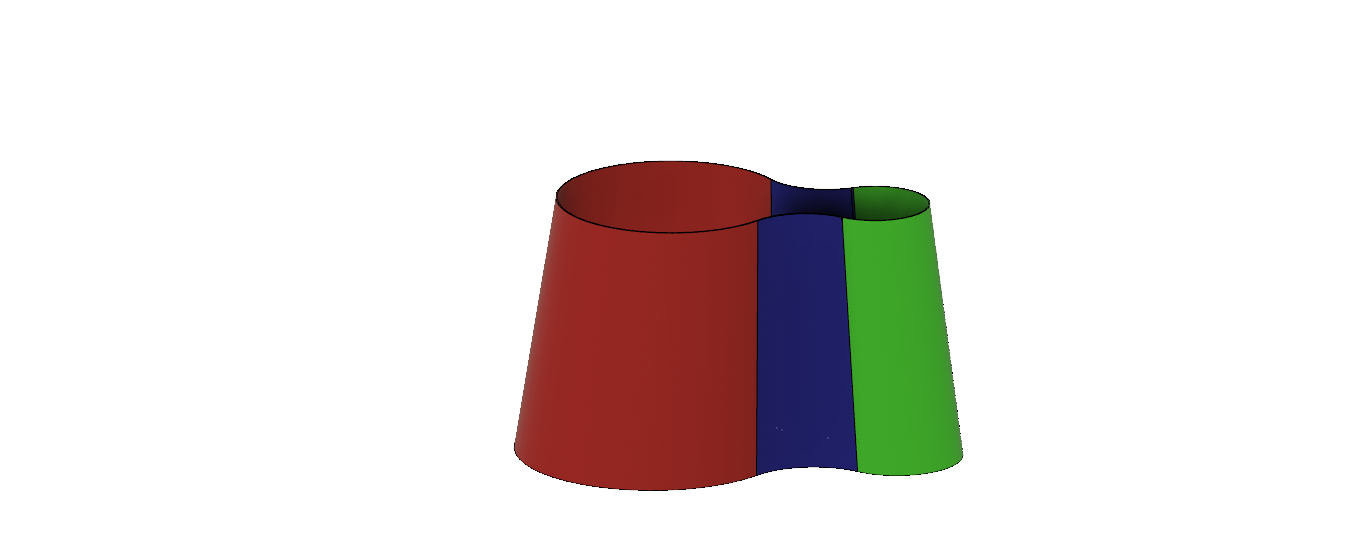
The above 4 images represent what I want the final outcome to look like. Although I haven't included the fabric in the rendered images since its difficult to create it on fusion 360. The main difference in this design form compared to the previous is the lamp shade. Instead of having a sphere shape wrapped in fabric, I now have a shape that is inspired by the figure 8. I also changed the 3 hanging figure 8 from pla to tpu. The Tpu is a flexible material, therefore i have manage to display the word flexible or even elastic in my design. I've also added another piece of the pipe to the left of the centre beam/pipe. this piece will be used to feed the fabric through to make it more neat and also will have a switch on it to turn the bulb on and off.
The video above is just to show the difference between pla and tpu

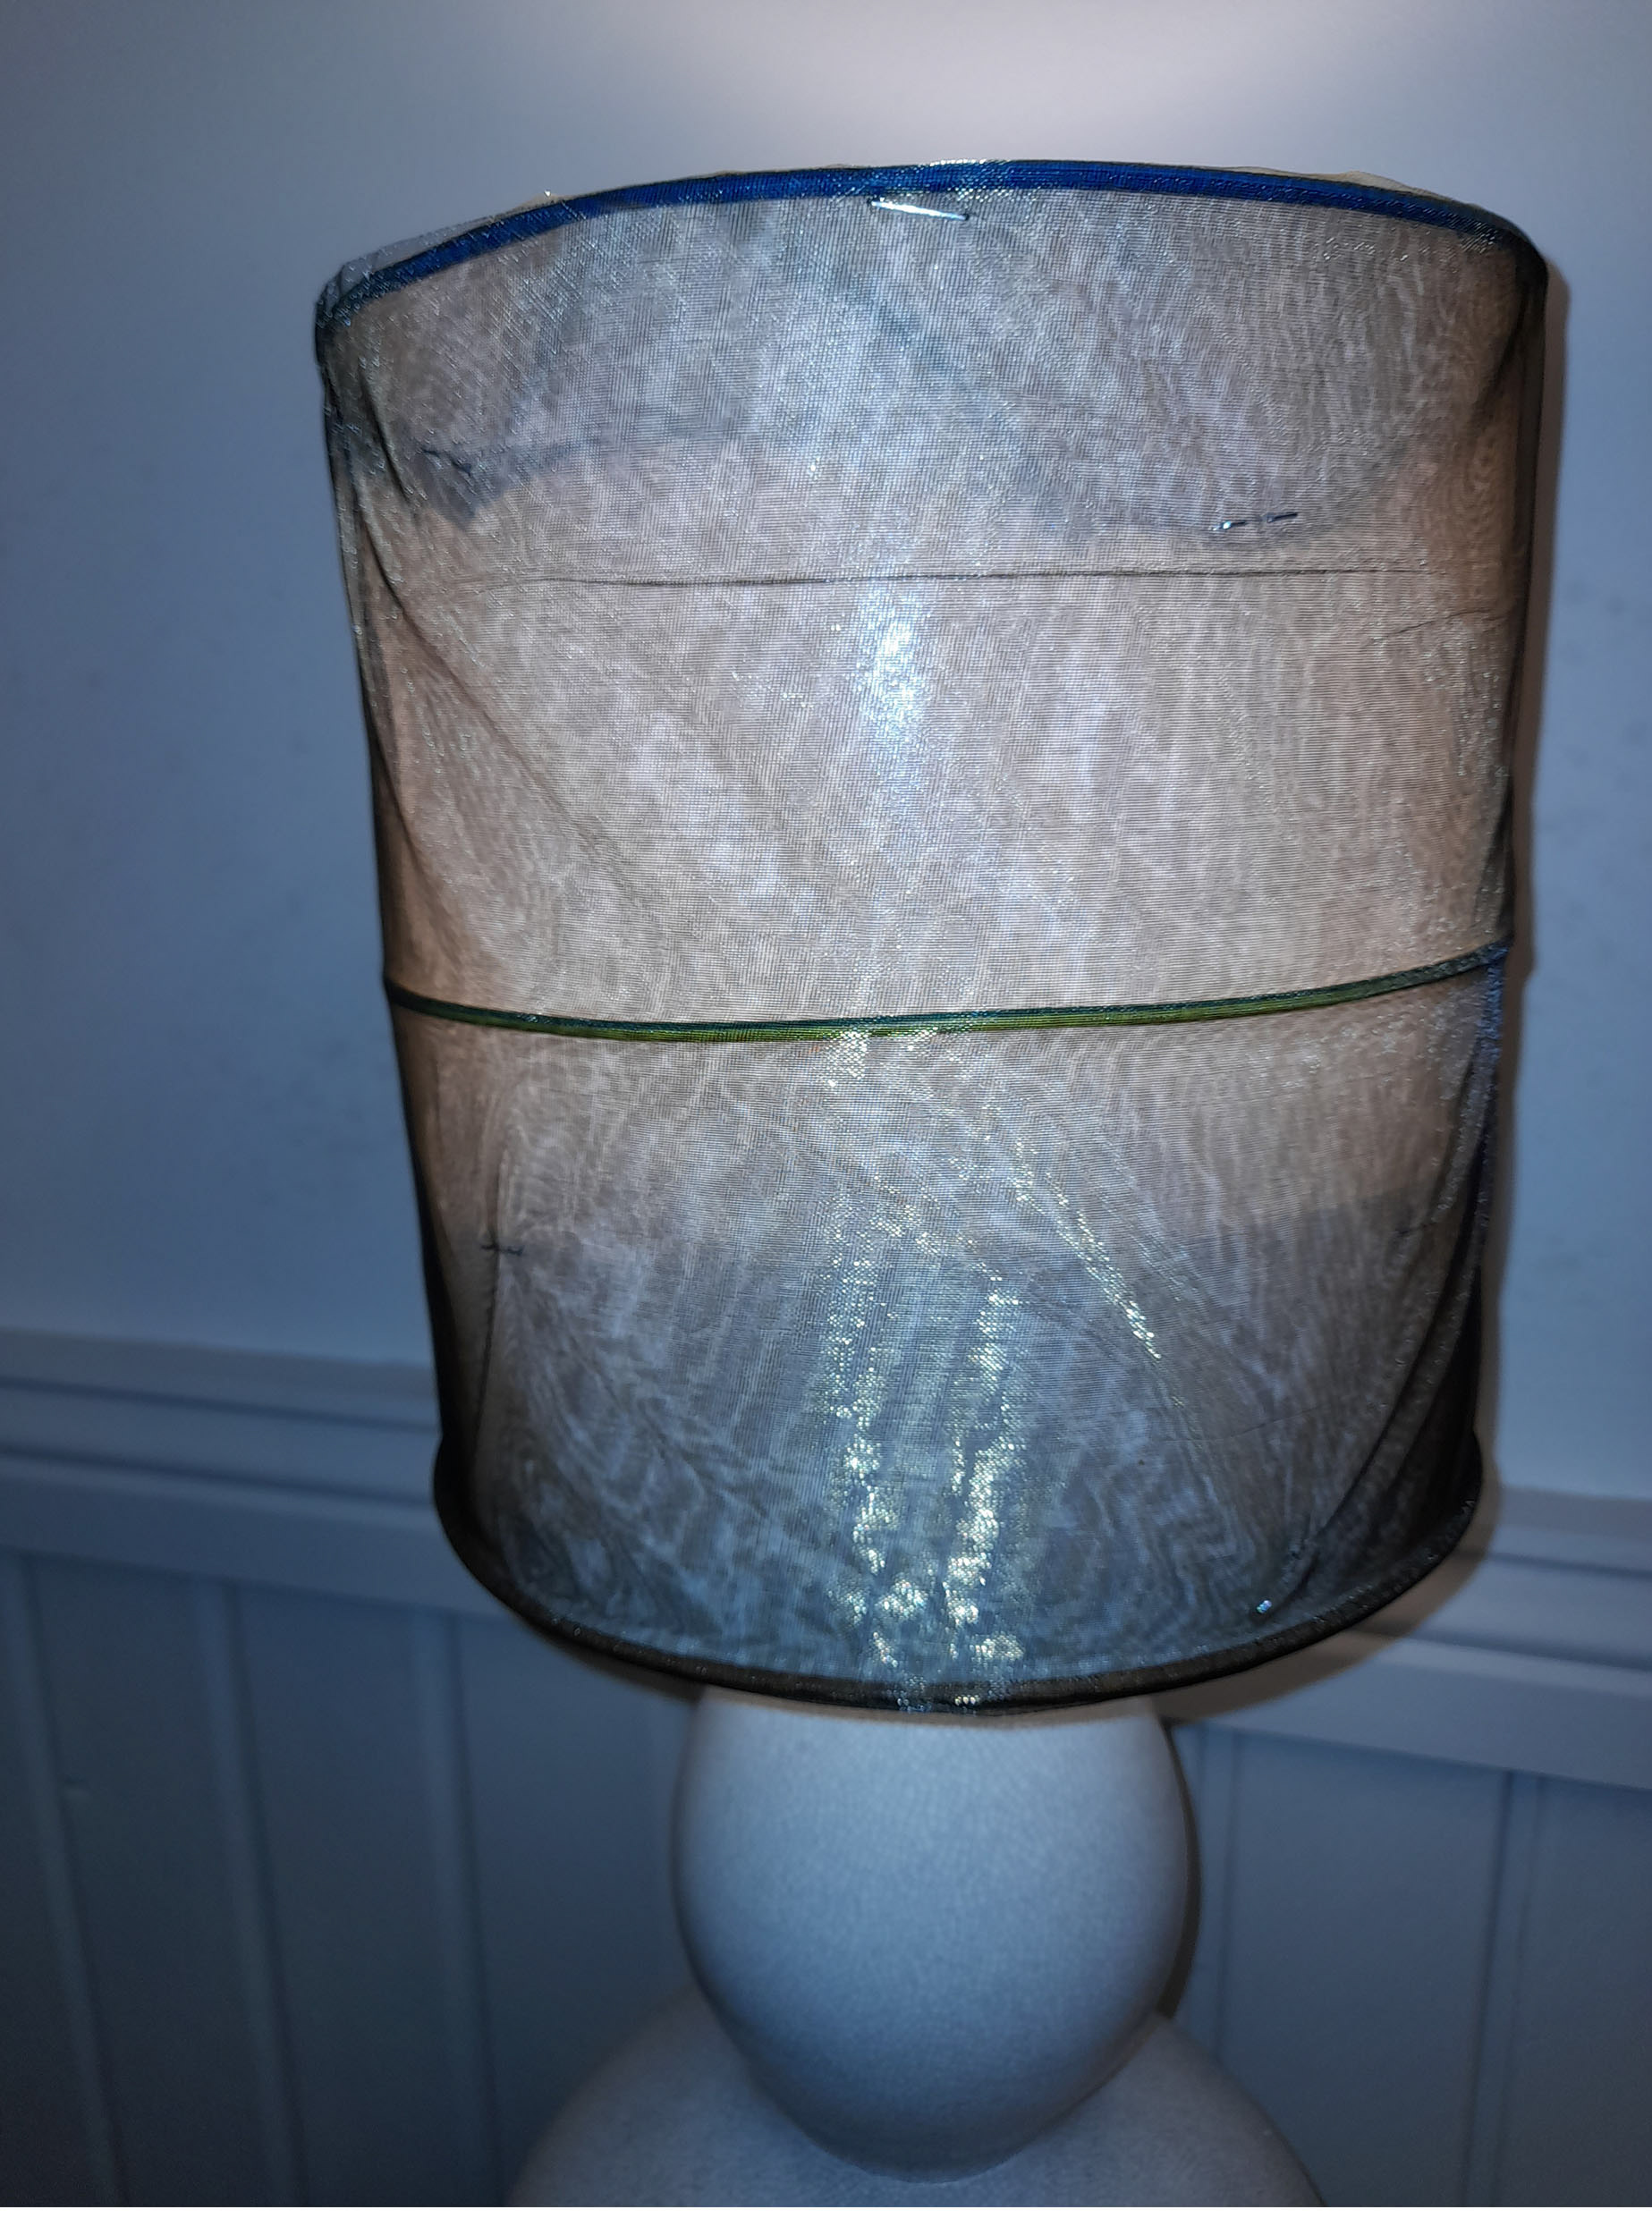
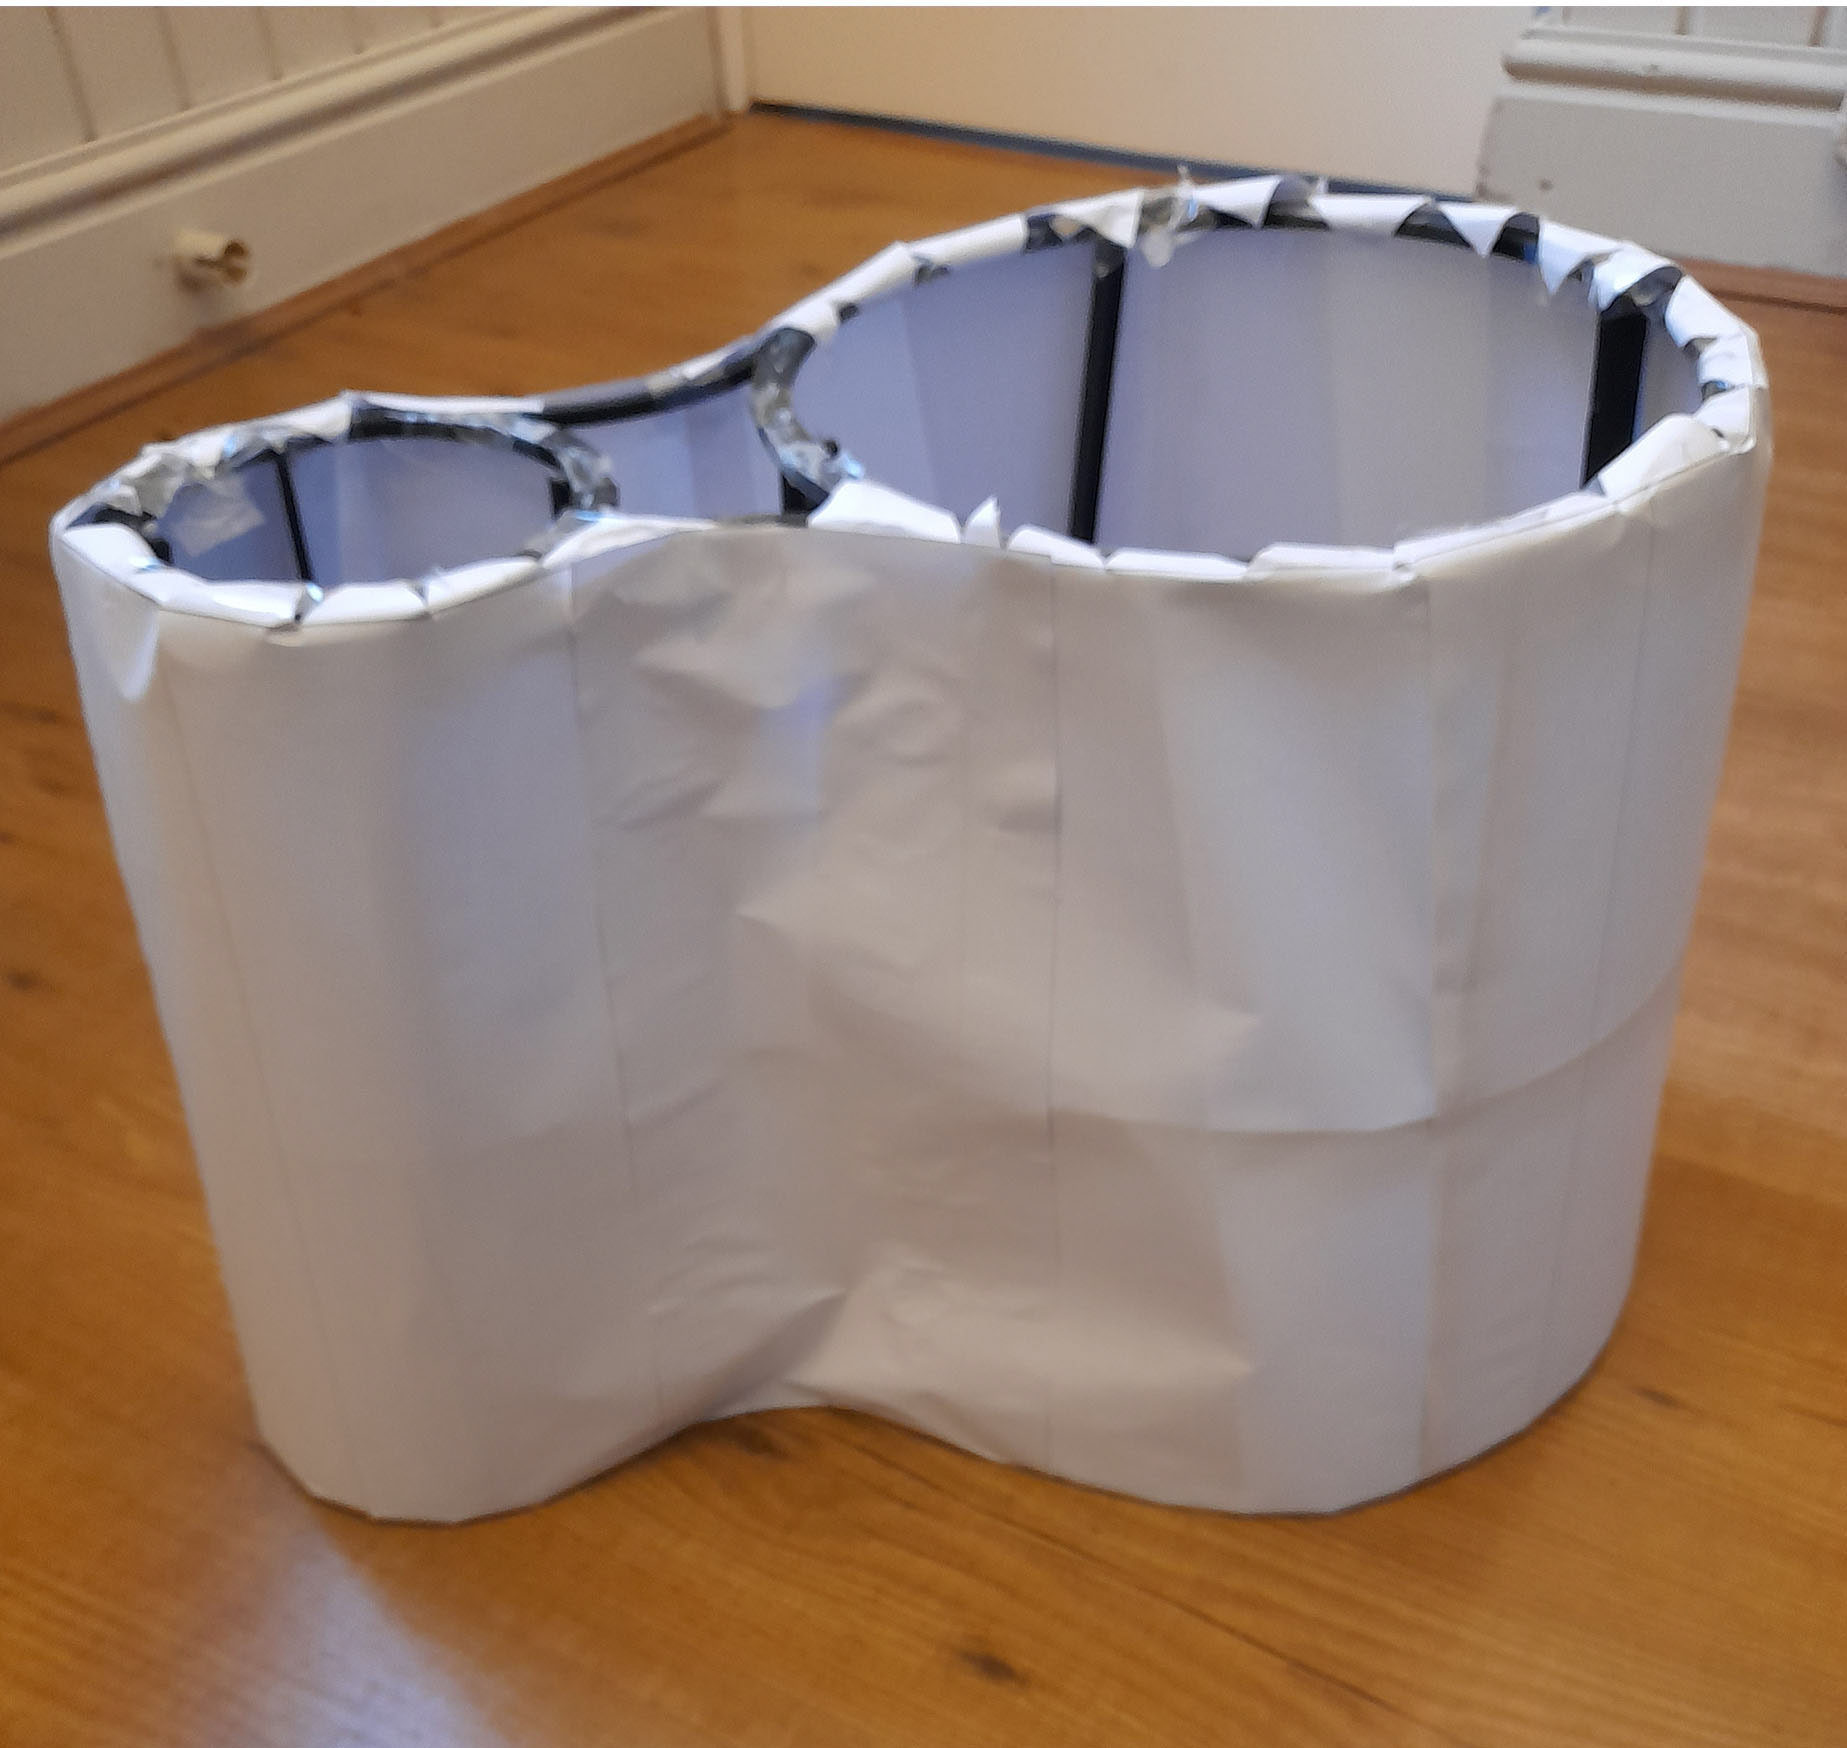
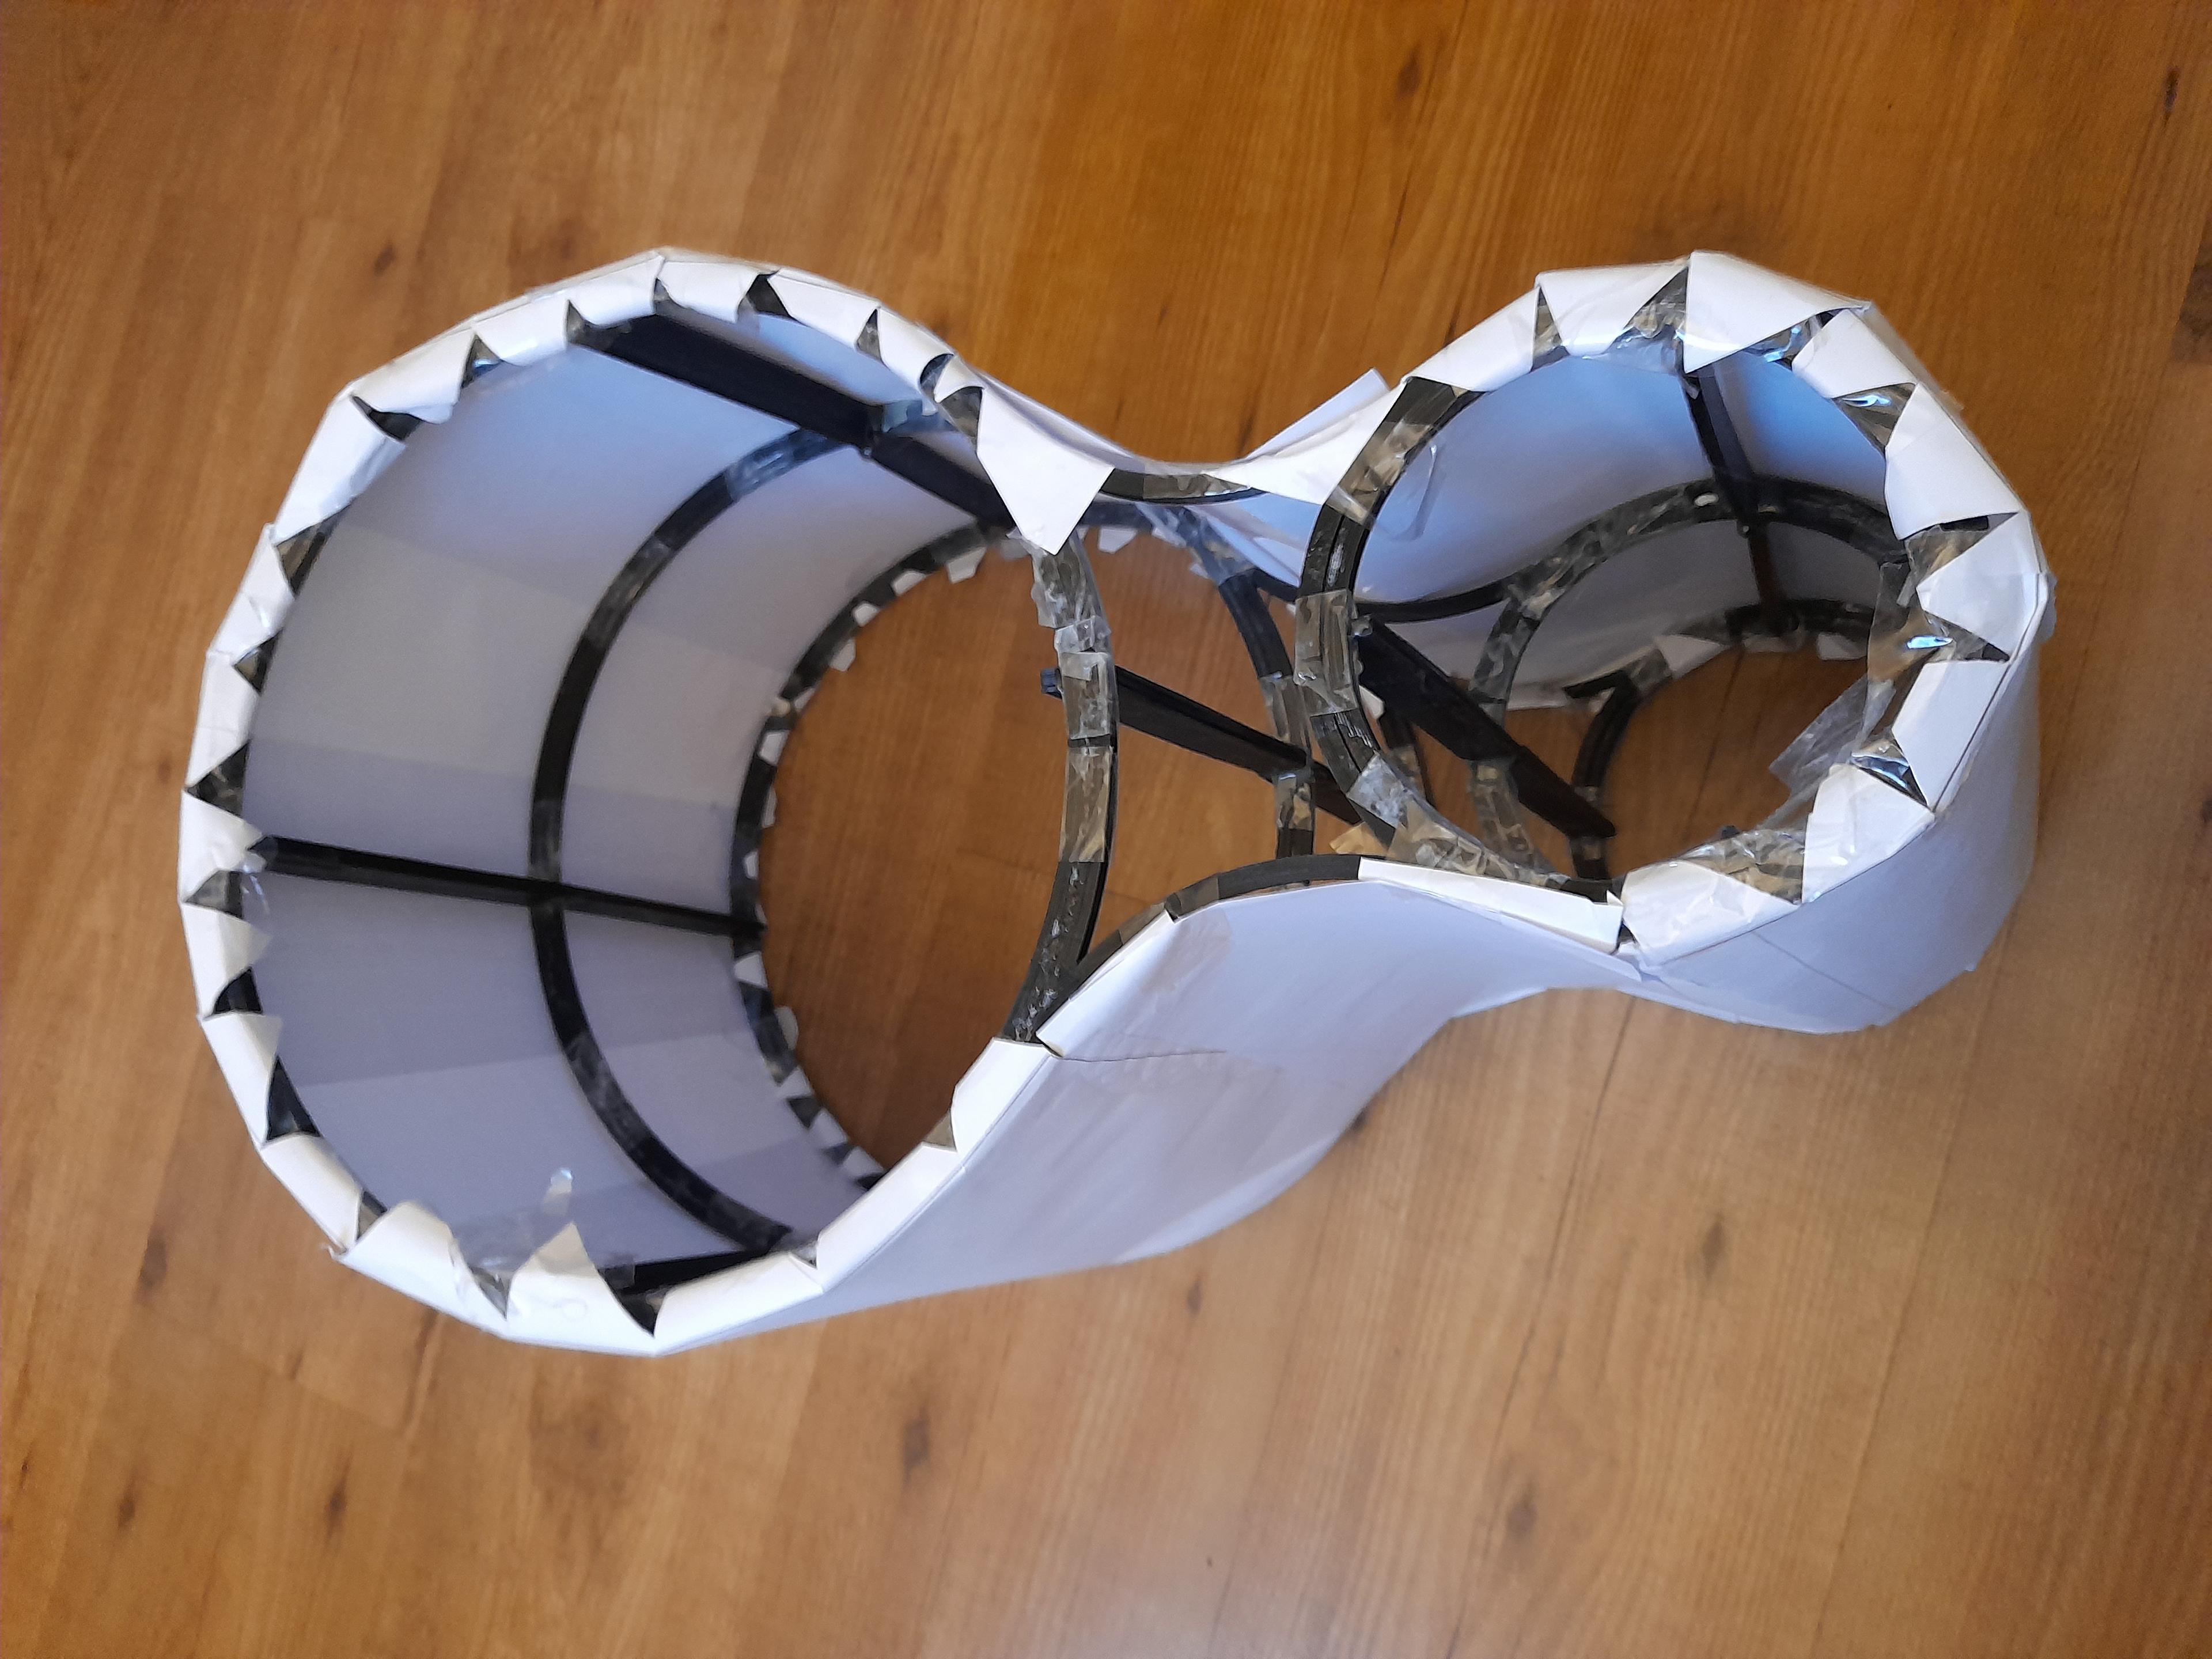
The shade was made quickly out of form board but is too scale. I attached the fabric with glue and double sided tape. This is not the final shade i will be making another one with better material and ill take more time with how i construct it.
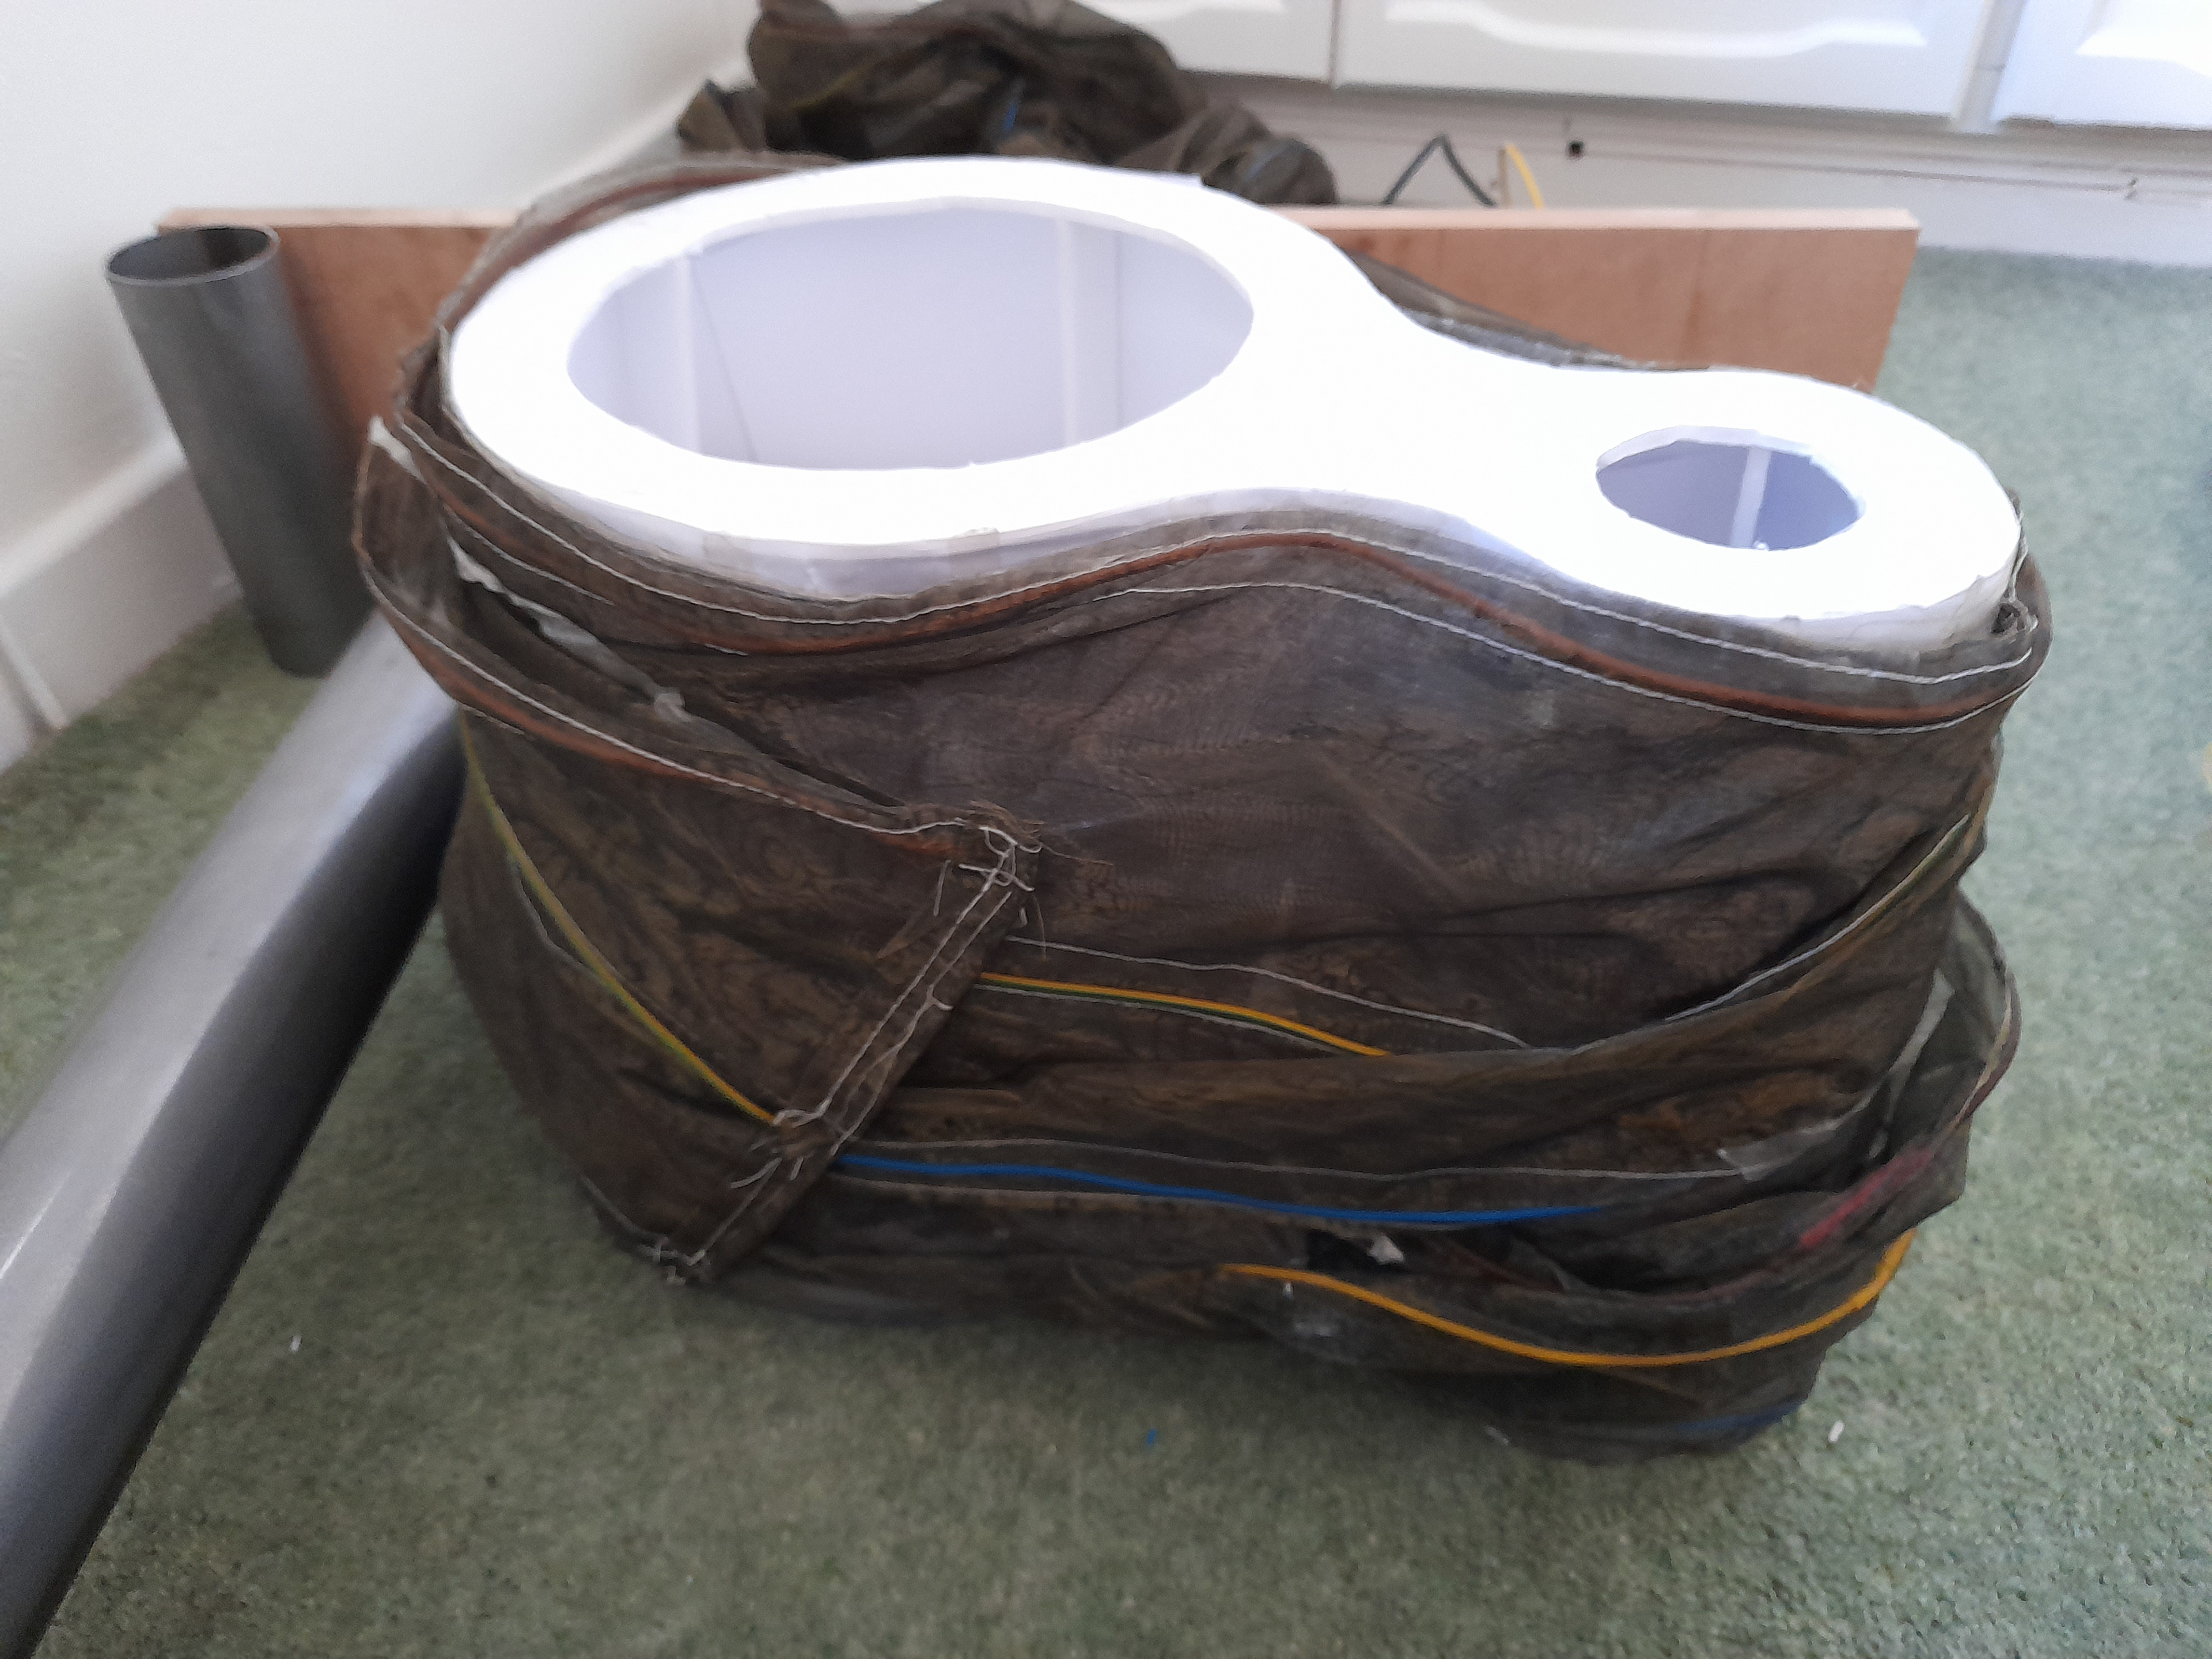
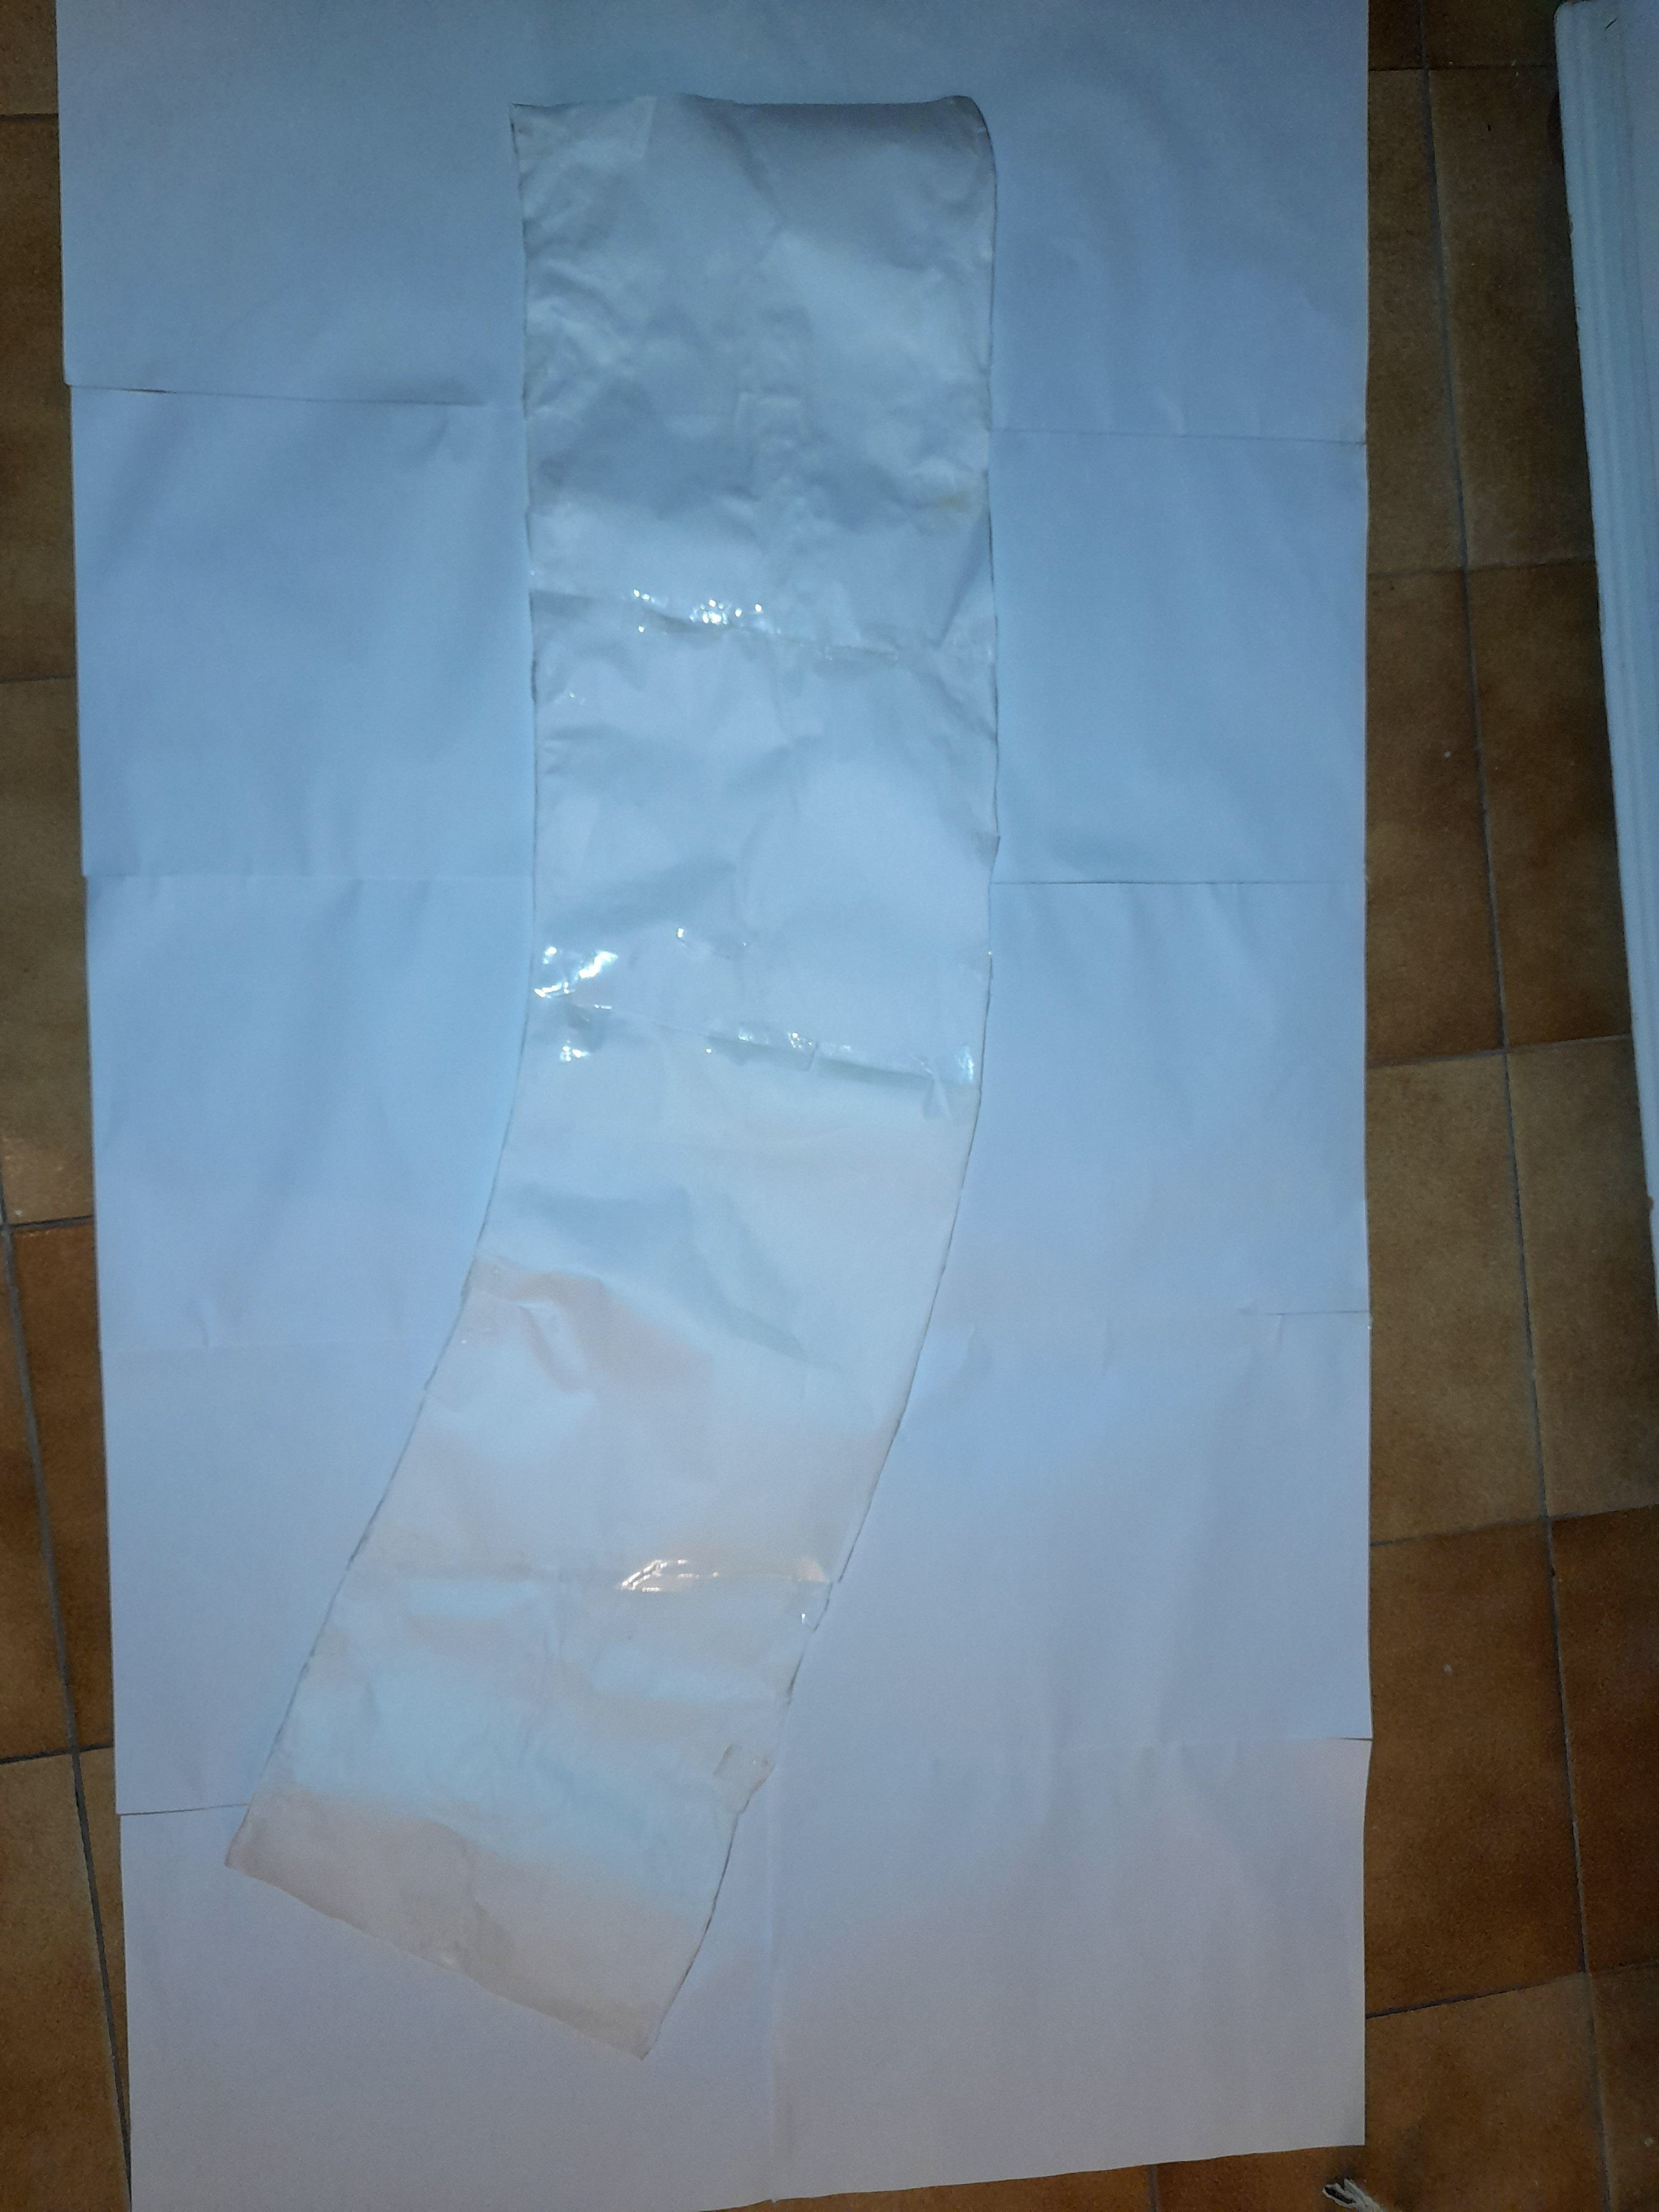
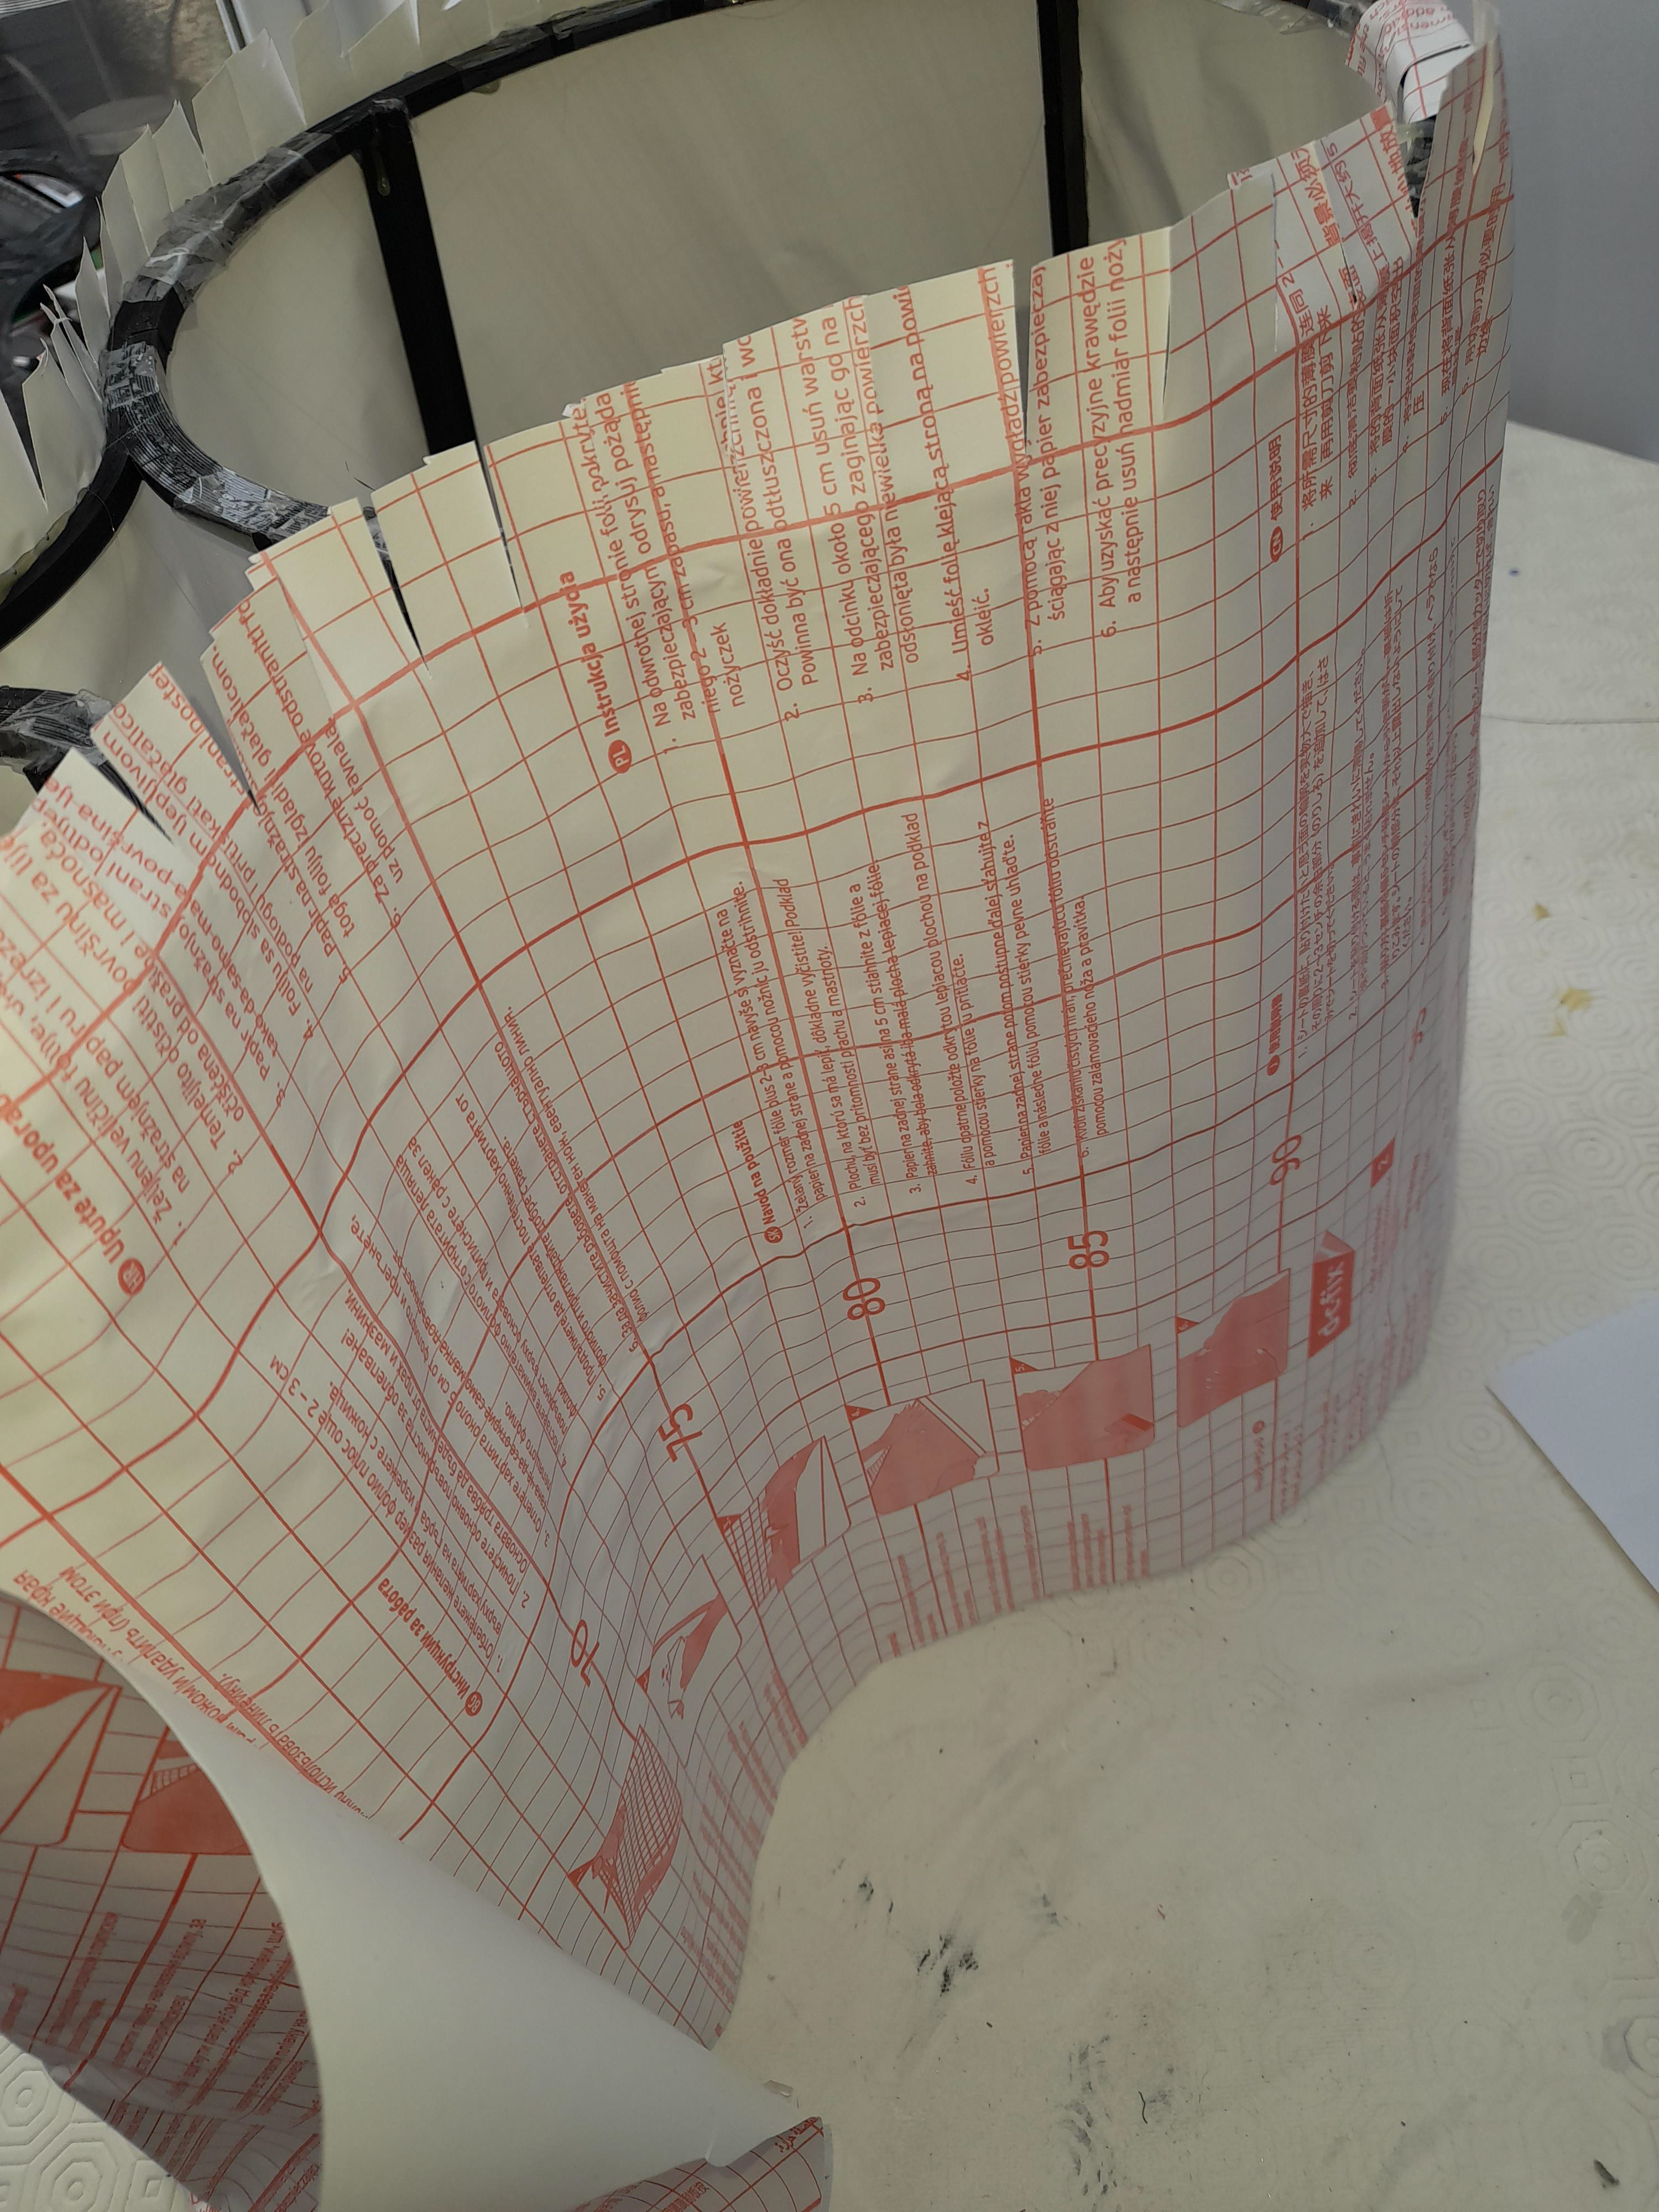
The image above represents a practice attempt of joining the final materials for the shade together. Instead of placing the fabric on paper, I will use a sheet of white Pvc sticky back. The sticky side will be used for the fabric whereas the plain white side will be glued to a 3d printed frame. The below images show how I was creating the template/ flat cut out of the shade as well as making the frame.

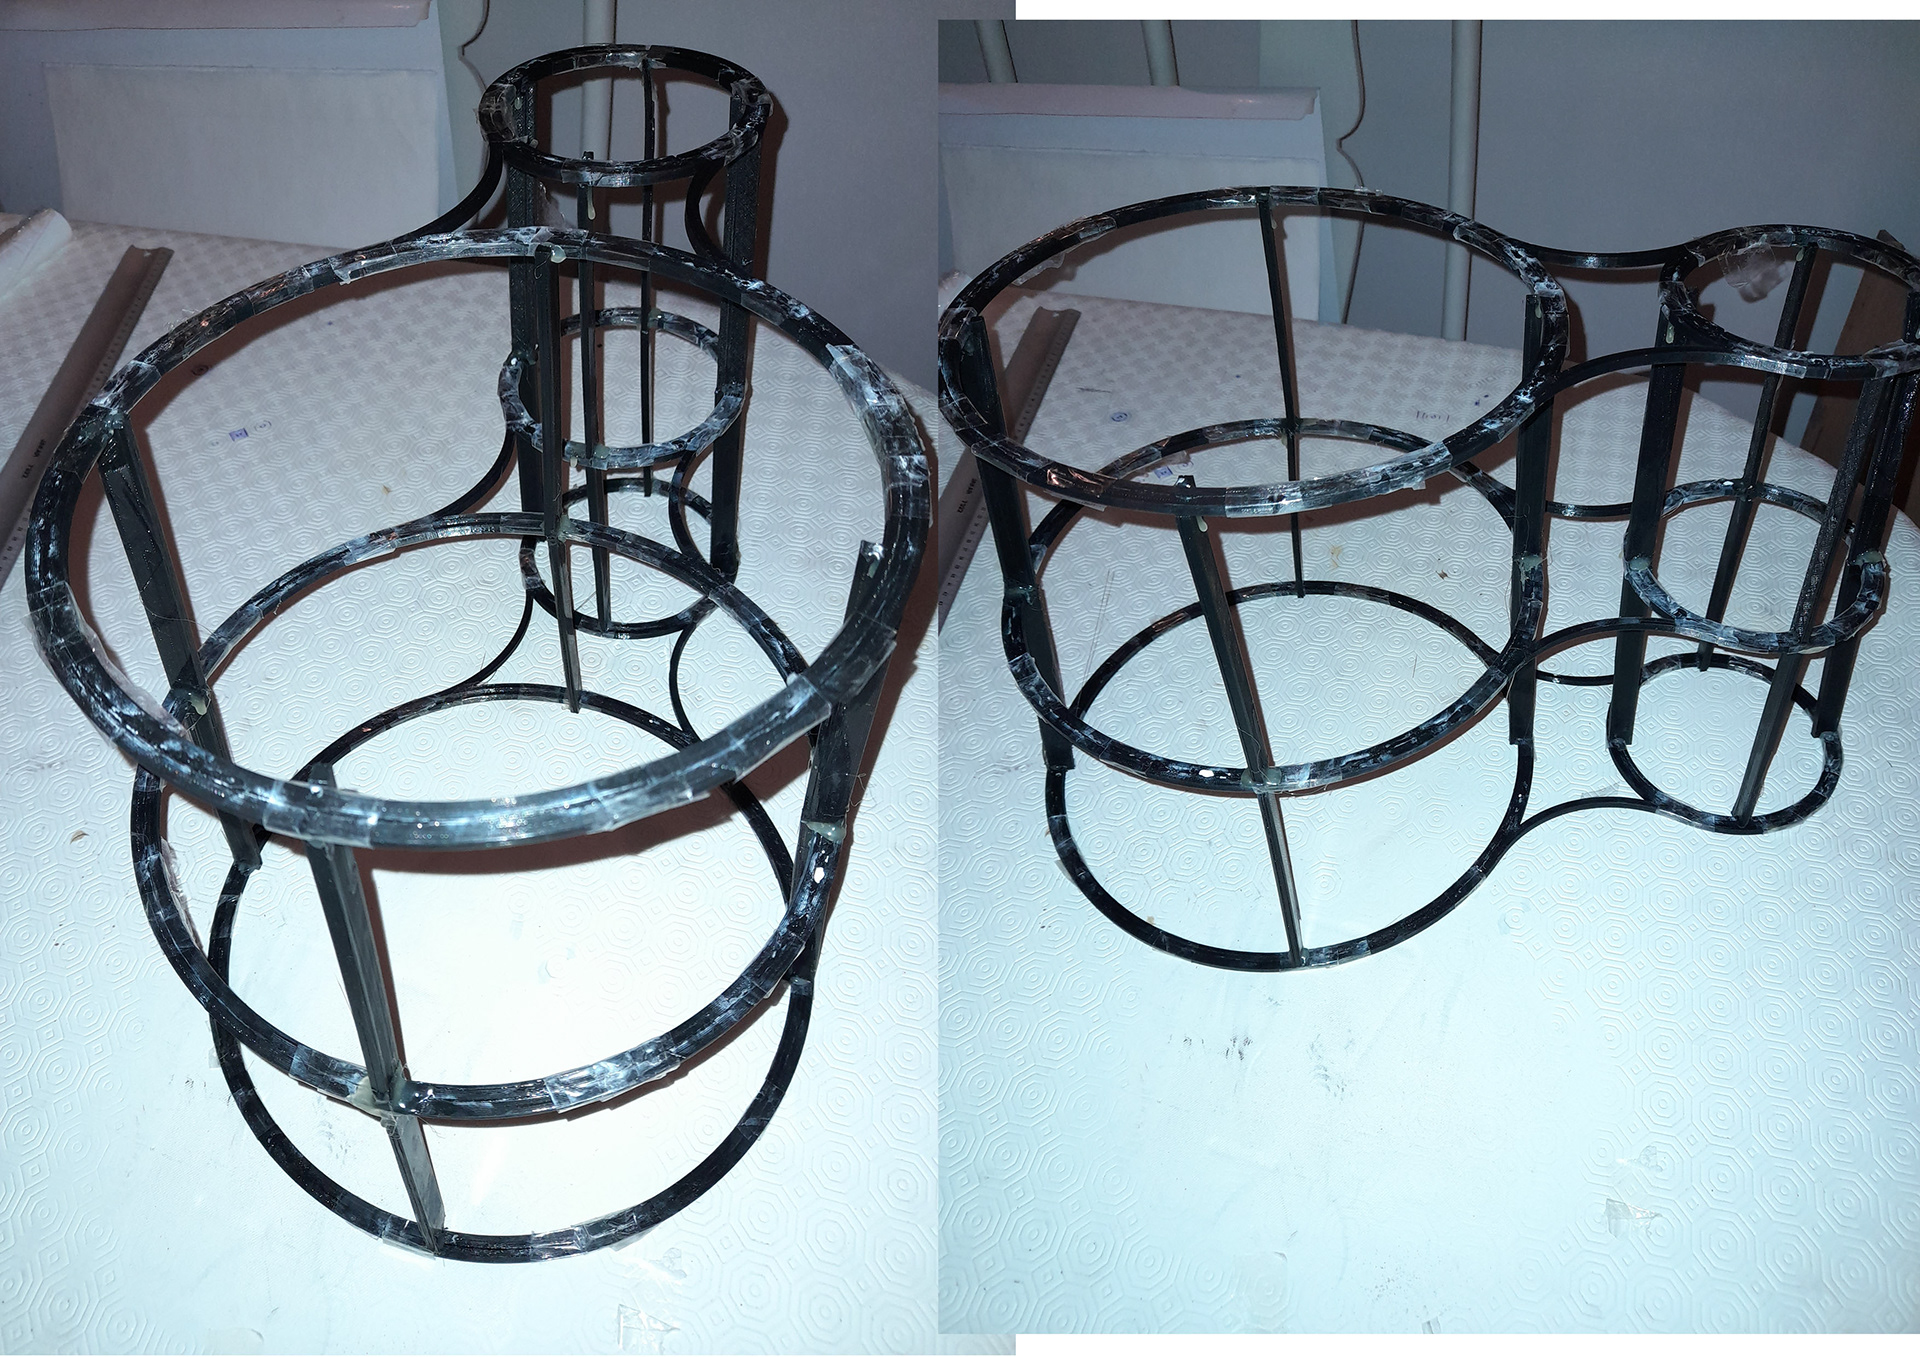
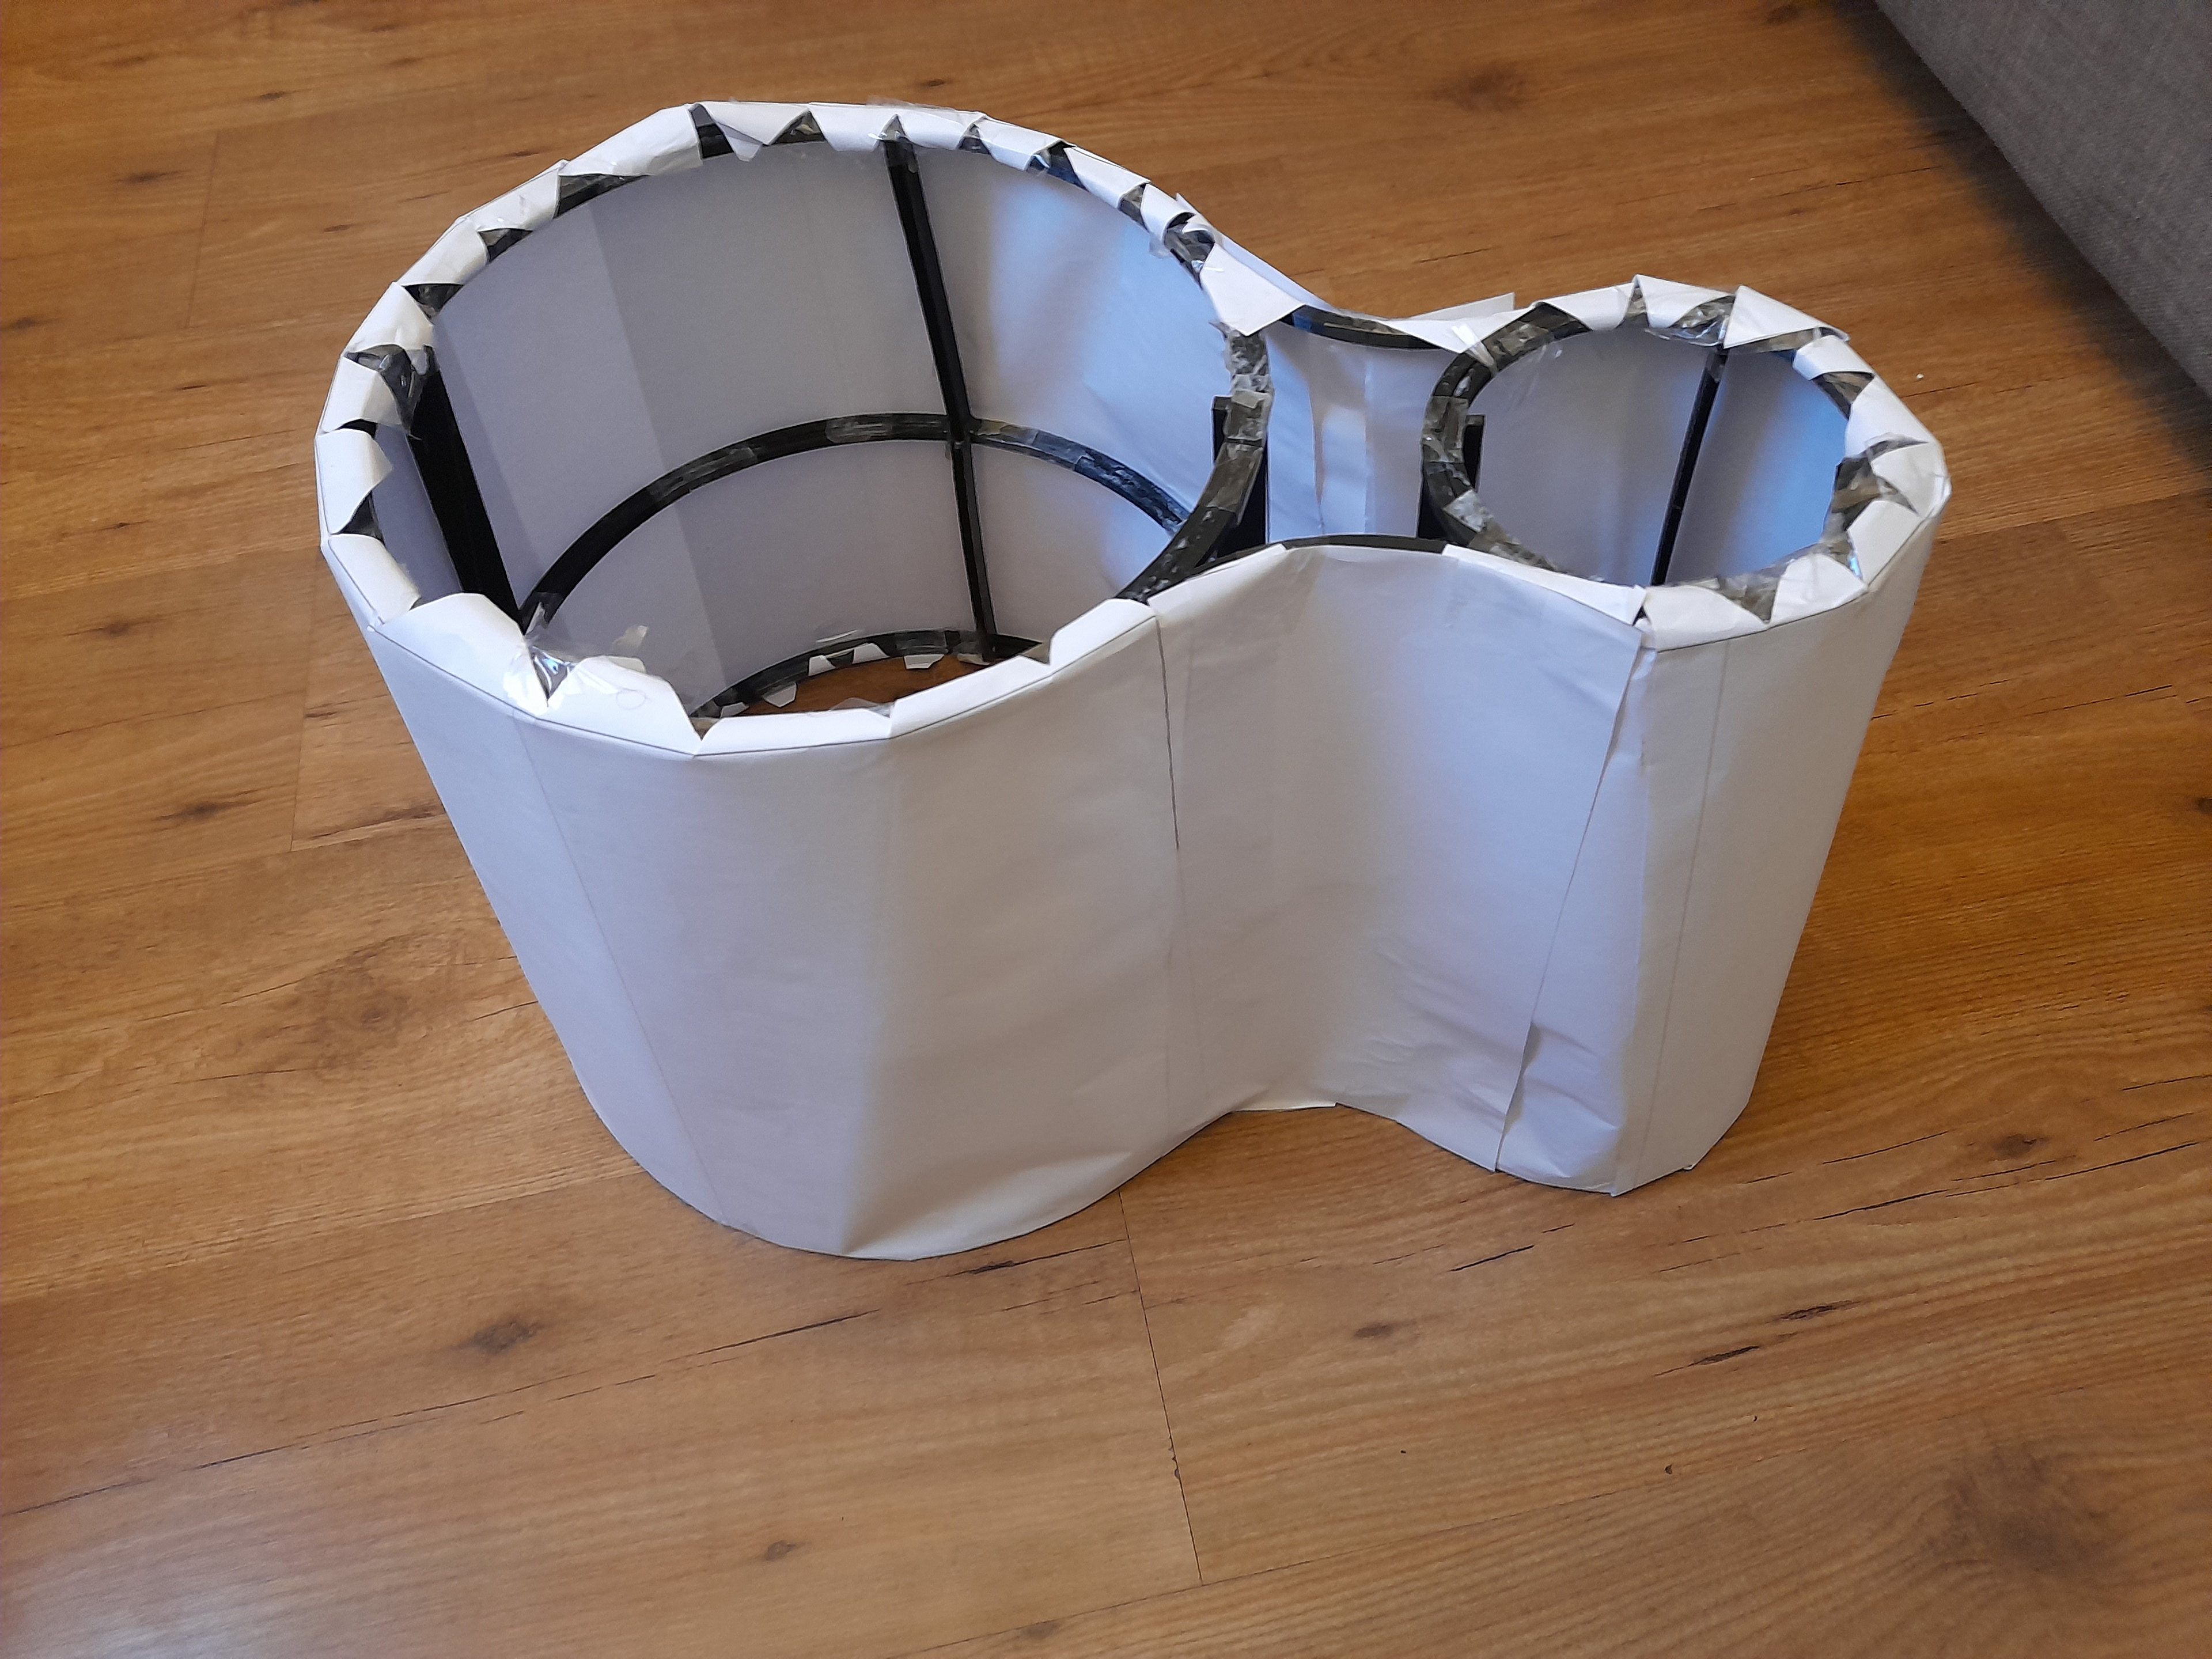
The first template I made for the shade didn't fit it properly one or two of the measurements were slightly off. this happened because I had to print out a number of sheets with different parts of the shade on them and then glue them together.

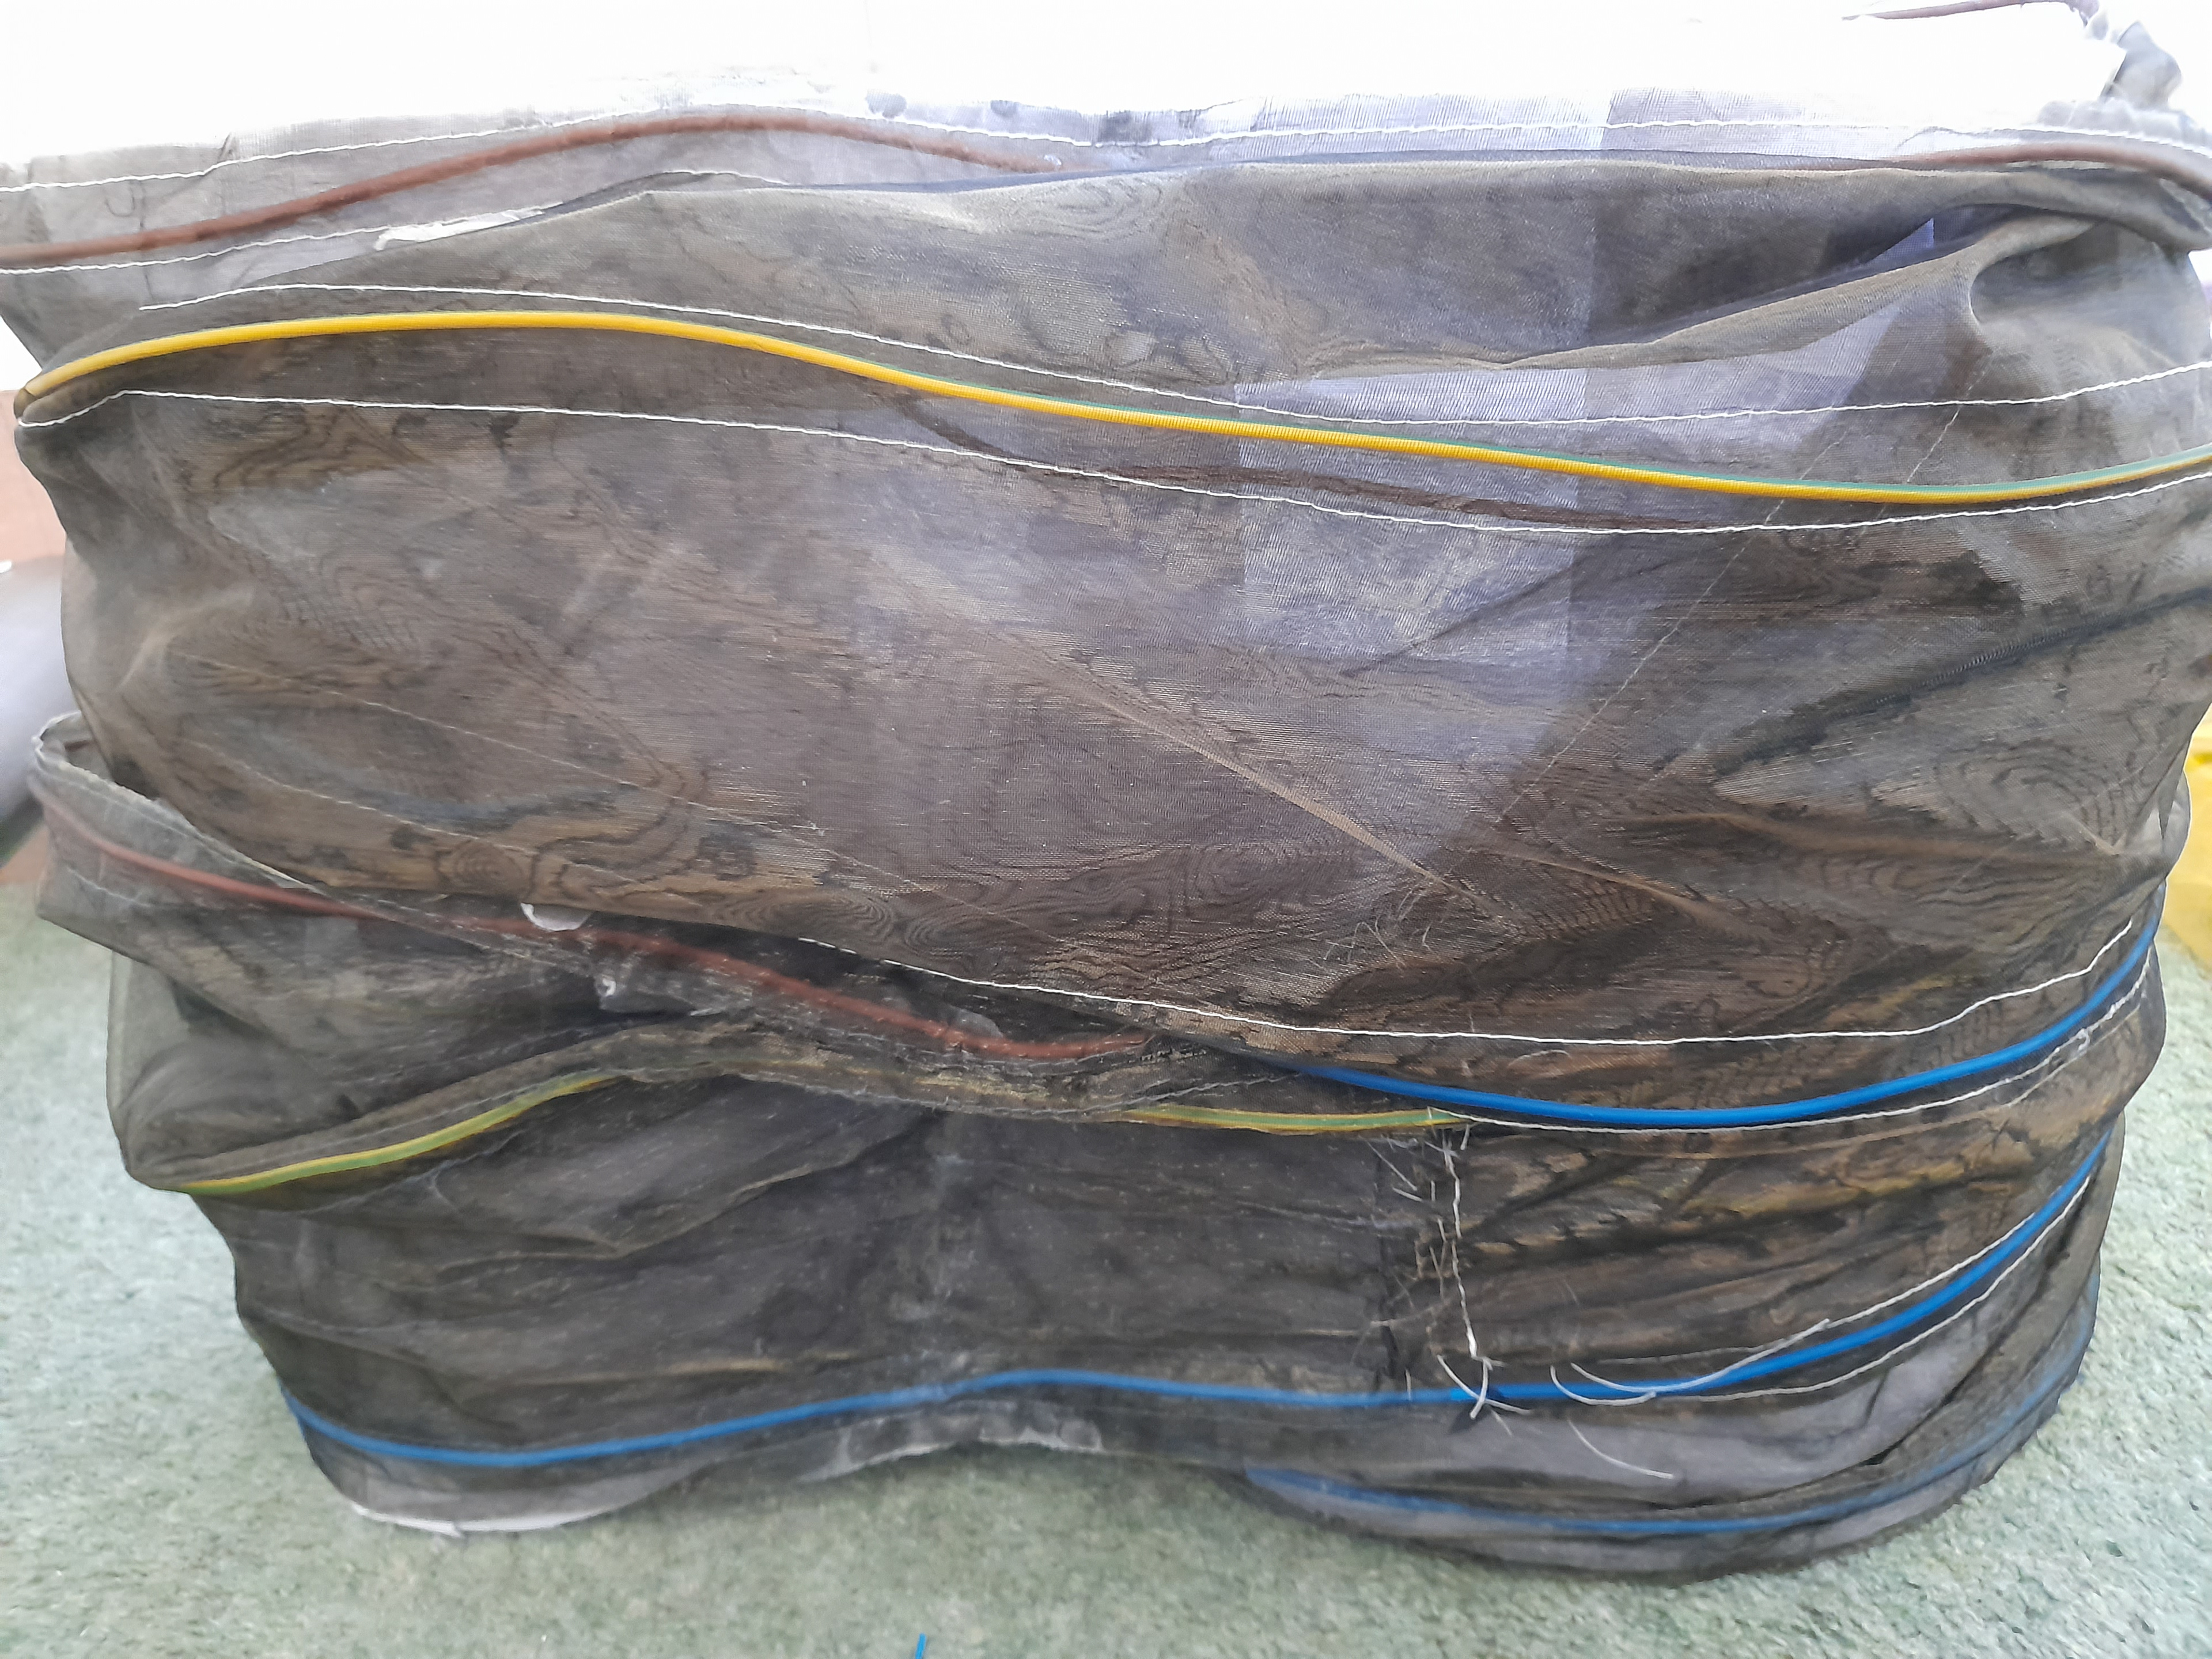
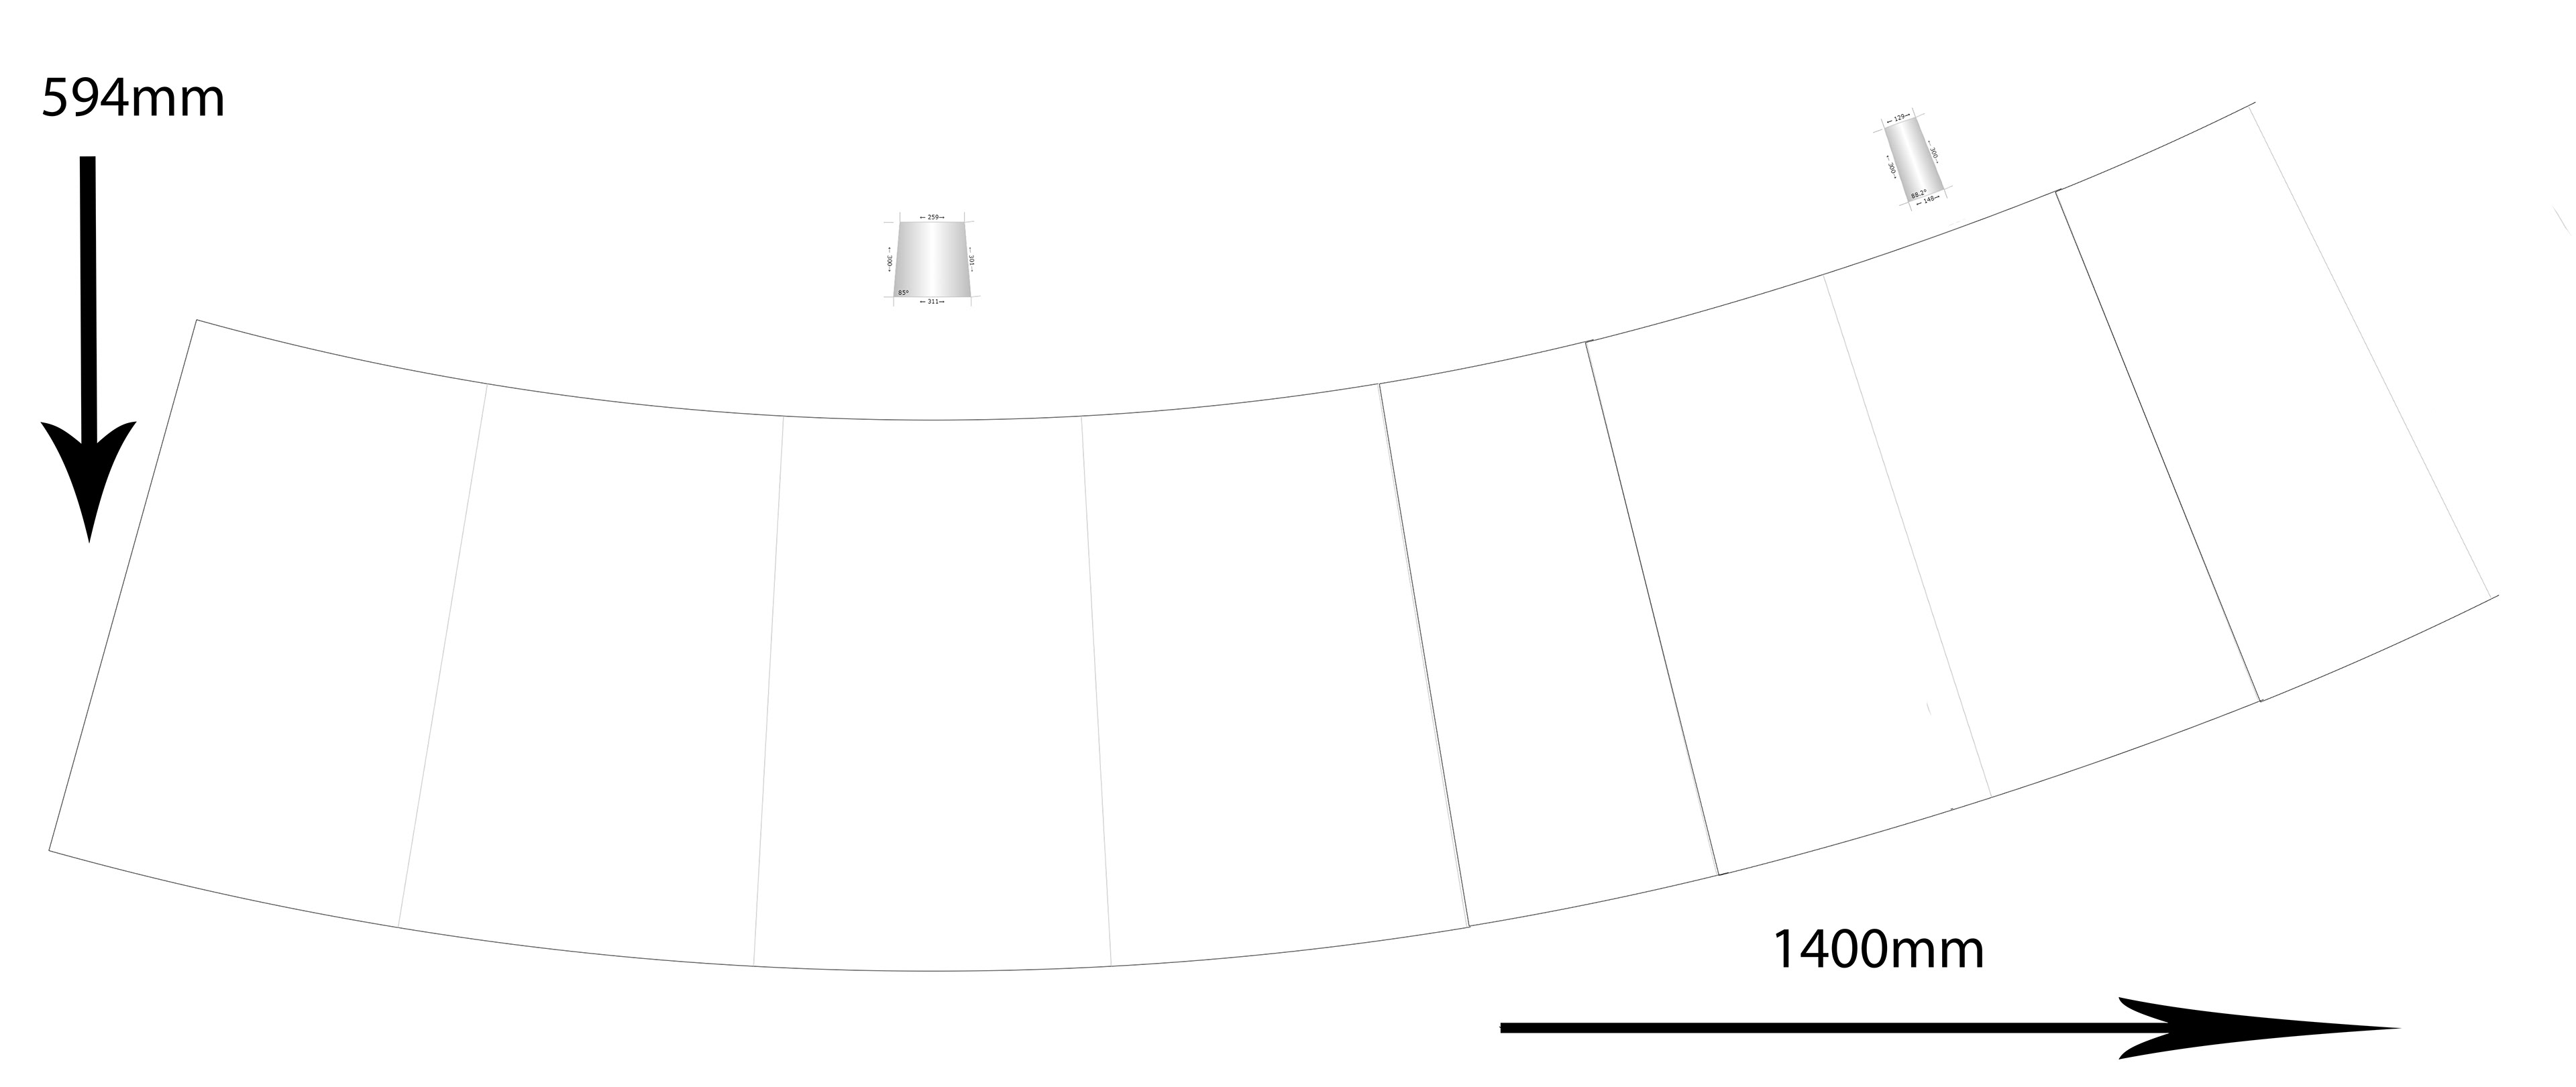
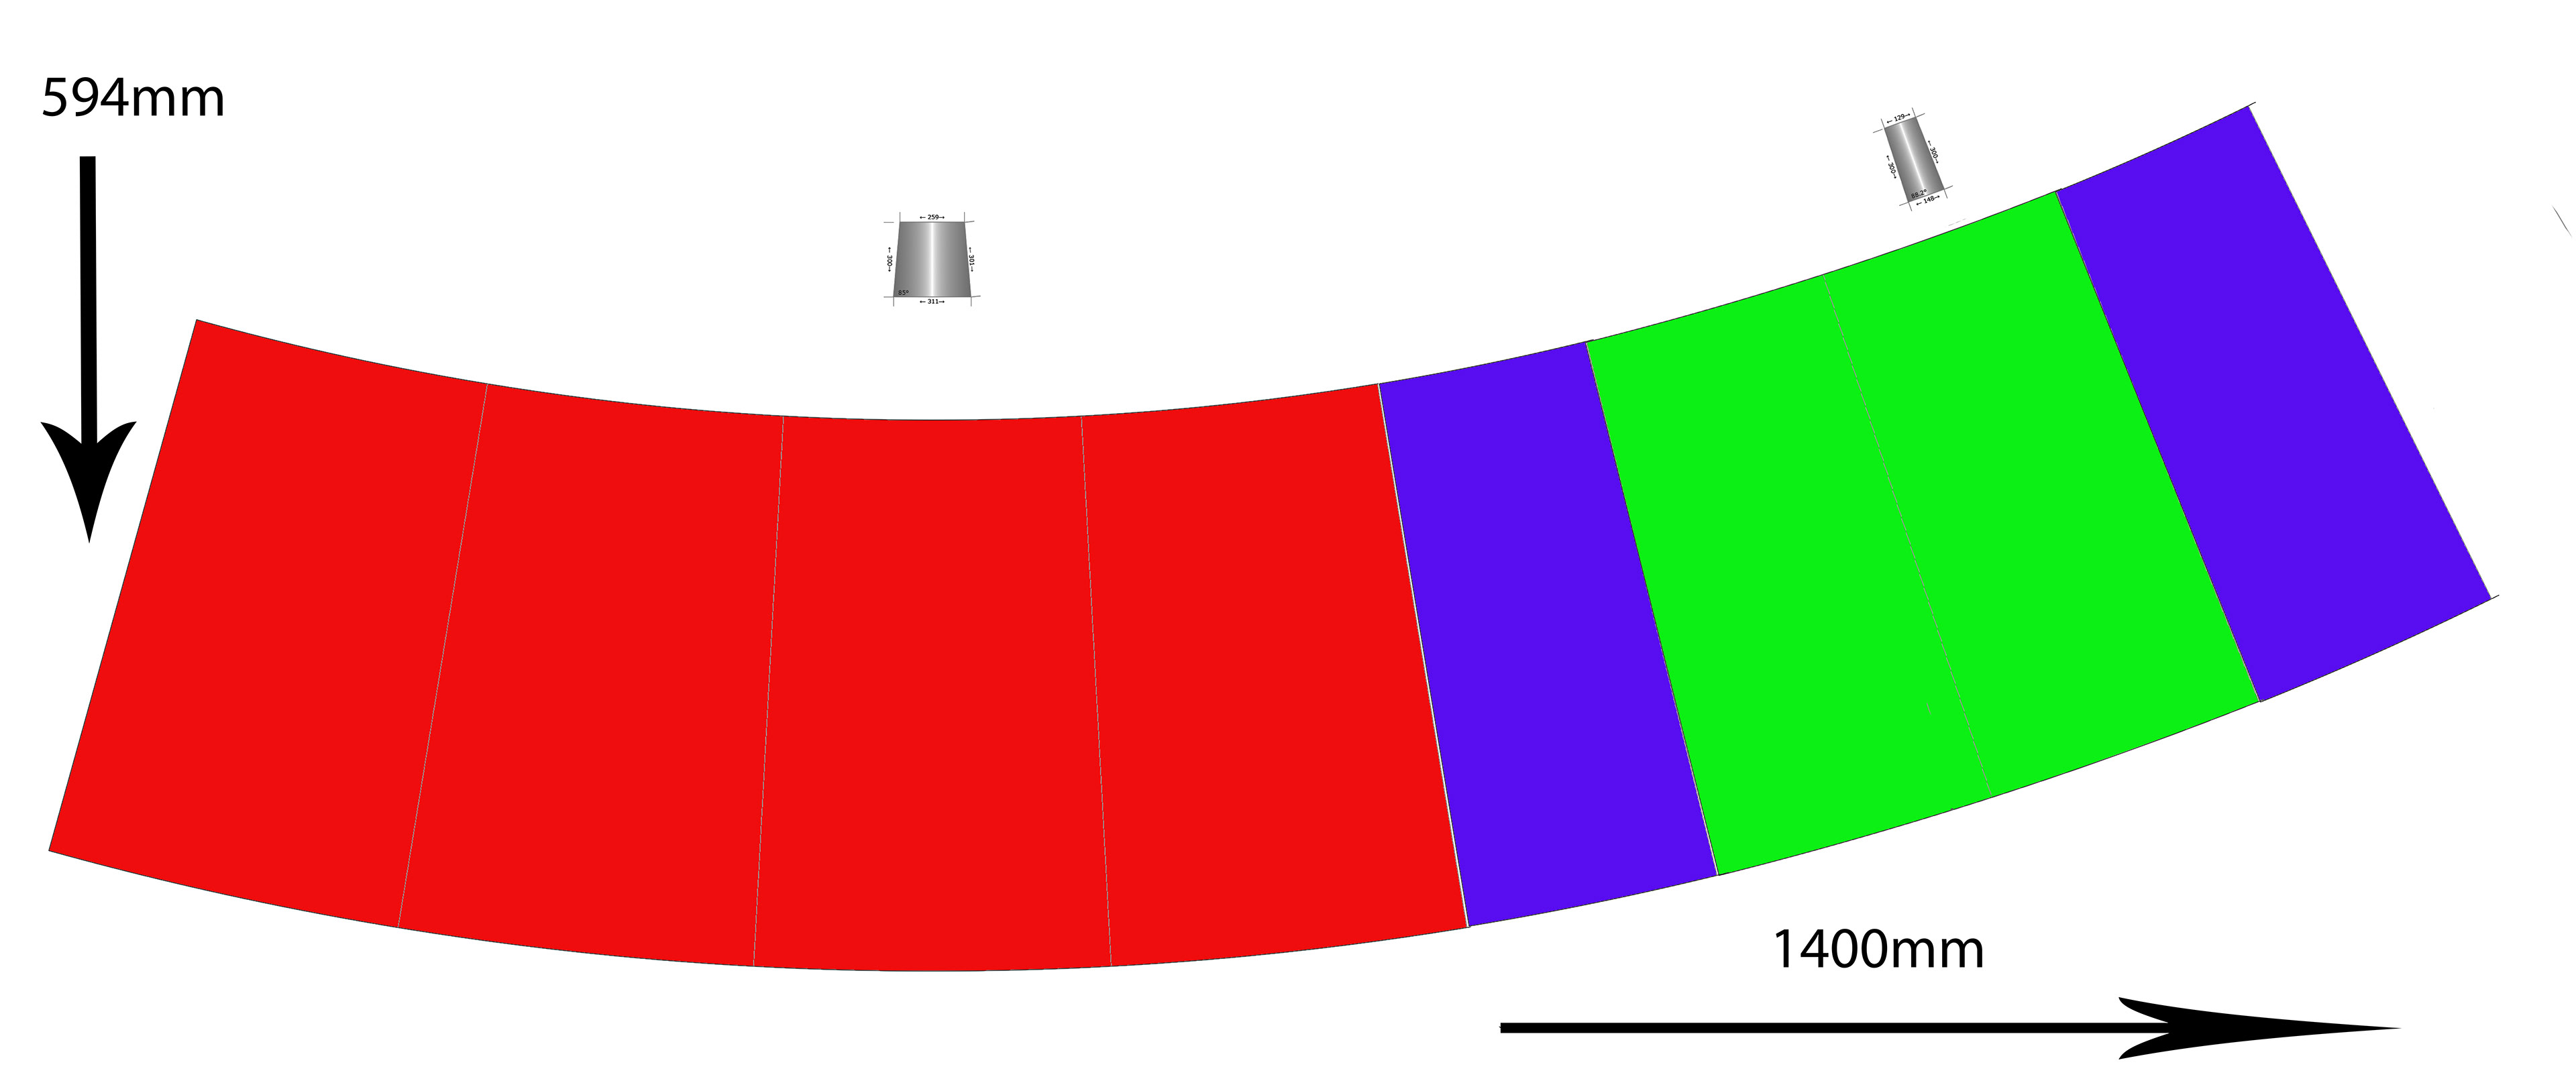
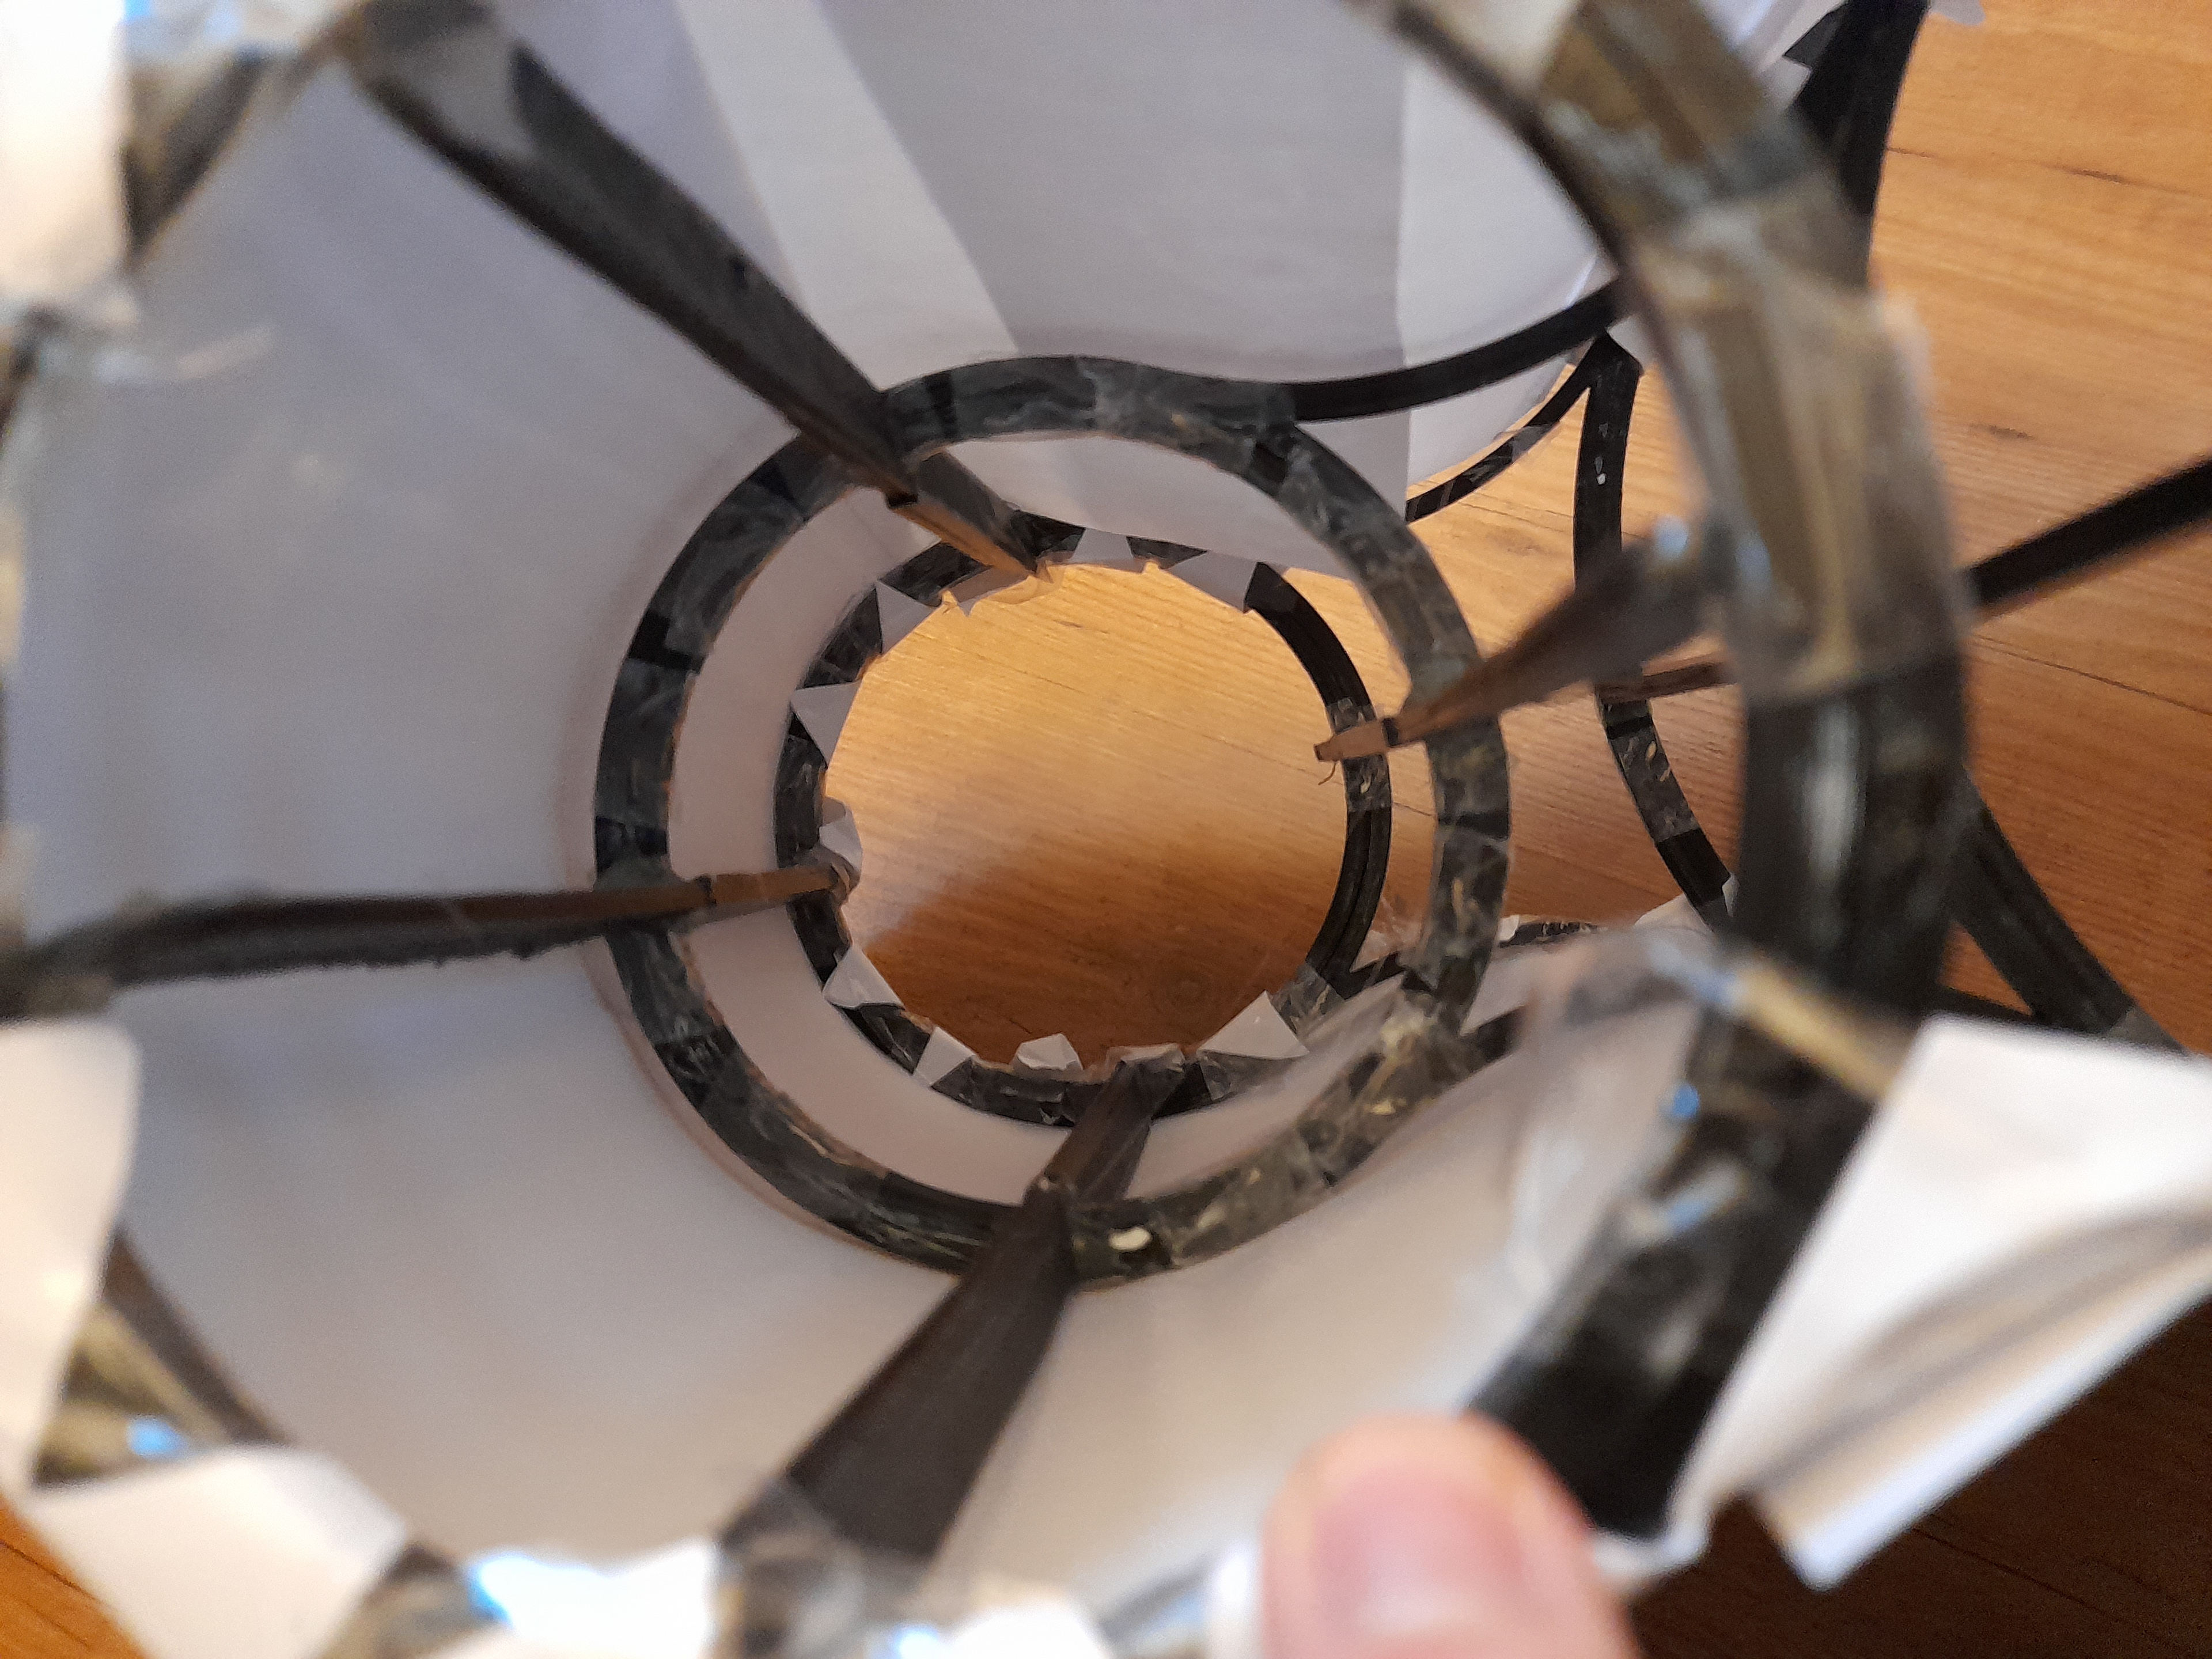
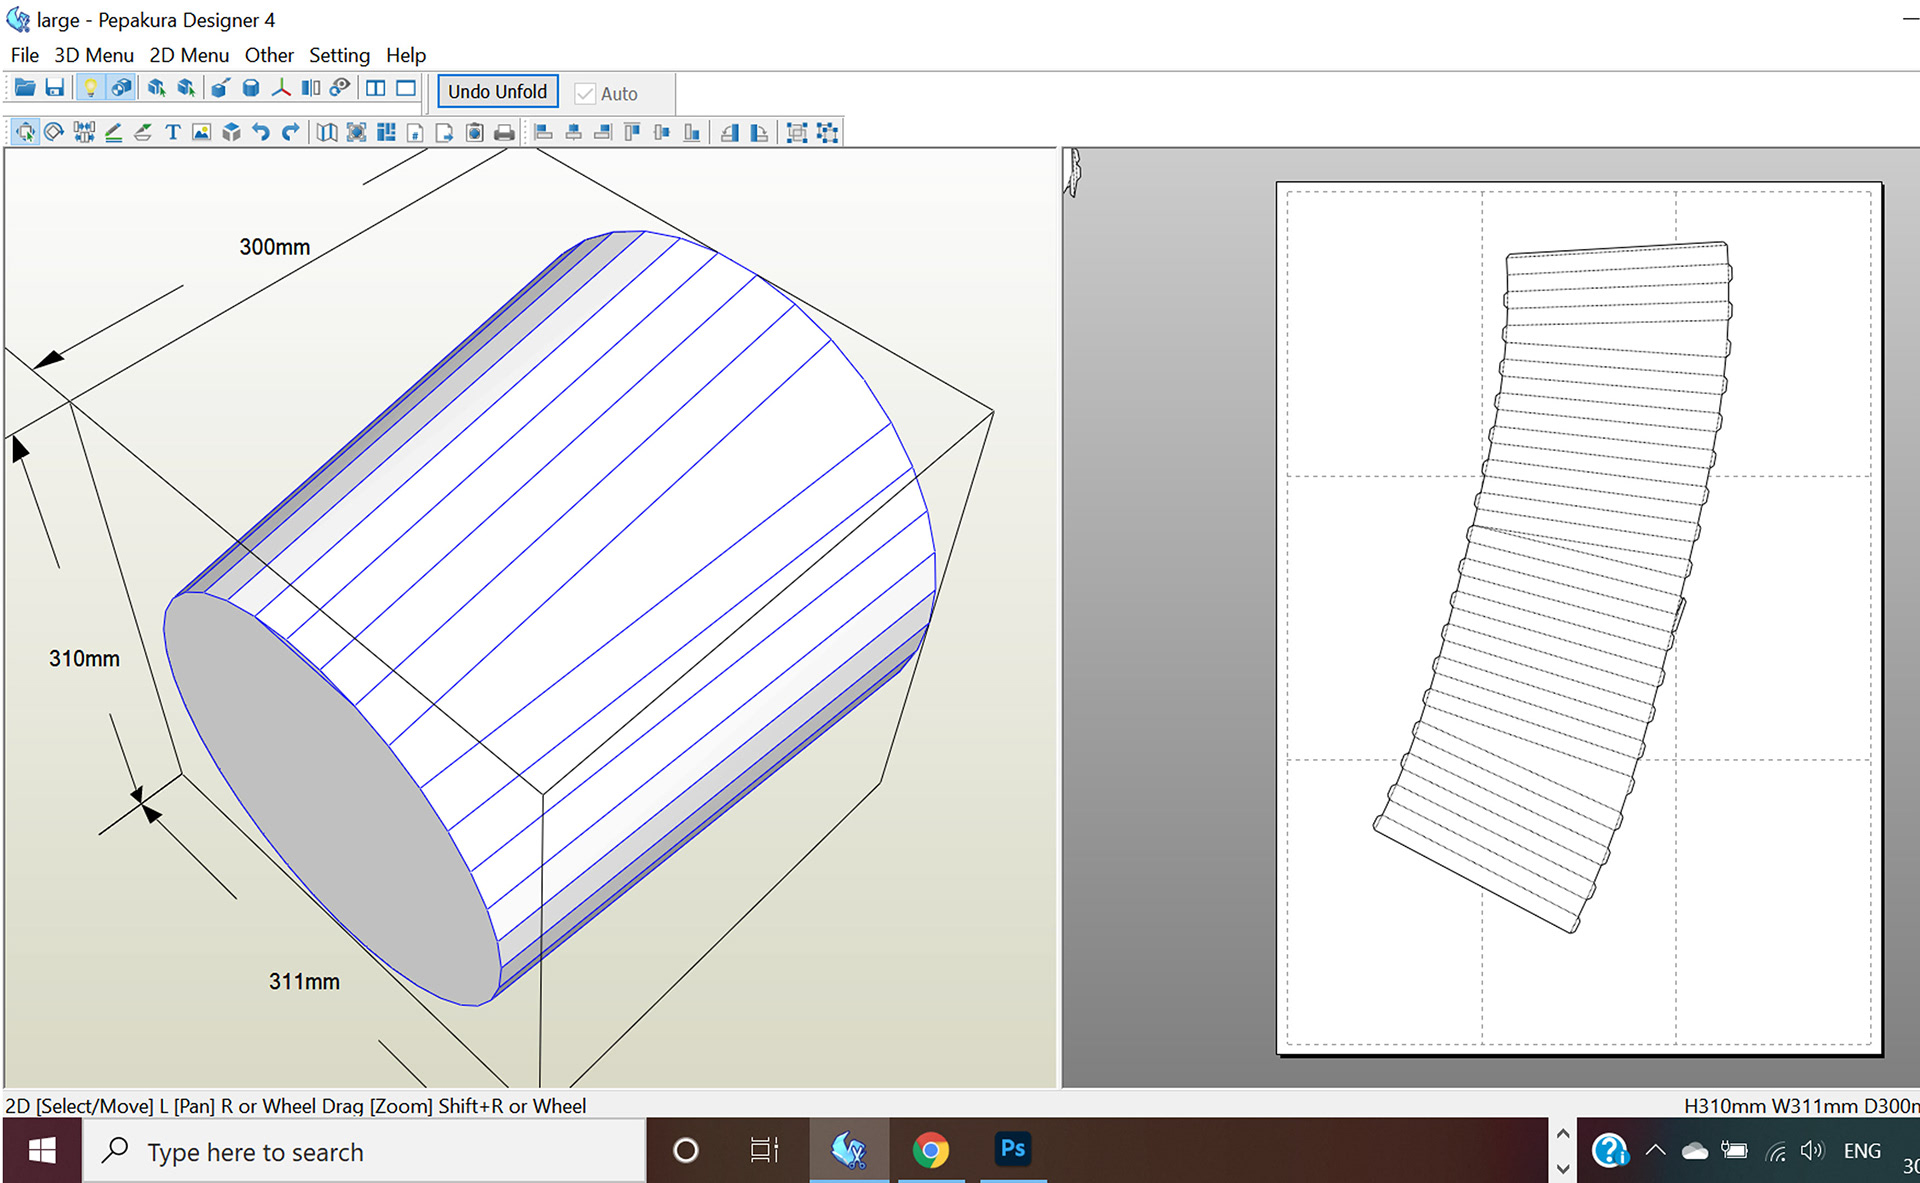
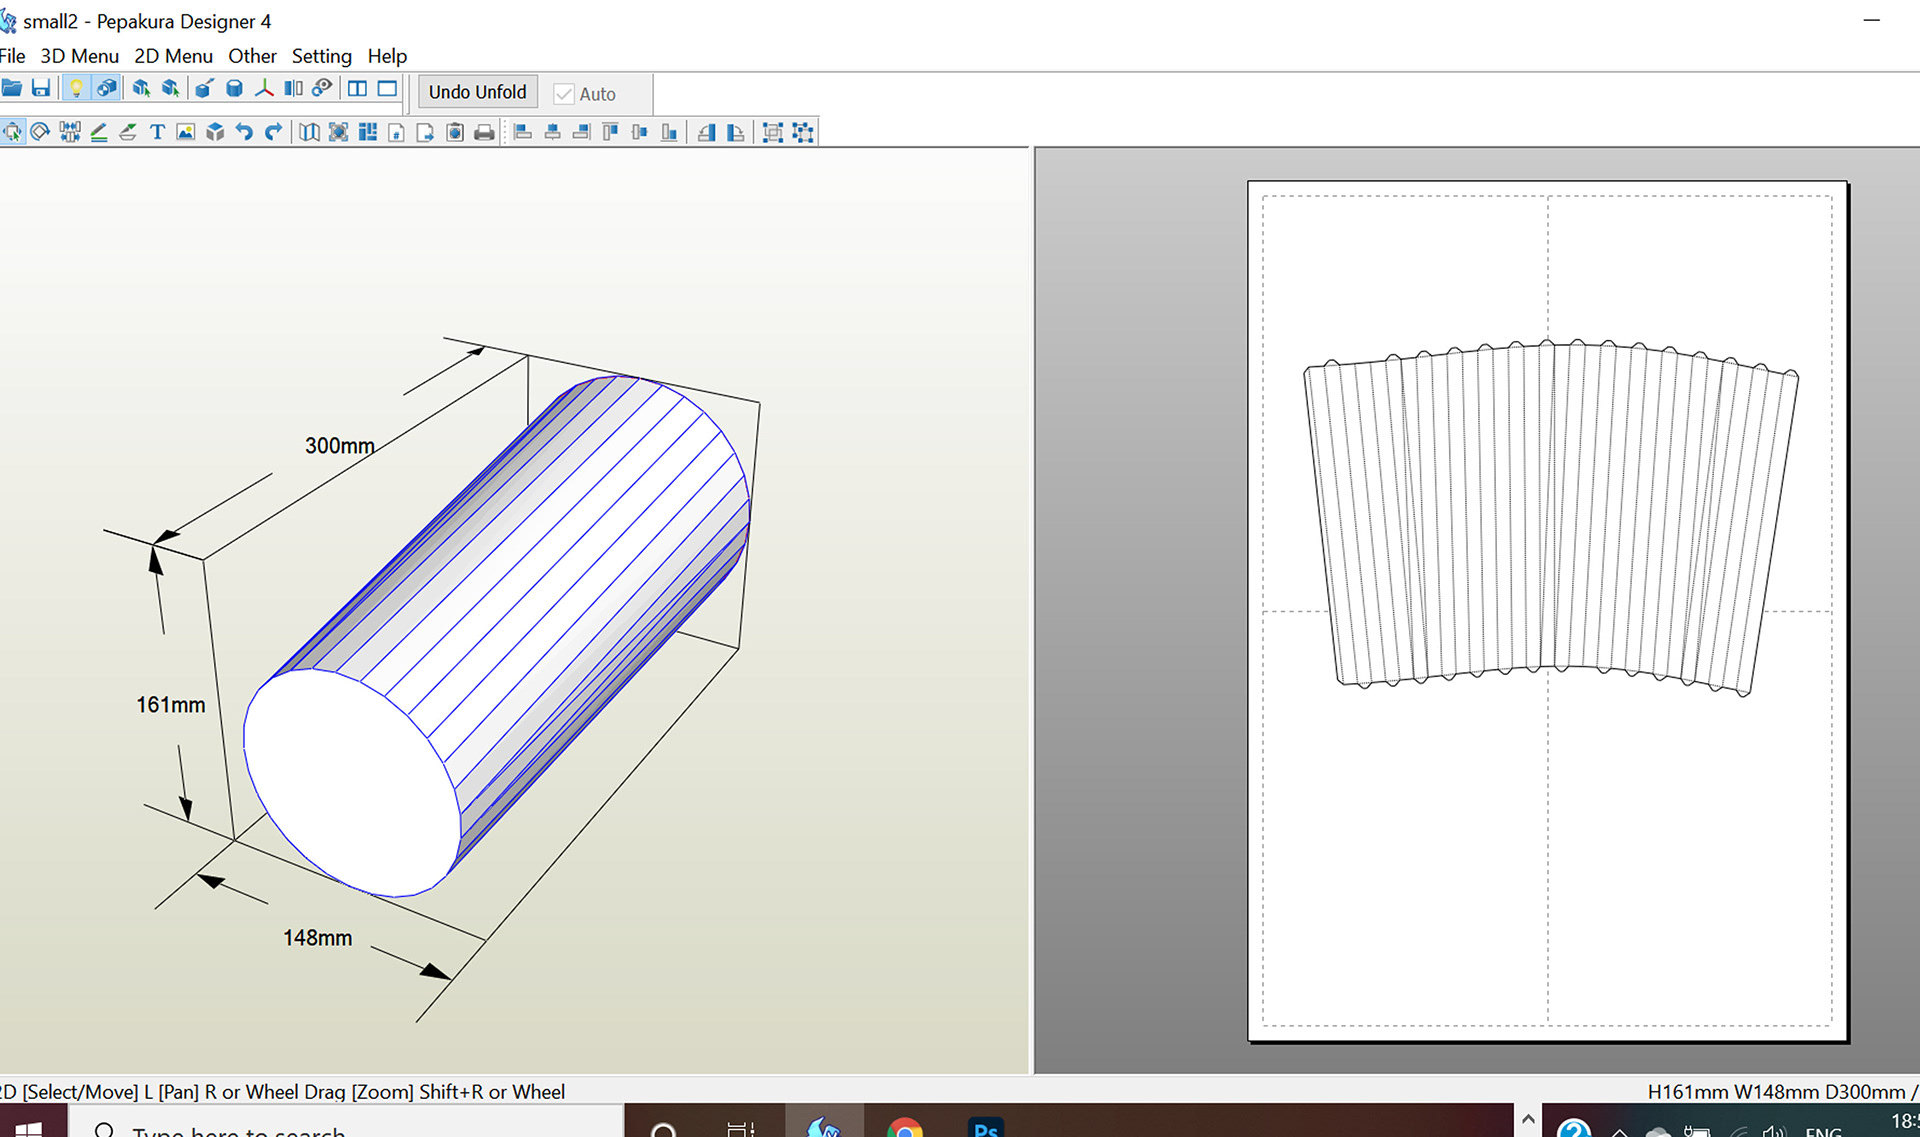
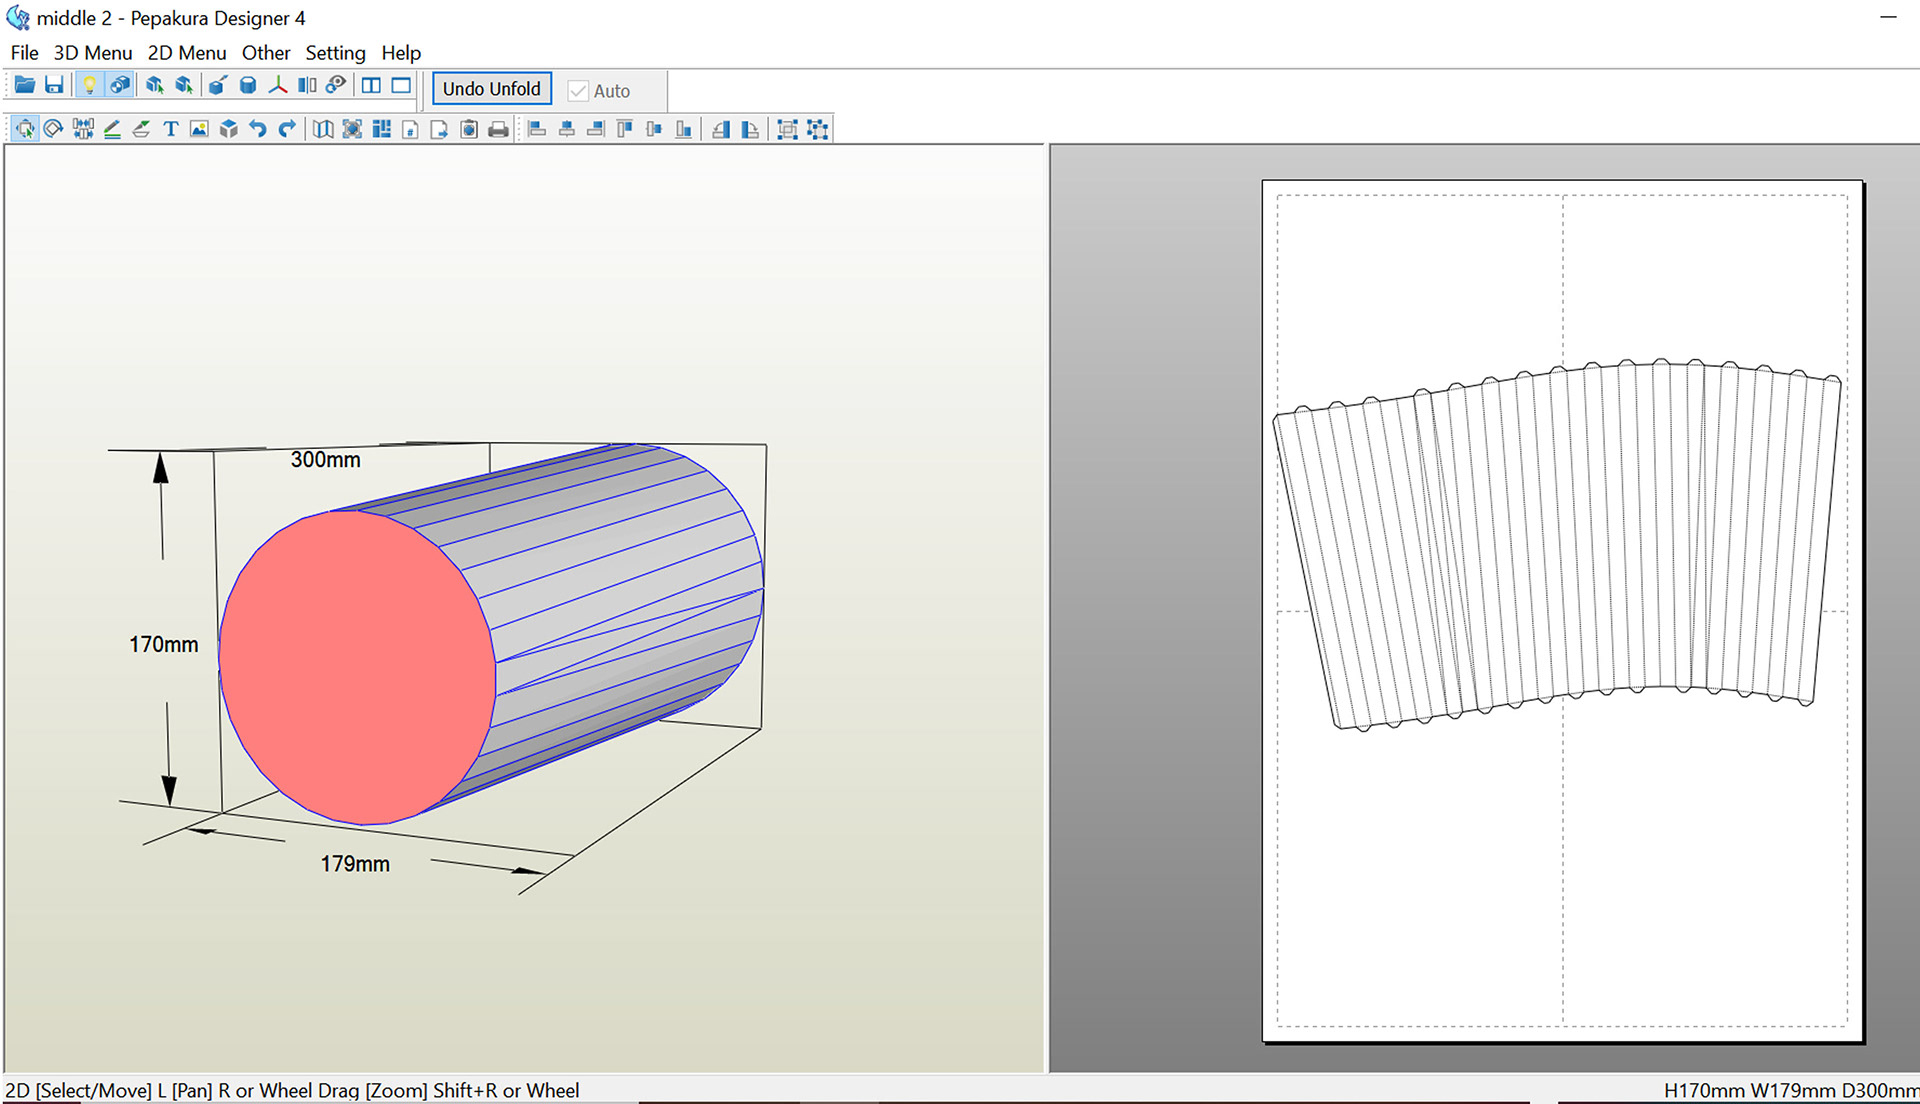
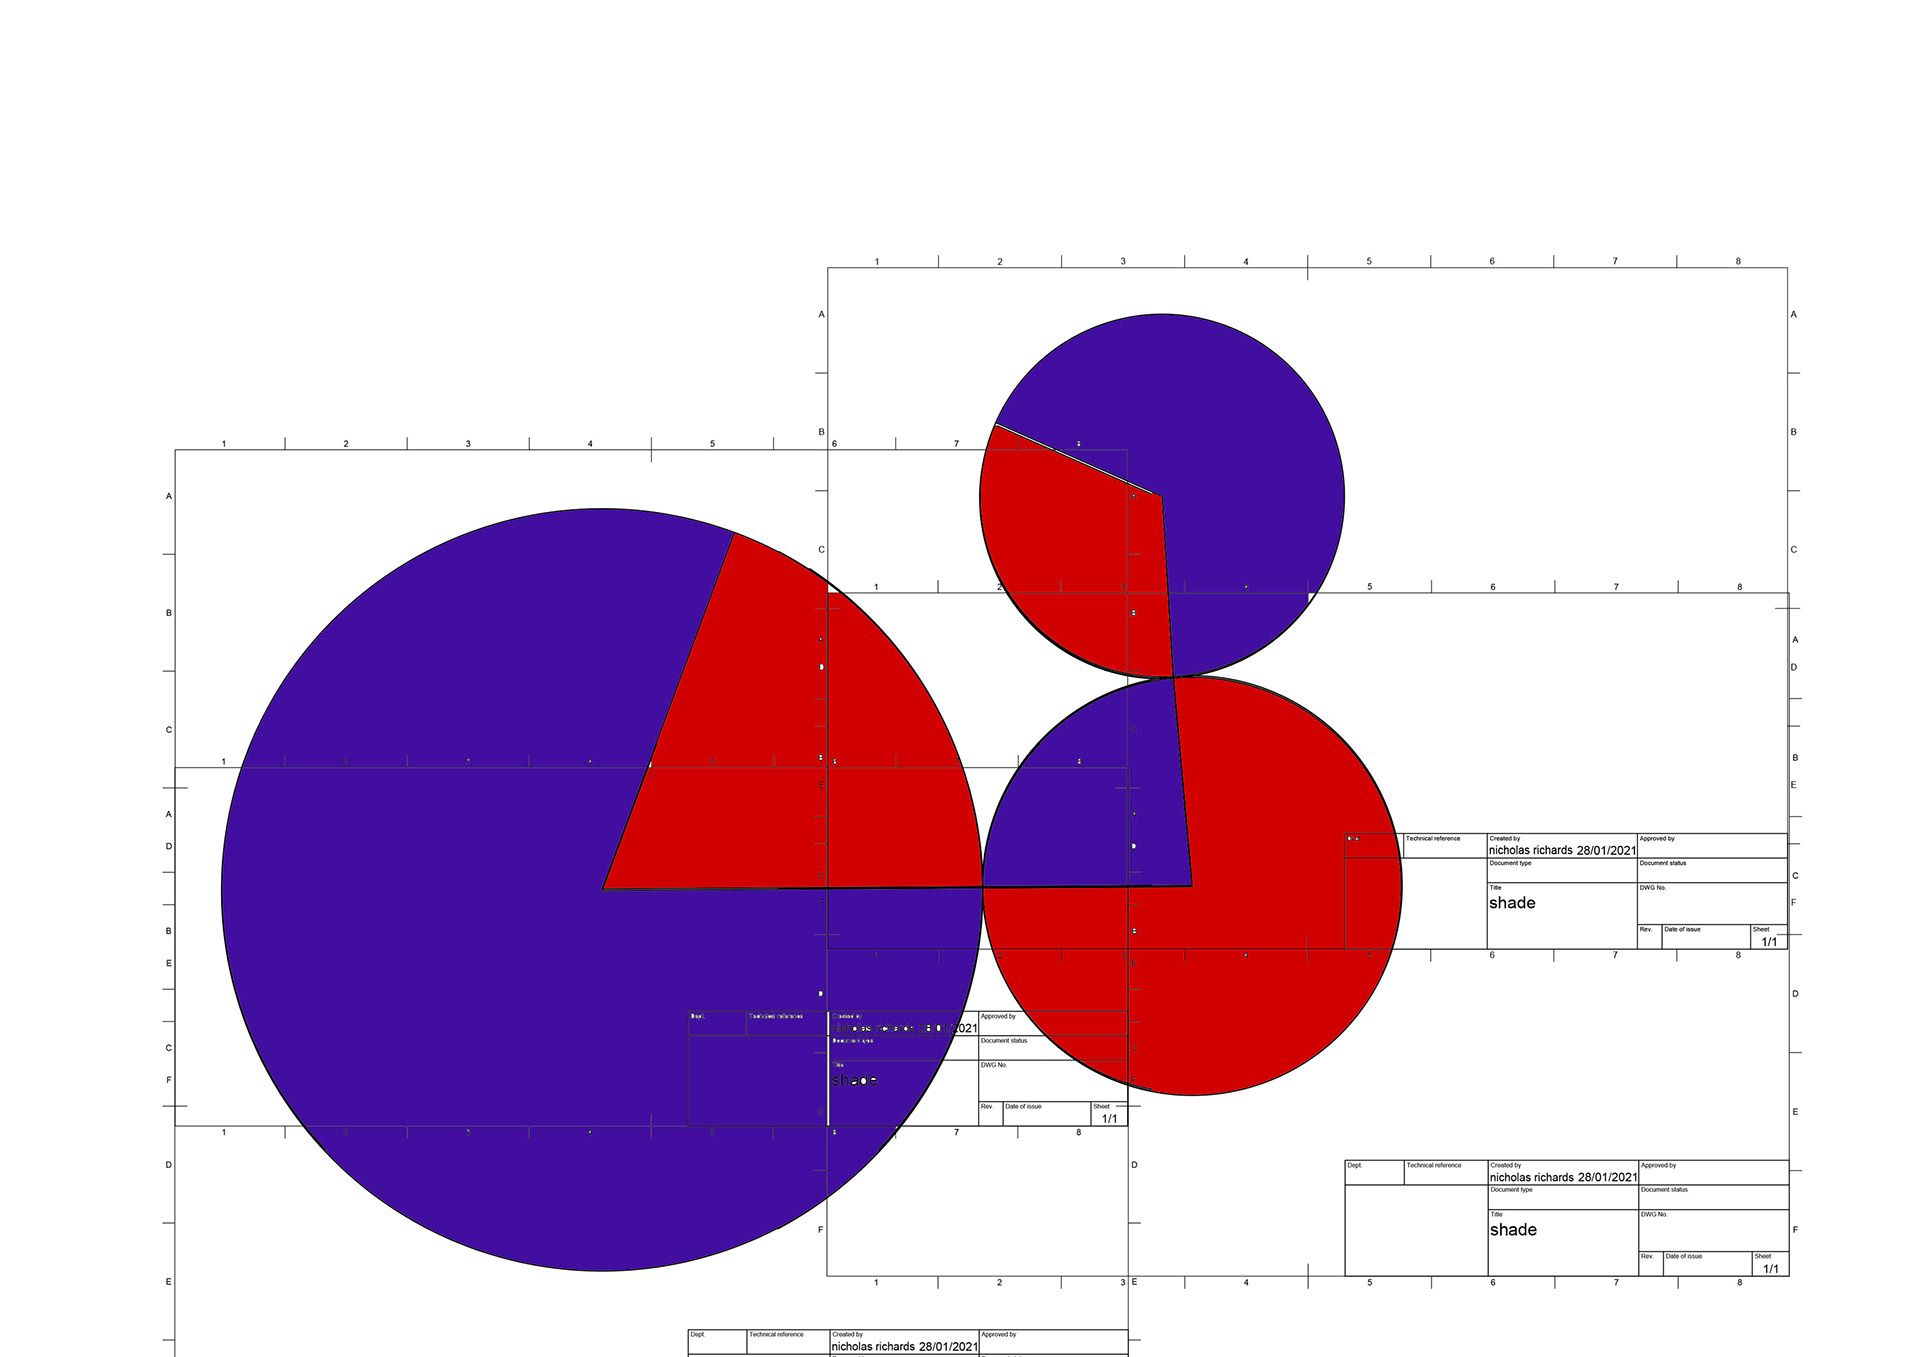
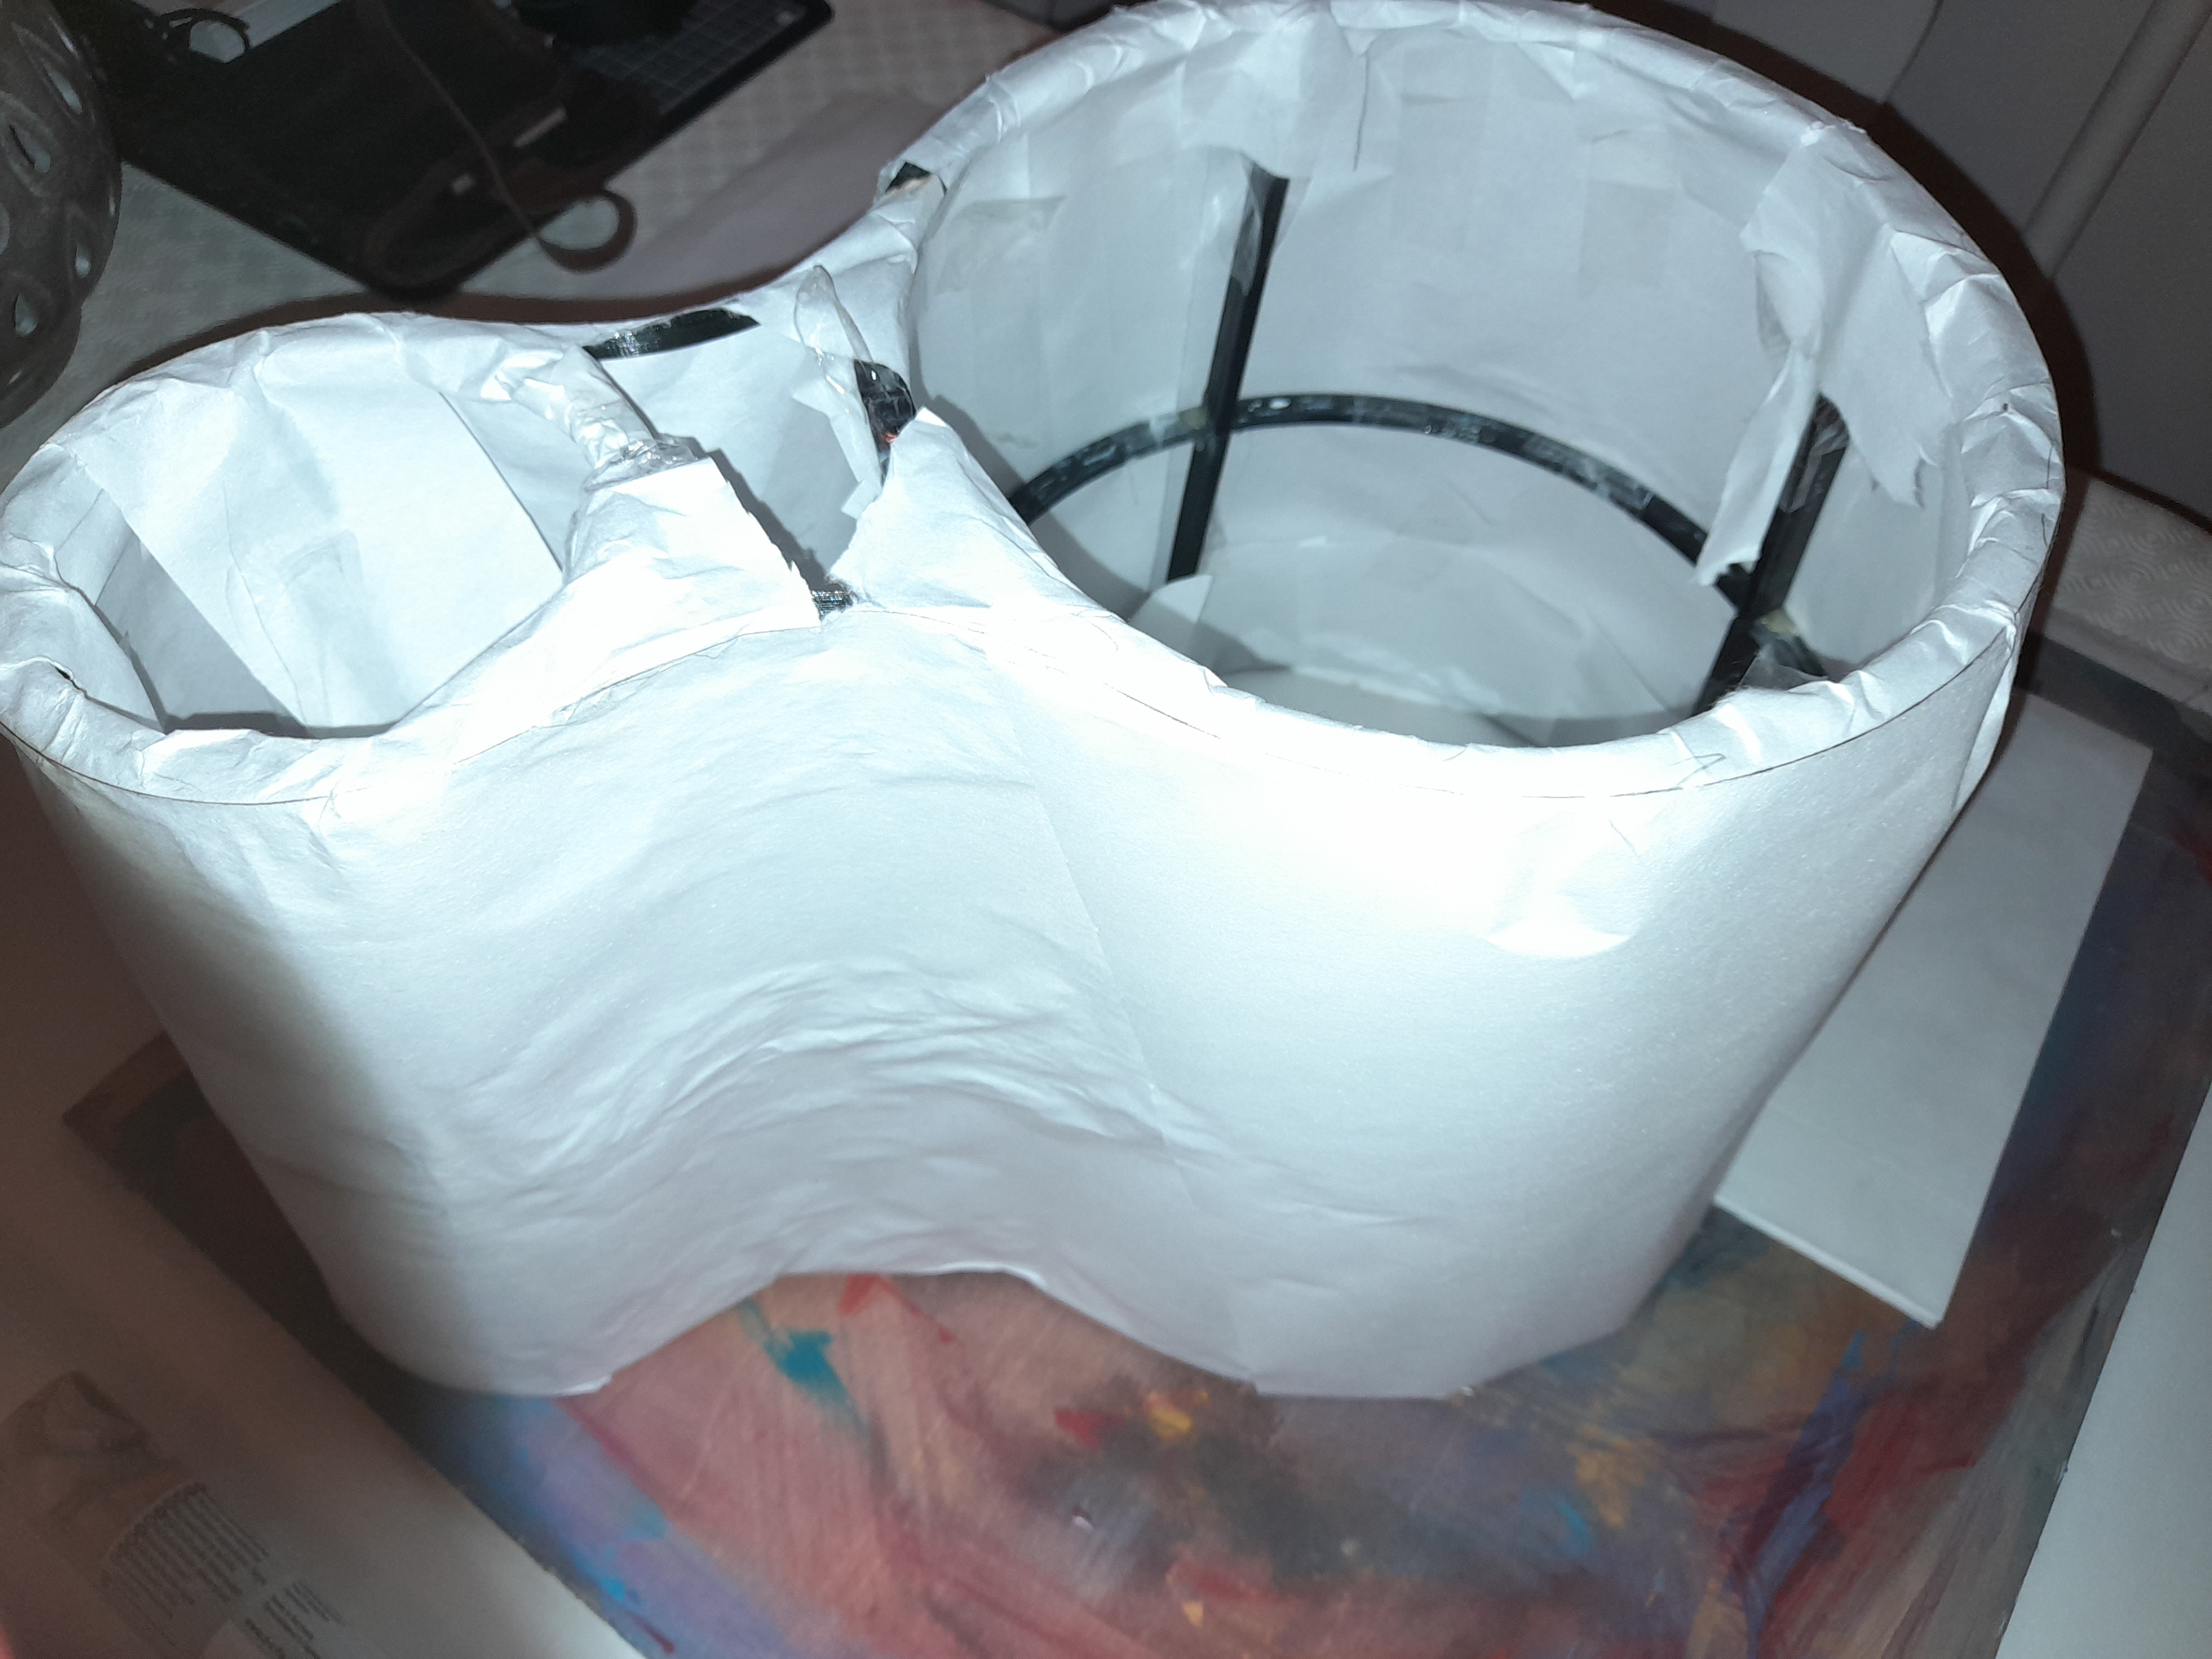
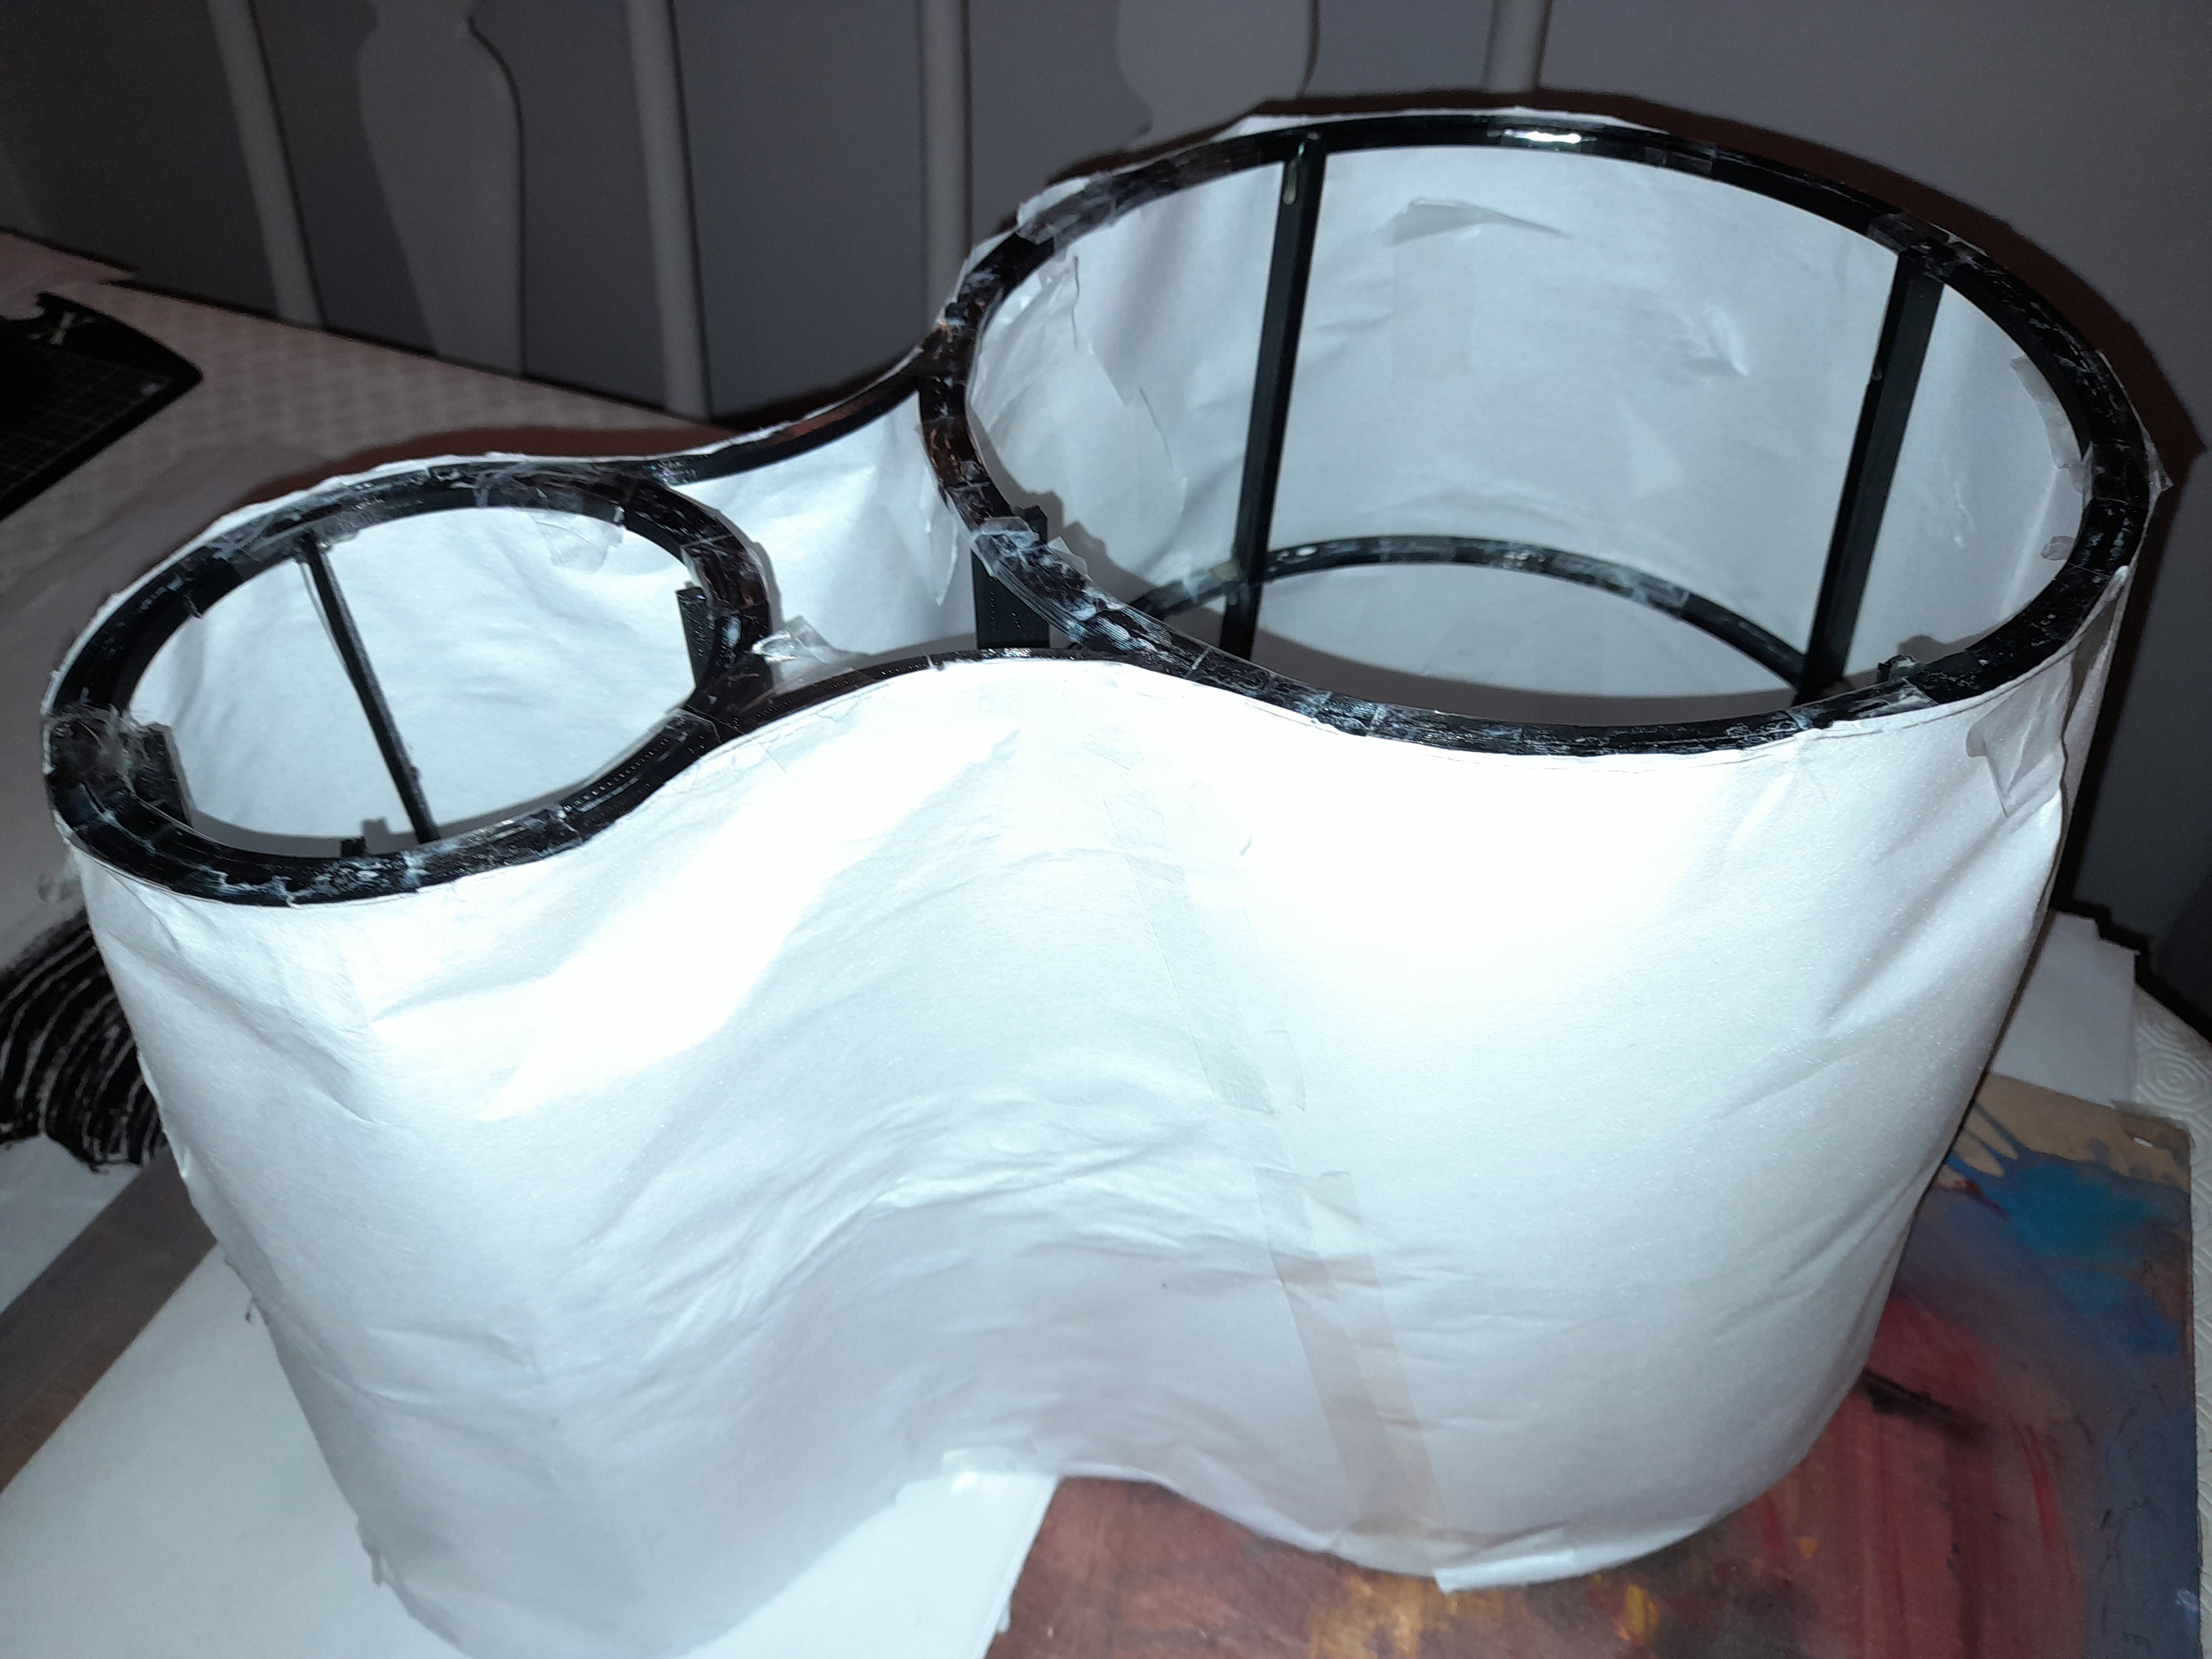
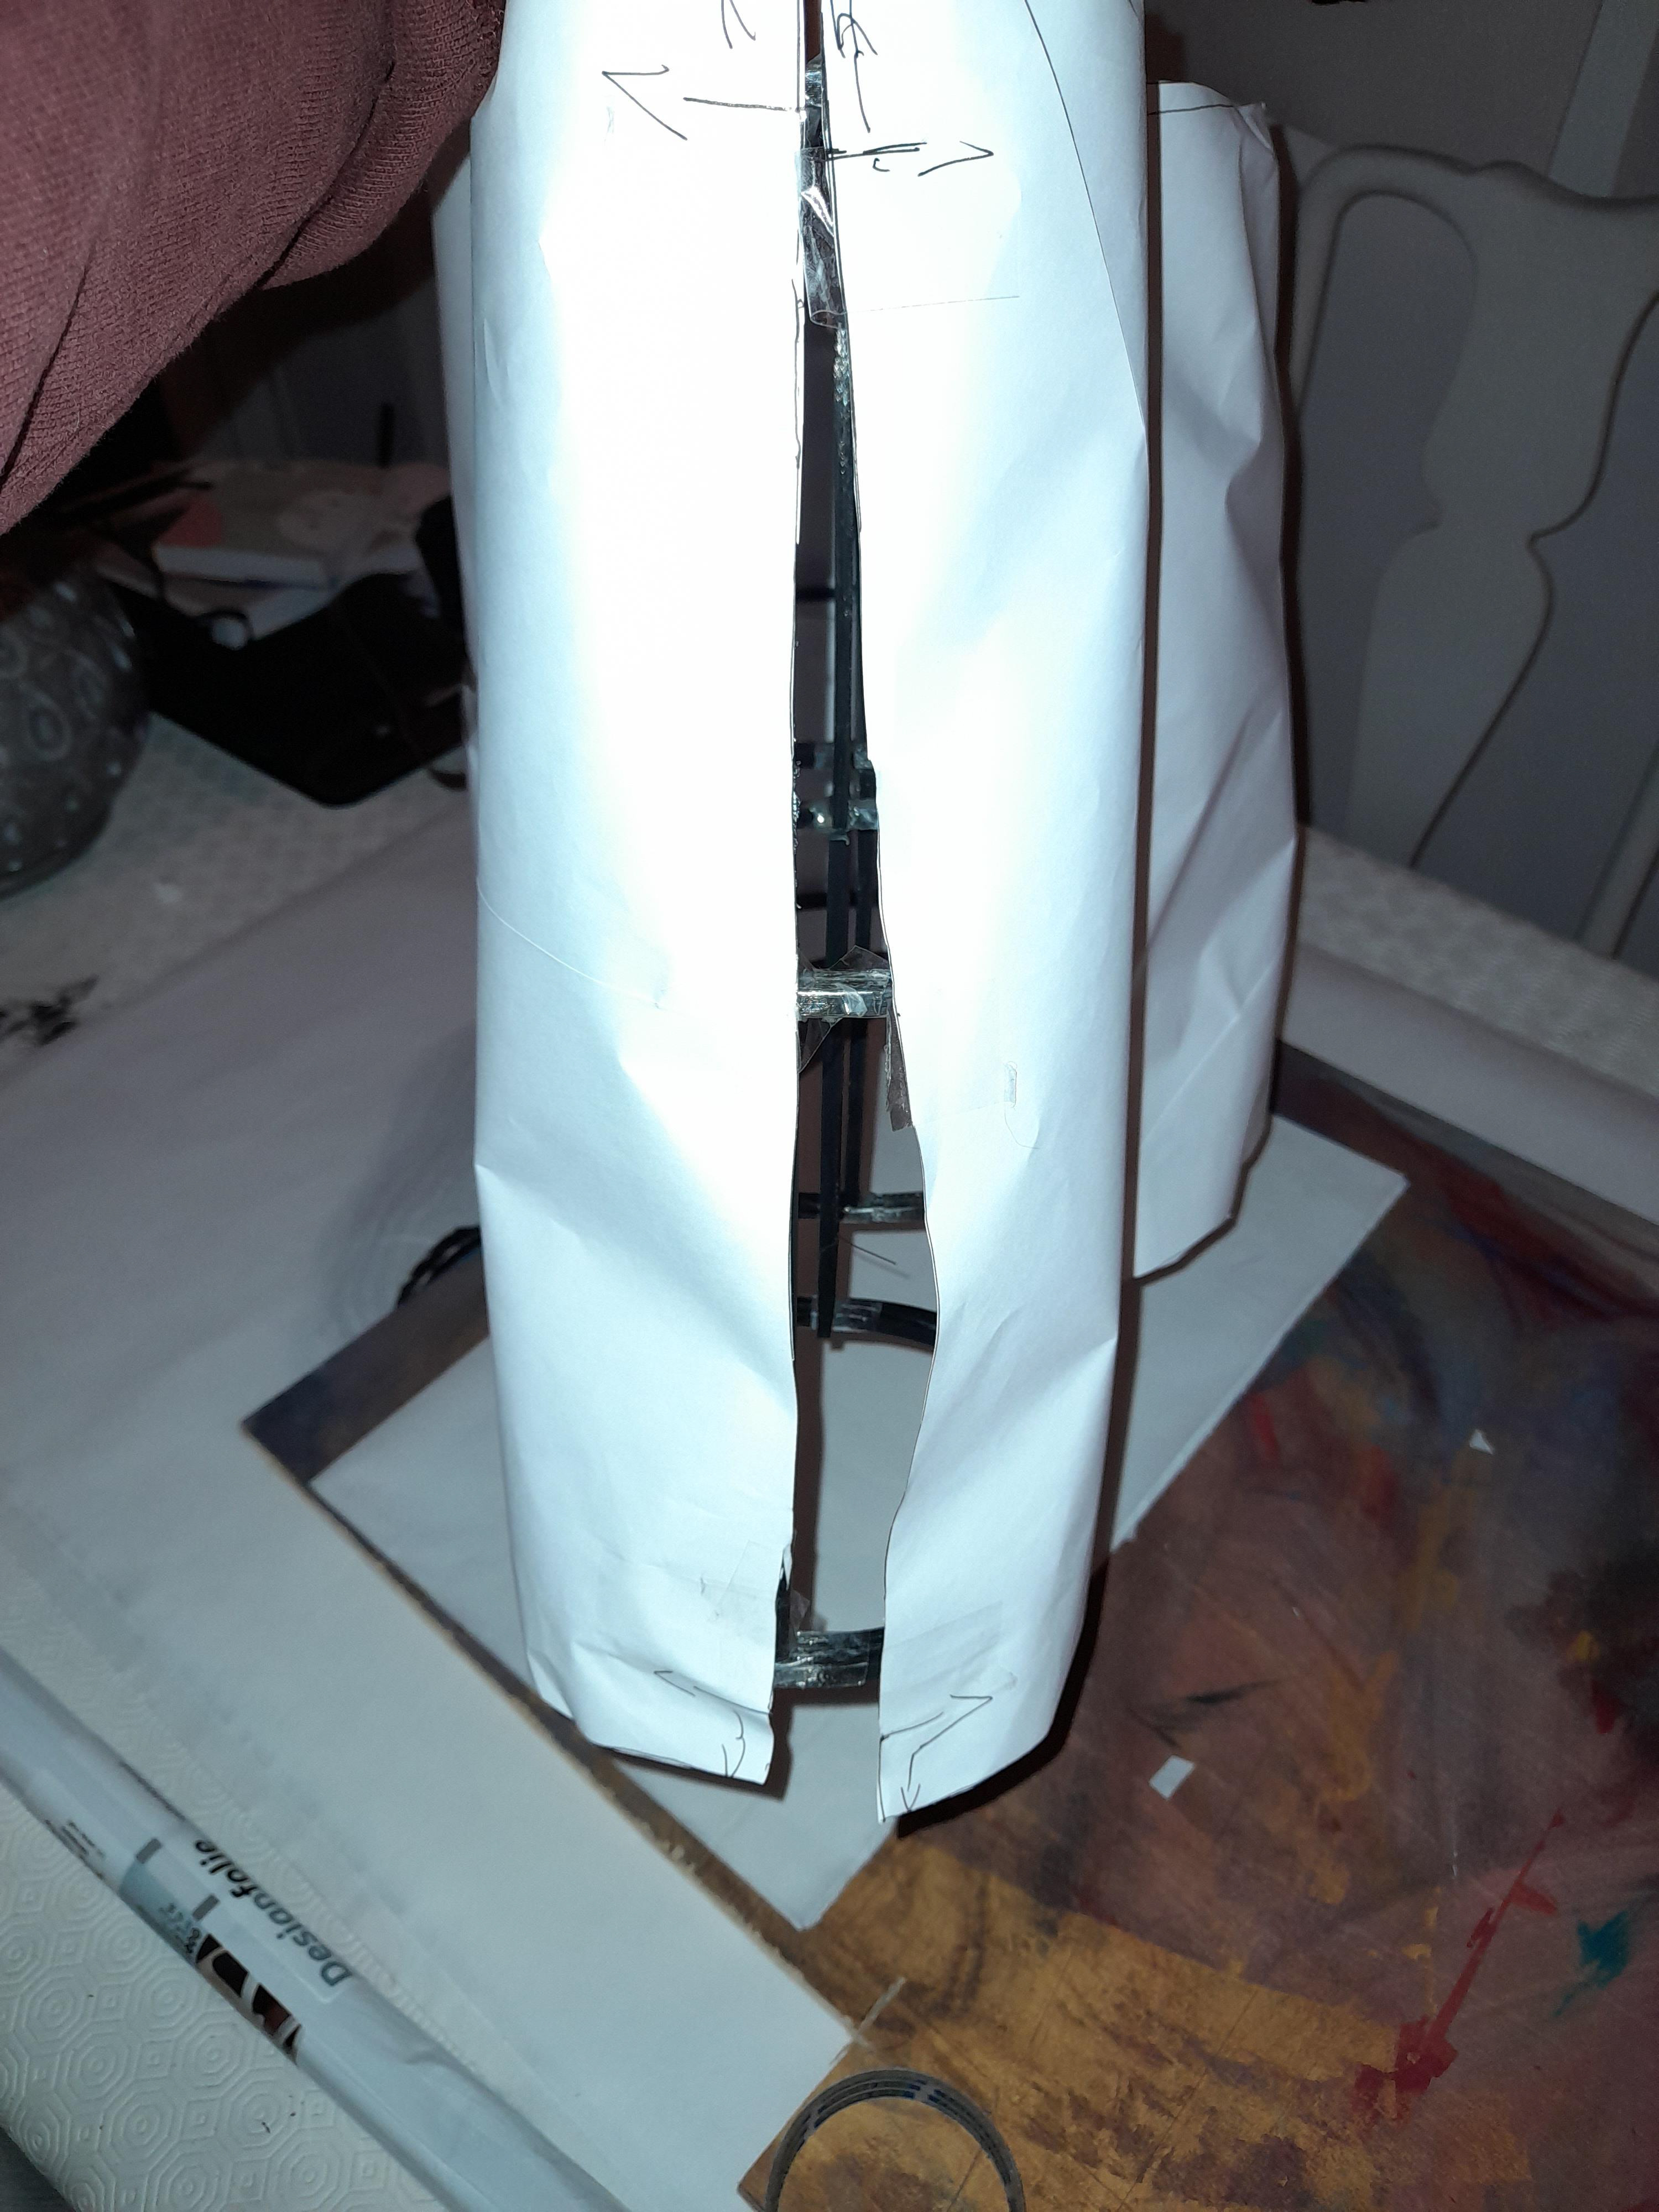
The second attempt of making a template didn't work either. So I tried to create a template on the folding/origami software pepakura designer. I couldn't create a 2d cut out of the entire frame since there would be too many parts. So I had to split the frame into 4 parts. Each part is a cone shape but I wouldn't need every part of each cone. To remove the unnecessary parts I also created top and bottom templates of the shade that are colour coded. Red representing the parts that would need to be removed. After joining the sheets together and wrapping it around the printed frame it was slightly too short and was ripping in certain areas.

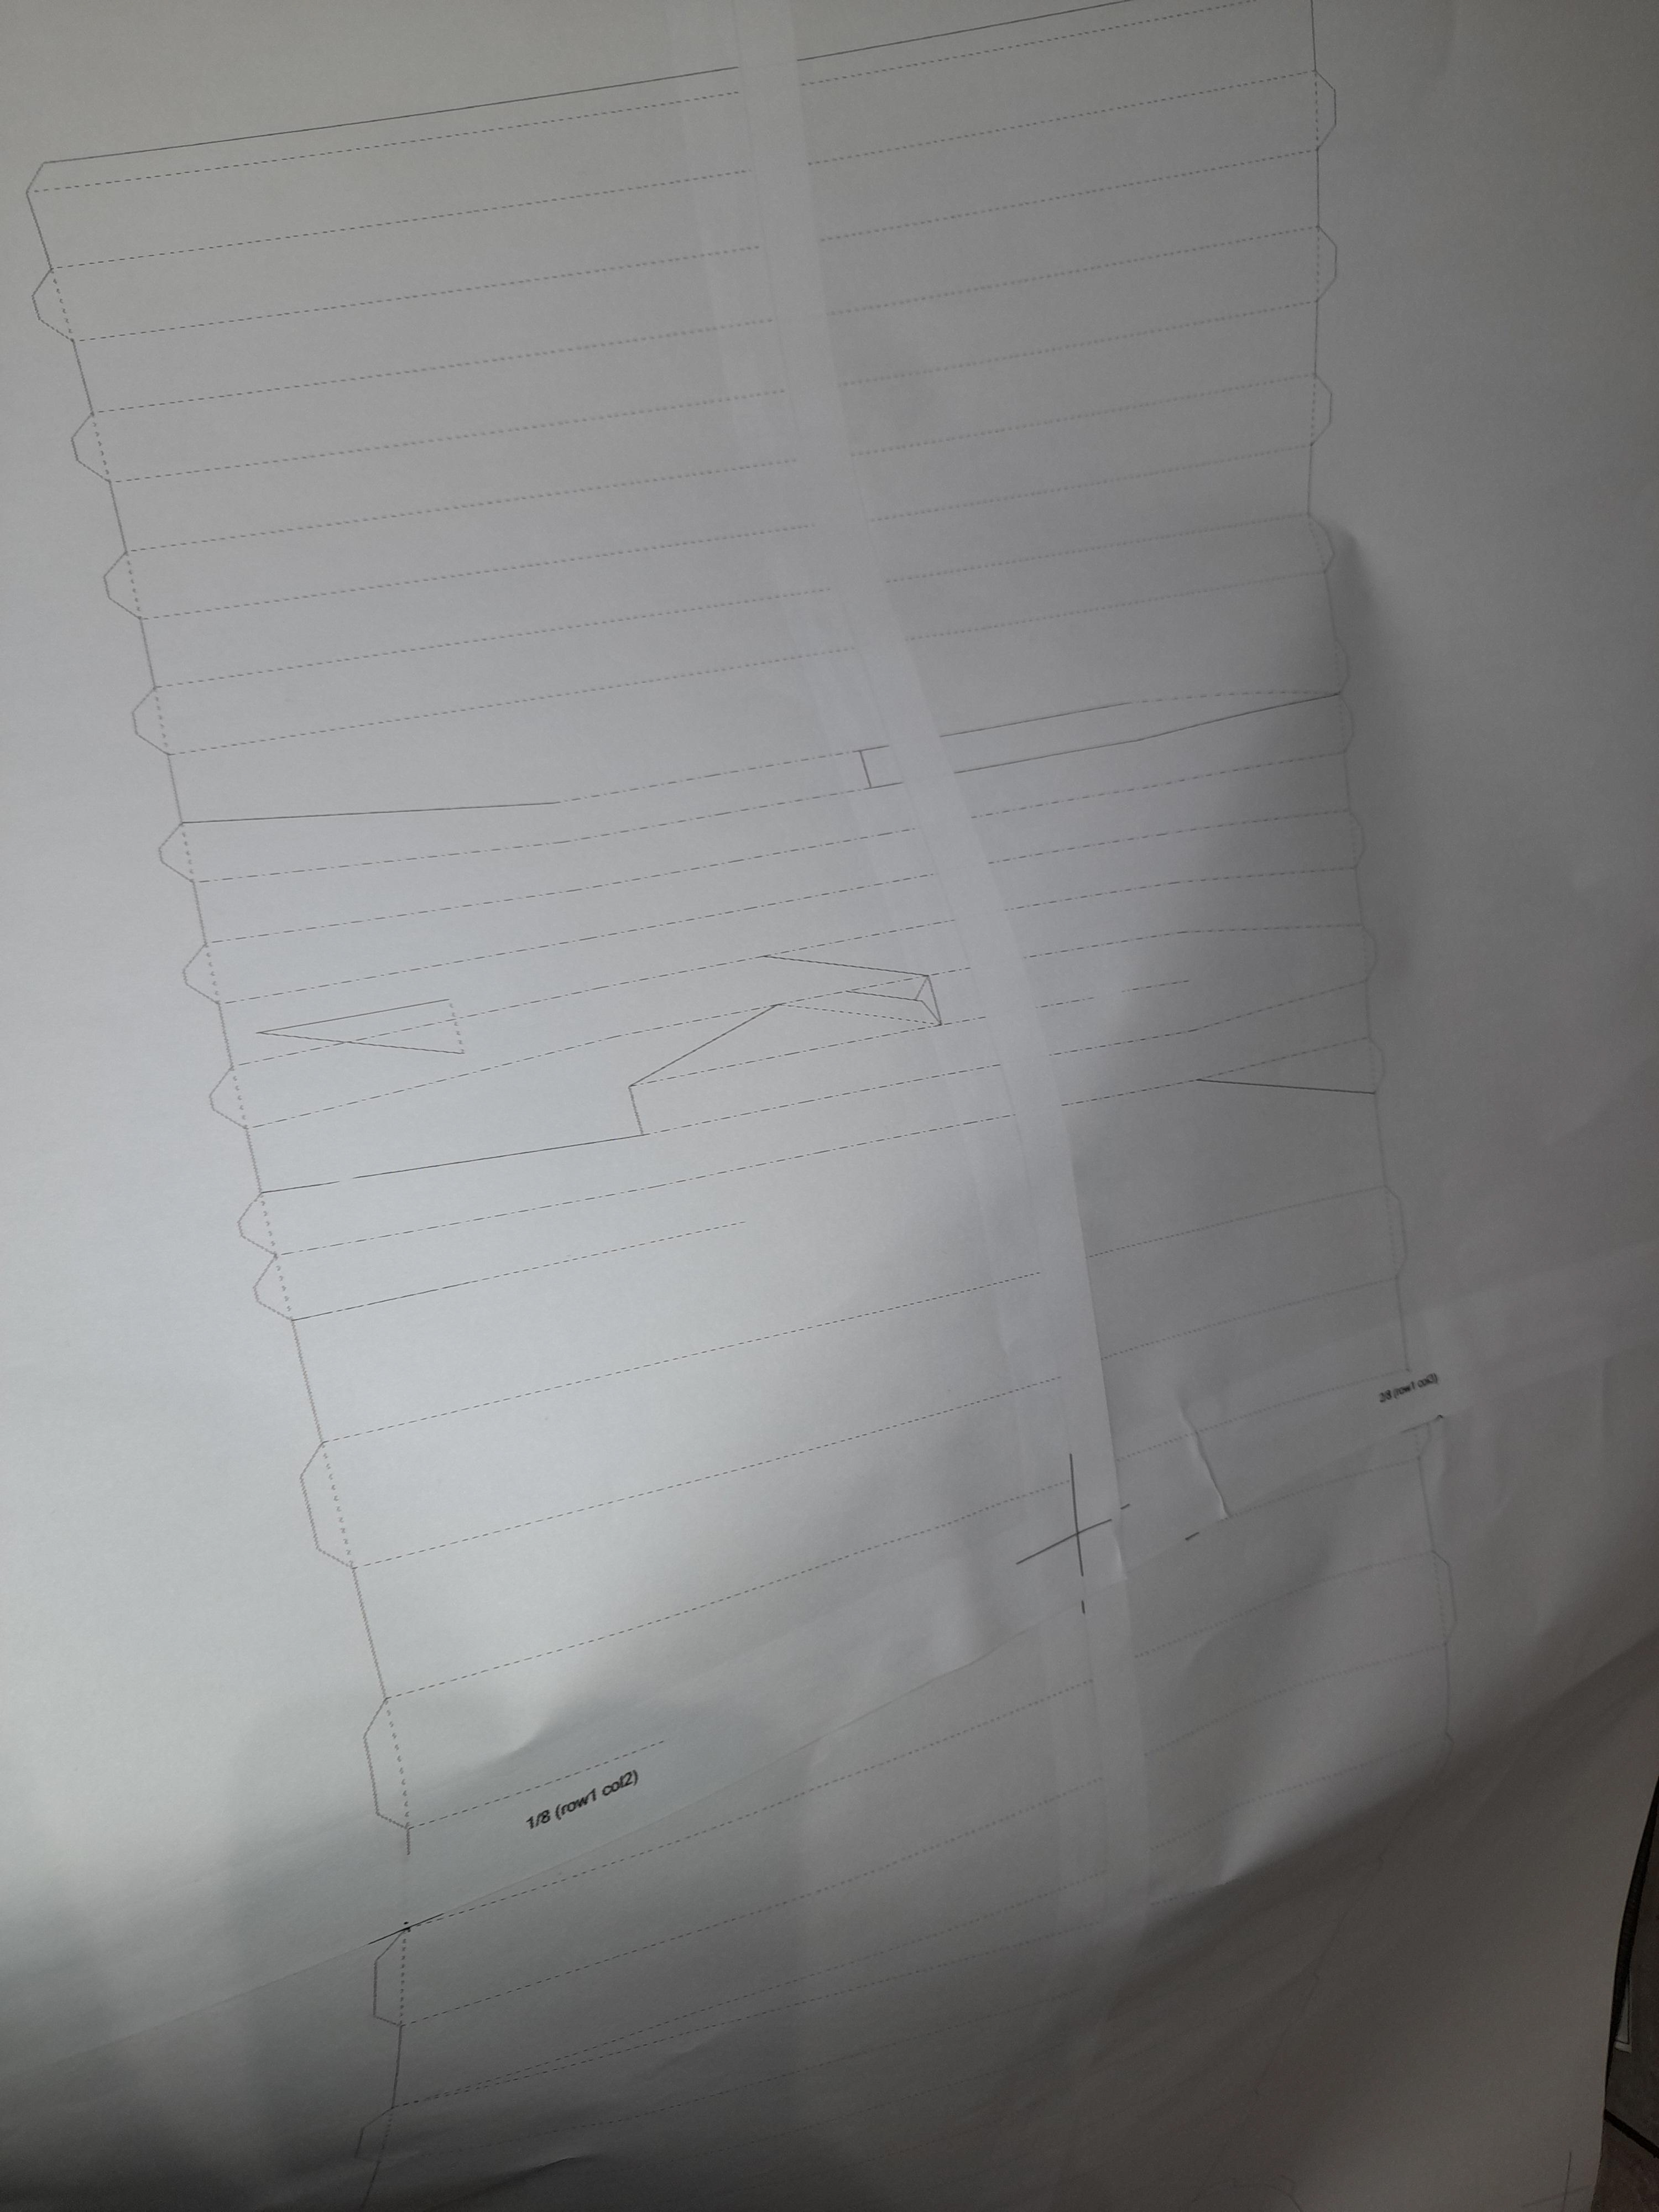
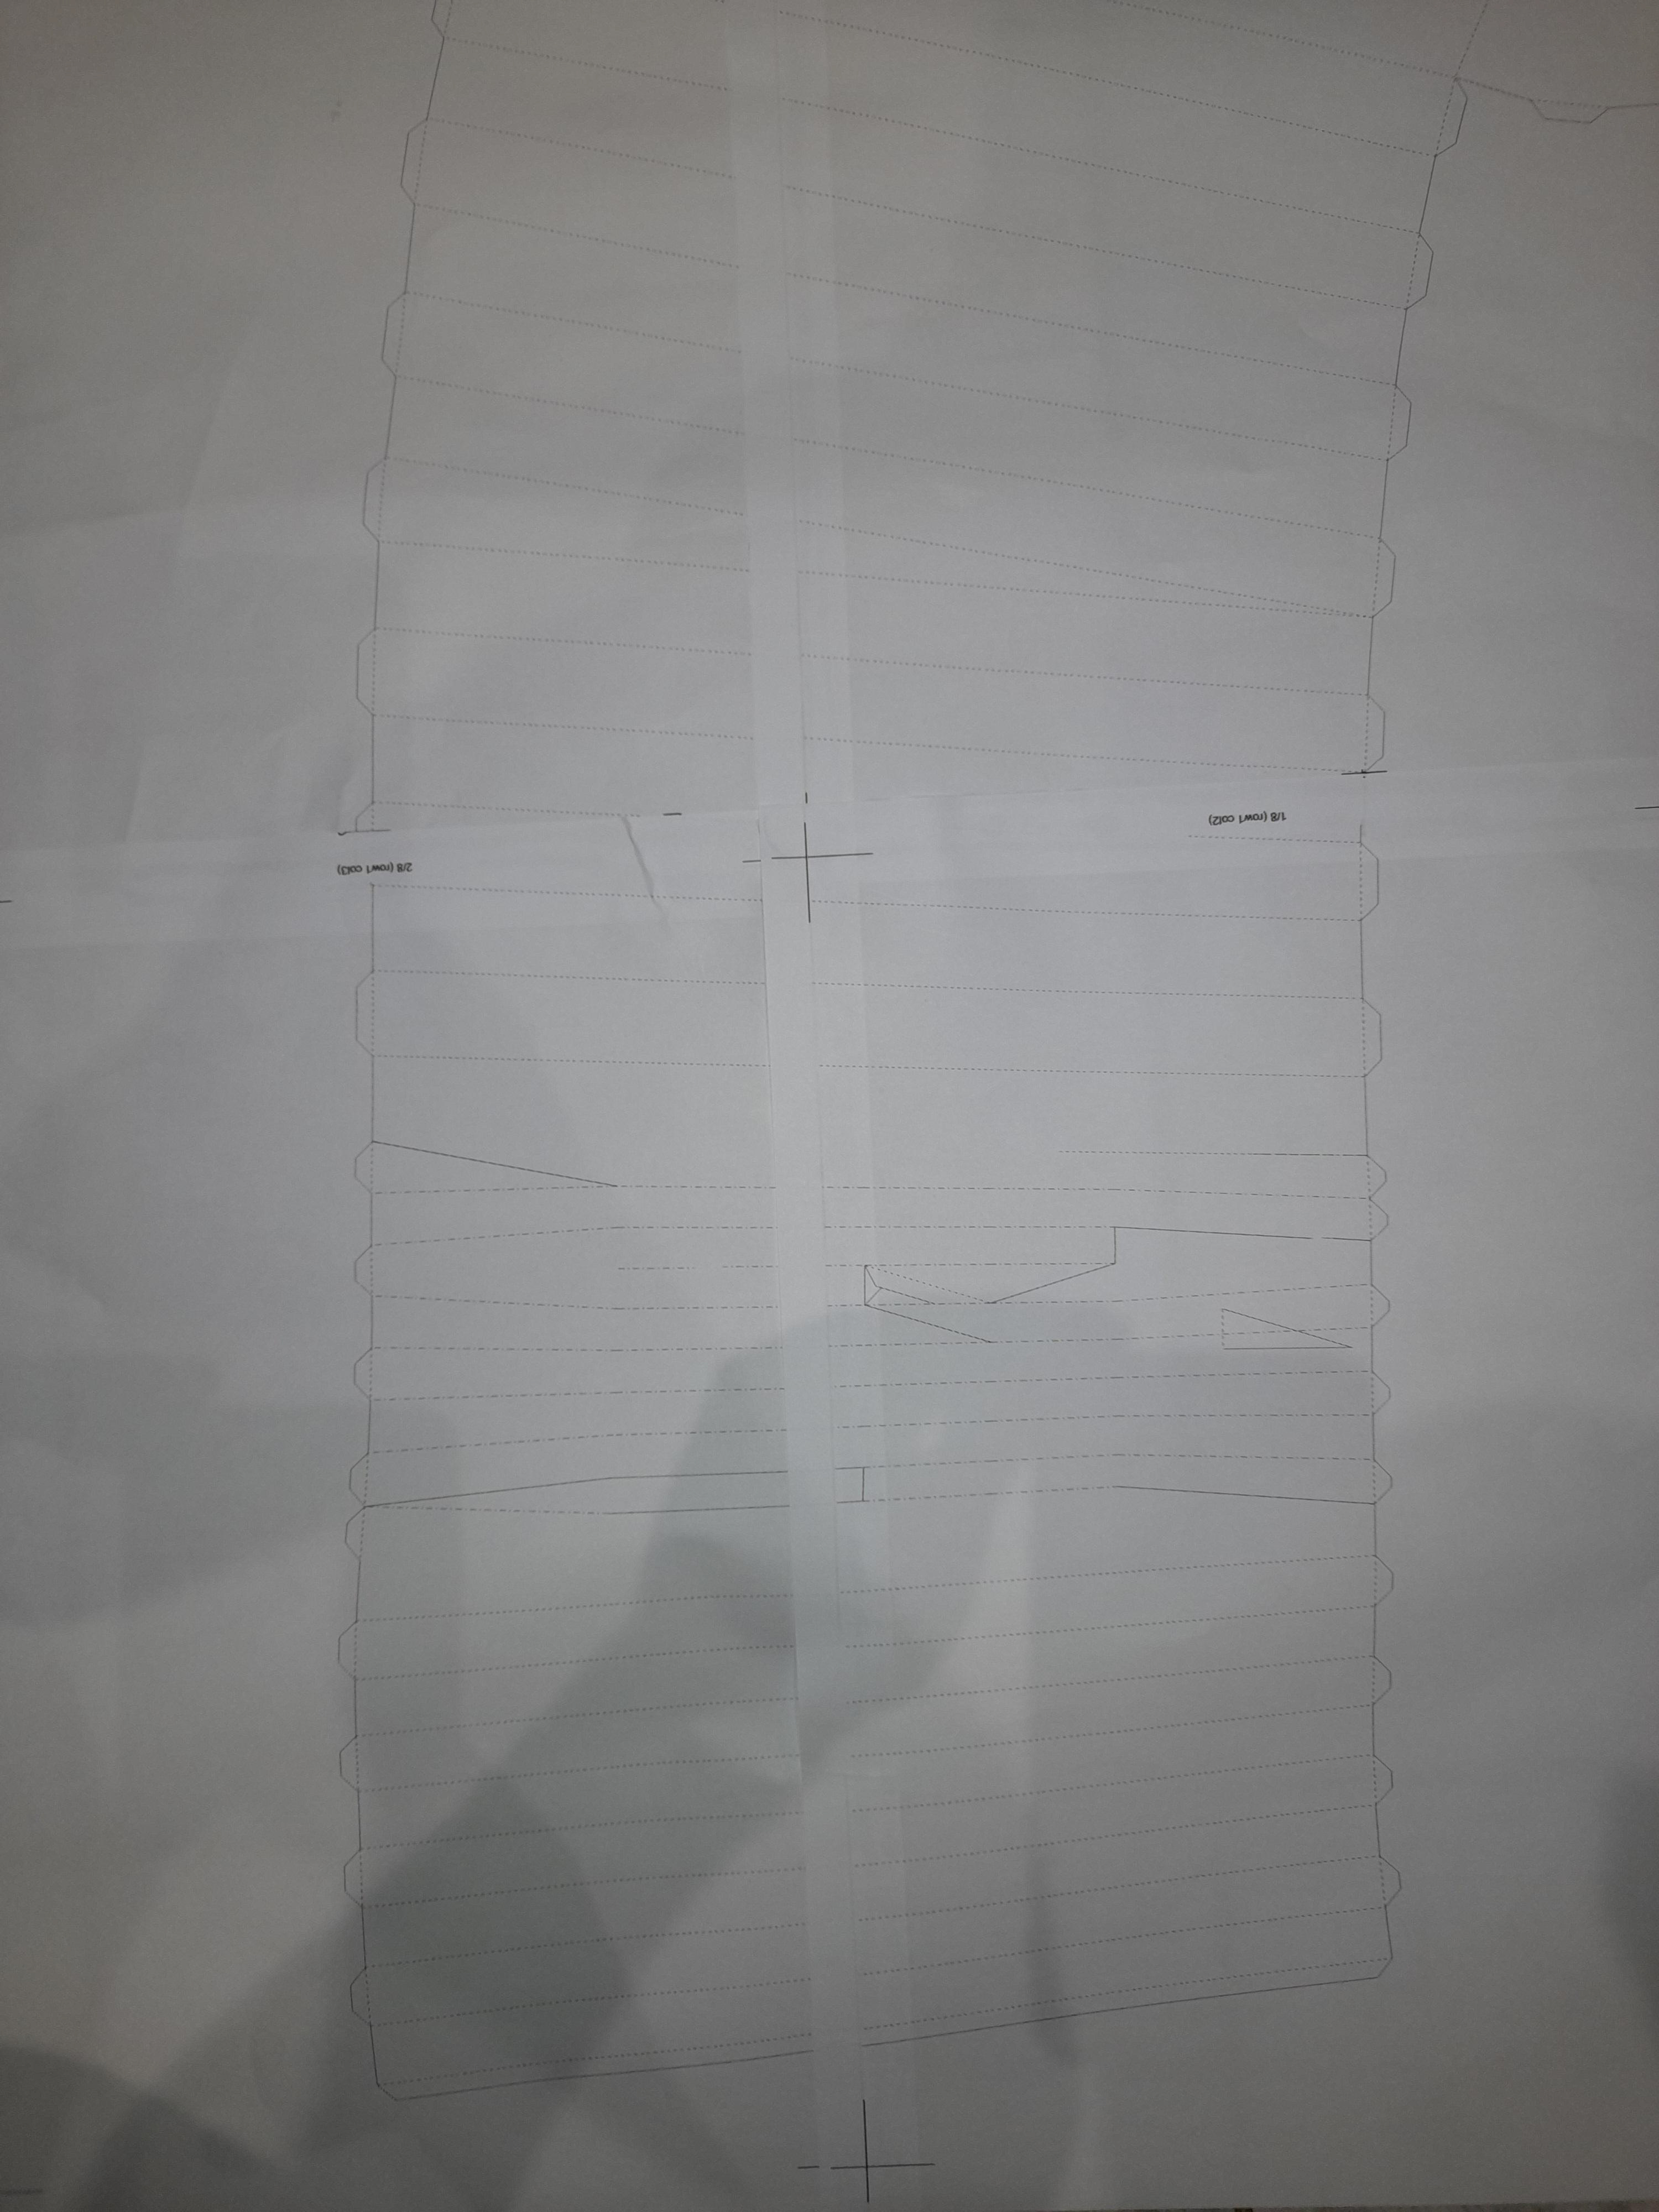
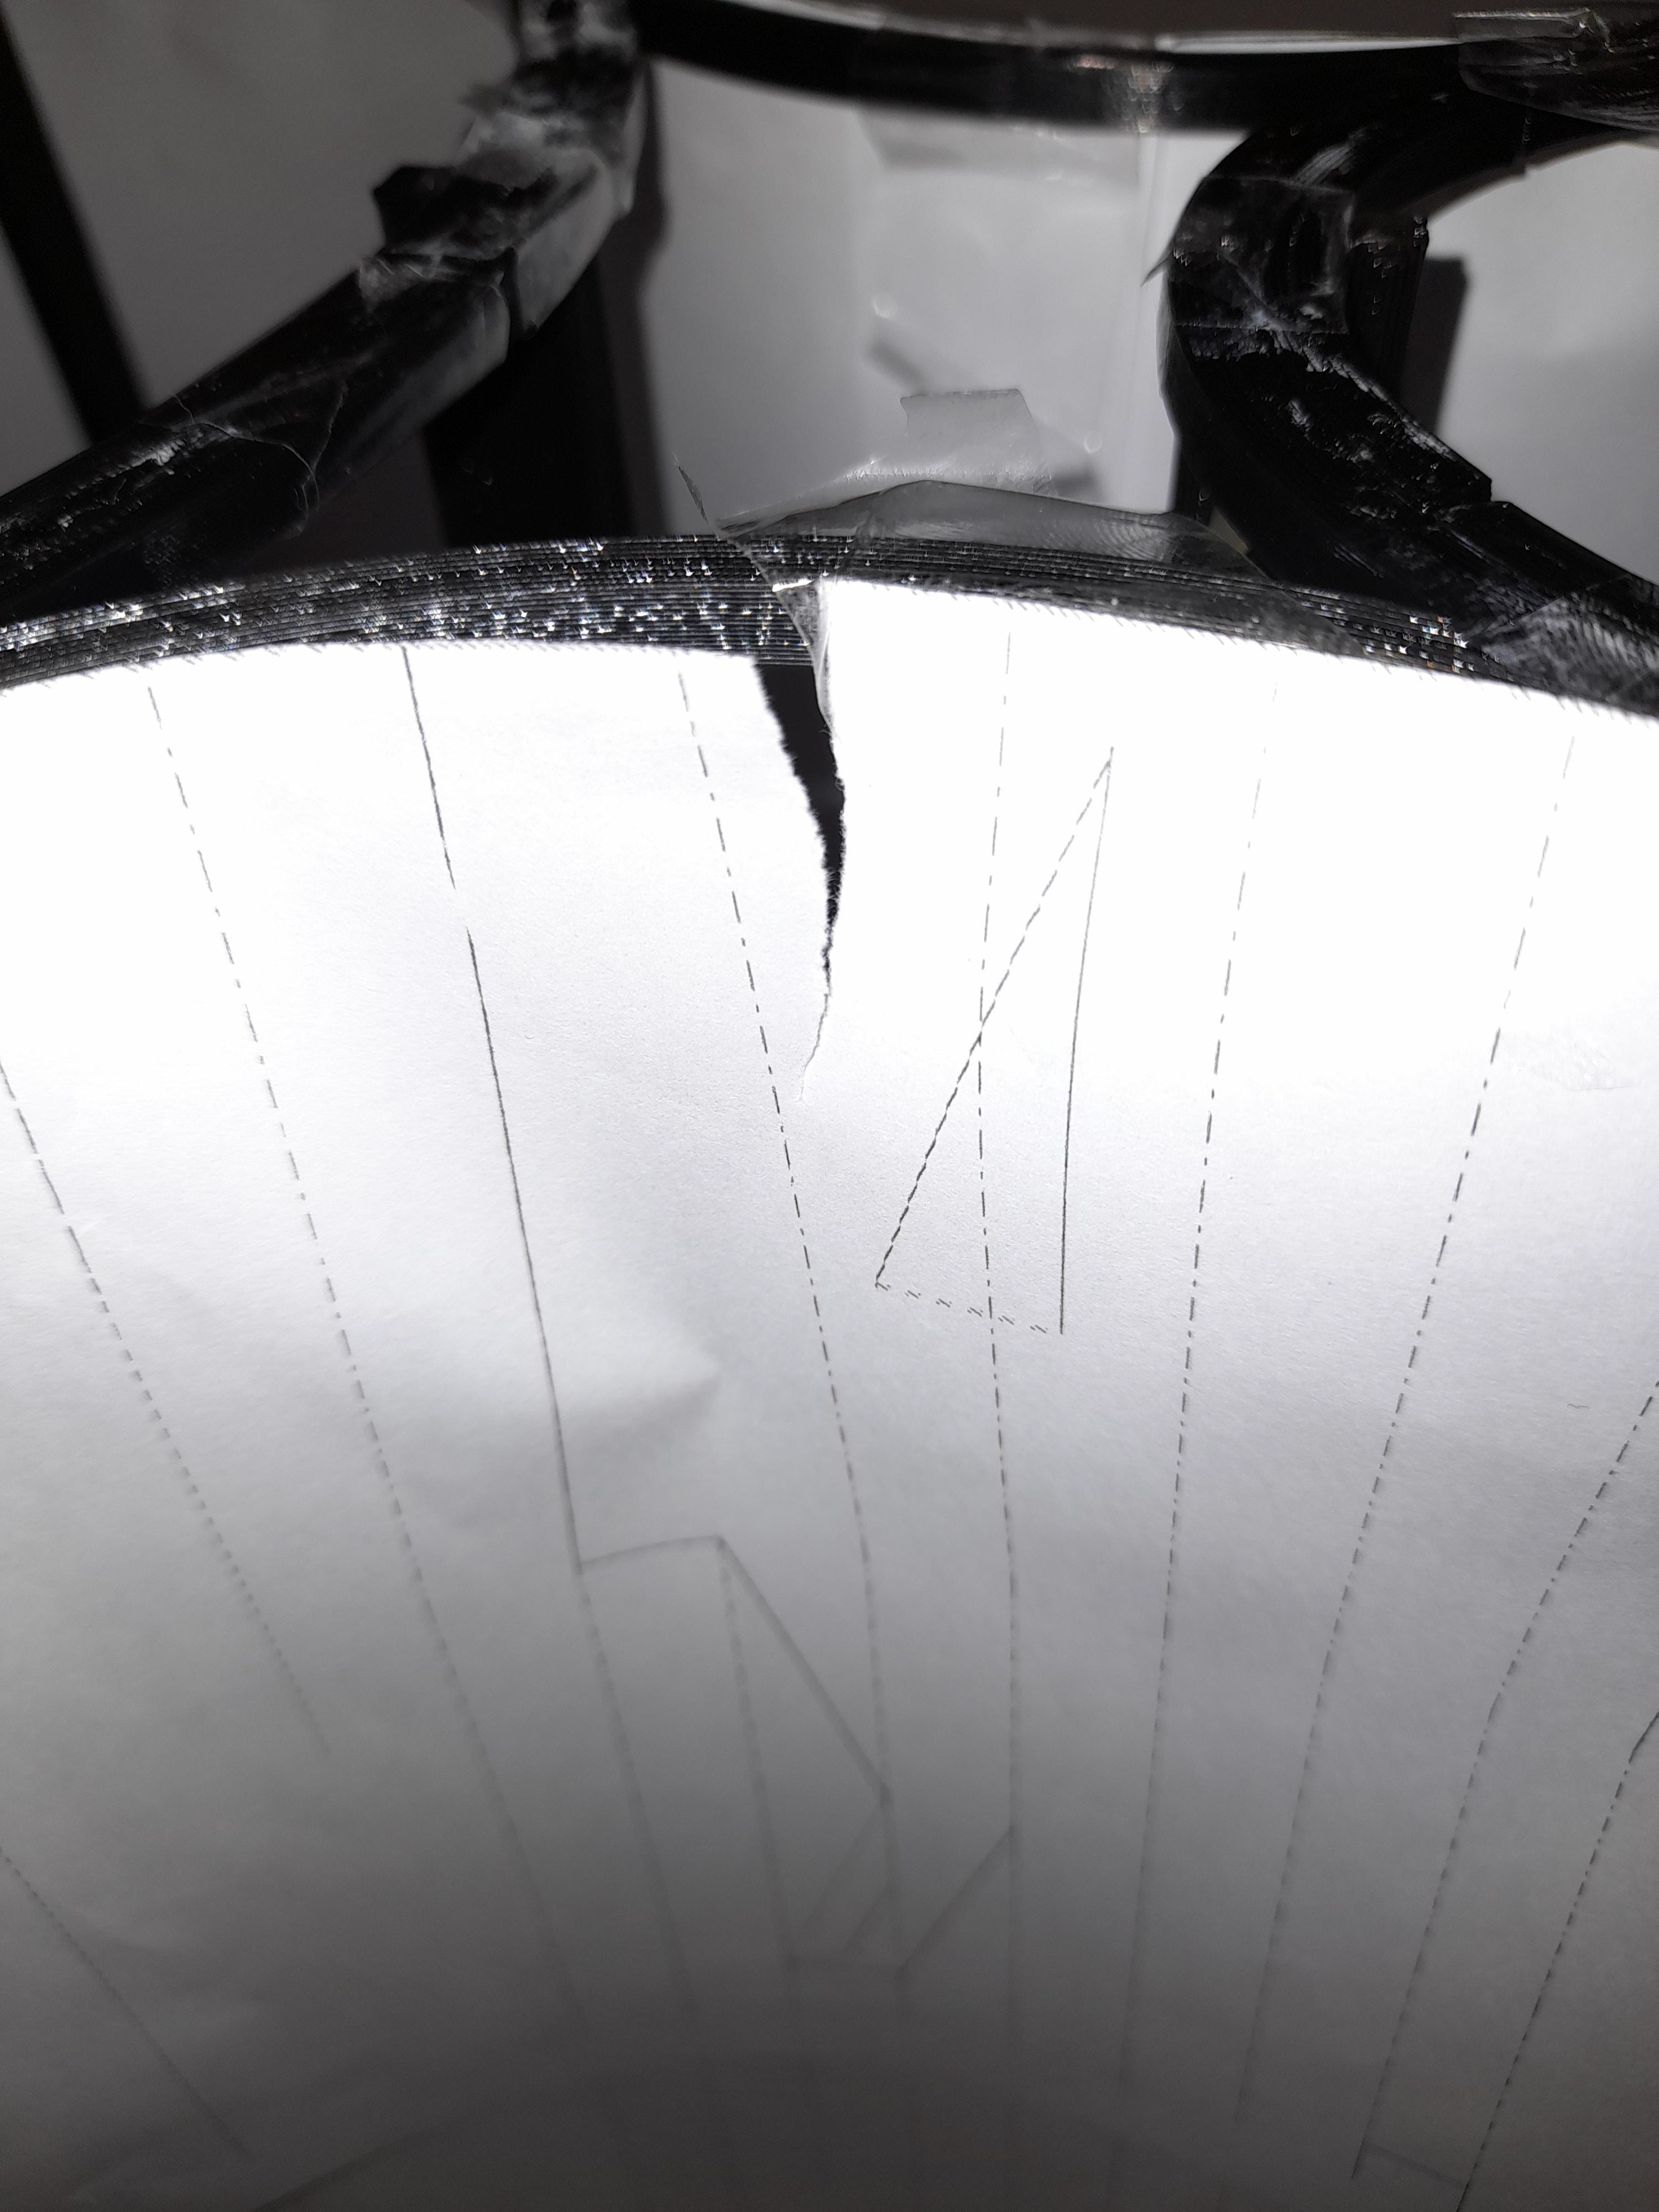
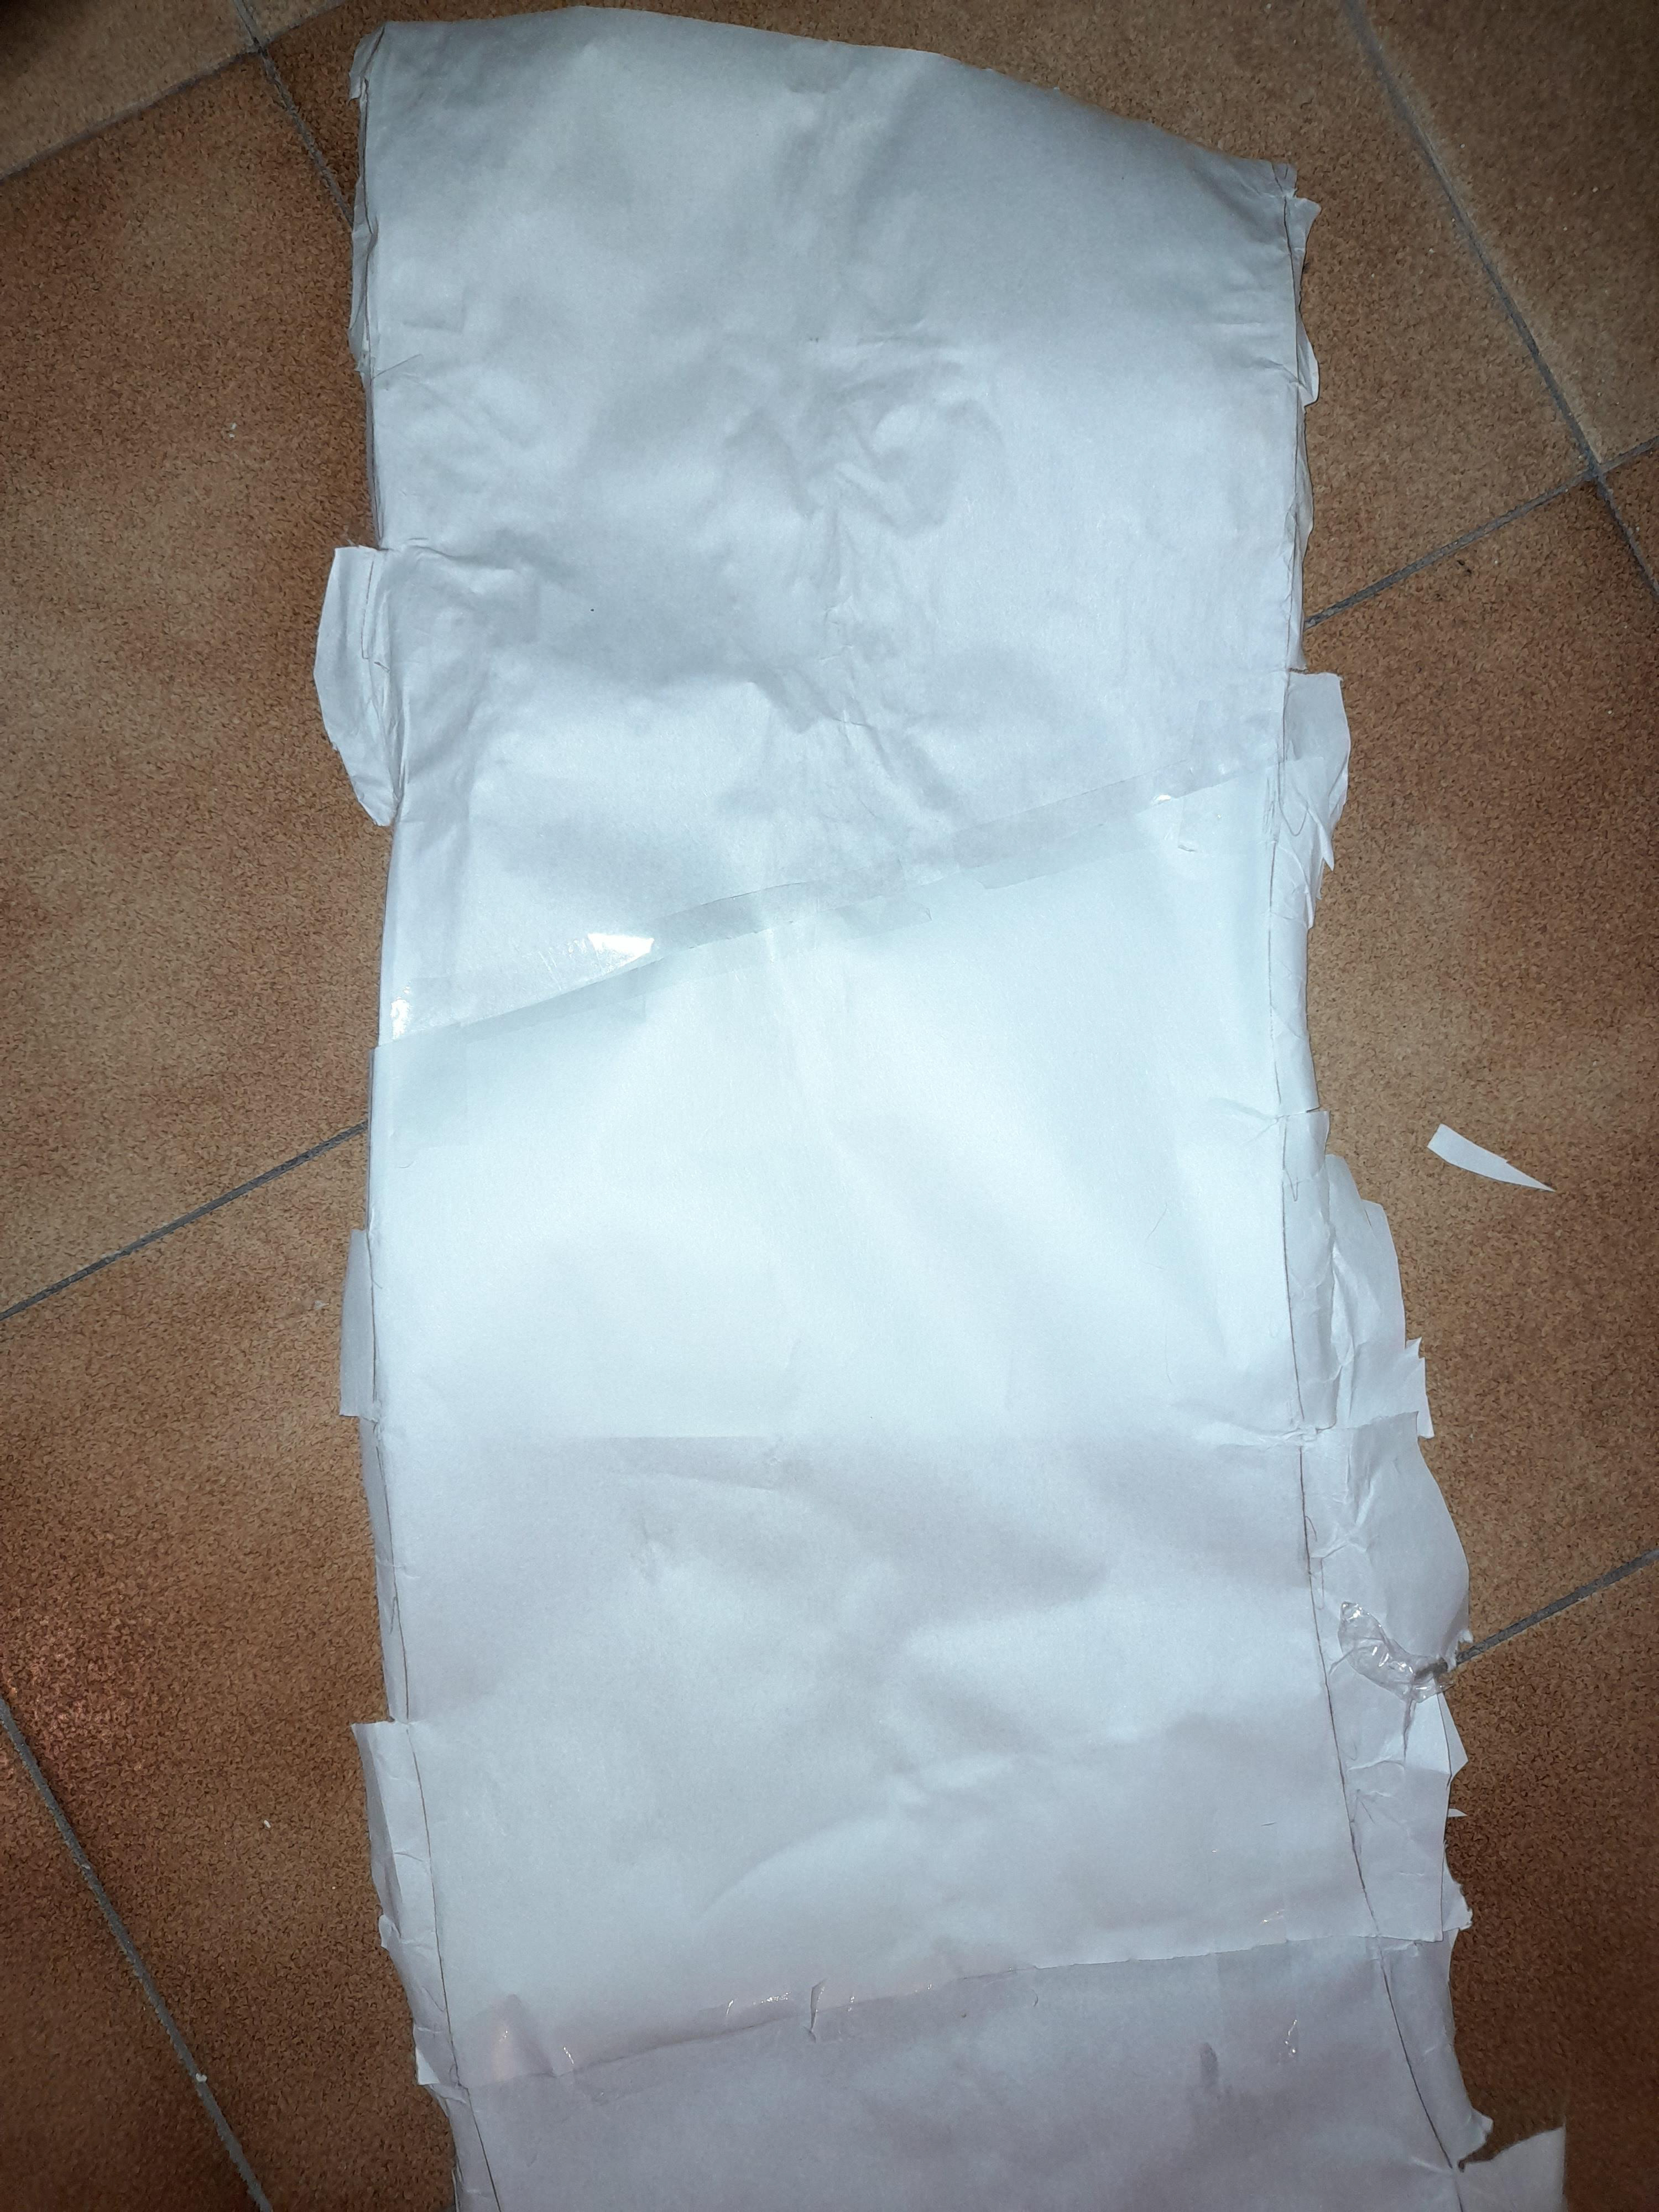
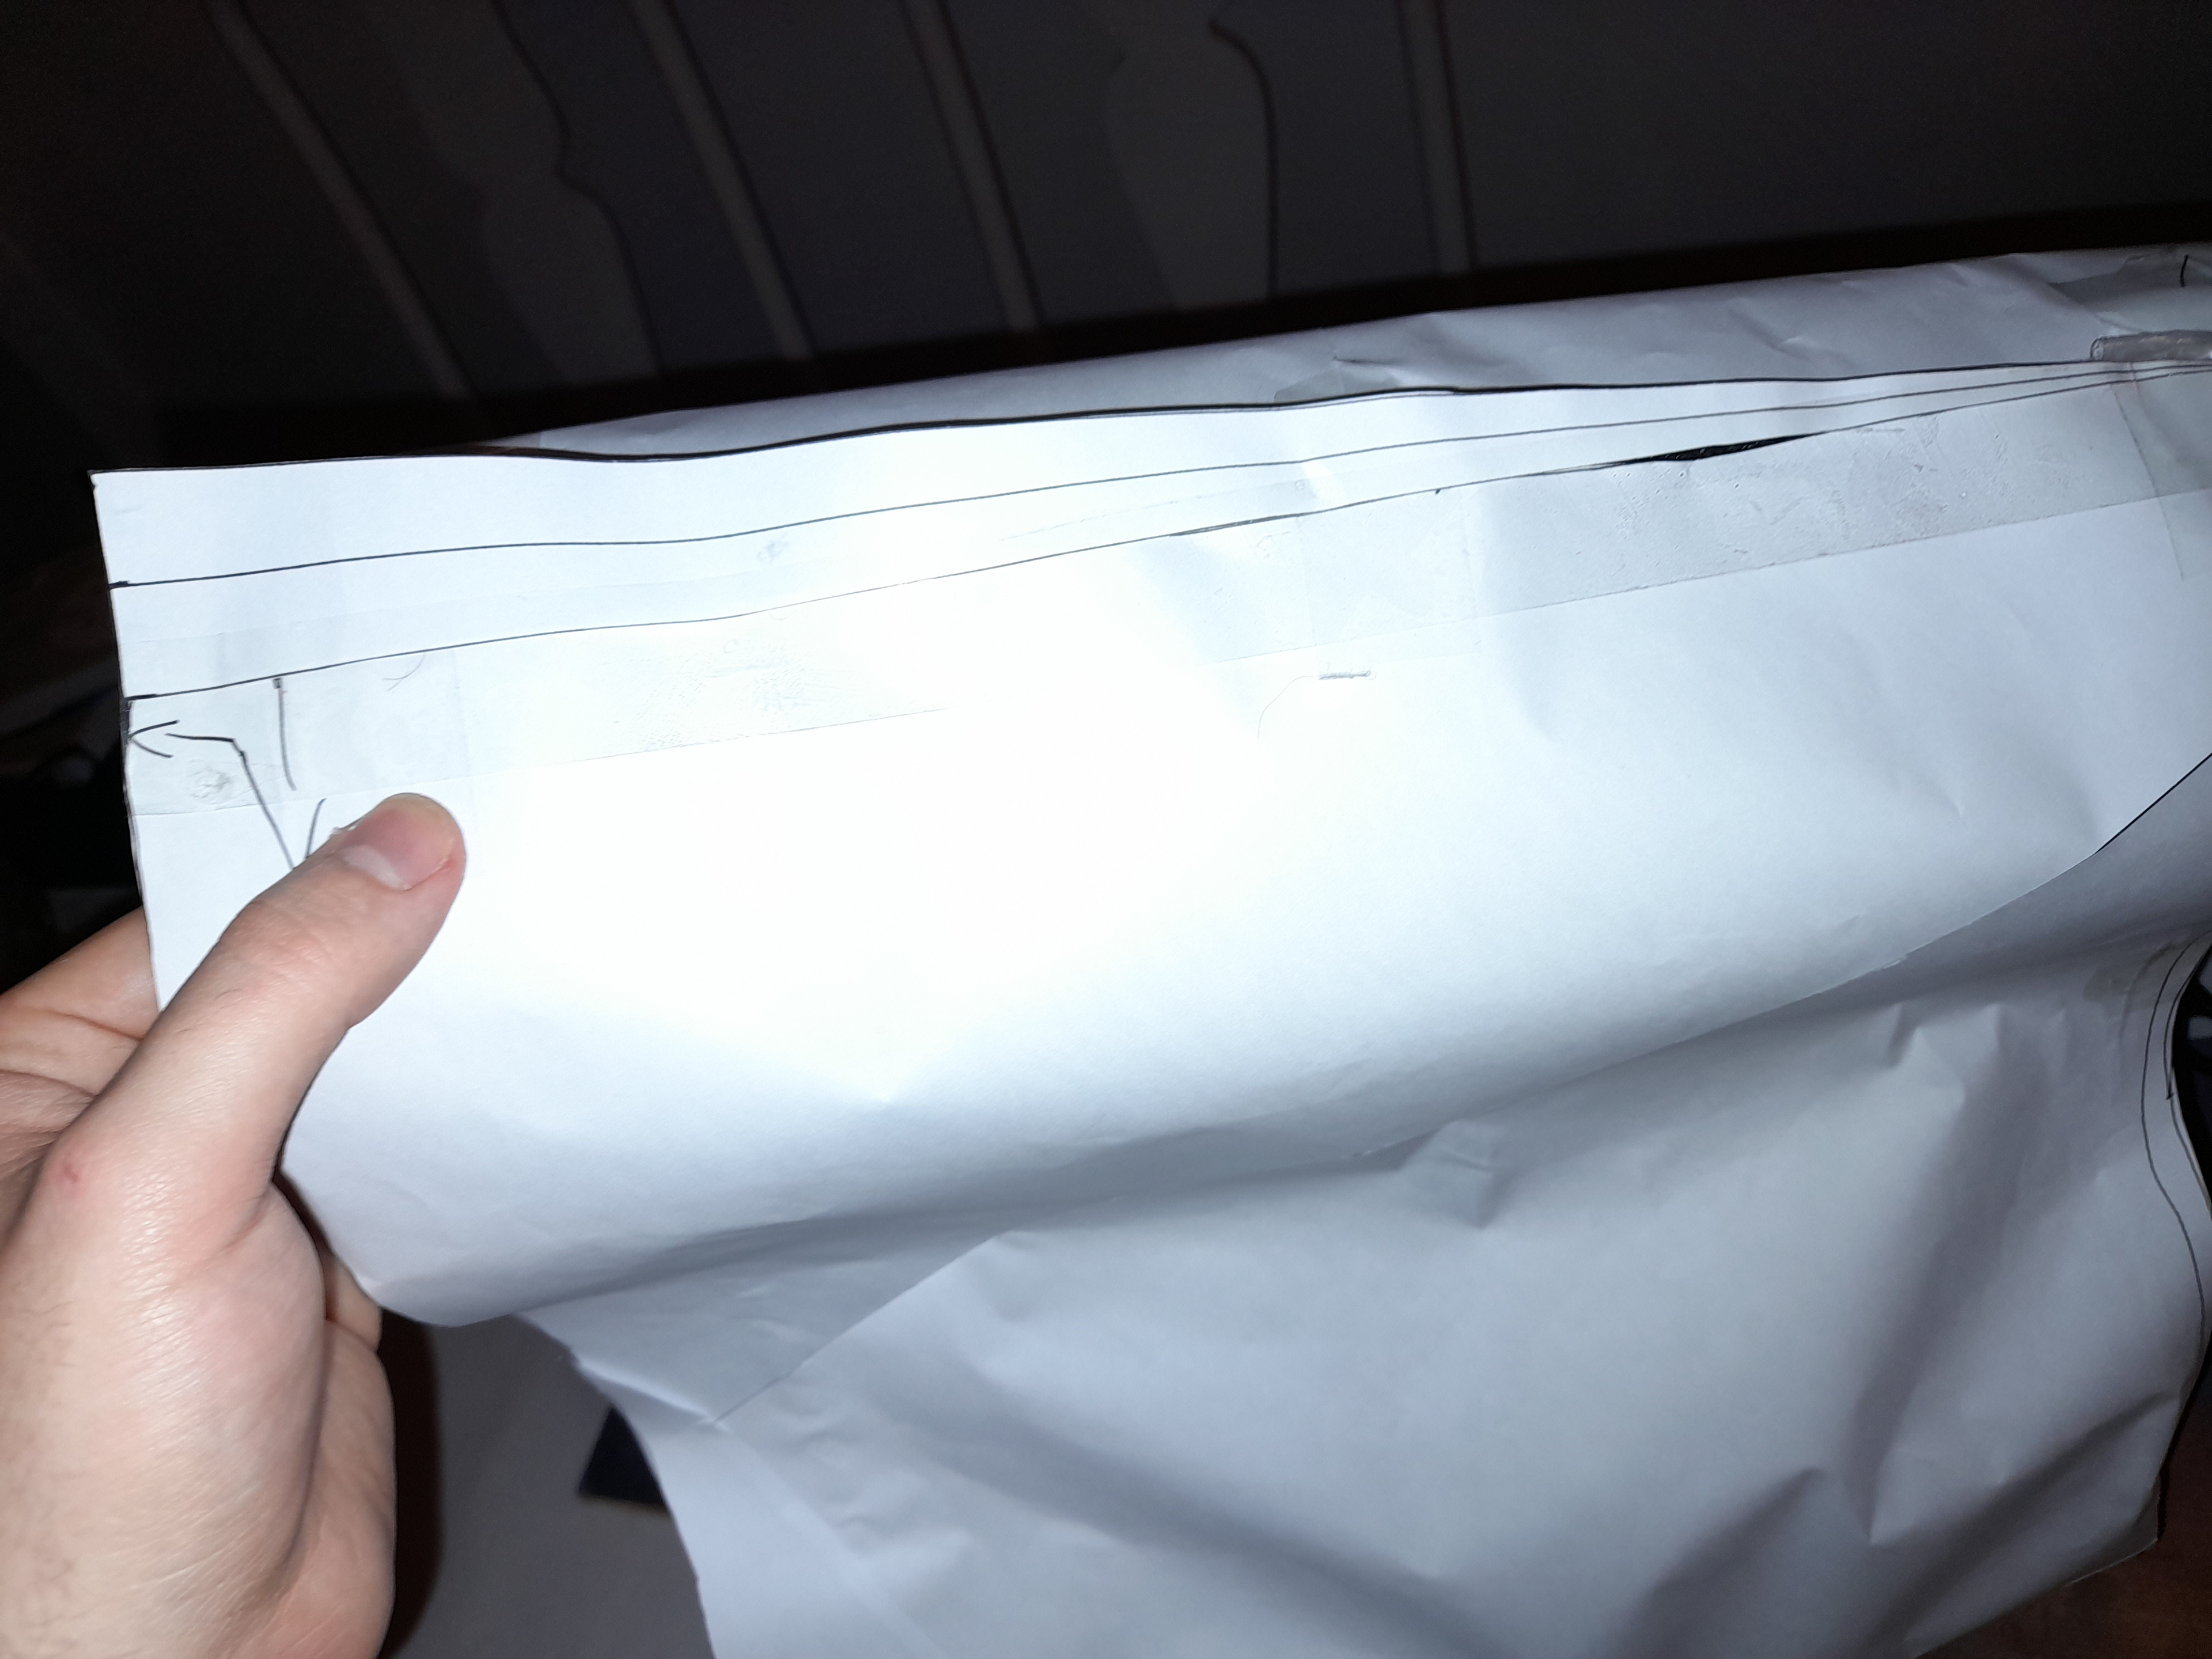
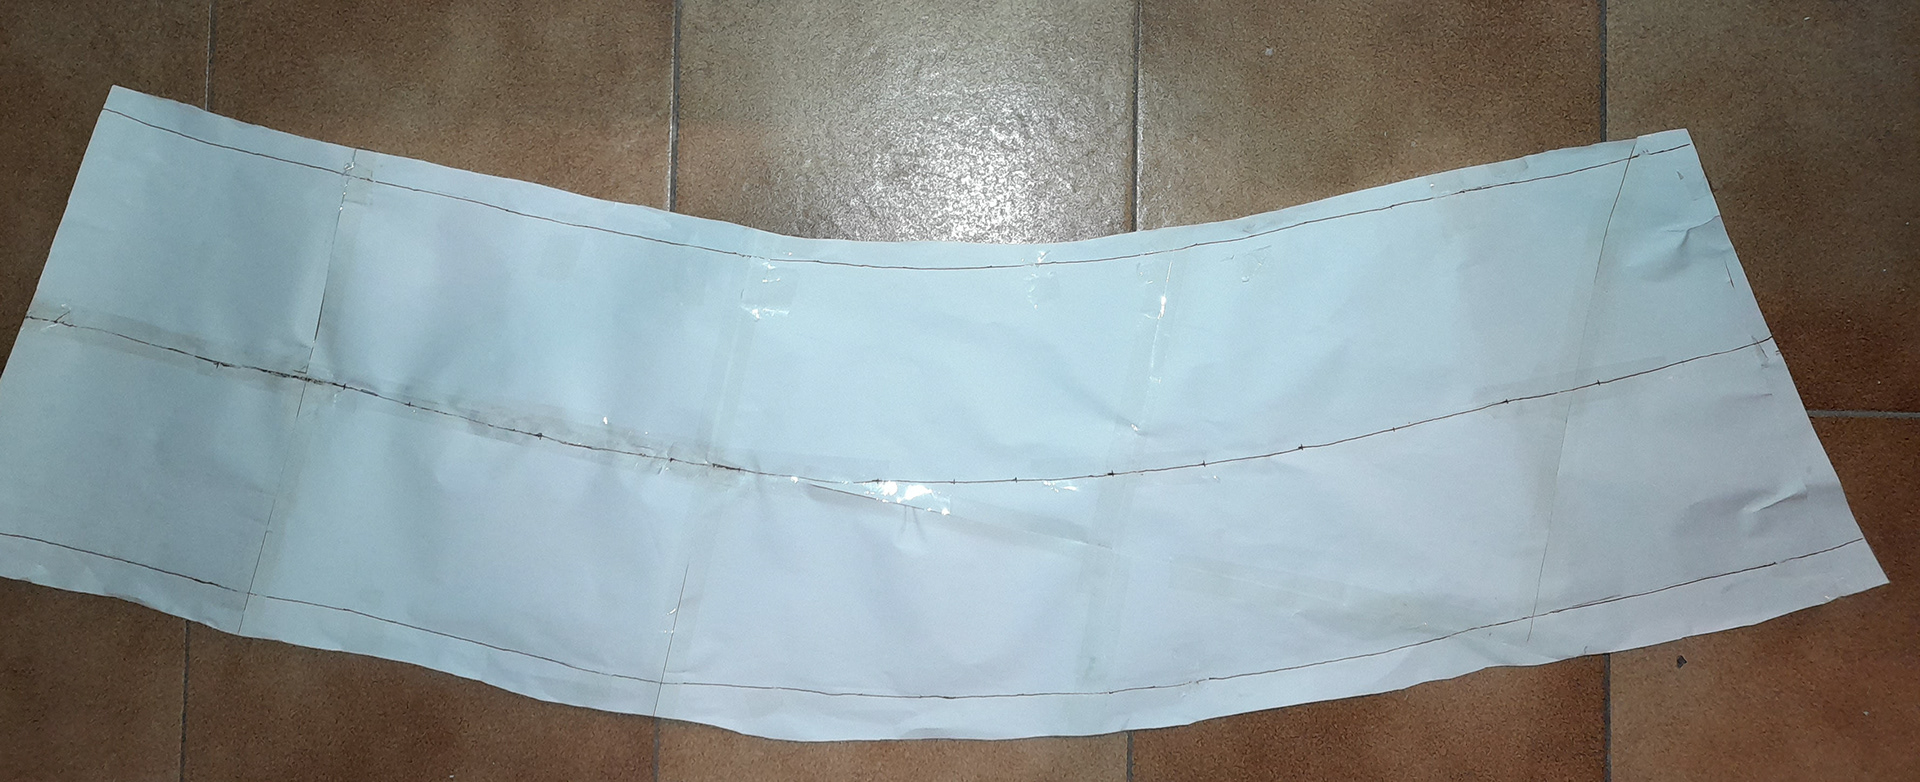
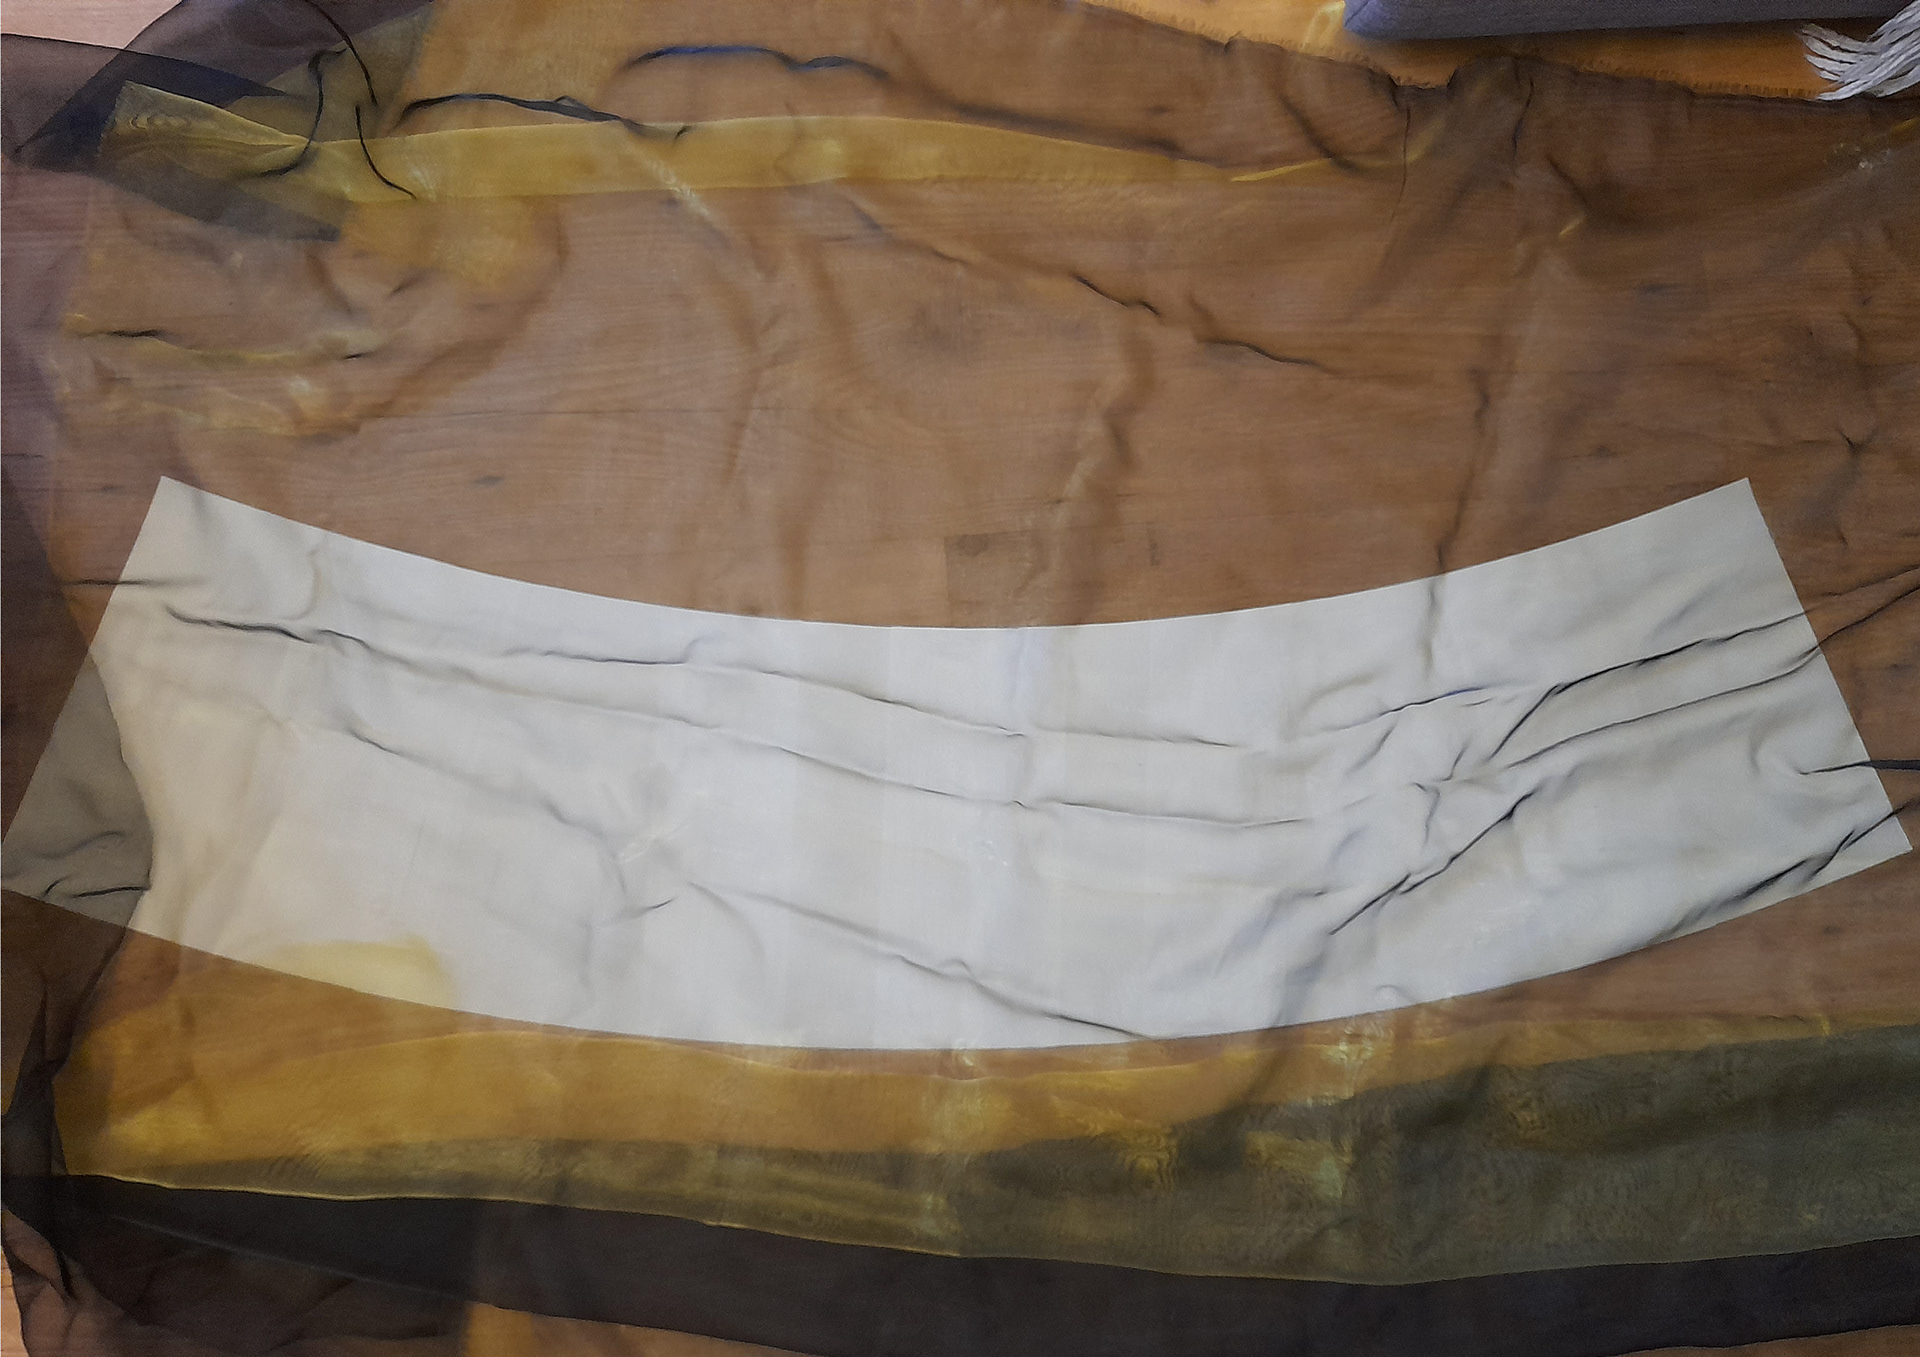
My next plan of action to make a more accurate template for the shade included the following. I purchased a roll of paper that was thinner than regular printing paper but not as thin as tissues. While wrapping the shade with the paper I would damp it and then use a heat gun to make the paper warp around the printed frame. Once fully dried I marked the top and bottom outline of the frame on the paper. Once I removed the paper I cut away the excess paper and then attached the paper shape to the frame to double-check if it was accurate. It turned out to be. Because this paper is thin and weak for a template, I had to trace it out again and create a final shade cutout that would be suitable for a fabric template.

The pipe and two plastic circular pieces are for the switch which will be attached after the shade has been added.
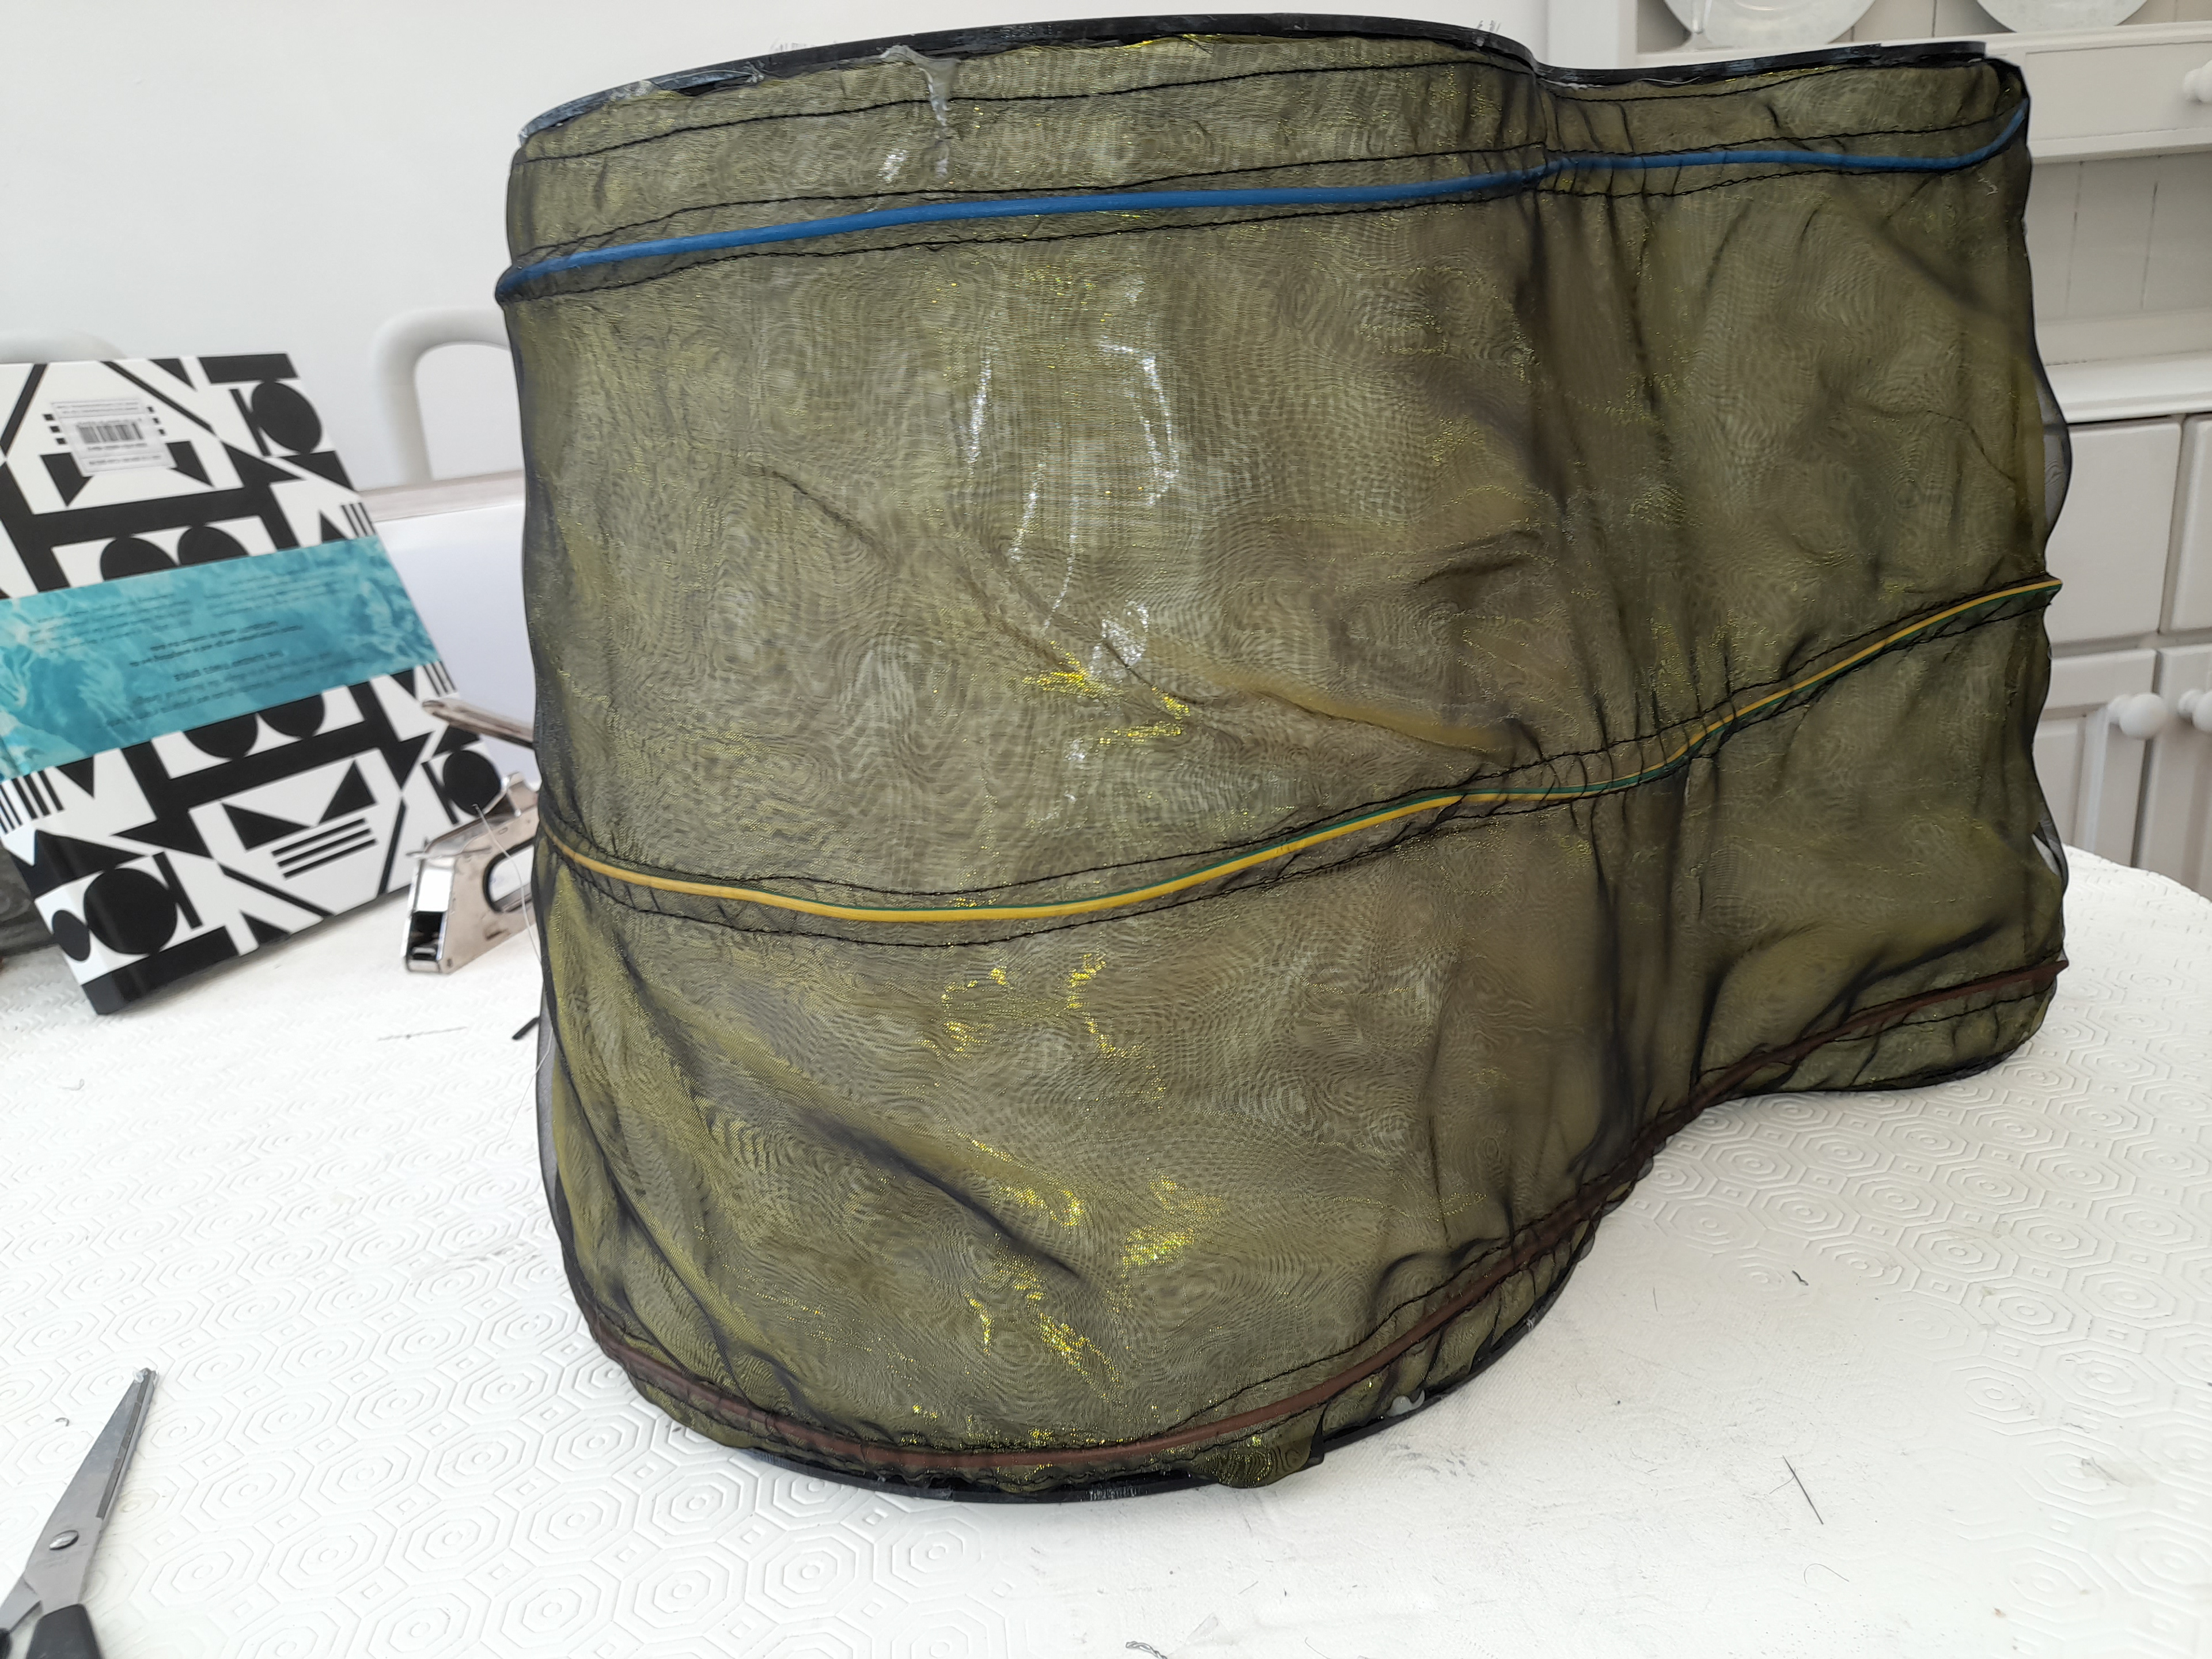
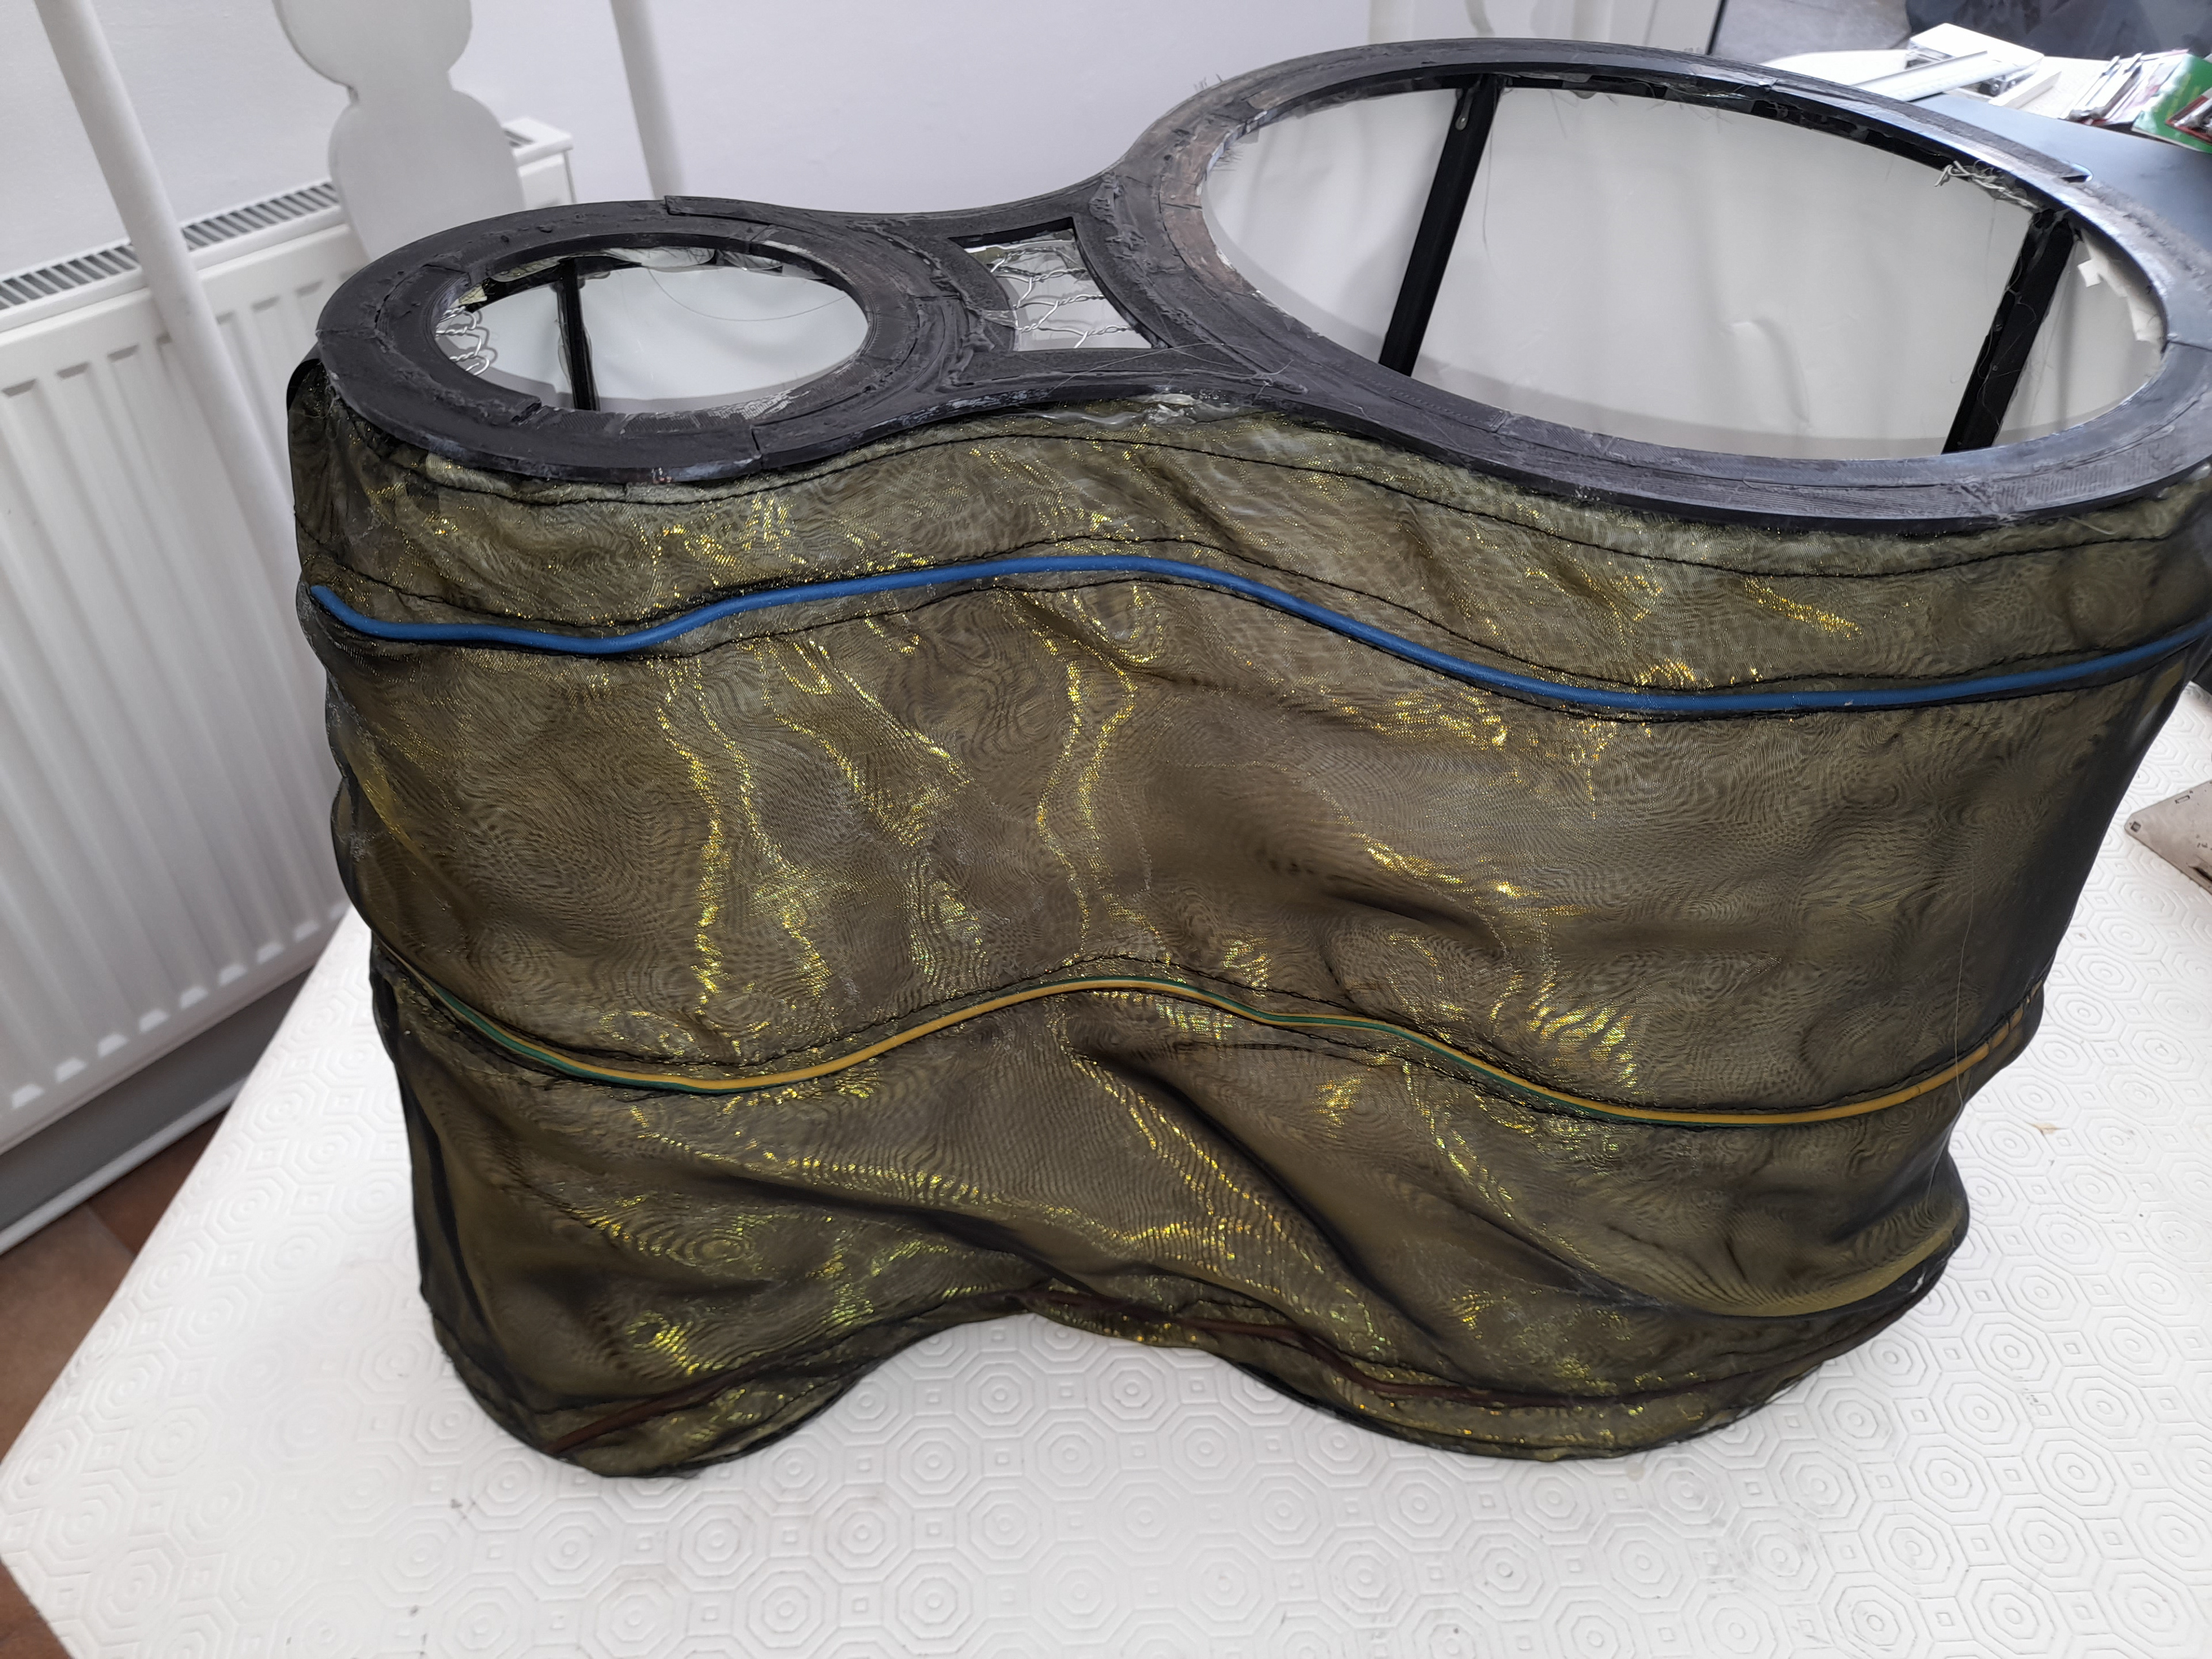

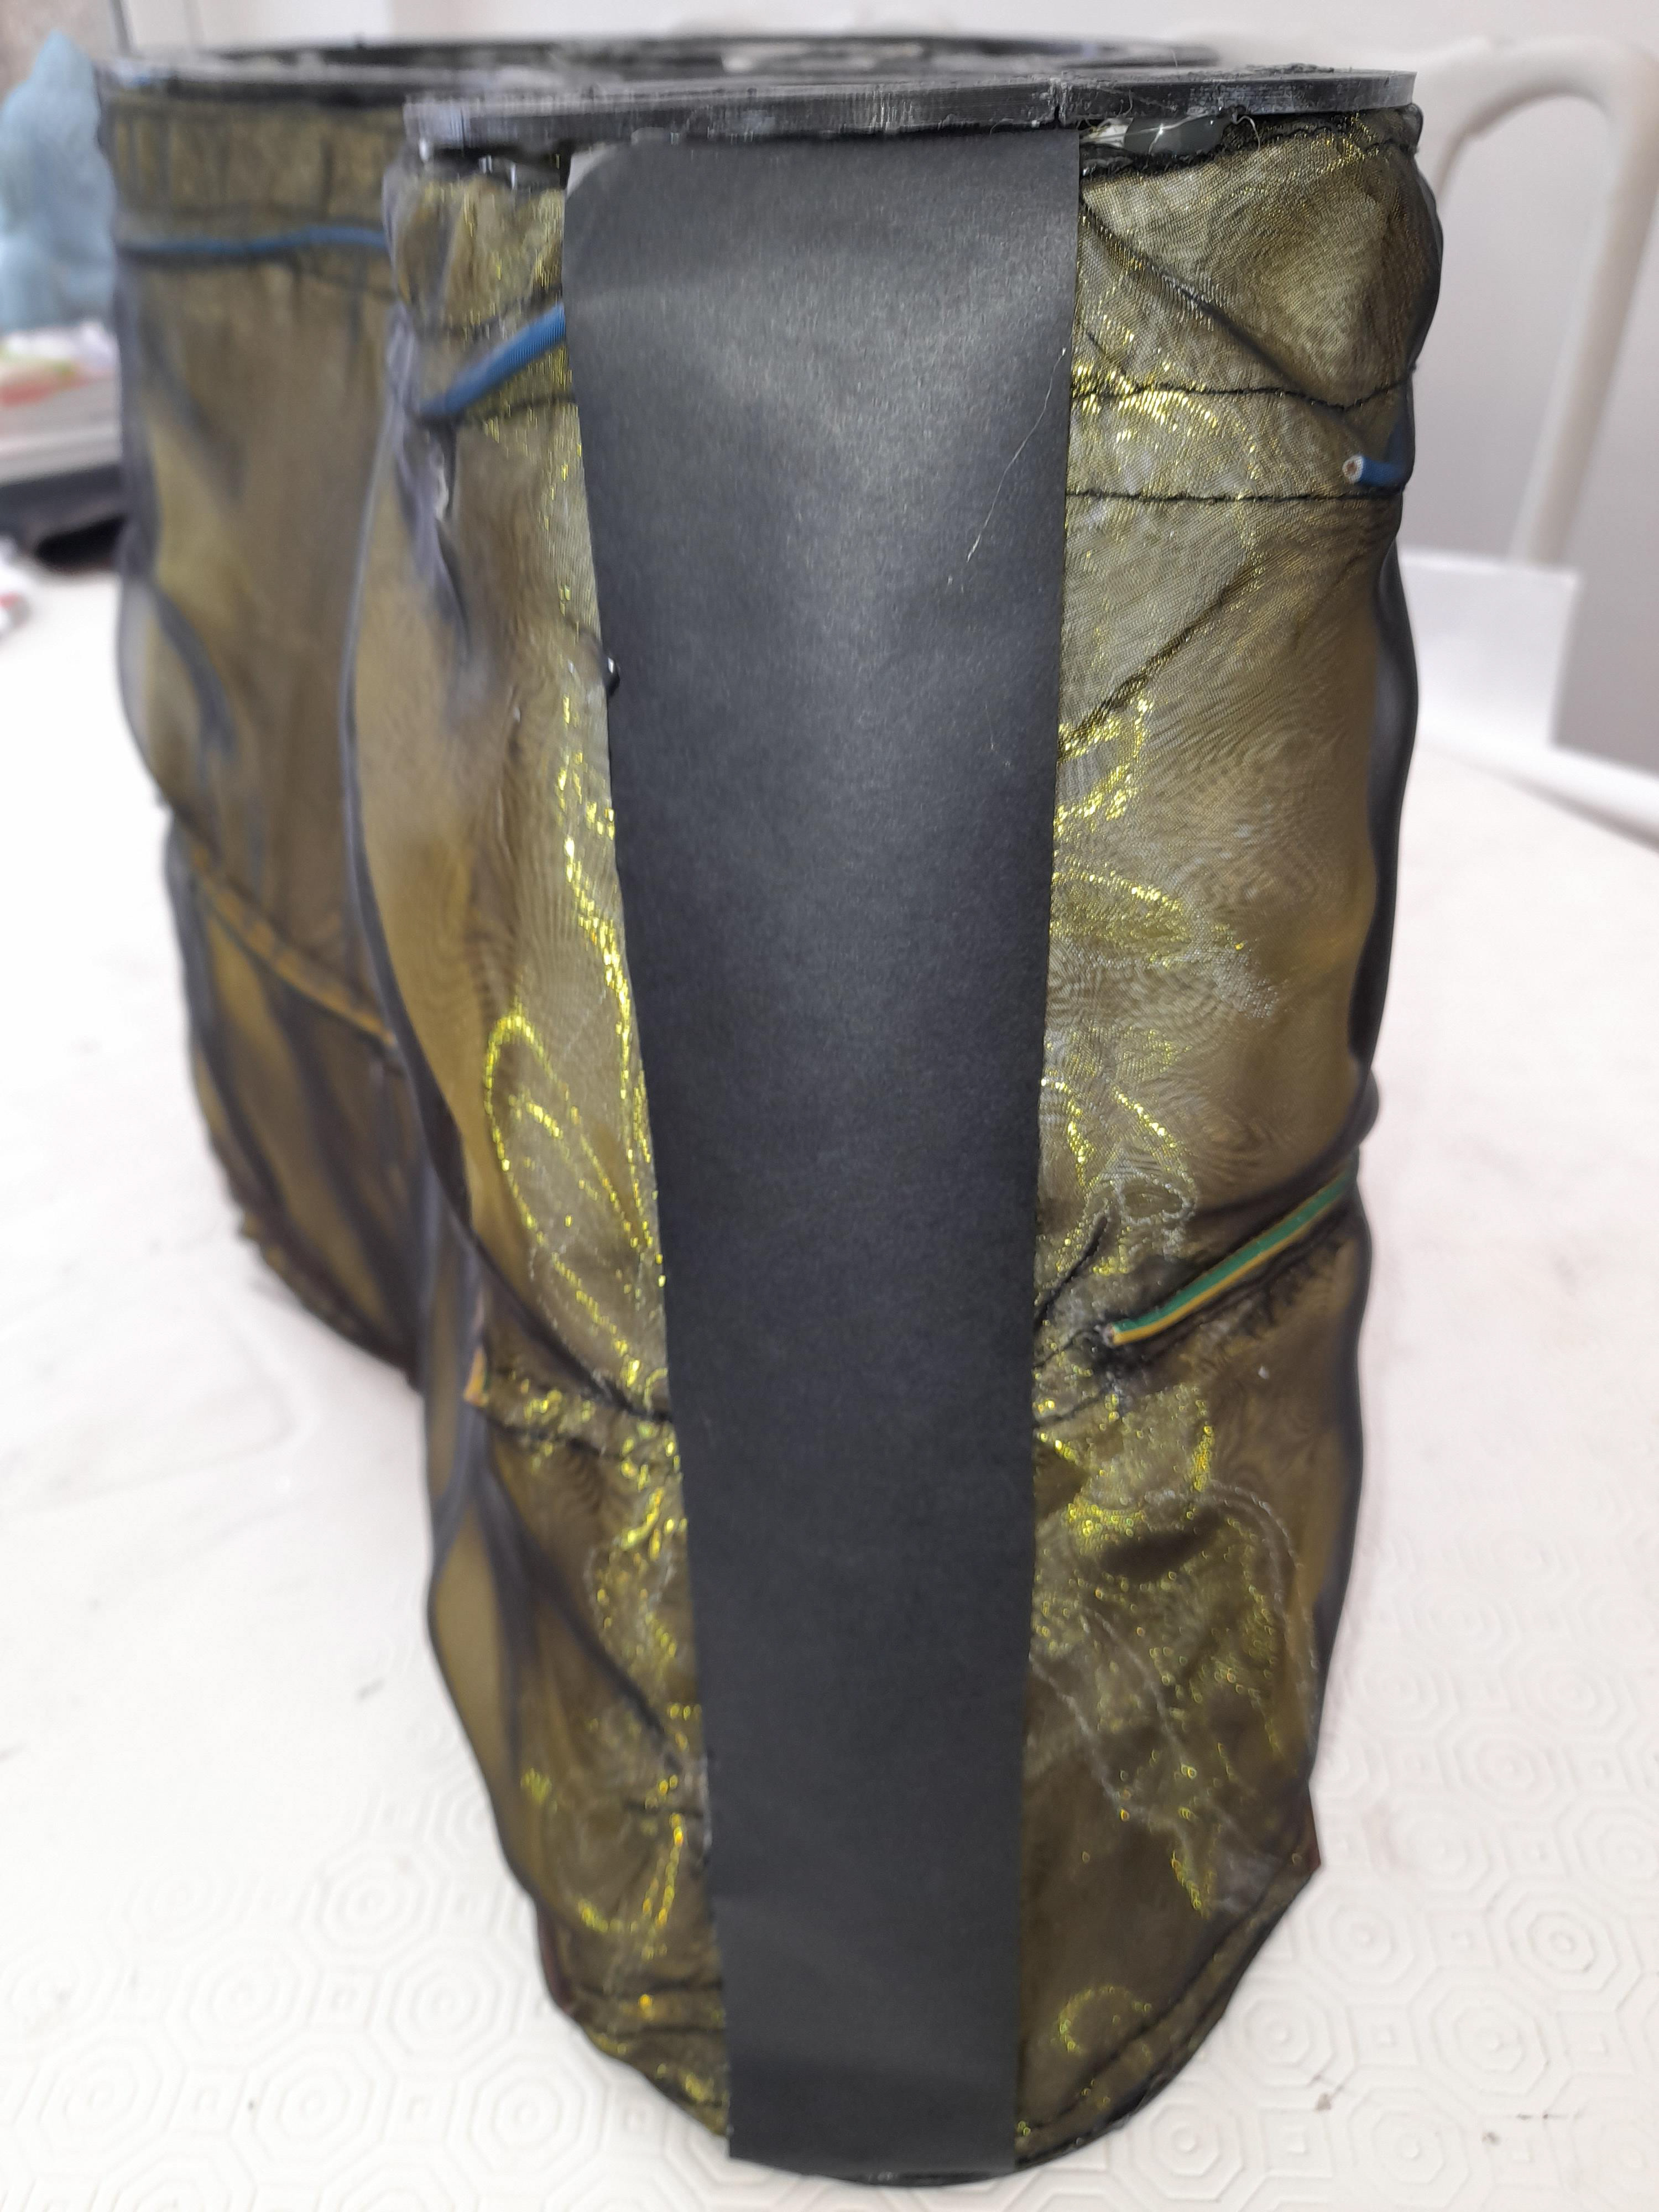
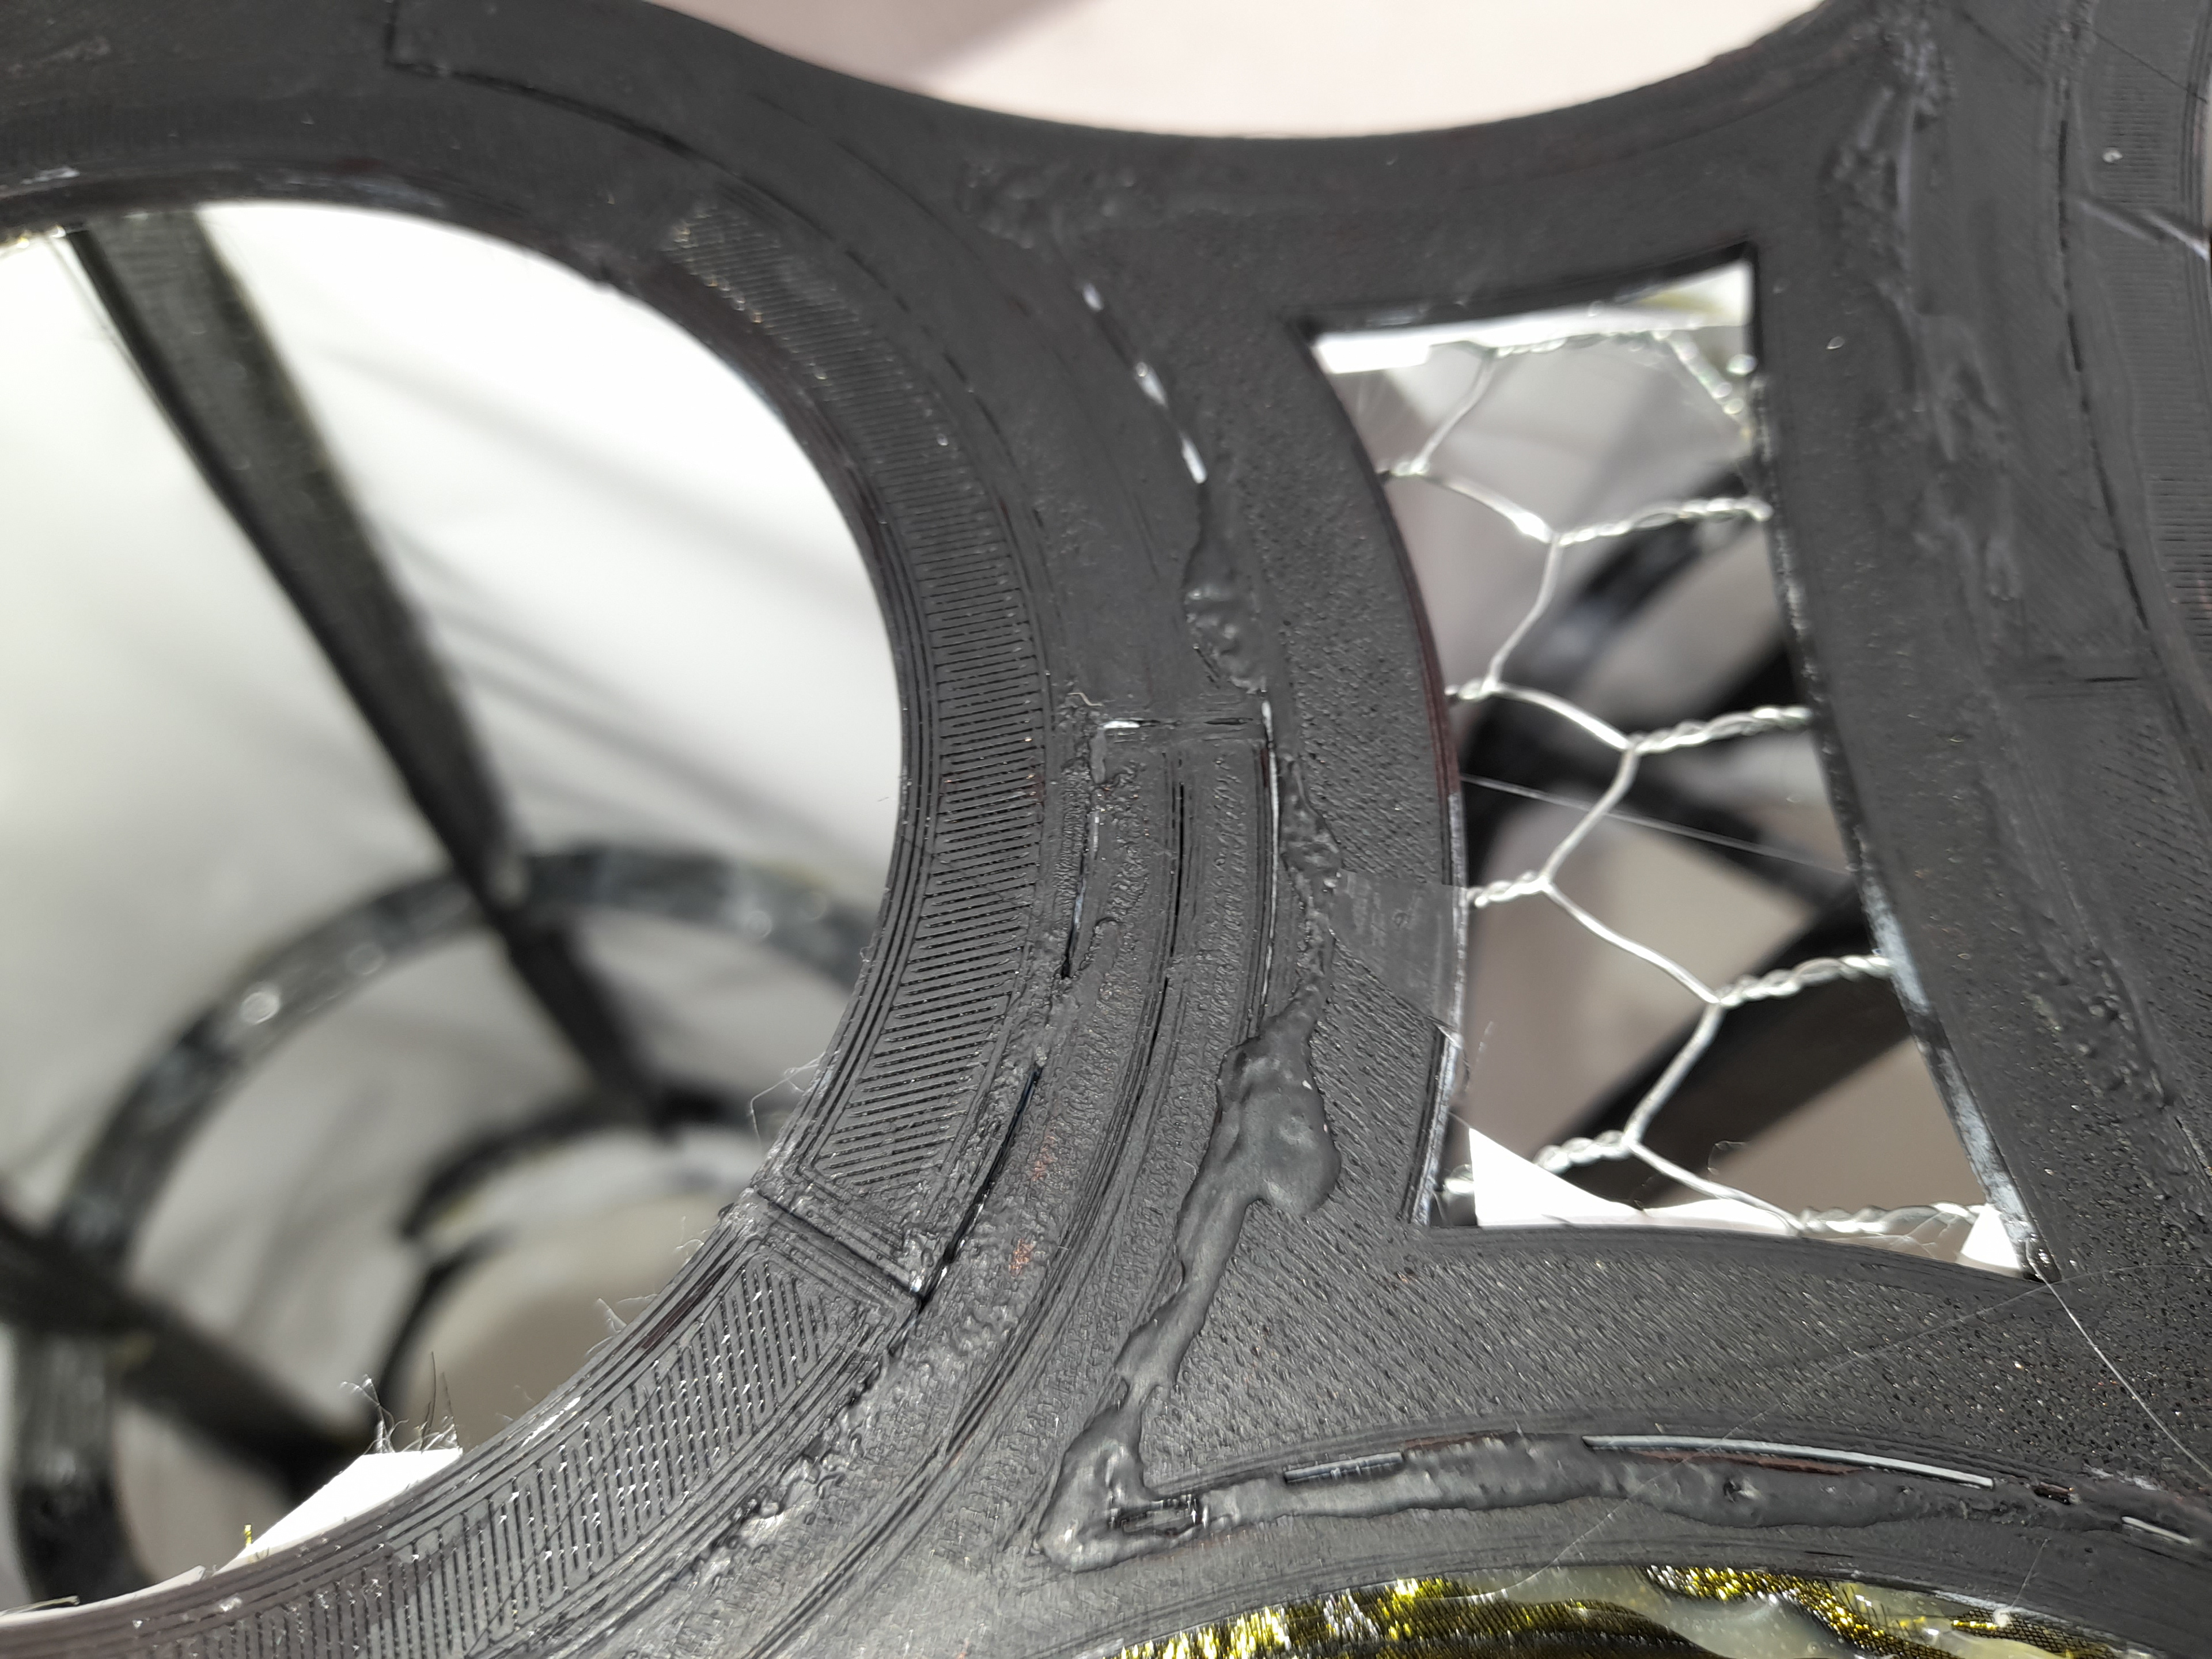
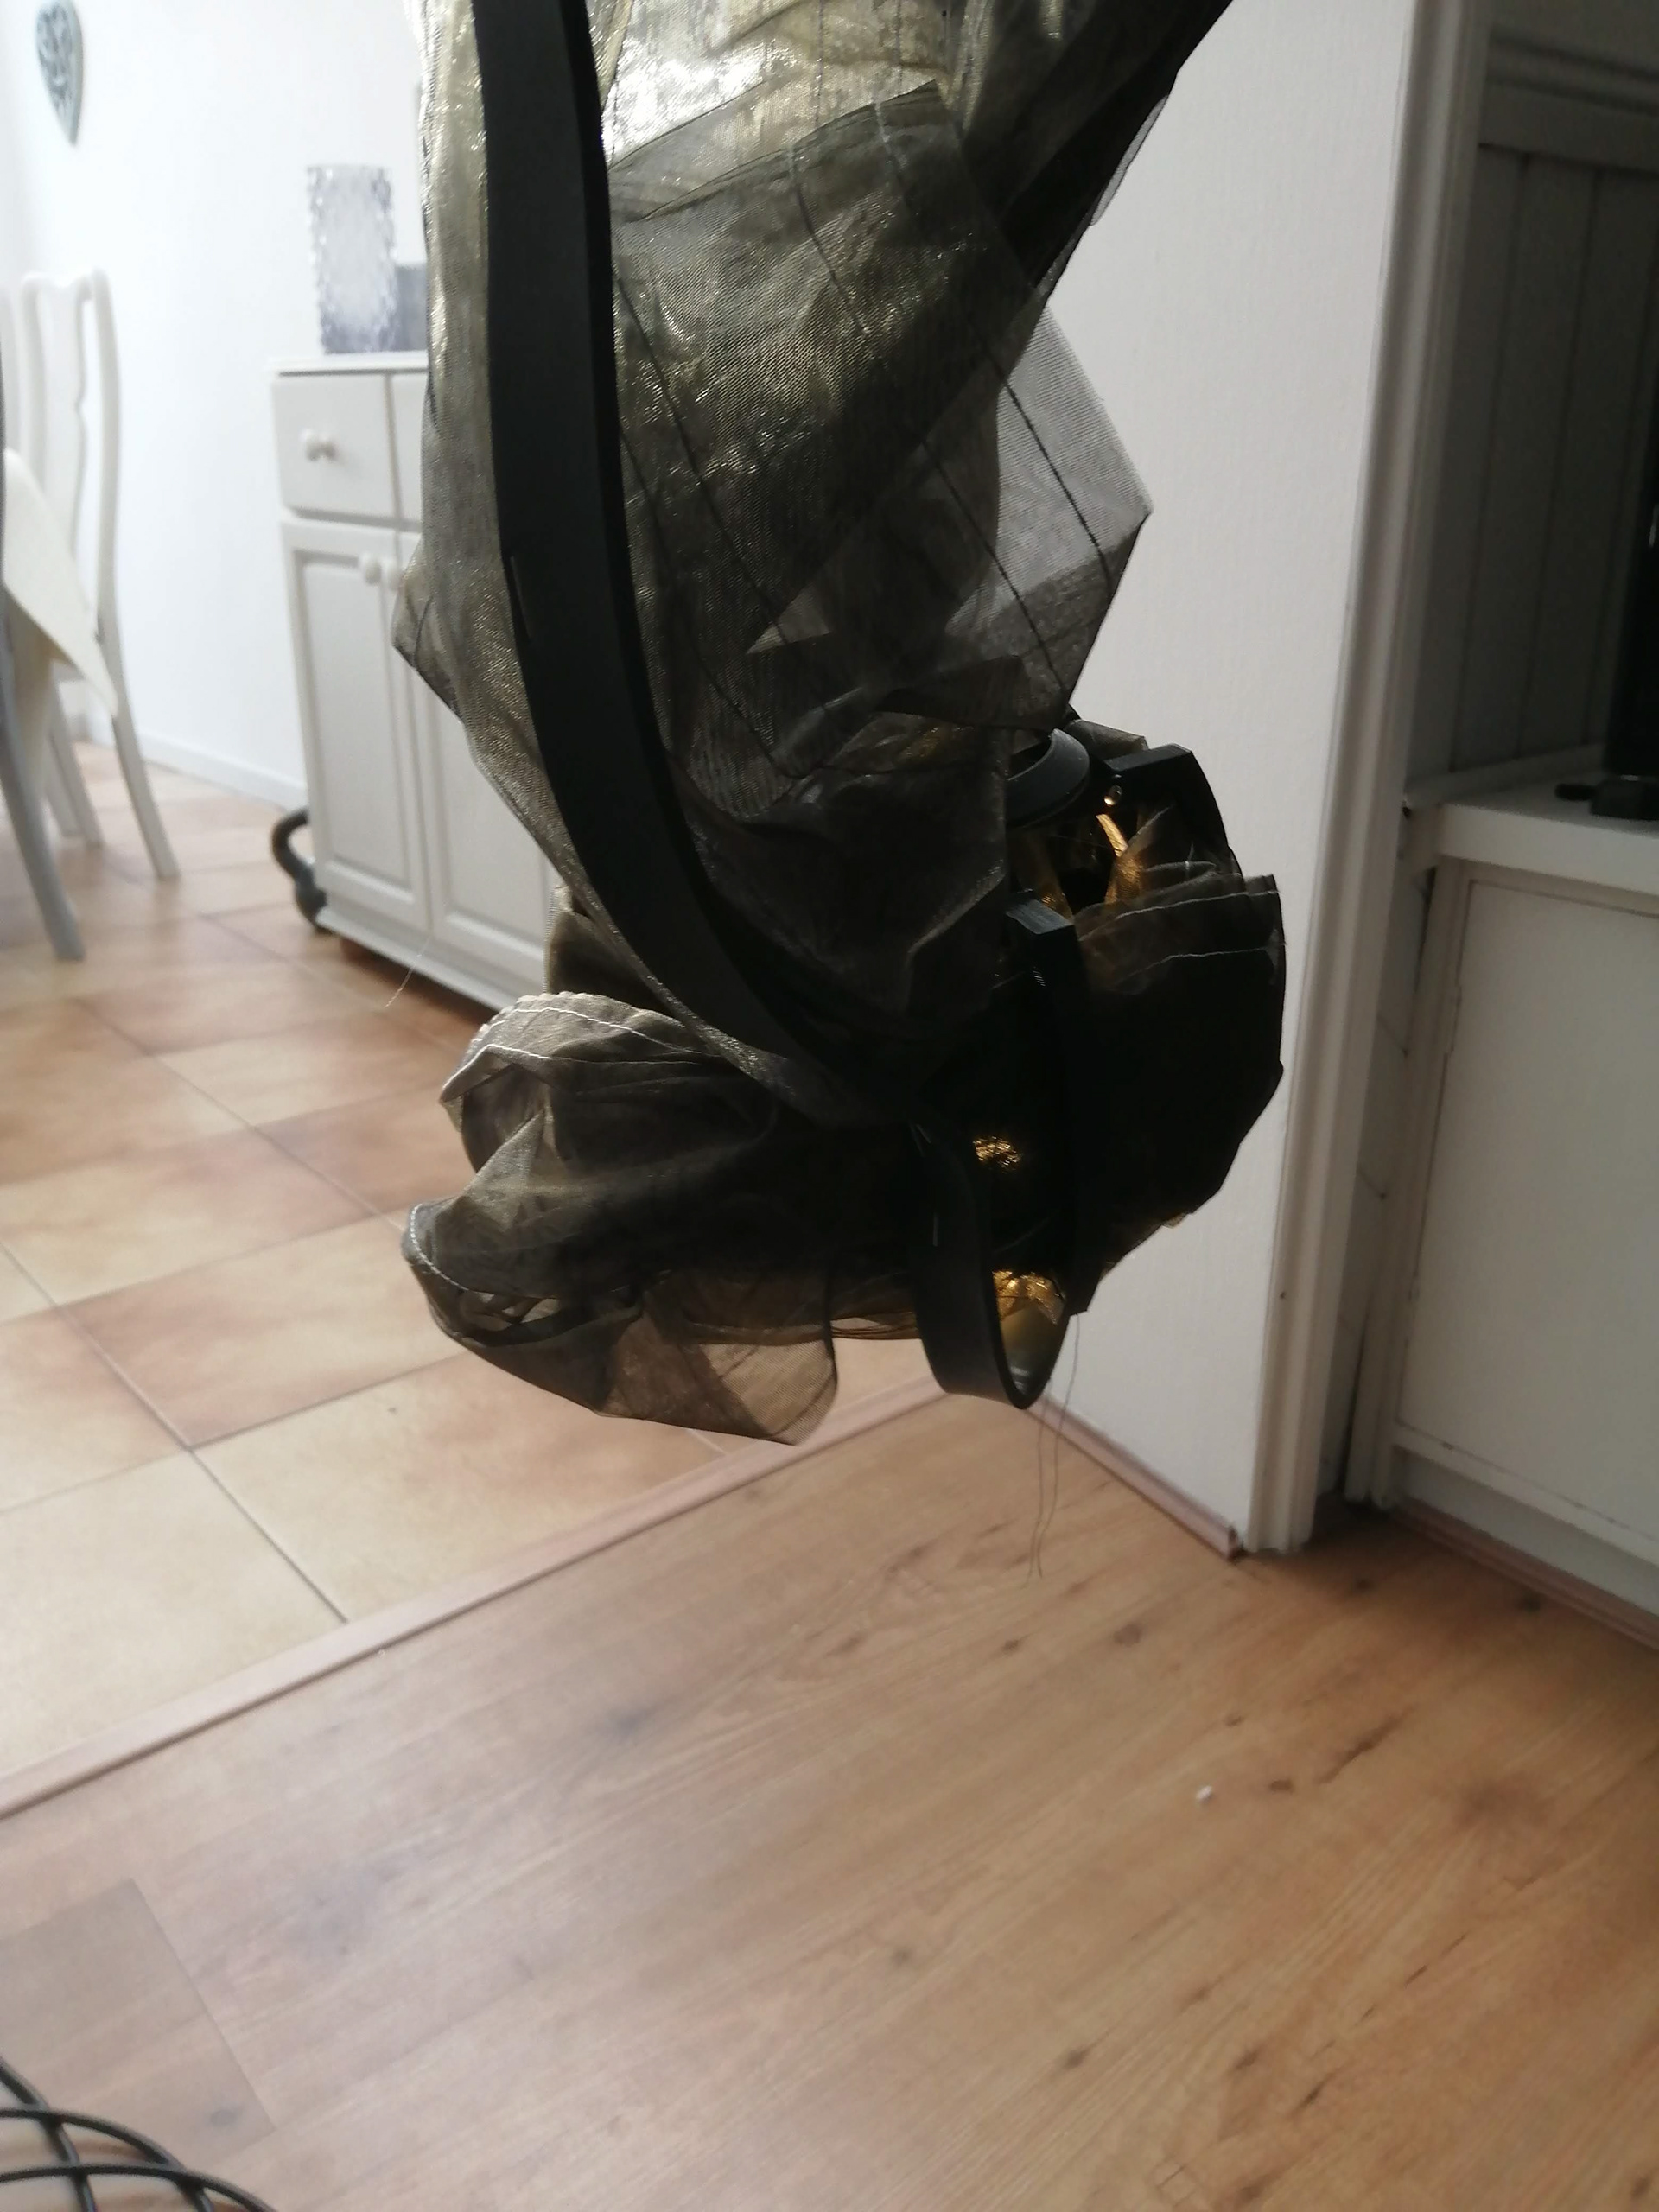
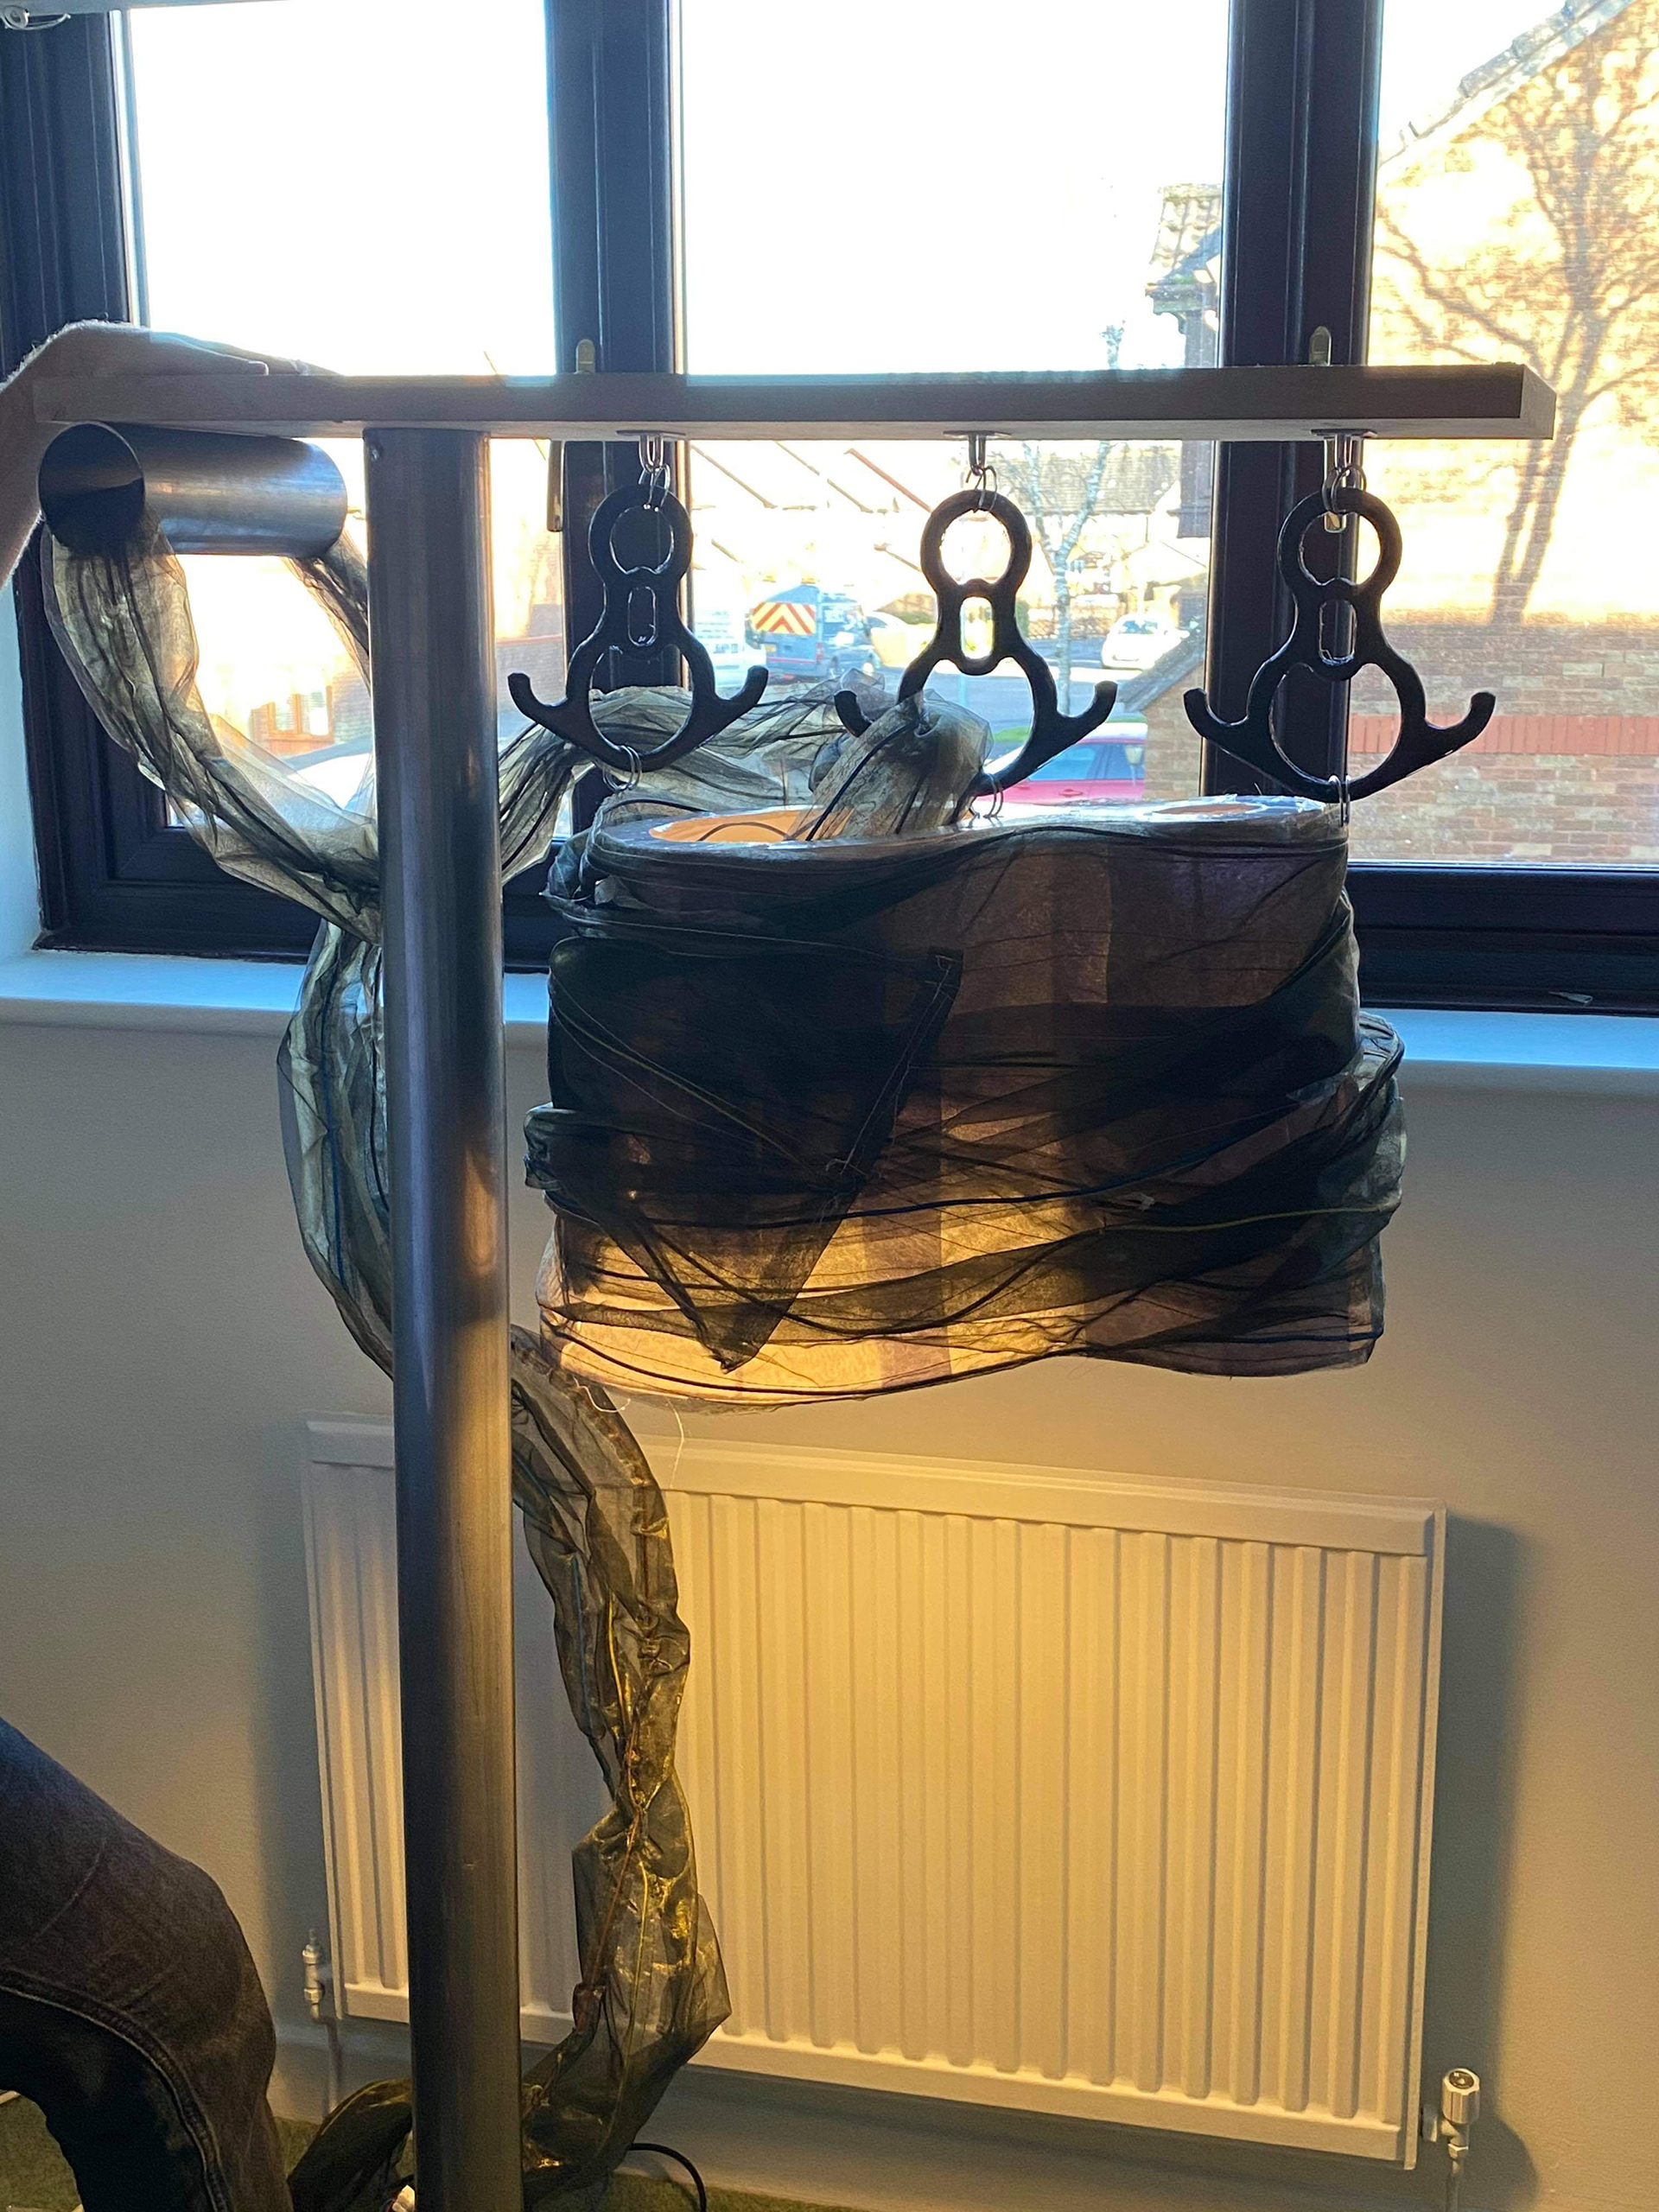
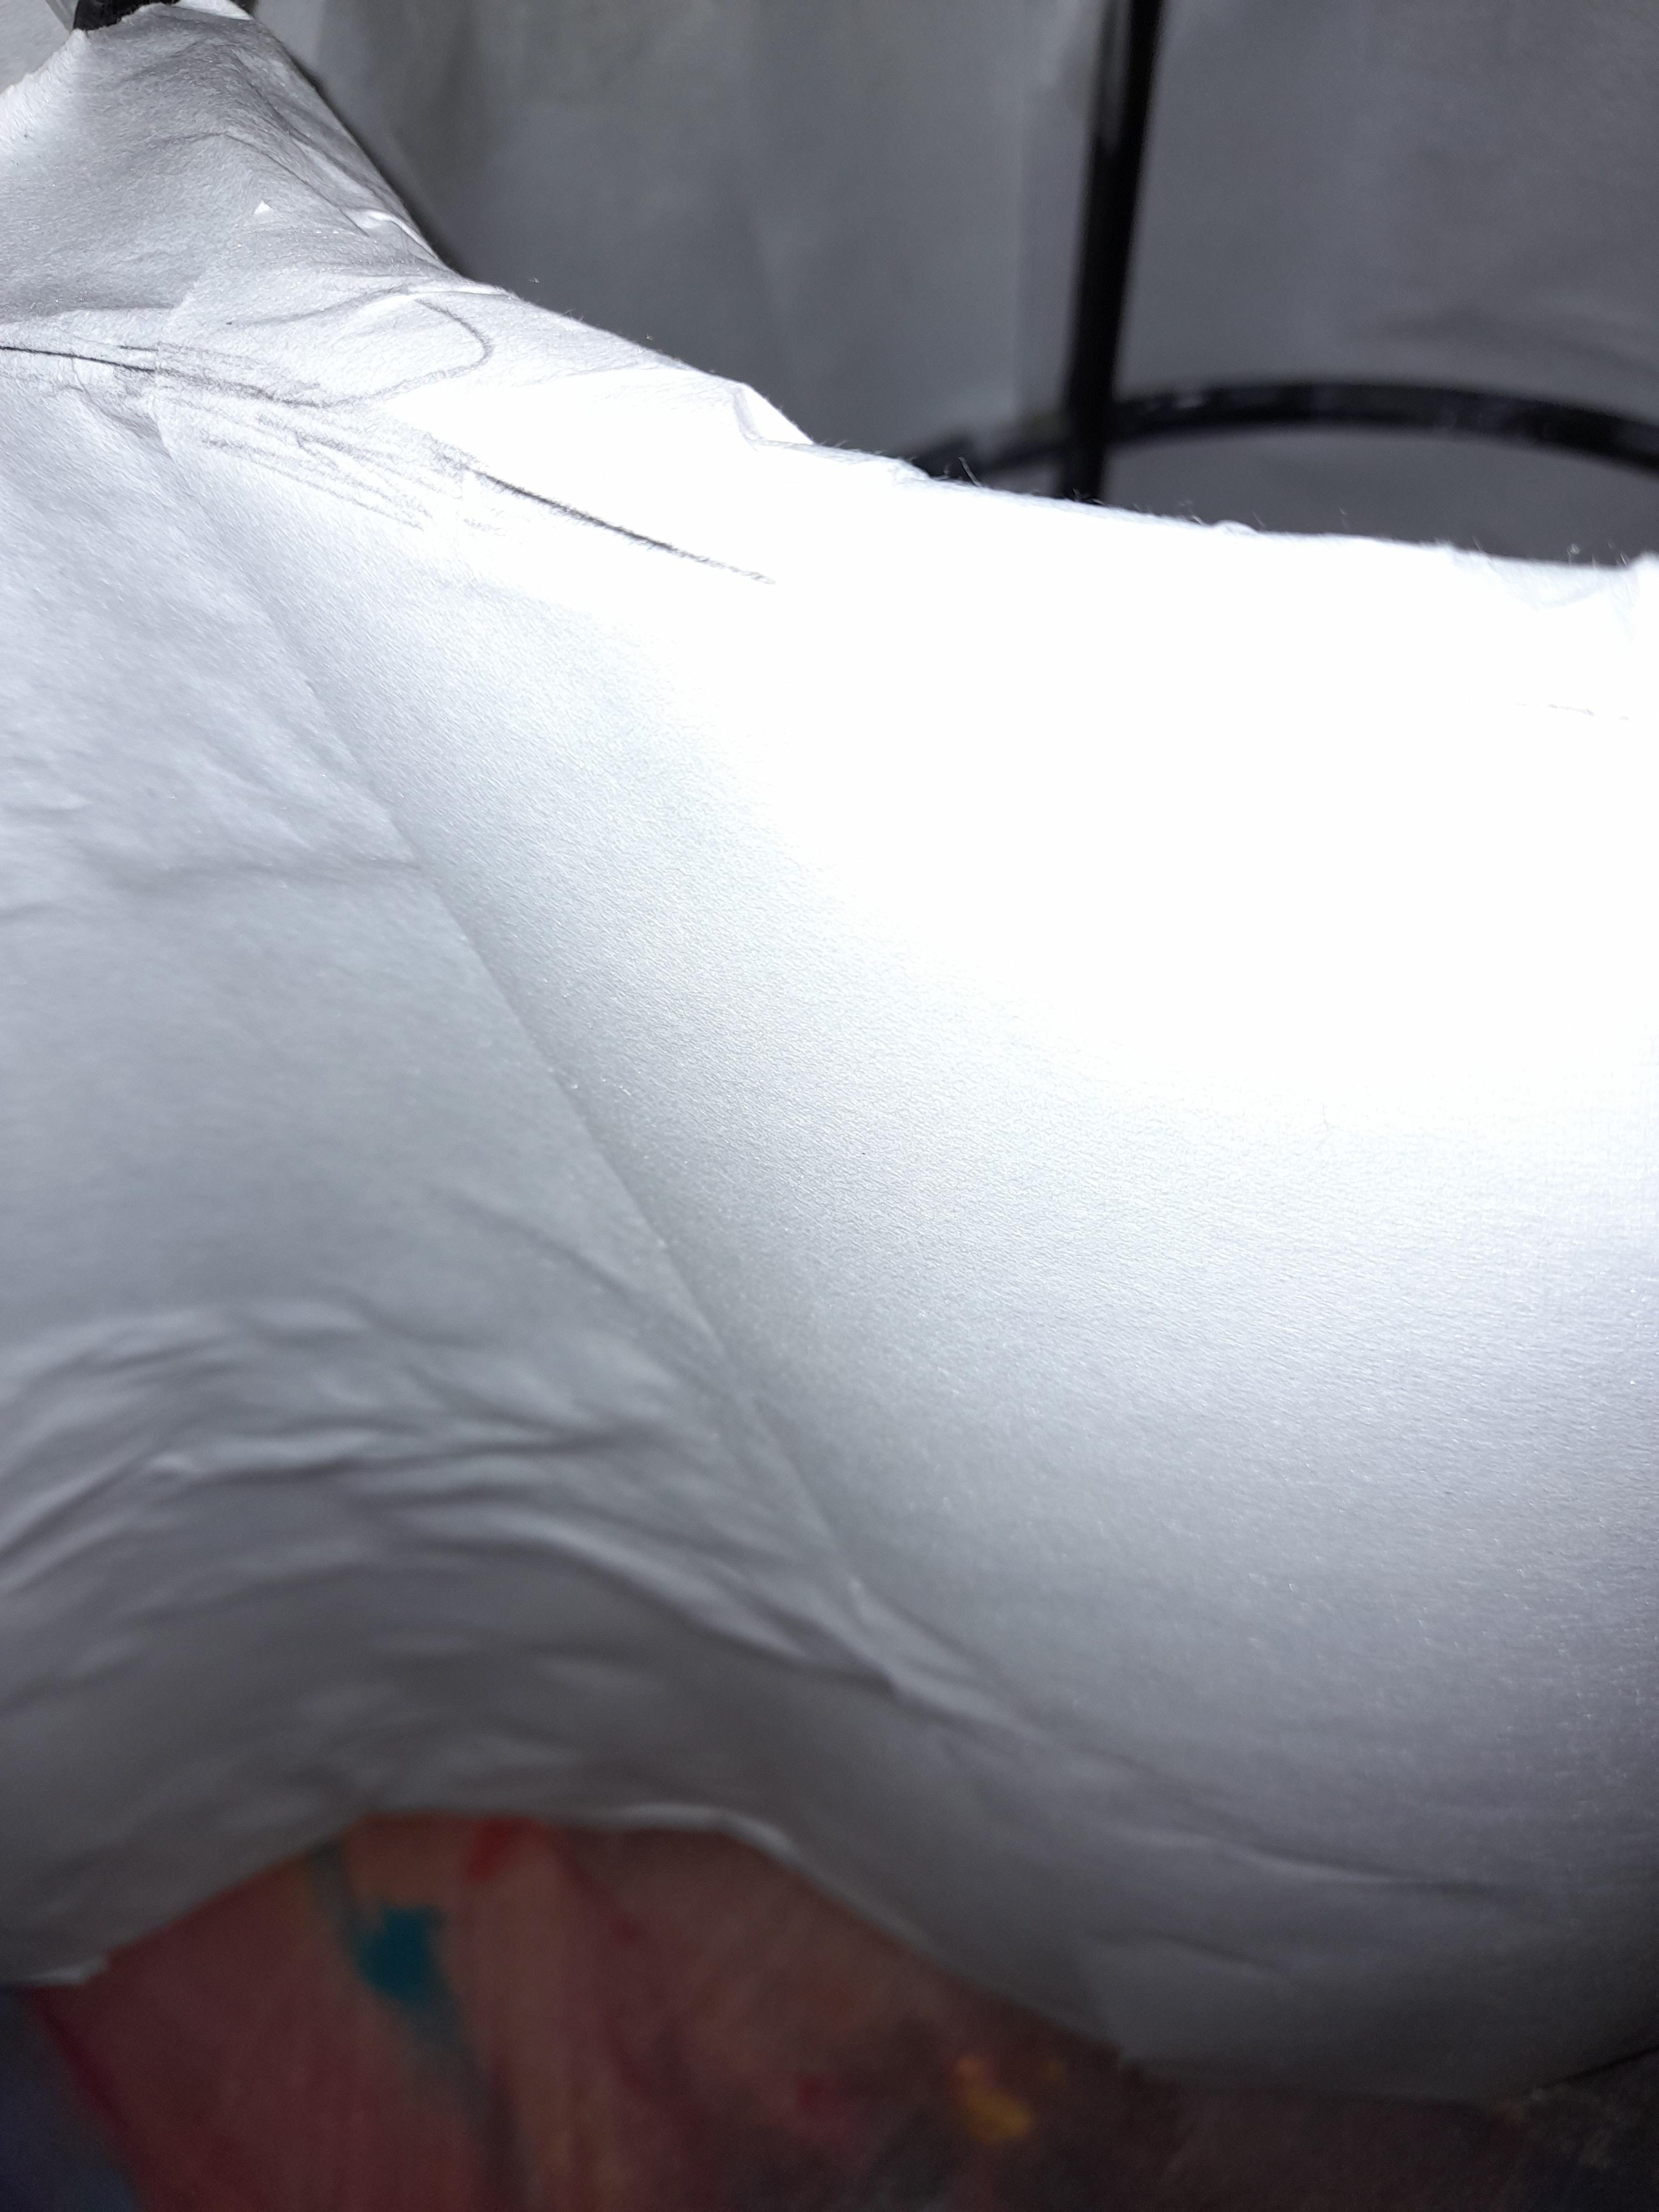
The fabric used for the shade caused difficulties when trying to create the shape from the template. The fabric kept slipping off the table connected to the sewing machine so the fabric outcome was not a replica of the template. Because of this, I had to fold the fabric over the top and bottom of the frame and glue down reprints of the bottom and top to hold it in place. I also added a piece of black paper (Black PVC sticky back order delayed by two weeks, so couldn't wait for it) over the edges of the fabric to hide the untidy ends.
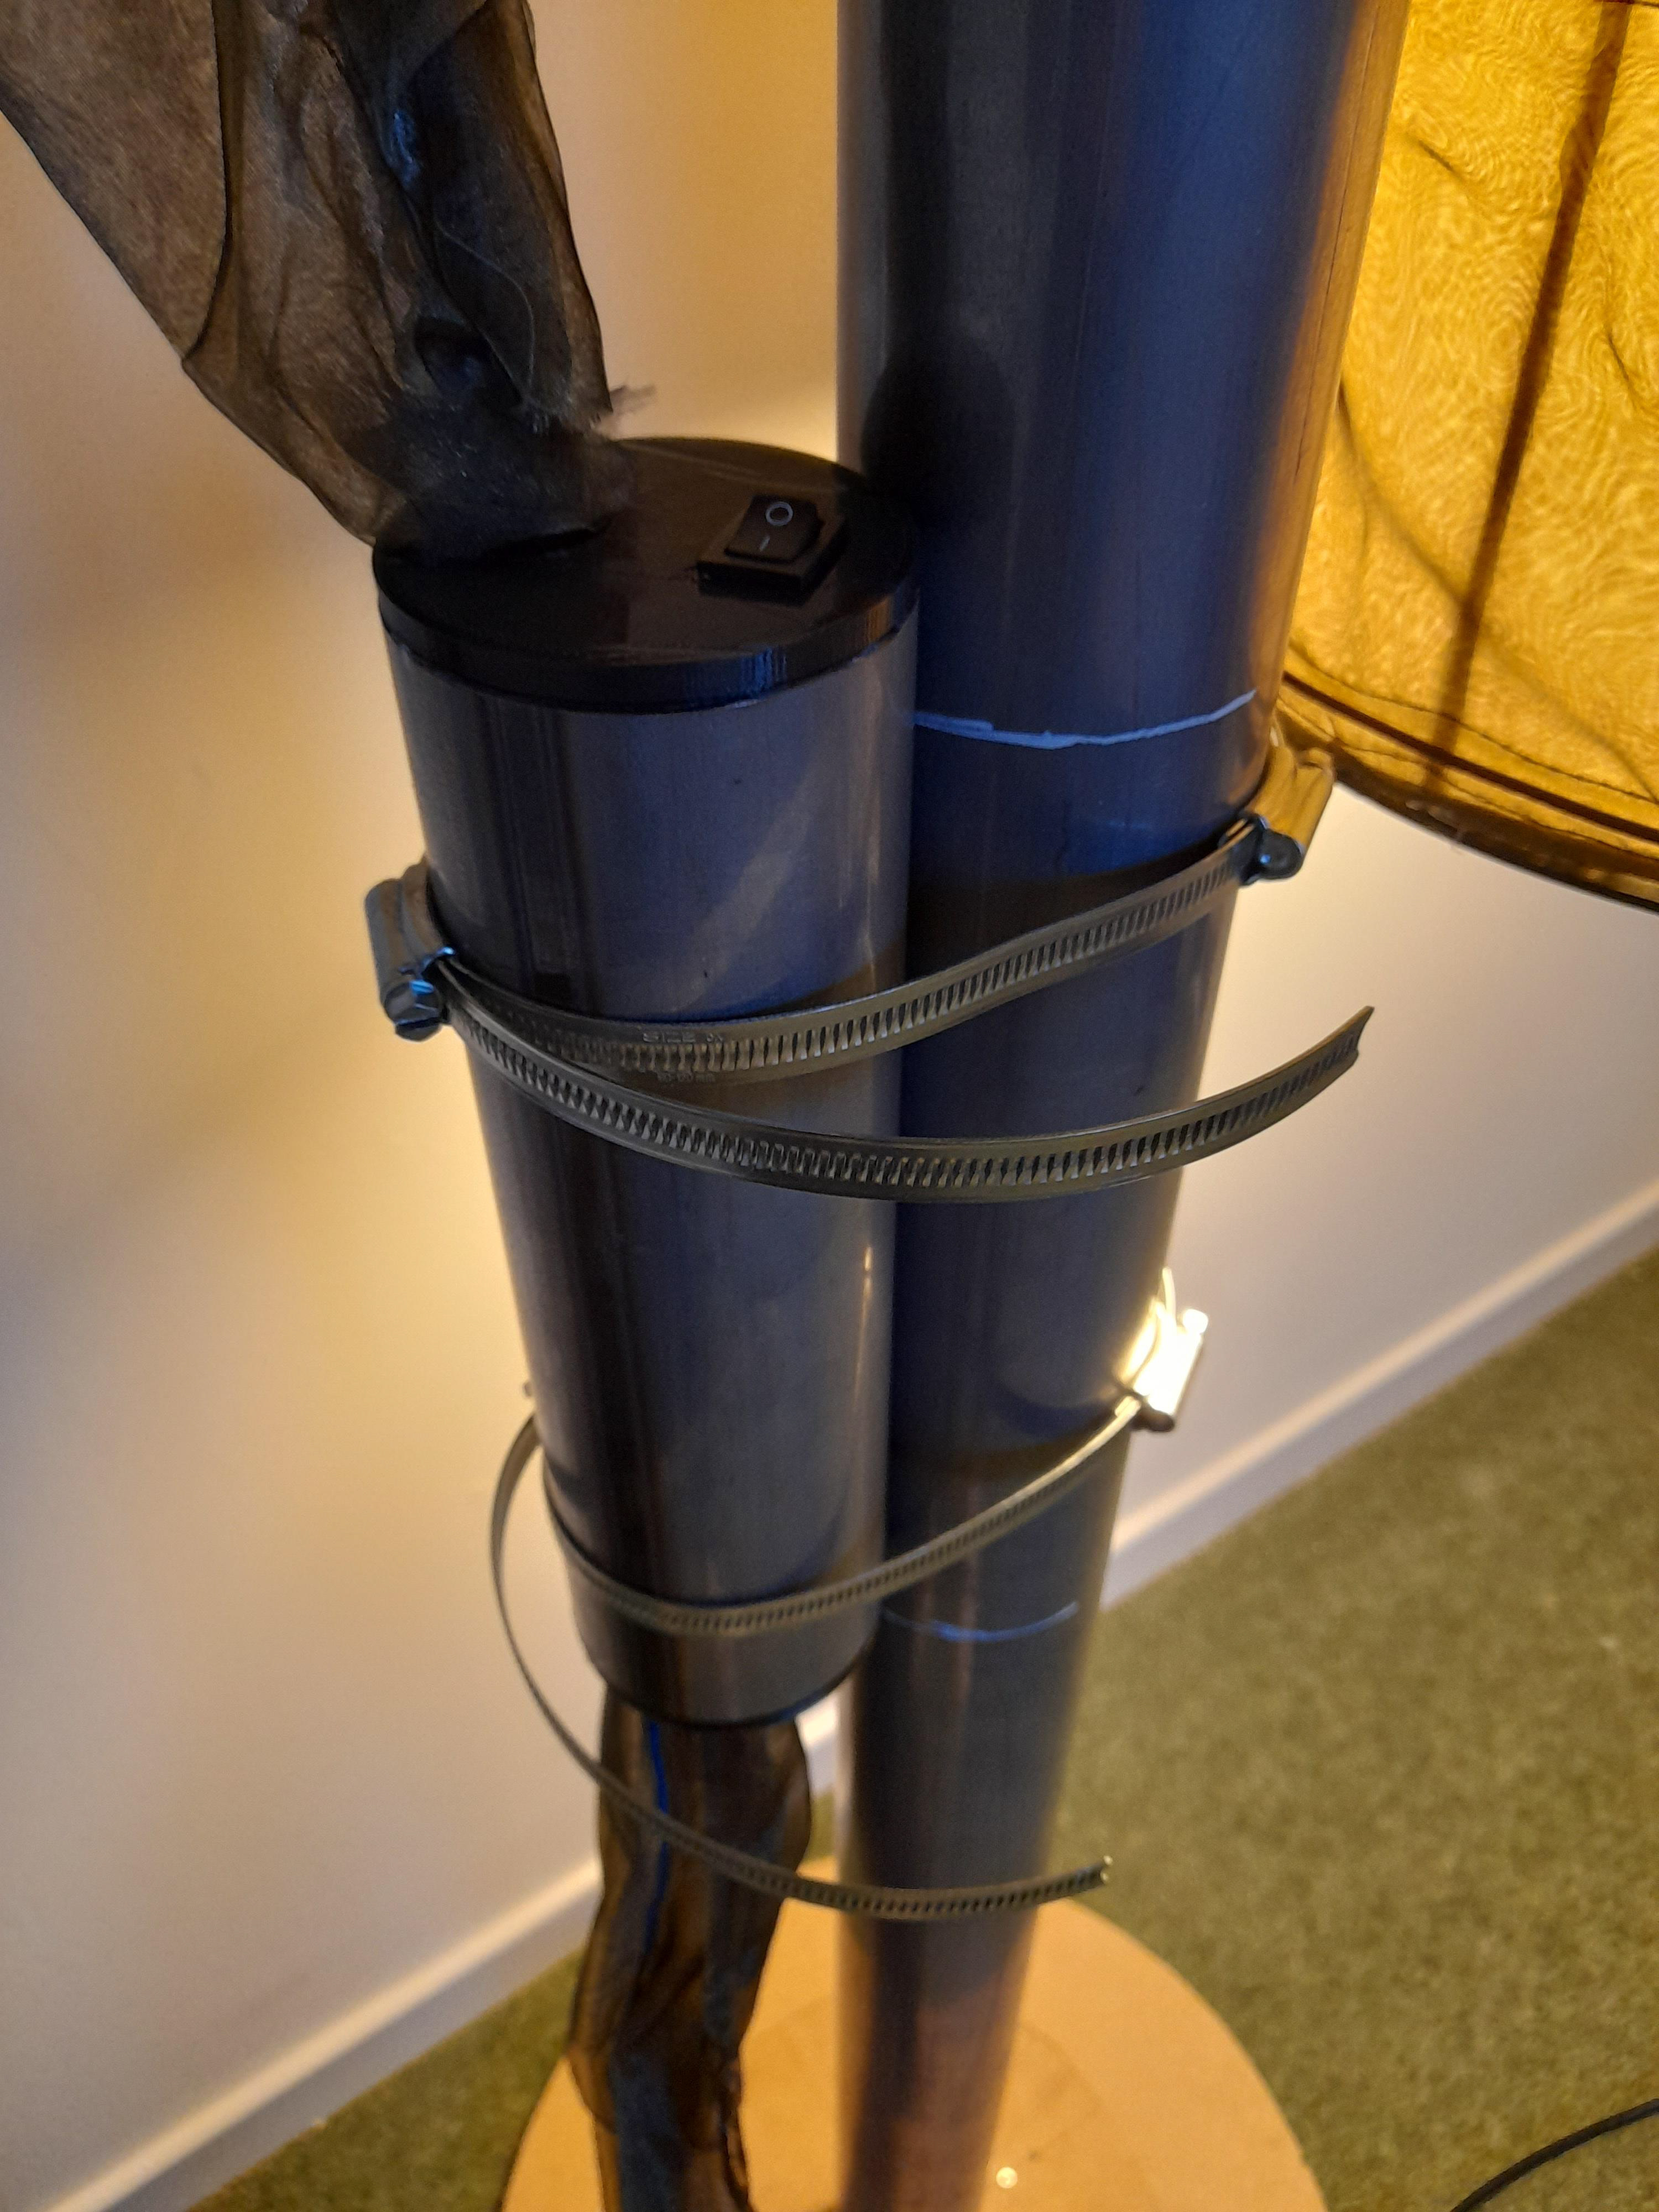
After attaching the shade the final thing that was left to do was the switch. The switch was pretty simple to do, it wasn't difficult to solder the wire, etc. The white lines represent where the switch cant go below otherwise the soldering may become more visible which isn't what I want. I haven't removed the excess metal on the hose clips because I simply just hadn't done it at the time.
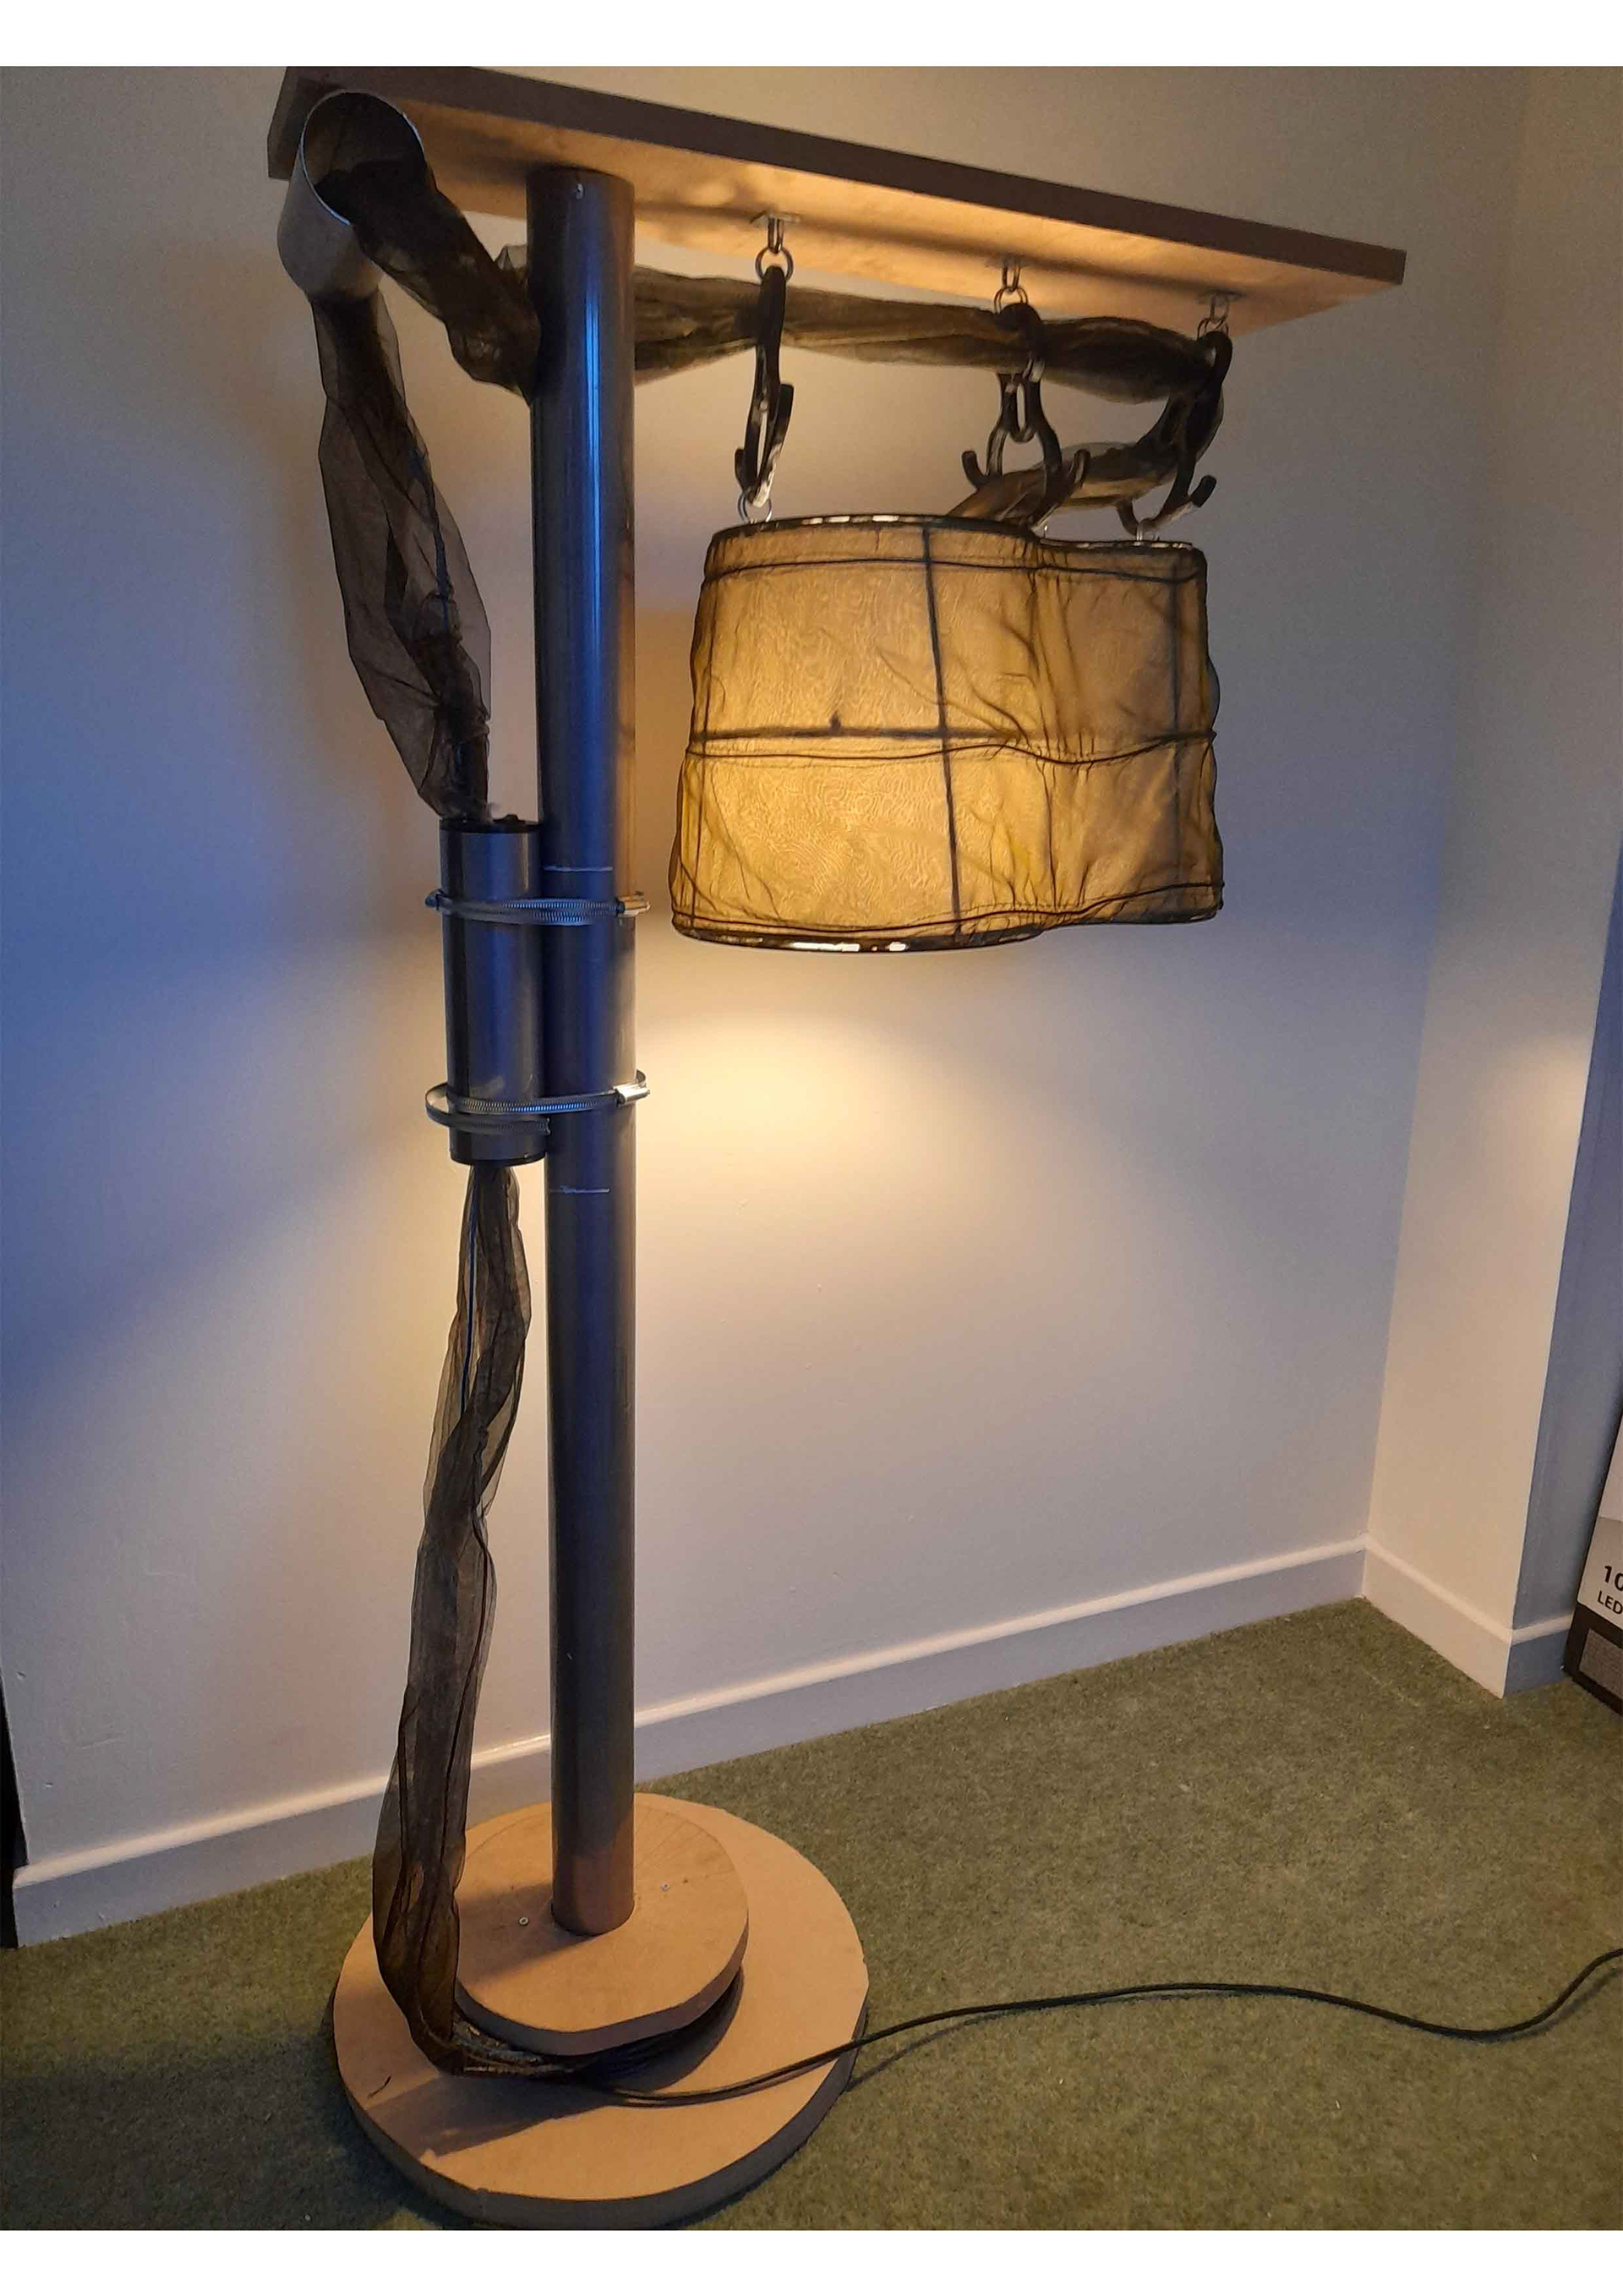
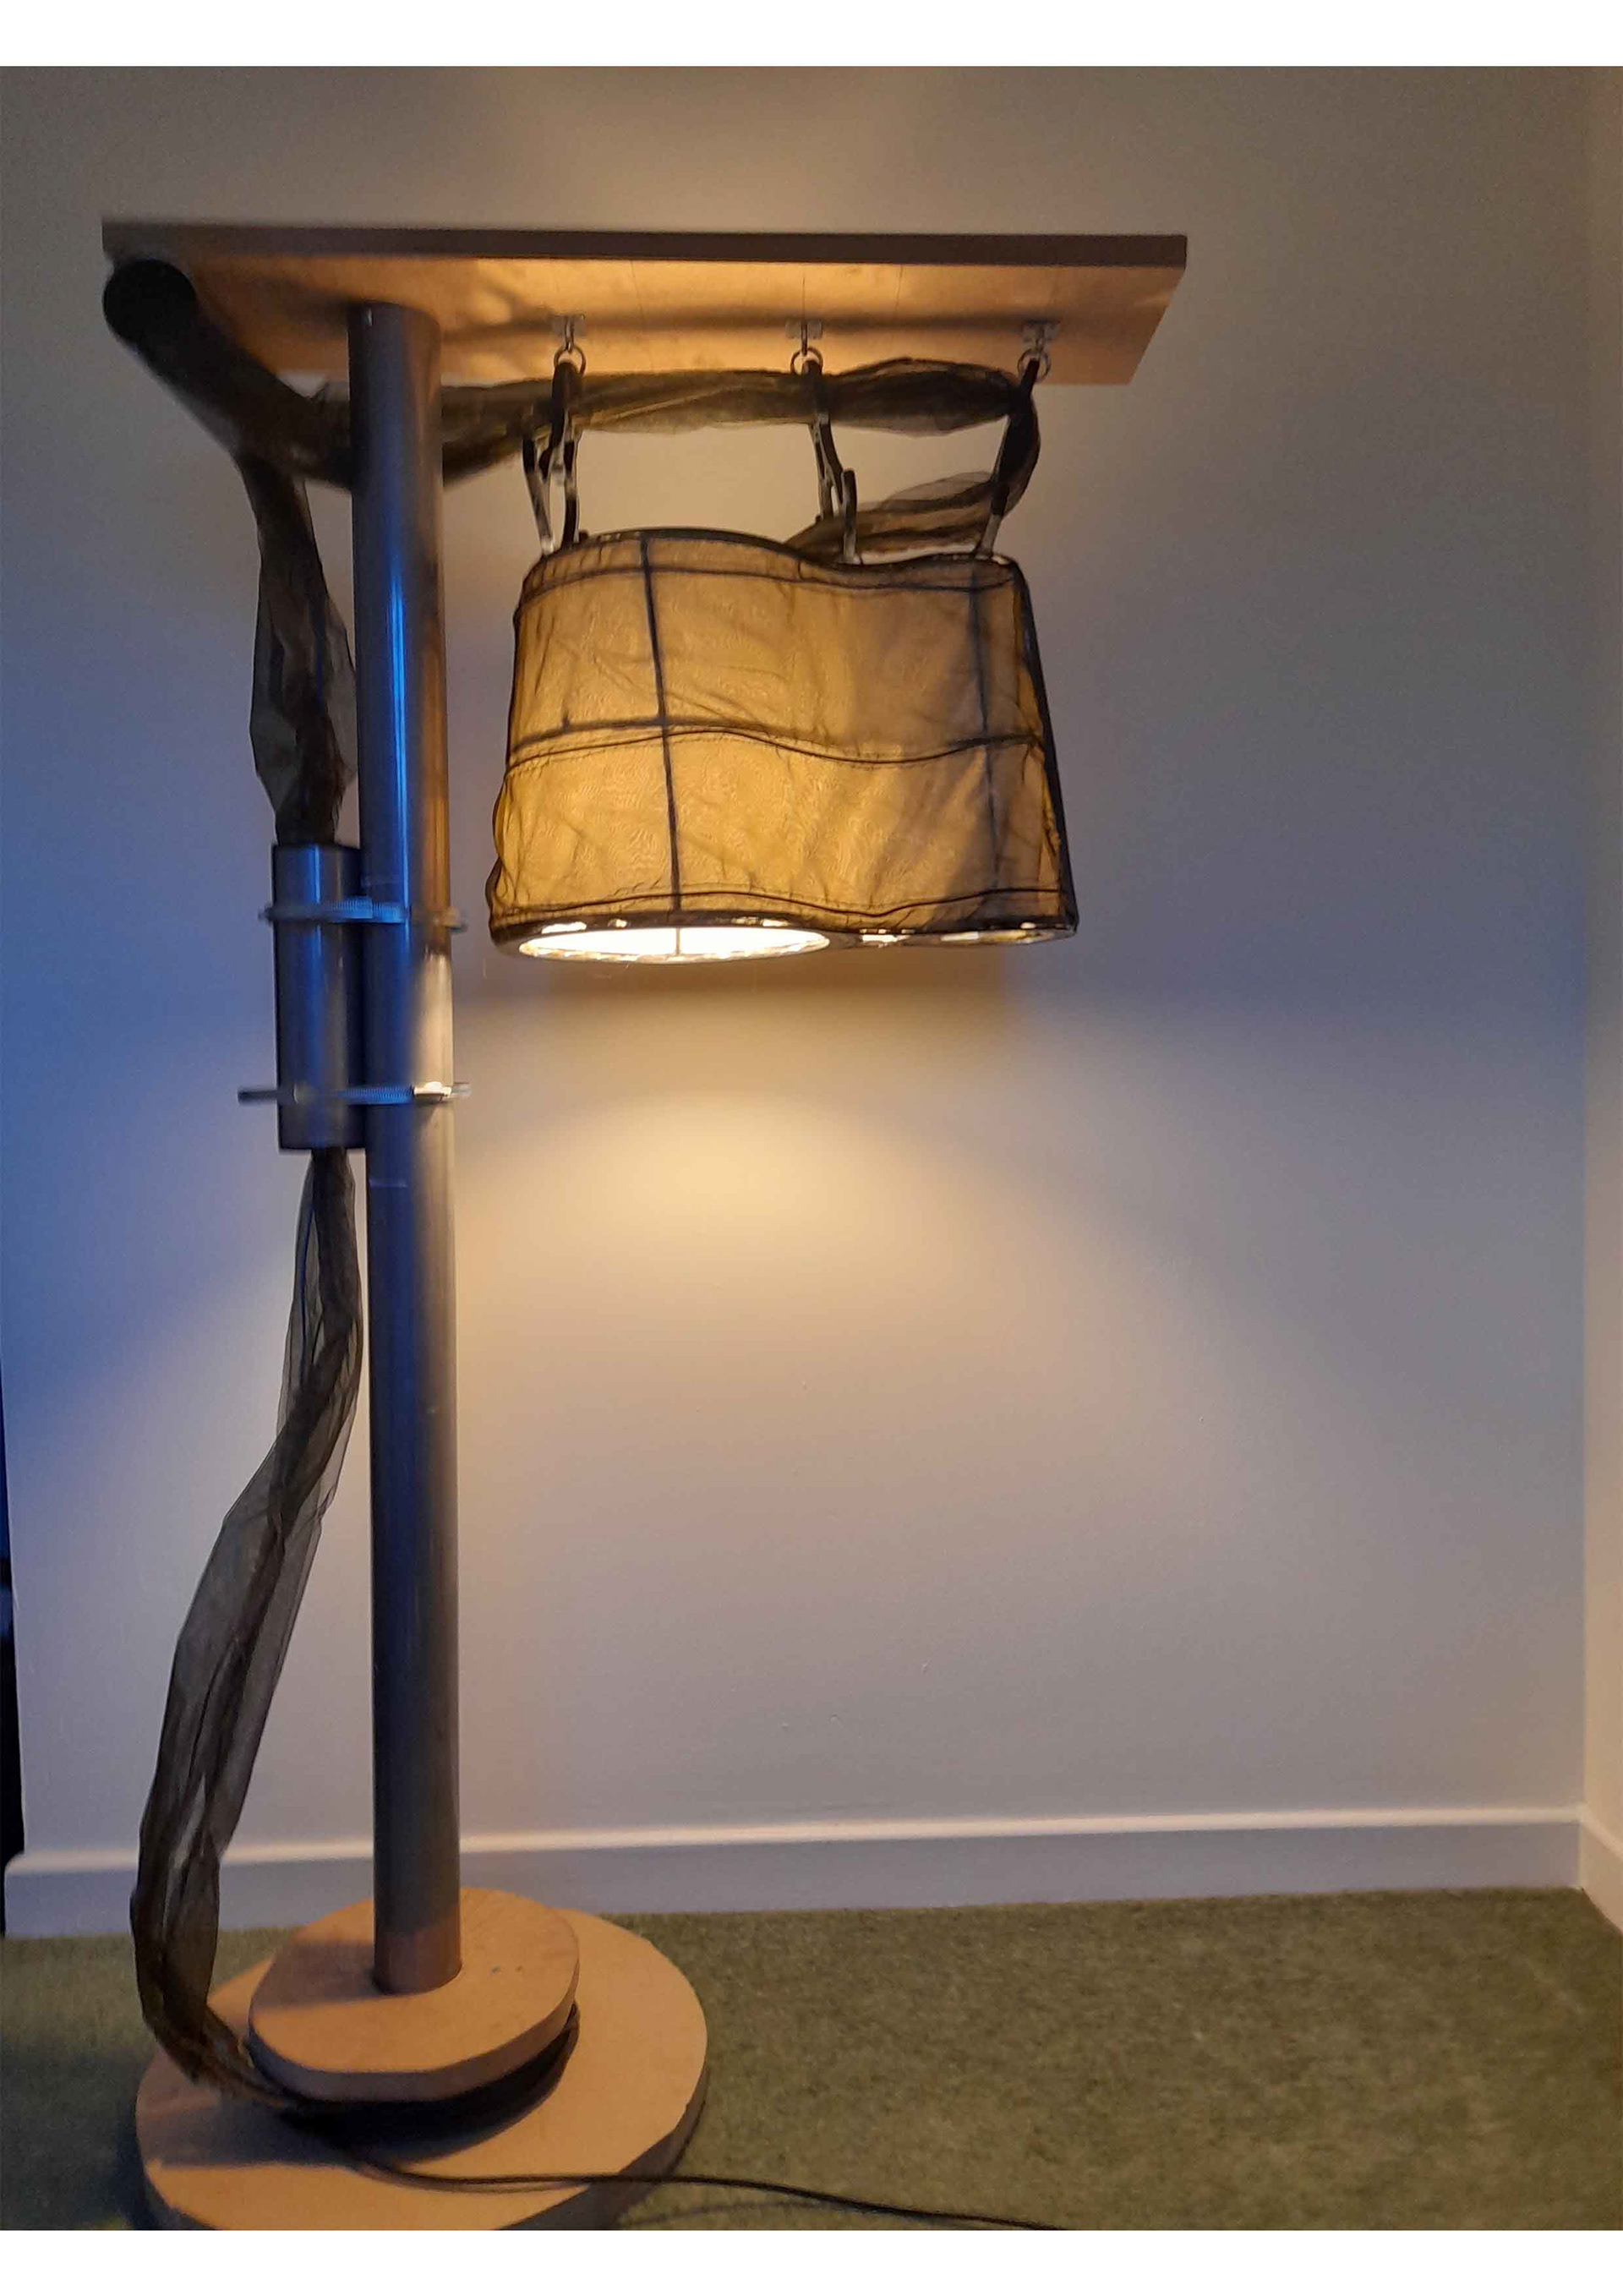
The video and posters above represent the final form of the serial silk lamp for this project. I've decided that I will move on to another section since there is still a lot I could redo on the lamp but if I were to do these then I wouldn't be using my time wisely, in terms of completing other sections. If I were to take it further in the future as a separate project then I would explore the following. The first aspect is figuring out a way to make a better shaped light shade. The second is making the fabric light up as well. Using a different wood type than MDF and finally making the actual lamp taller.
also click the black rectangle below to go to the next section